

1/15/2025
 |
 |
|
|
Previous Page | Next Page | Table of Contents
3D Modeling the Stern and Quarter Galleries
2/8/2024: I figured to 3D print the stern's decorations, but while modeling the stern as a base to model it's decorations, I figured, why not just 3D print the whole transom?
I wasn't happy with the quarter galleries made earlier, and had started modeling those in 3D, so I combined them with the stern in as a single model. It's a bit tedious, I'm having difficulty getting the profile and stern views to reconcile for me,
but I'm plugging along. Obviously this 10-1/2" x 5" model won't fit in the printer, so I'll have to print it in sections and assemble them on the hull. That I'll deal with once the model is made.
3D Modeling the Ship's Artillery
1/10/2025: So, 11 months later, the above isn't done, and despite a new burst of effort, I've made no headway in learning HBlender to model the carving that will decorate that stern, or Constellation's head either, for that matter.
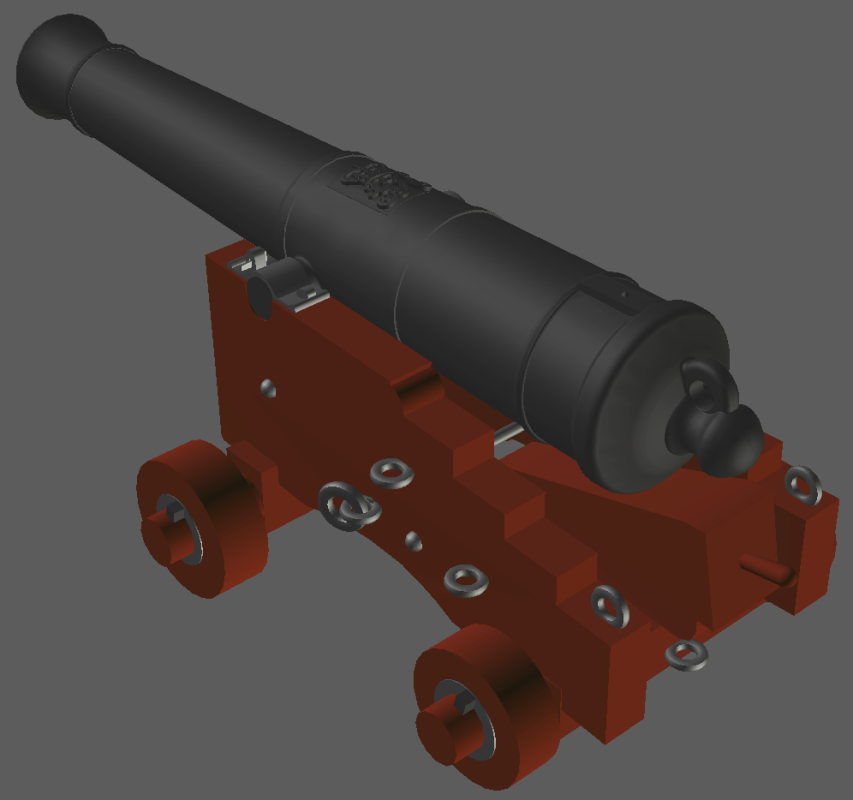
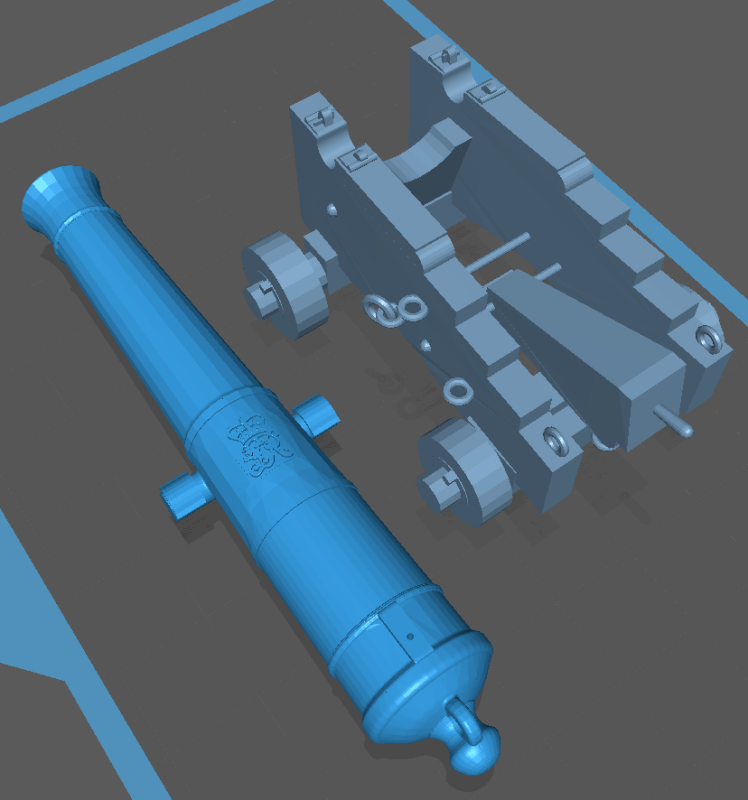
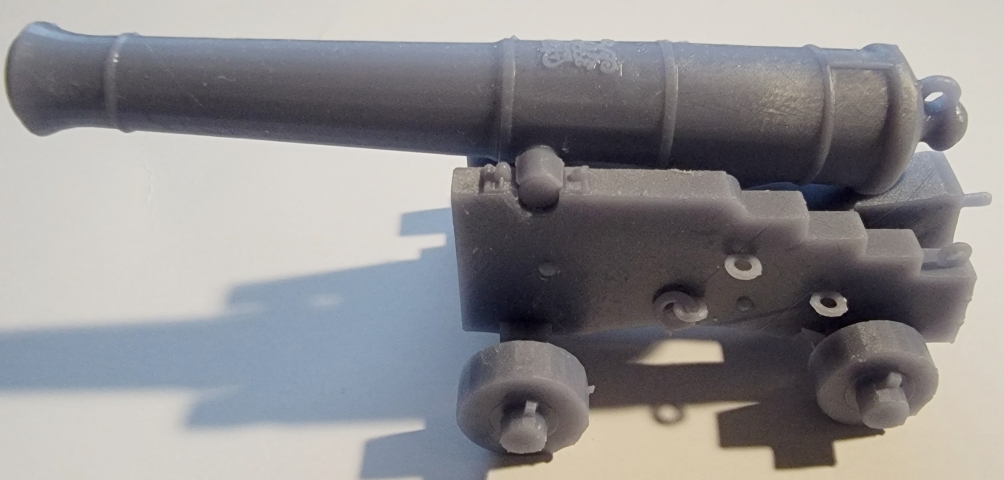
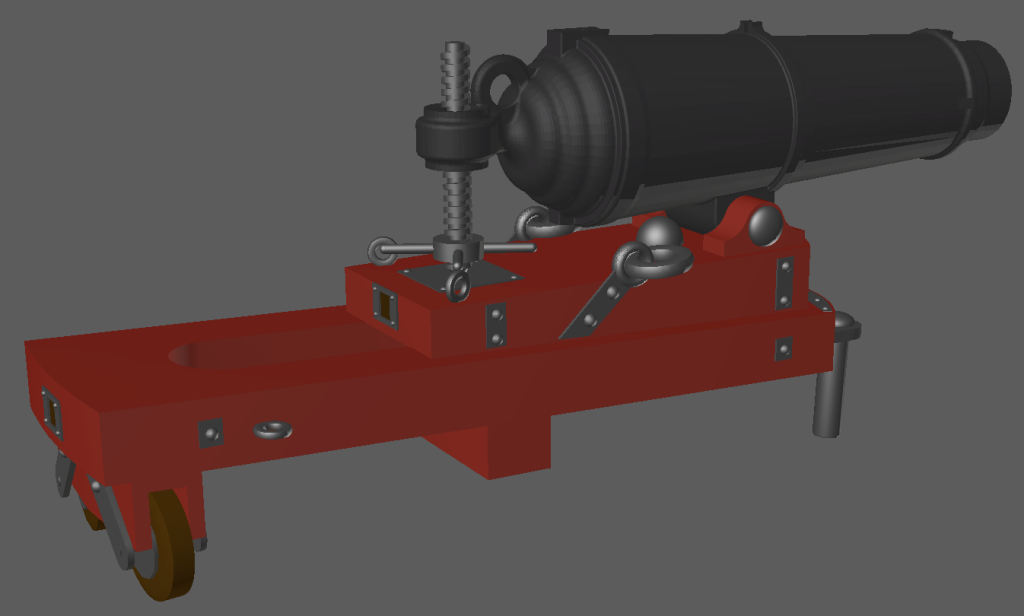
I do know how to use Anim8or, and I'm not too shabby at making guns, so now that it's gotten cold again, I figured to model Macedonian's artillery.
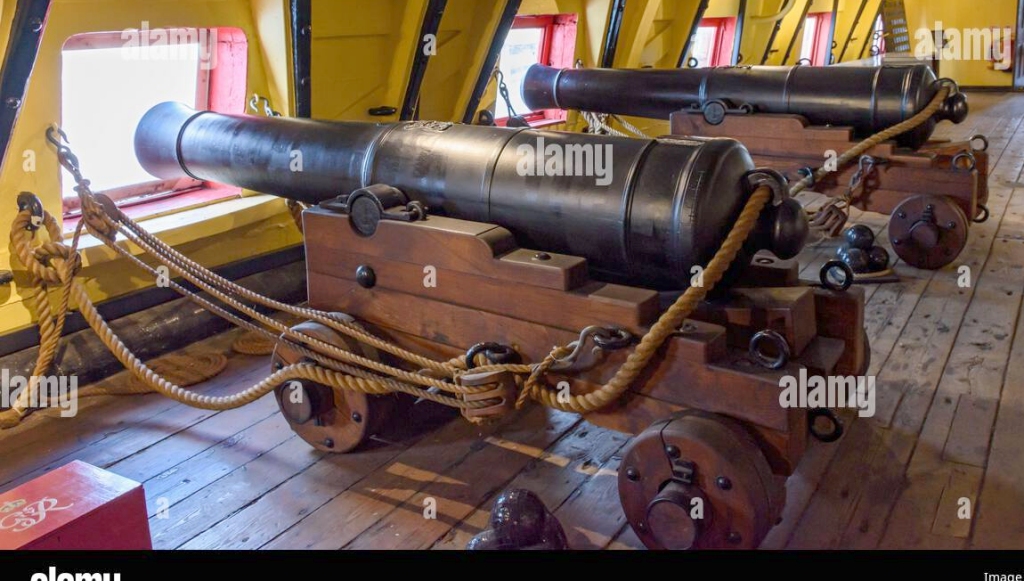
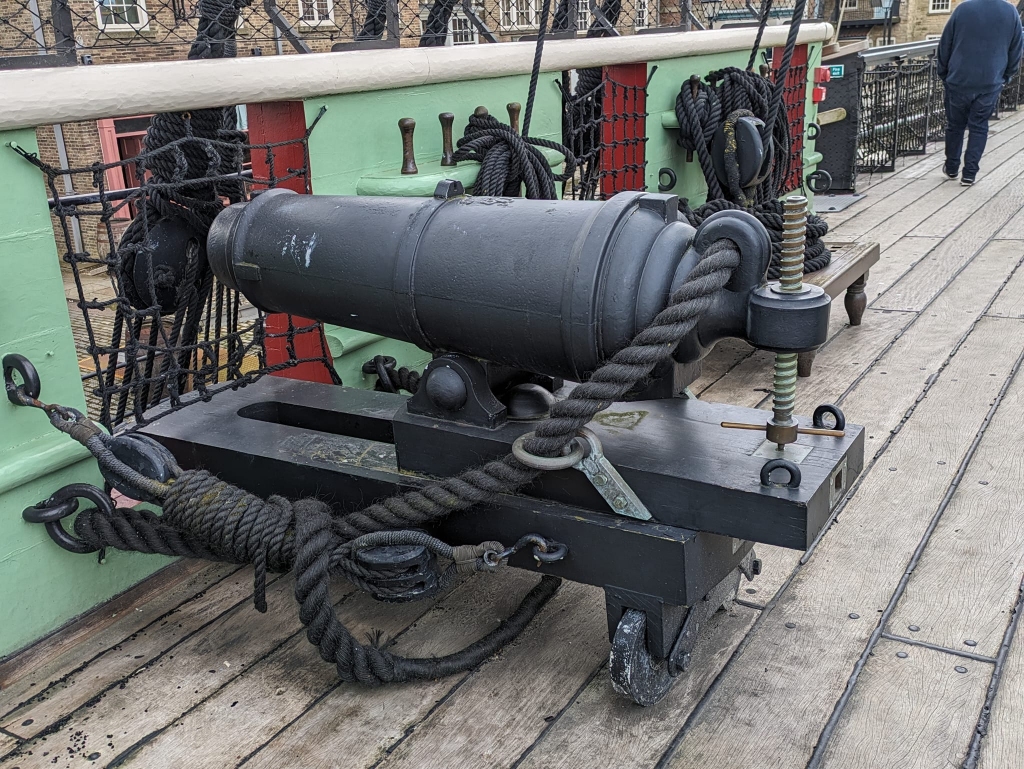
Besides several drawings, I used pictures of the 18 pounders on HMS Unicorn as guides.
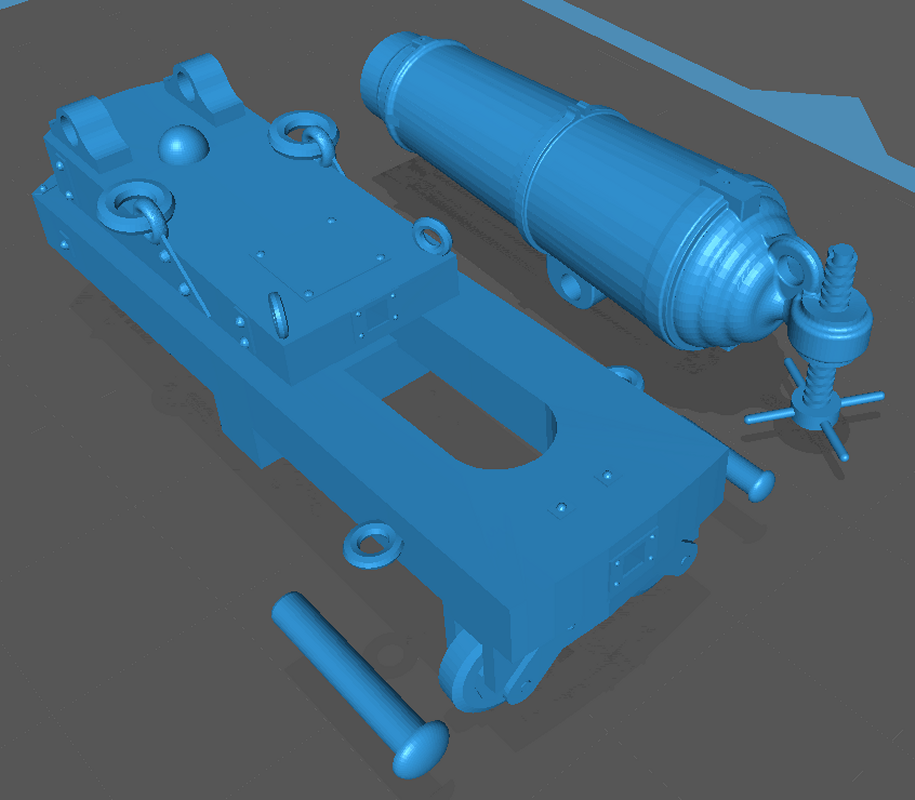
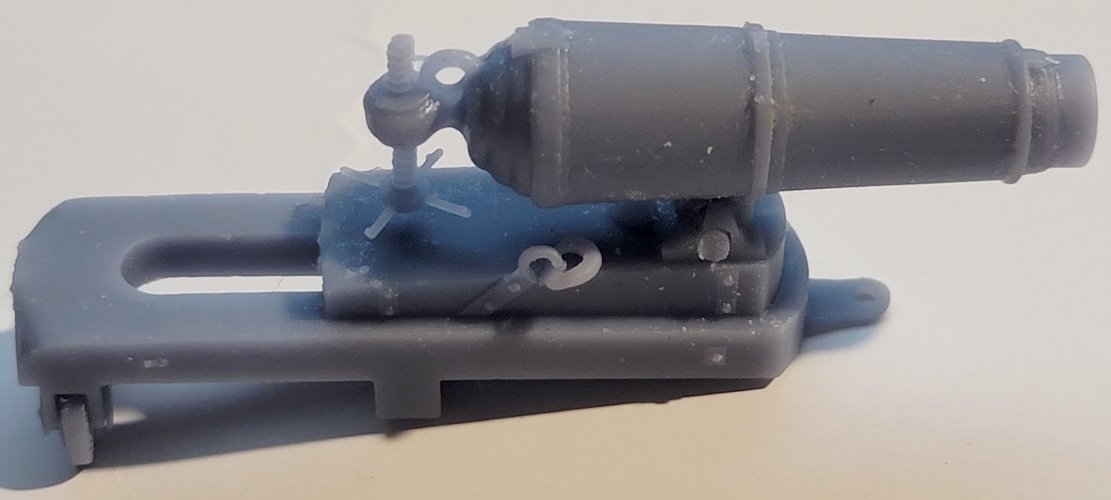
Again, I had started a model for this one a while back, but I wasn't happy with the slide, so I scrapped it and made a new slide from scatch, a bit more condusive for printing as a single piece. The gun is separate though, again for better printing and painting.
3D Modeling the Capstan
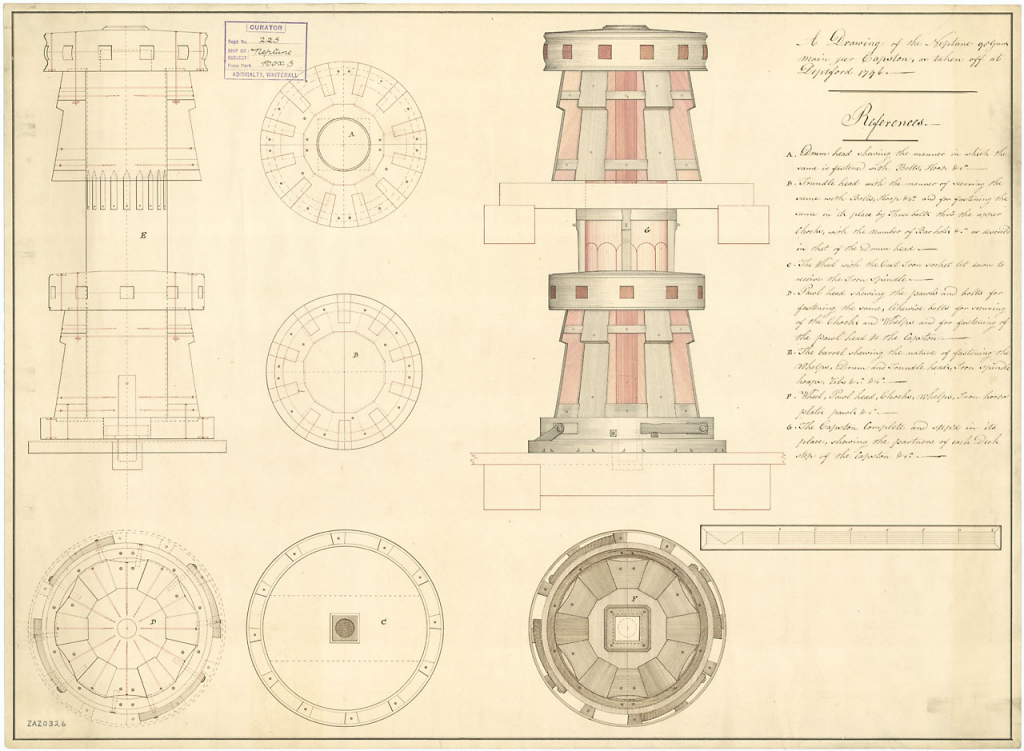
1/12: Working from a drawing of the Neptune's Main Capstan as taken off in Depford Yard in 1796 (down-loaded from the National Maritime Museum in Greenwhich, UK),
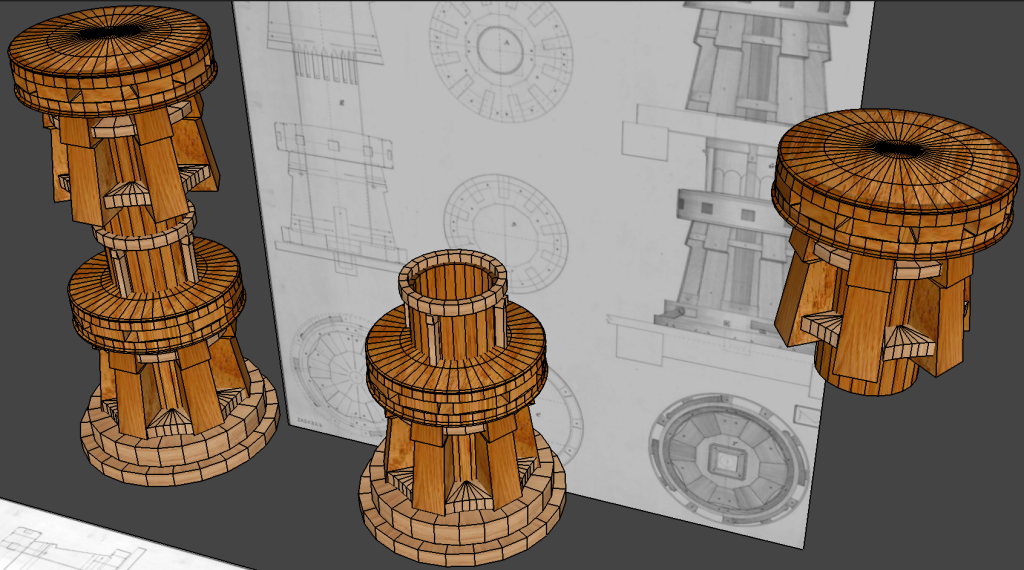
I modeled a capstan for Macedonian. To save on resin I modeled the maine pillar hollow and the spar-deck capstan is a separate part from the gun-deck one to facilitate installation when the time comes.
The length of the pillar under the upper capstan may need to be adjusted before printing to fit the model. So, the thing's nearly done, it still needs pawls and some other details.
Since it's something that could be used on other's models, the STL will get posted on Thingiverse when it's done.
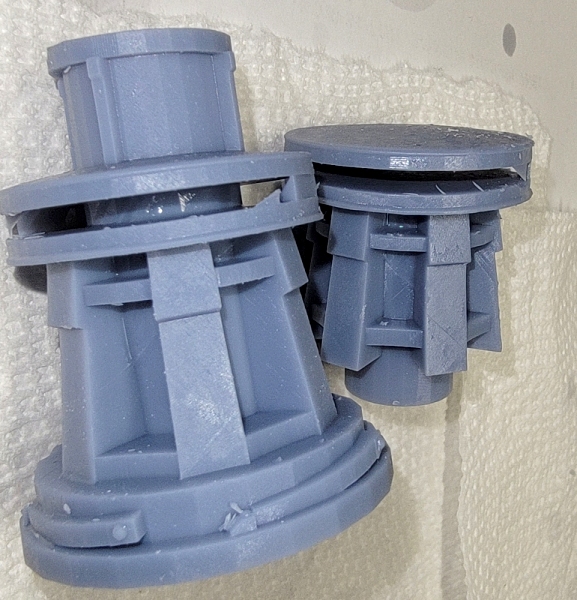
1/15: I figured I was done with the capstan until the model was far enough along to merit adjusting and printing the thing; but I had a nagging feeling I needed to test print it rather than wait. Always trust your gut, I guess...
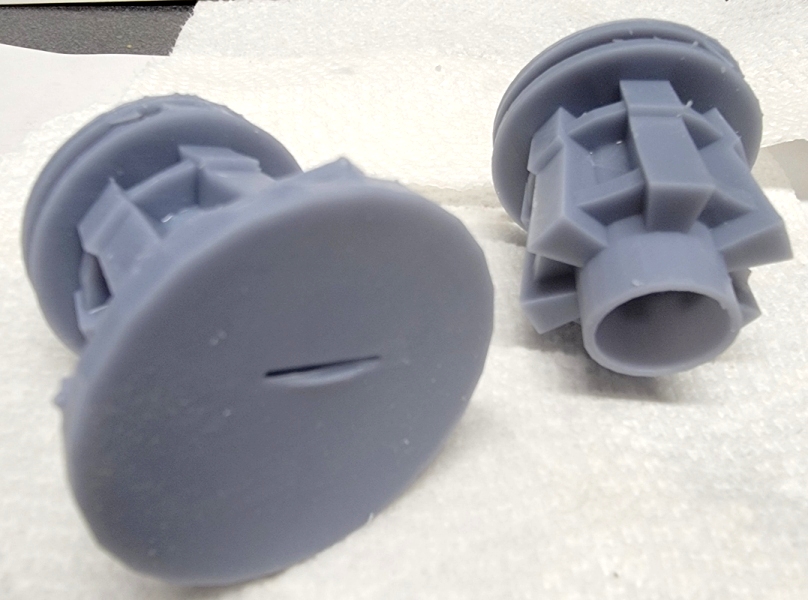
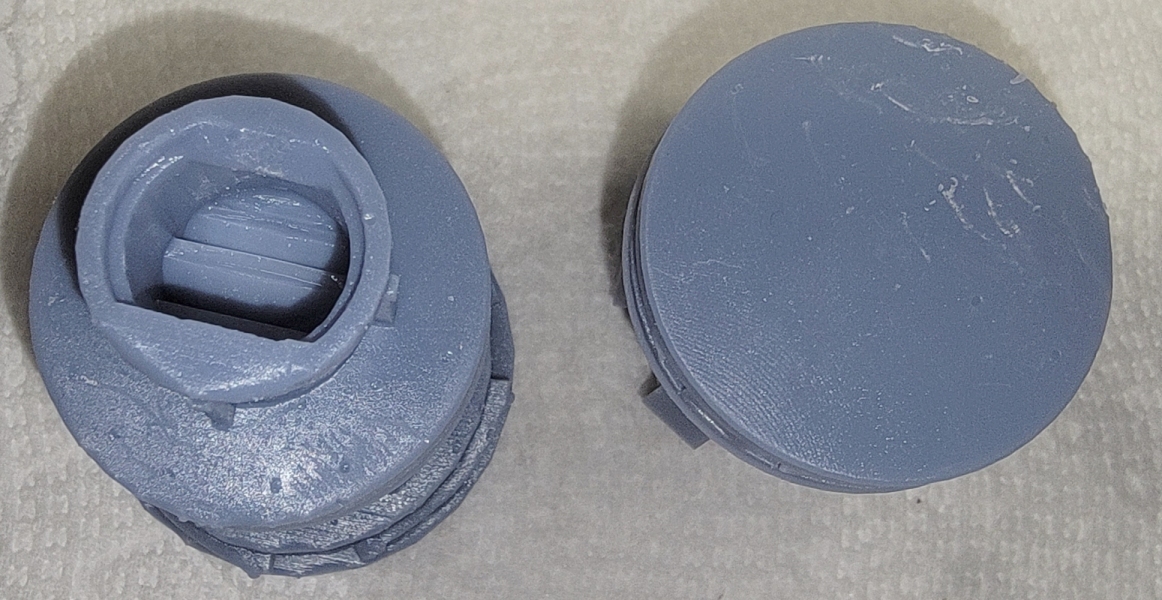
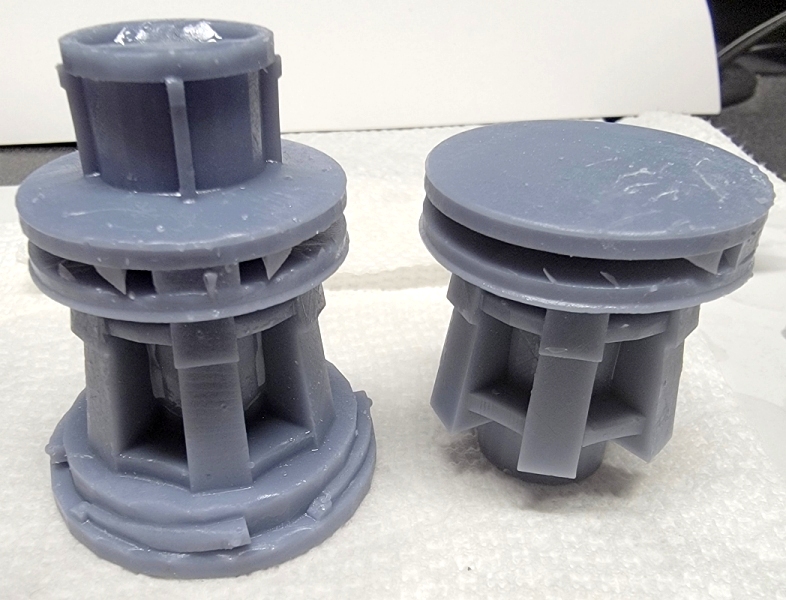
The first thing I noticed was the boxes that formed the sockets for the capstan bars hardly printed at all. Both disks should have printed solid with square holes in it, so I'll probably need to rework it to figure out why they didn't.
Note: I yanked off the supports, gave the parts a quick wash, and cured them quickly, so they don't look as good as they could even with their flaws.
The post connecting both capstans together is supposed to be a tube, and came out that way on the upper capstan, but, for some reason didn't on the lower one. The bottom closed-up except for a small gash, and inside it printed what look like vanes.
The band at the top of the lower capstan which forms a socket for the upper to fit into, tried to fill in. In the model this part didn't have faces on it's inner surfaces, which is a sure-fire way to give the slicer a fit trying to interpret it.
So, it's "back-to-the-drawing-board"
|
||
 |
 |


