3/31/12
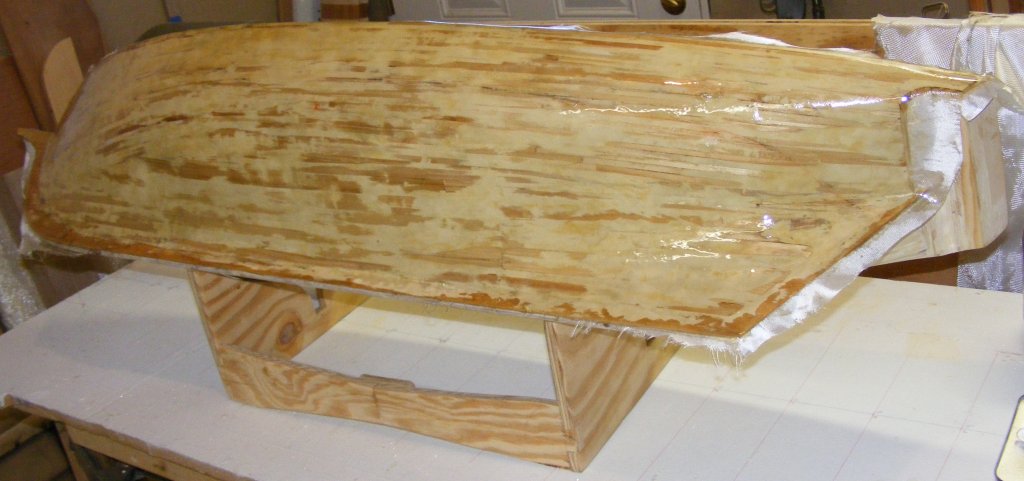
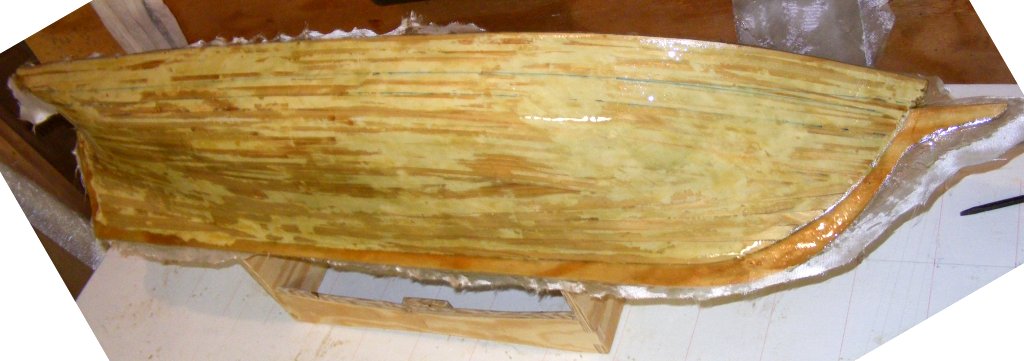
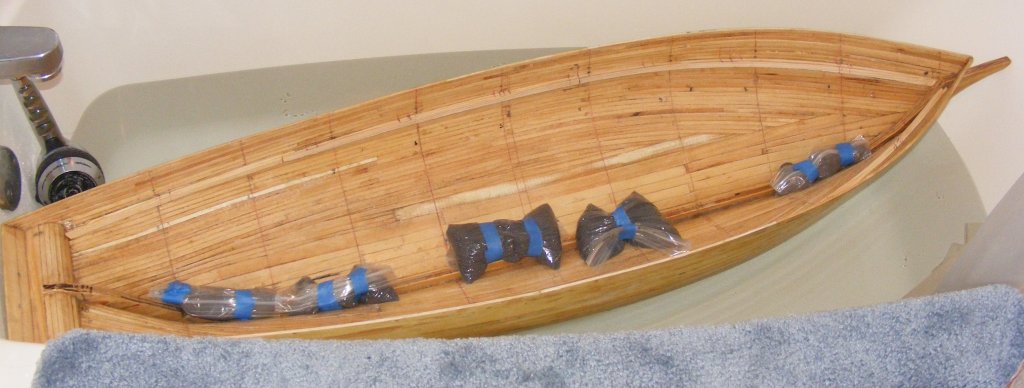
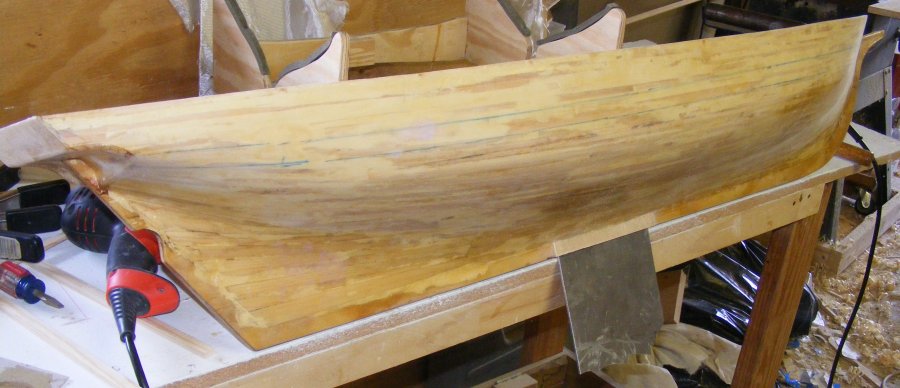
Previous Page | Next Page | Table of Contents Fiberglass! 11/25/2011: After getting resin into Macedonian's hull I got a layer of glass onto Pride's port side.
11/27: And then a layer of glass onto the starboard side.
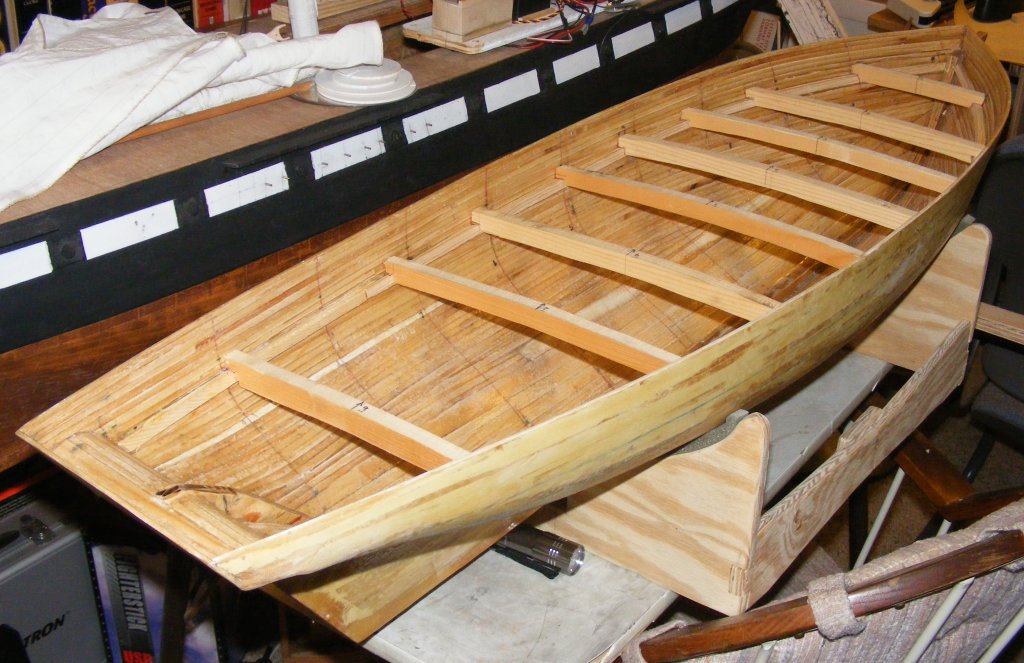
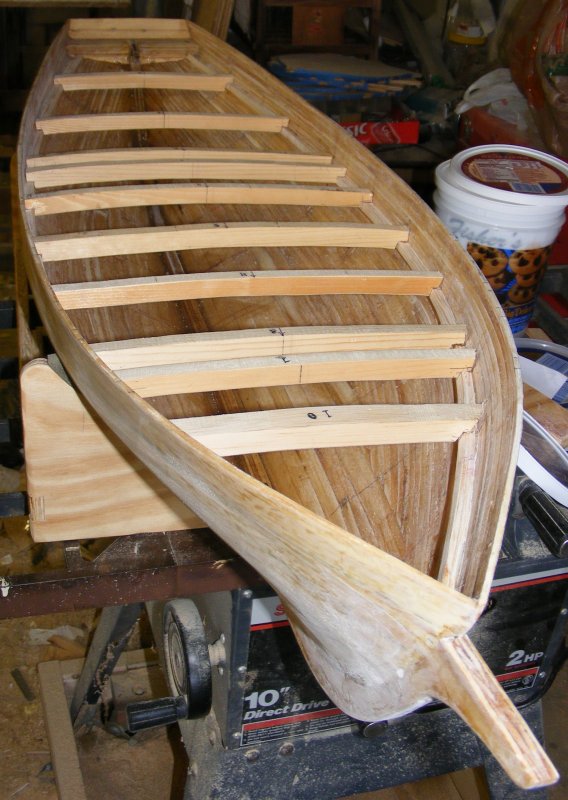
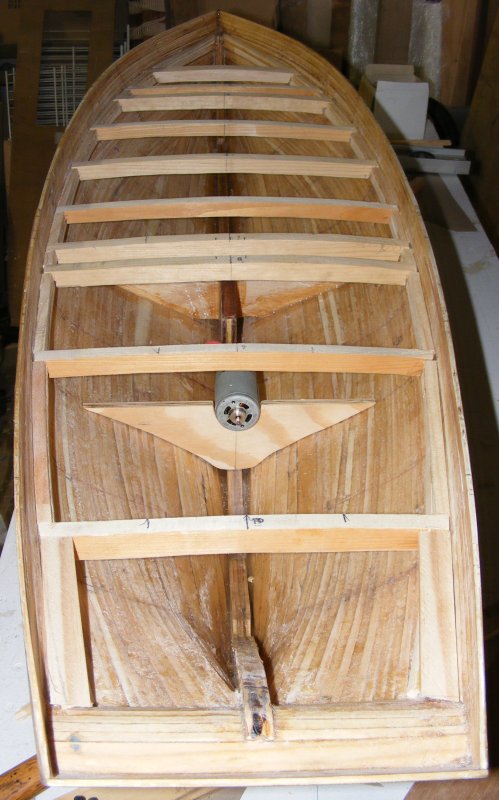
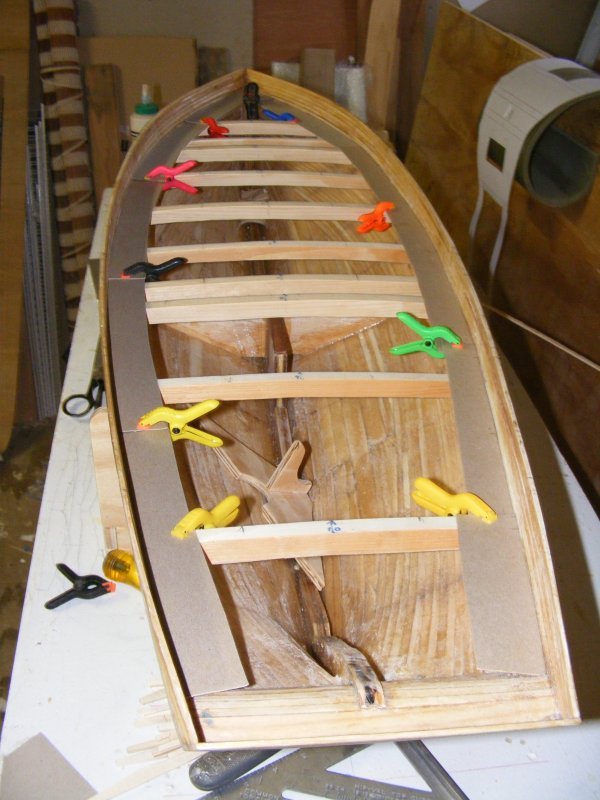
The deck beams were cut from white pine that was planed down to 1/2" thickness left over from another project. The widest beam was given a camber of 1/4" and used as the pattern for the rest. The beams were placed at the rear and front of the main cabin, at about stations #9 and 7; behind the main mast near station #6; at the rear and front of the main hatch, about stations #5 and #4; behind the foremast near station #2, with one evenly spaced between the main hatch and formast near station #3; and one at the fore bits at about station #1. None of these are fixed in place as yet as the equipment deck and what amounts to a dagger-board trunk have to be installed first.
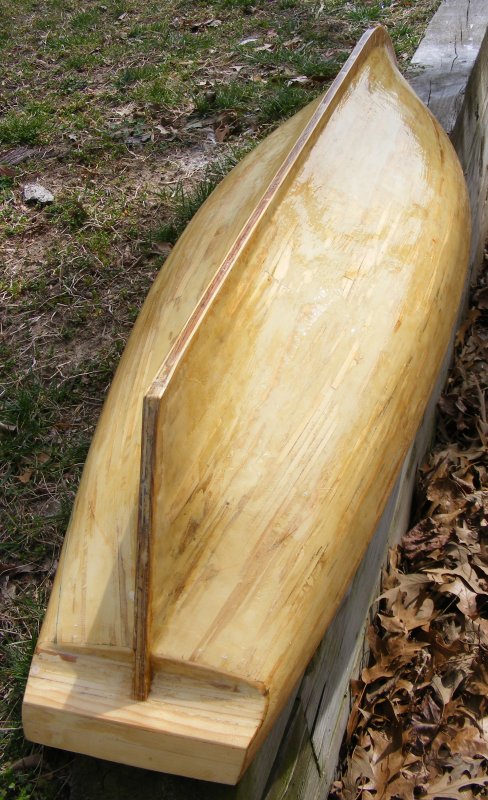
3/15: After sanding some time ago, Pride and Macedonian got another coat of resin. 3/17: Sanded the hulls again yesterday. Today I cut the prop opening in the stern post and drilled the pilot hole for the prop shaft. The deck beams got properly fitted and tacked in place with a little wood glue. They're spaced to support the mast partners, hatches, etc.
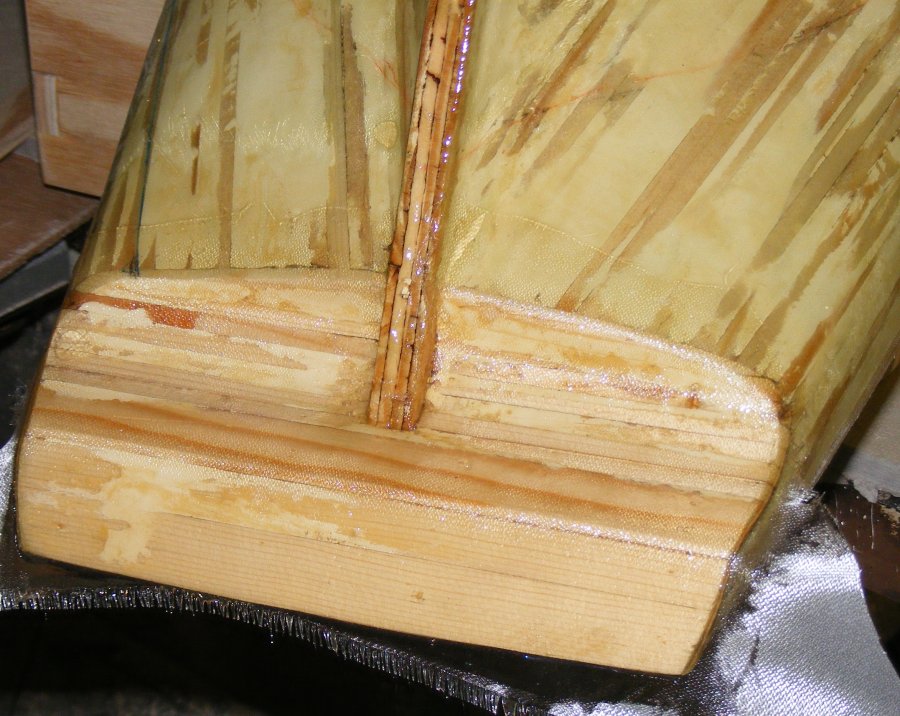
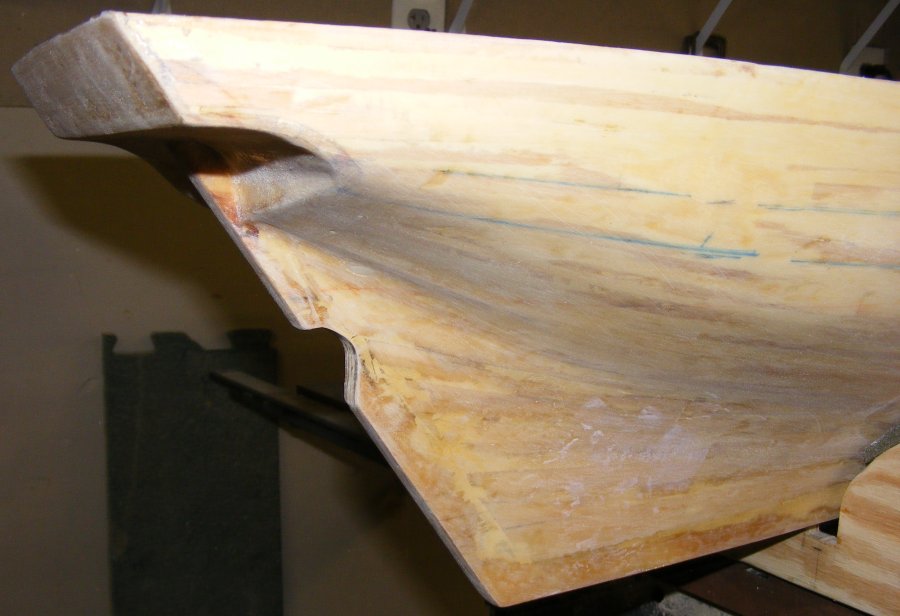
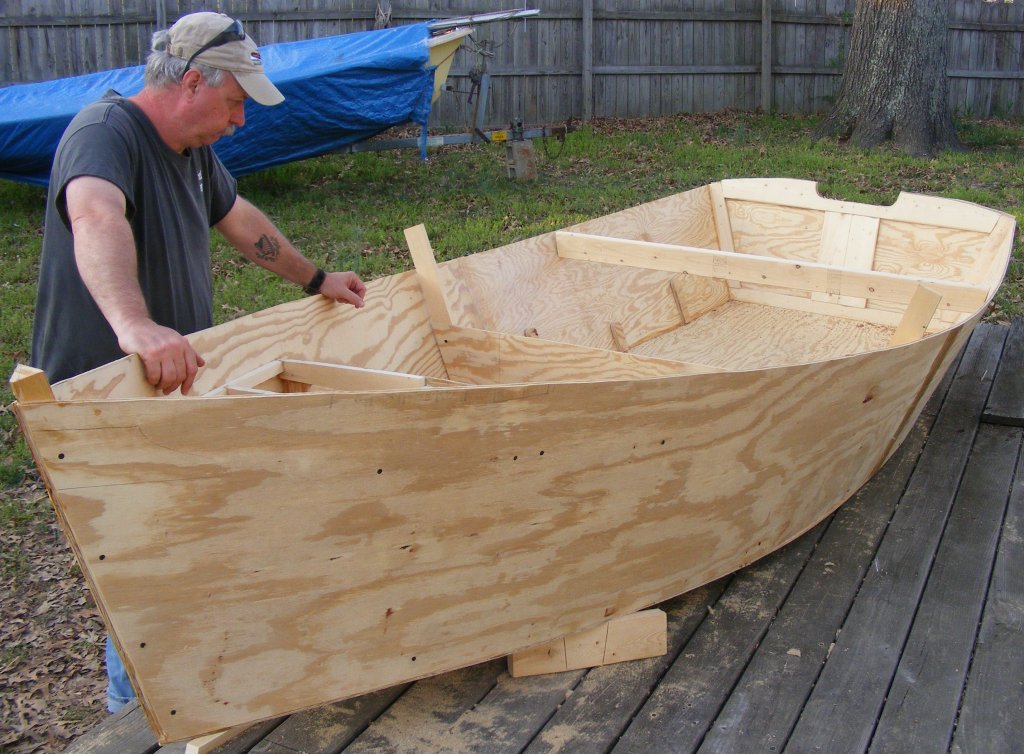
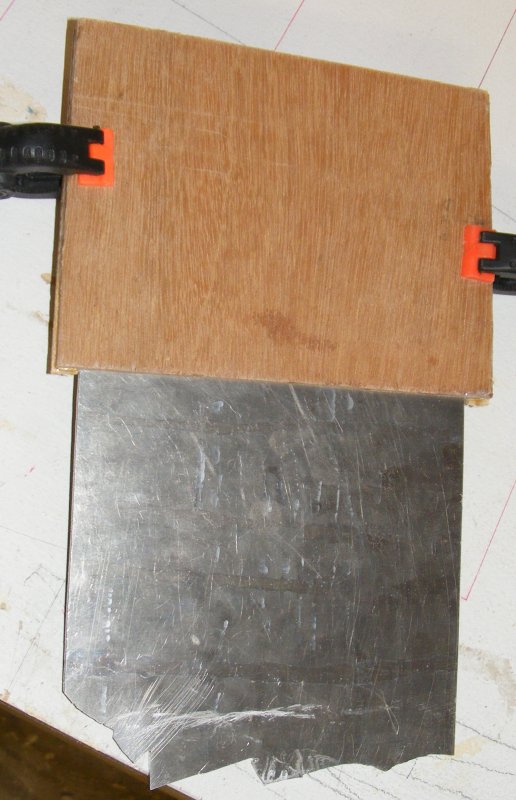
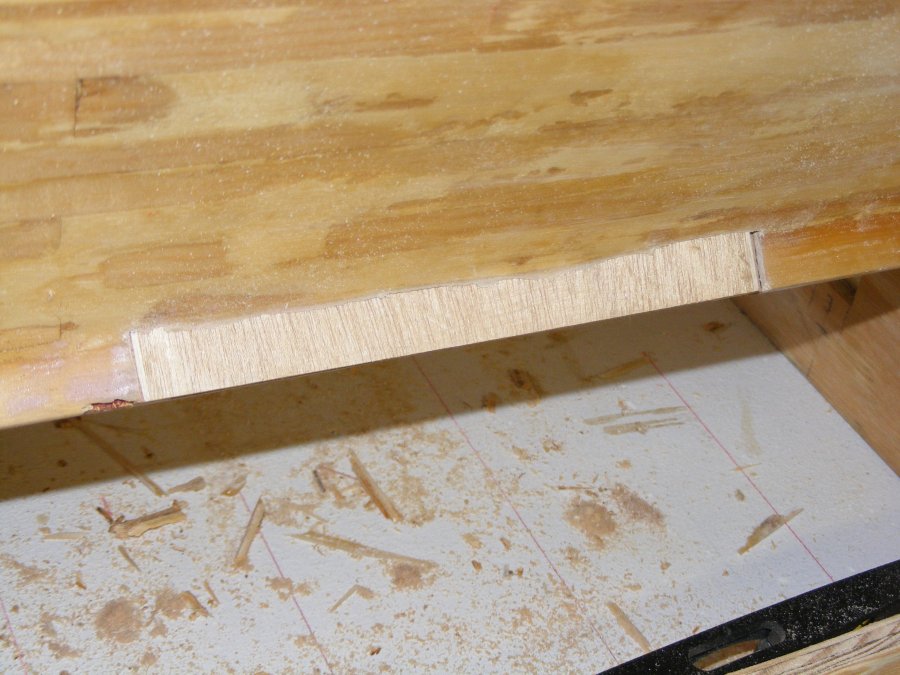
3/23: I've been helping my friend, Capt Rooney, build a 14' skiff in my yard, so model work's been almost set aside. This morning, though, I made what amounts to a dagger-board trunk for Pride. The trunk is 2 side pieces of luan plywood, glassed on their inside faces, and epoxied together with some spacers to allow a 6" wide by 1/8" thick aluminum plate to slide in.
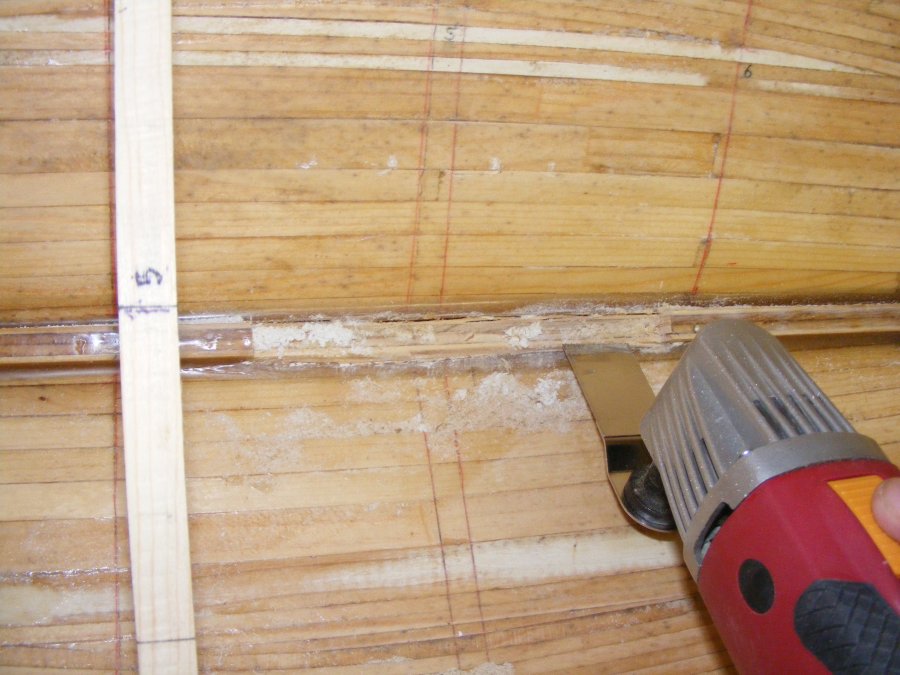
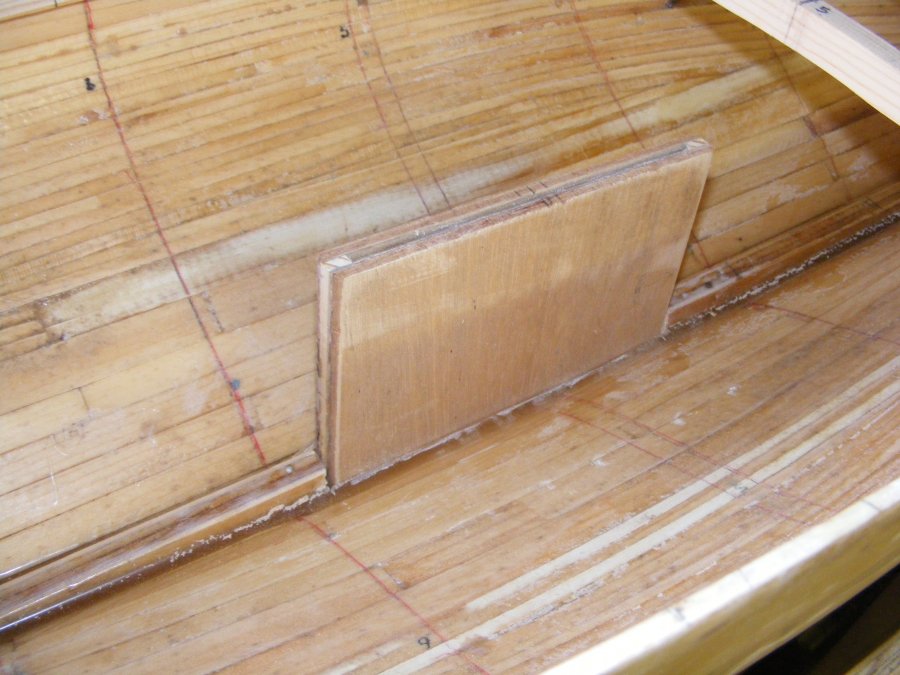
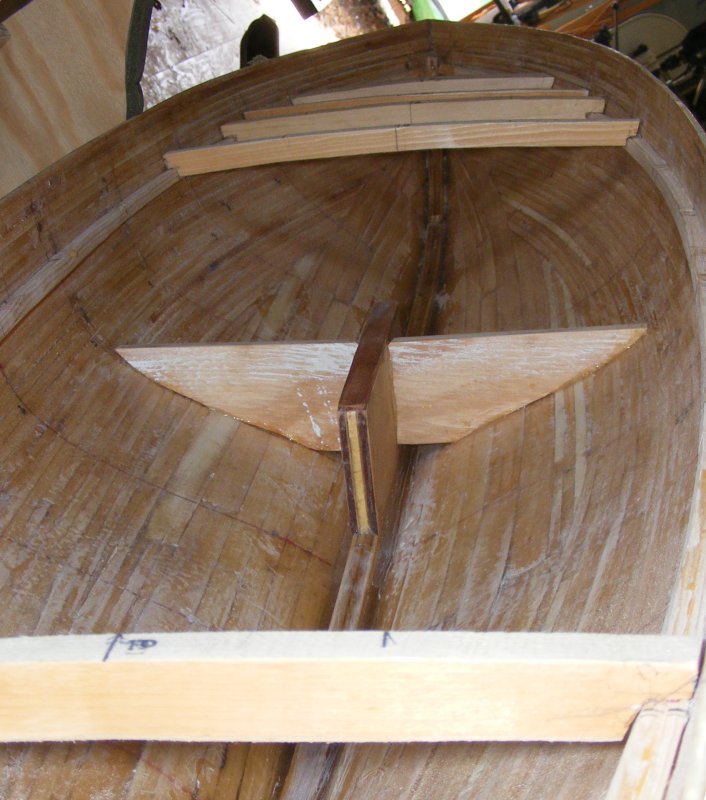
The plate will have a lead bulb of 20 or so pounds attached to it's bottom end. It will get shaped a bit more like what's shown in the sailplan on the Notes page so it'll be reversible to set the center of lateral plain a little forward, or a little aft. It will be held in place by a bolt though the keel area outside the hull. There'll be several holes in it to allow it to be set at different depths. The keel was cut with an oscillating multi-purpose tool. It made the job much easier, considering all my advanced planning and design work. The dagger board trunk passes through the hull till it's flush with the bottom of the keel. It's epoxied in place and will be glassed and resined more outside the hull, as well as resined and braced inside the hull. It will also be capped inside the hull.
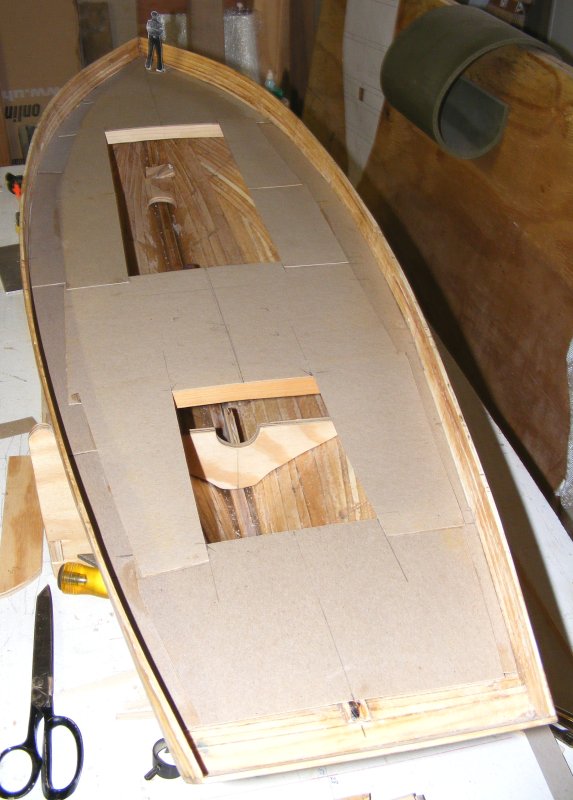
3/29: I cut the trunk down about an inch today. The overall length of the plate inside the trunk is now 4", which I think is plenty. To keep the board from wrenching the trunk out of the hull, braces were epoxied in on either side, and a mahogany cap epoxied on top. Another bulkhead was fitted to serve as a mount for the motor which will be placed in the hull nearly in the spot the real one was. This bulkhead has a cutout for the motor, but will get a metal plate on it's aft face that the motor will screw to. Then I filled the space between the deck beams with wood strips to create a perimiter all the way around the hull. The deck beams aren't permanently installed yet - still more to do below.
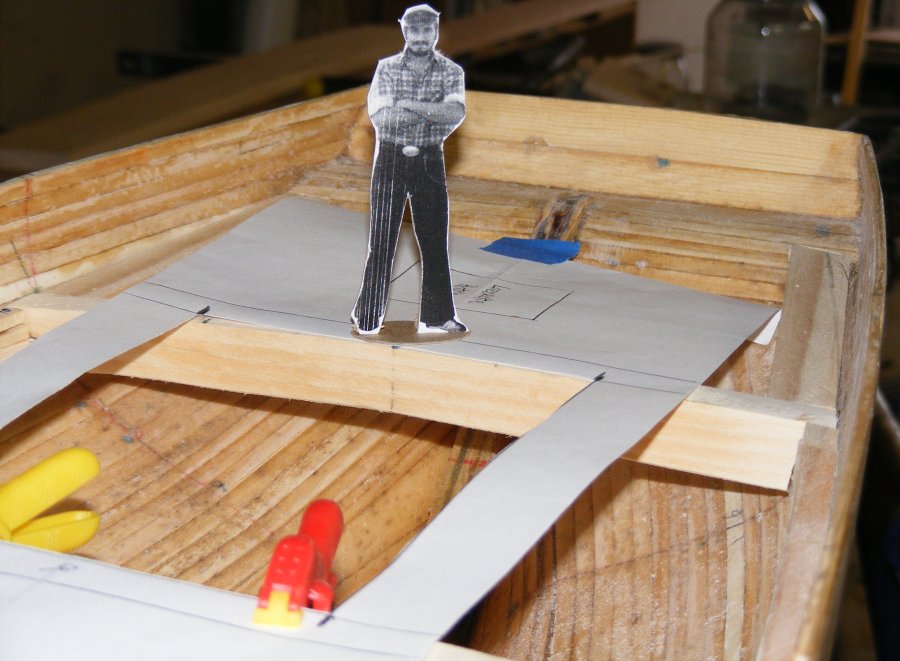
3/31: Since I was cutting card stock, I made a template for the deck by gluing together some of it. The big hatch forward is the access hatch - Pride didn't have a hatch that large, but I need to get at her running gear. The aft hatch is her main cabin. It'll have a removable cabin trunk and is probably where receiver and rudder servo will live. I won't be modeling the cabins interior as the wasn't much down there of interest. Two batteries will live on either side of the dagger board trunk, one supplying power to the operating gear and the other to the motor.
|
||