4/22/2026
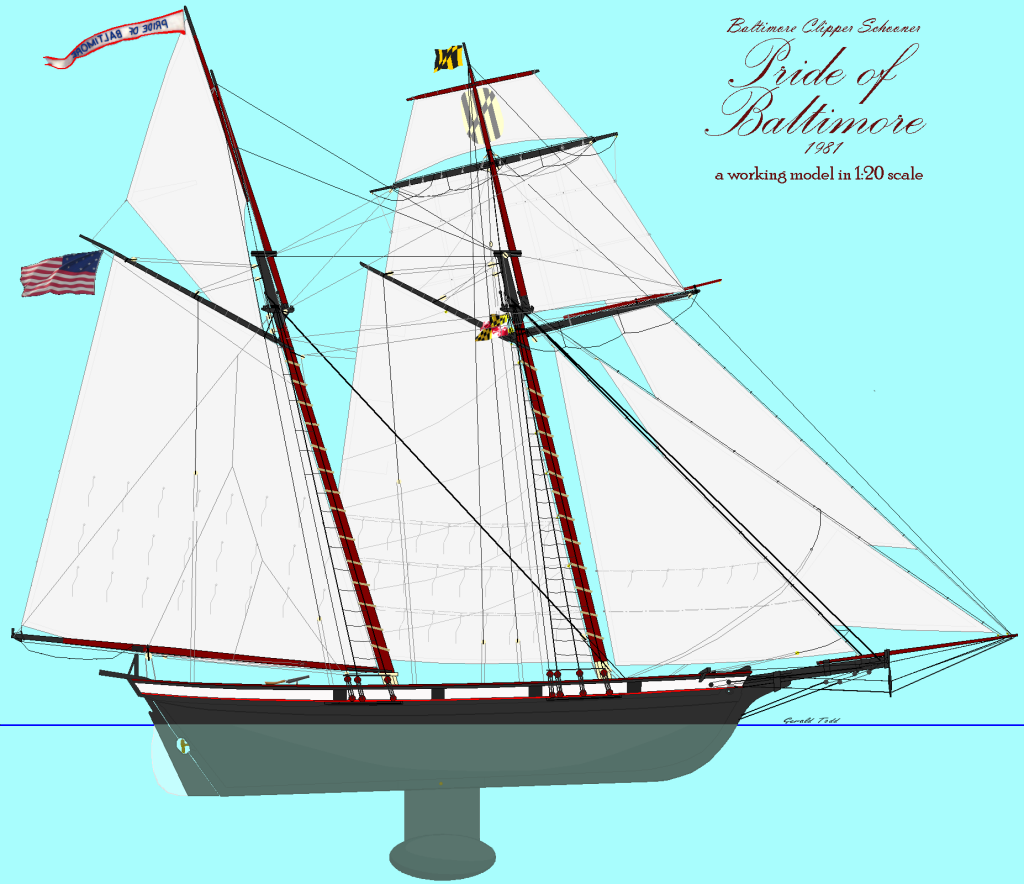
Next Page | Latest Entry | Table of Contents Soon after getting off Pride, I got in contact with Tom Gilmer's office, and aquired a full set of drawing for the boat. I started a model back then, straight from the plans in 1:32nd scale, but I shared a house in Baltimore with 6 other people, all of us with our individual quirks. One of them went and quirked my just started model to pieces. Life went up and down, and round and round till finally in 2010, having a proper shop to work in, I thought I could try again. A big point in doing this was Constellation, started in 1999, was looking like it was going to be a long time building before it would be sailable, and a simple schooner would take less of everything to have a sailing model done. I planned to scale the drawings up to 1:36 scale to be the same scale as Constellation but using card templates of the servos I intended to use, I didn't see that there was enough verticle space in the hull, for controls that could handle the sail area she carried. I opted, instead, to make her as large as I could and still be able to fit her in an SUV with topmasts and jib-boom removed, eventually settling on 1:20 scale. The model will represent Pride as she appeared in the fall of 1981, when I served as crew aboard her.
She will be built "plank-on-bulkhead," glassed outside, the bulkheads removed, and the inside coated with resin.
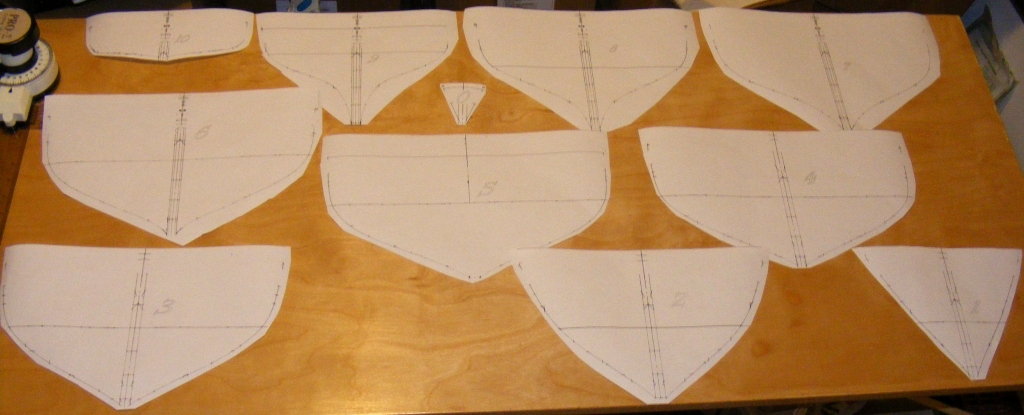
The model will carry the sails shown at the top of this page with working squares, running back-stays, main fore-stays, over-lapping headsails, etc; all operated by radio control. Worklog Table of Contents: 1 - 11/13/2010-11/1/2011: Design; Specification; Framing; Planking (this page)
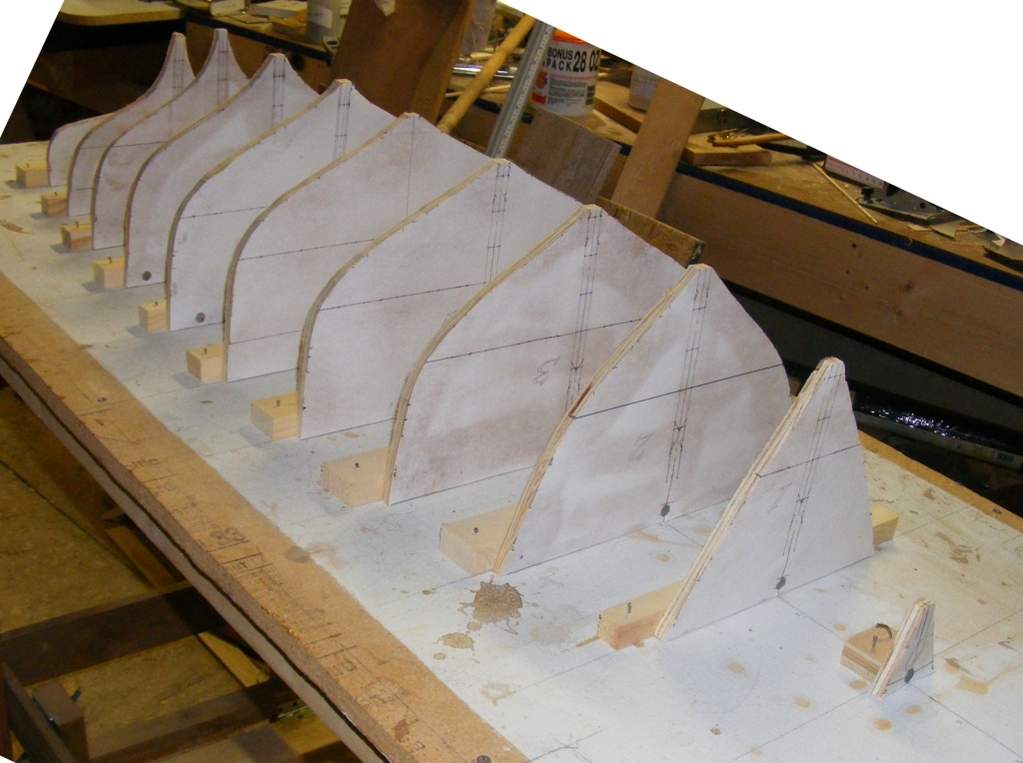
11/2010: With the plans scaled to 1:20 and the patterns printed, the forms were cut from 5/16" CDX plywood
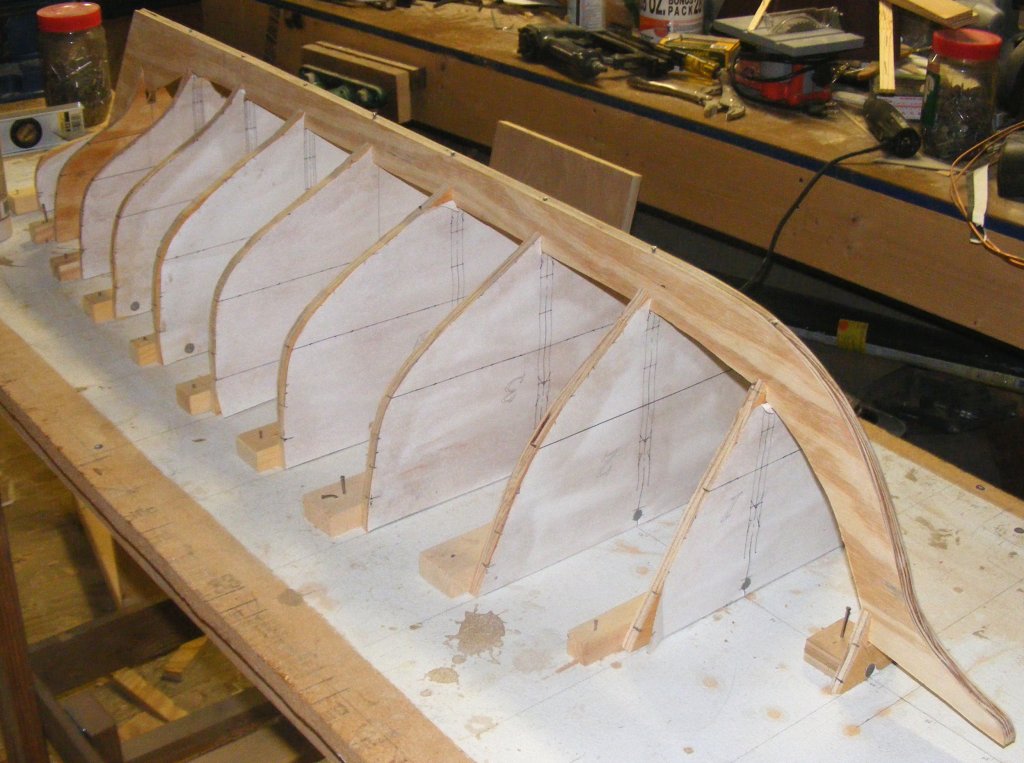
9/2011: This model's not at the top of the priority list, so it's been a while since it was worked on. The keel was cut from the same 5/16" plywood and fitted to the forms.
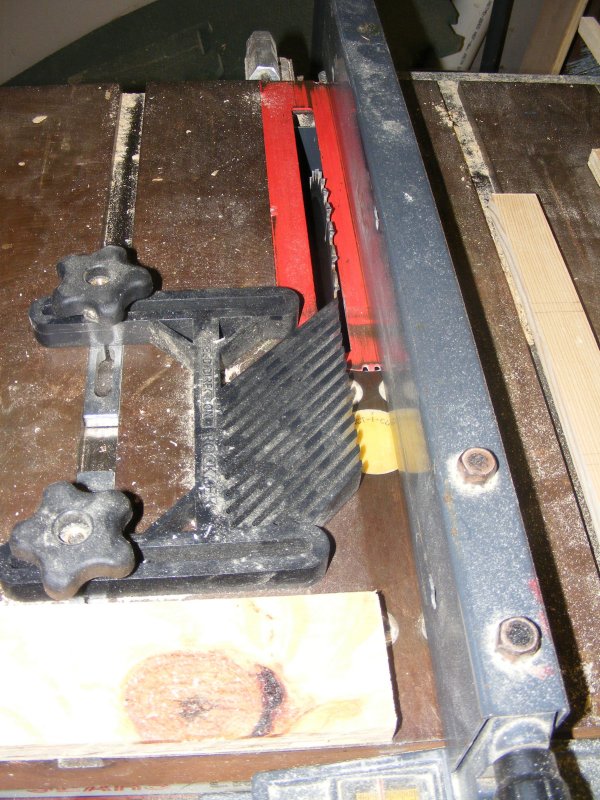
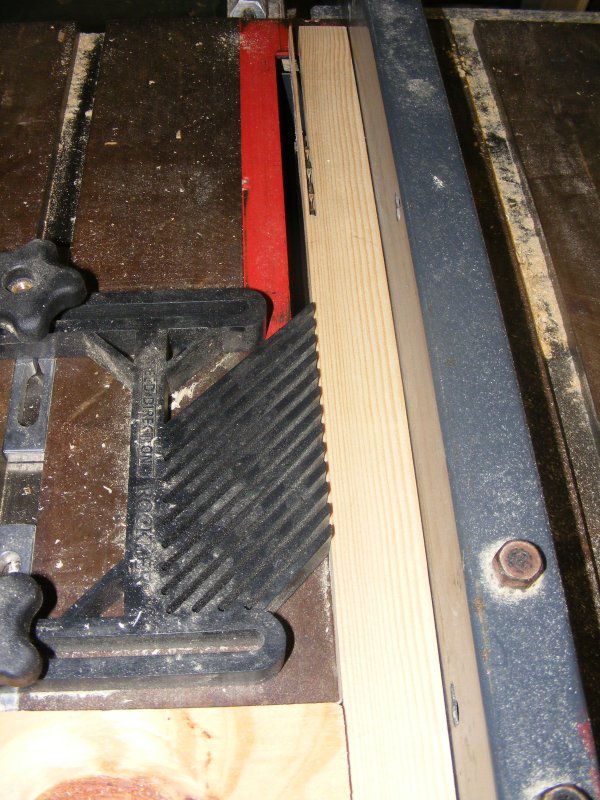
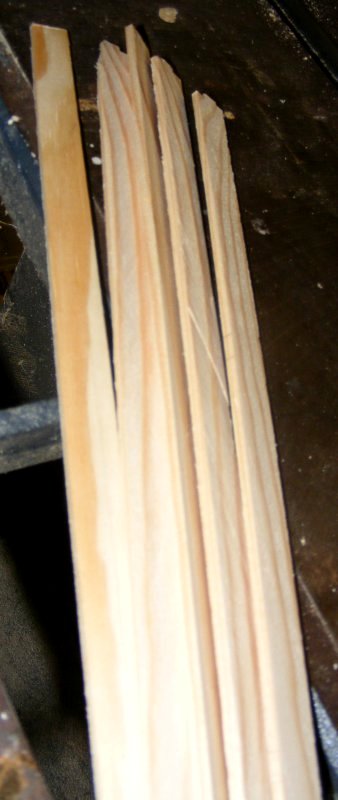
10/8: The table saw was set-up to rip planking. The block is clamped to the table to the left of the blade as a stop and adjusted to the plank thickness wanted. The finger-board keeps the work up against the fence. After ripping a piece, the fence is moved left for the next cut.
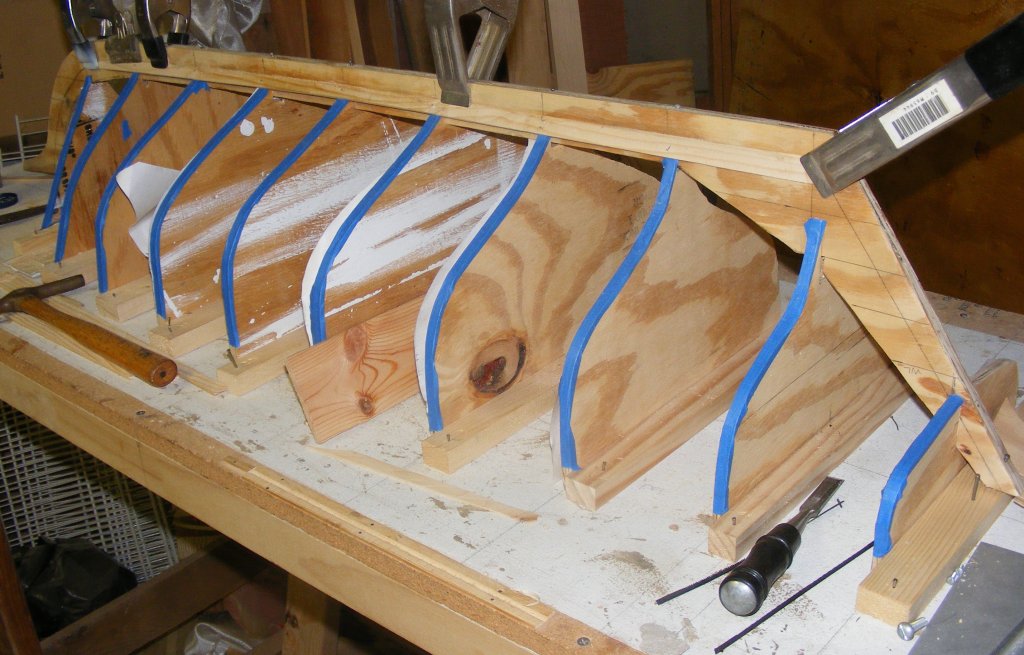
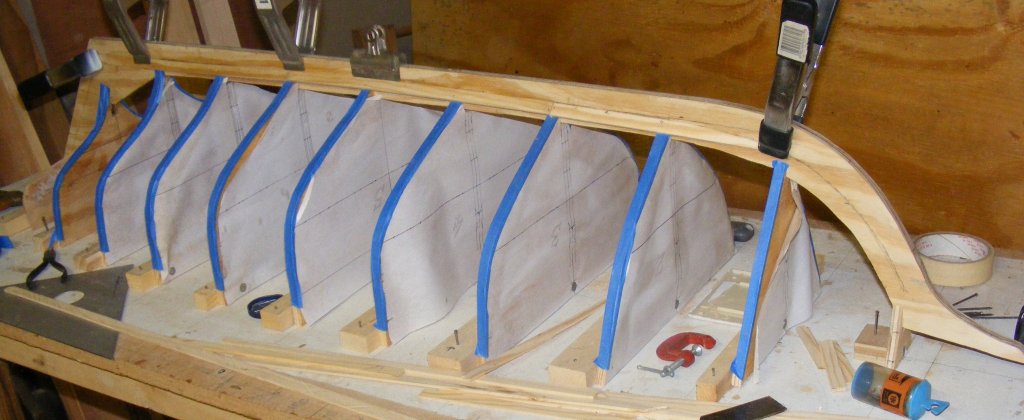
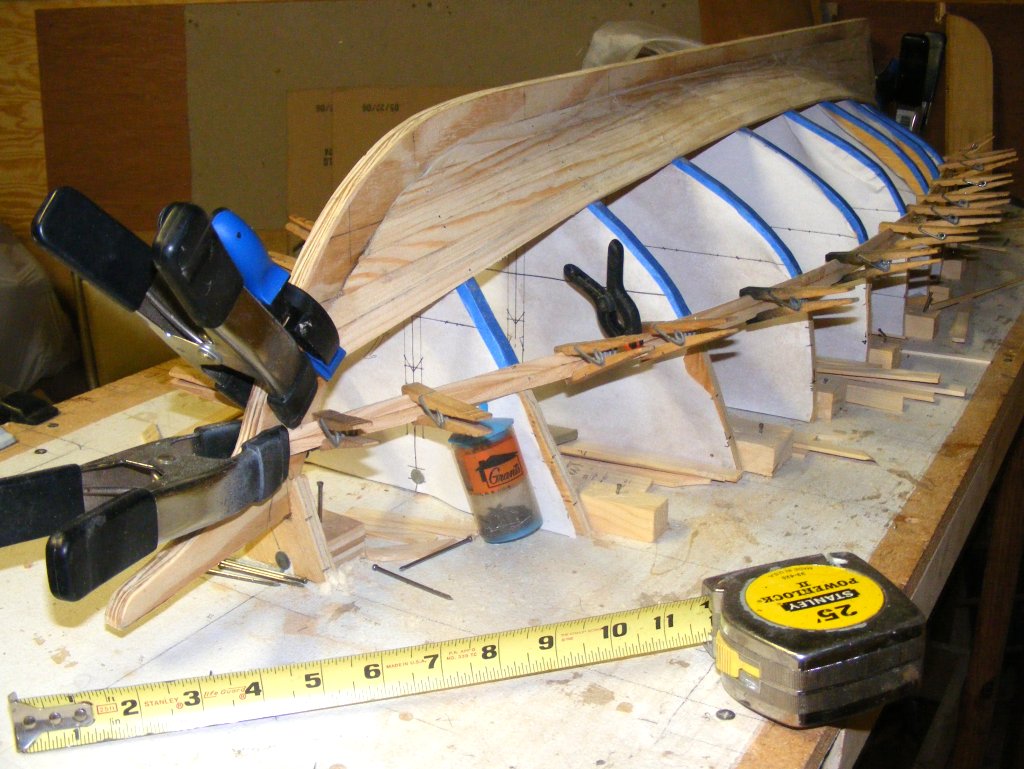
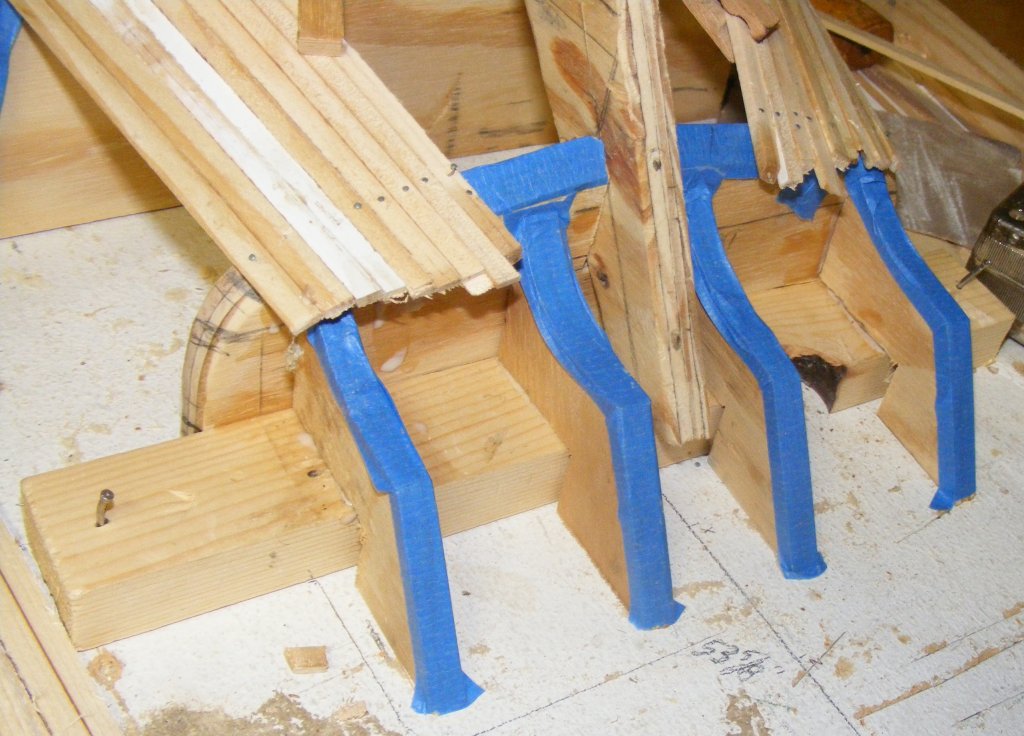
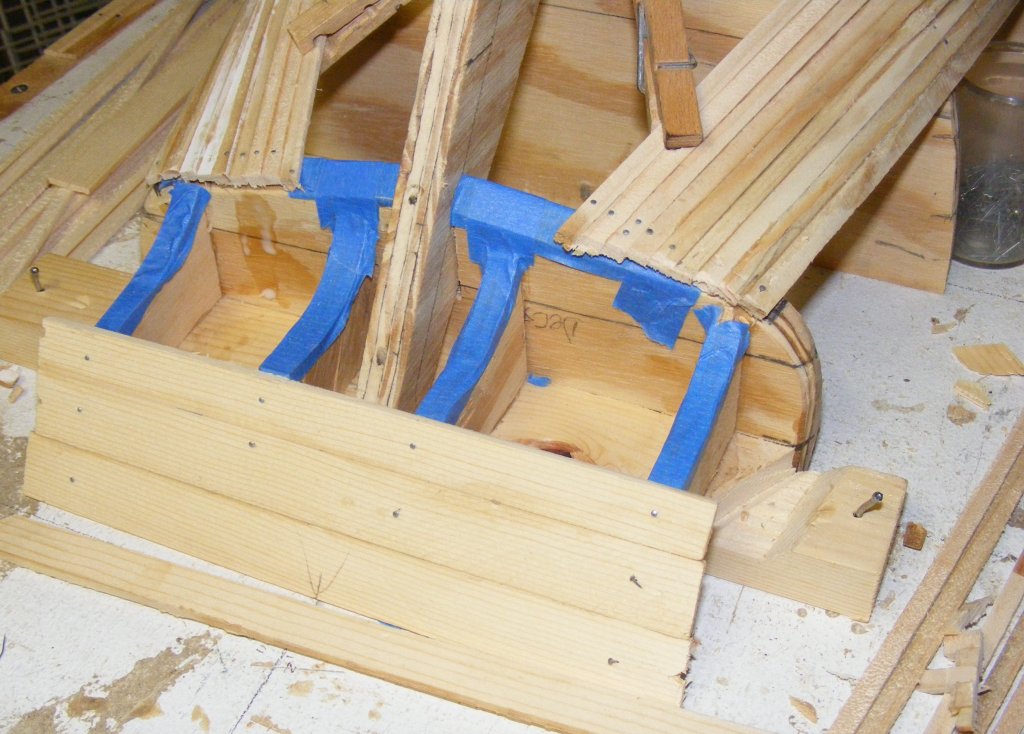
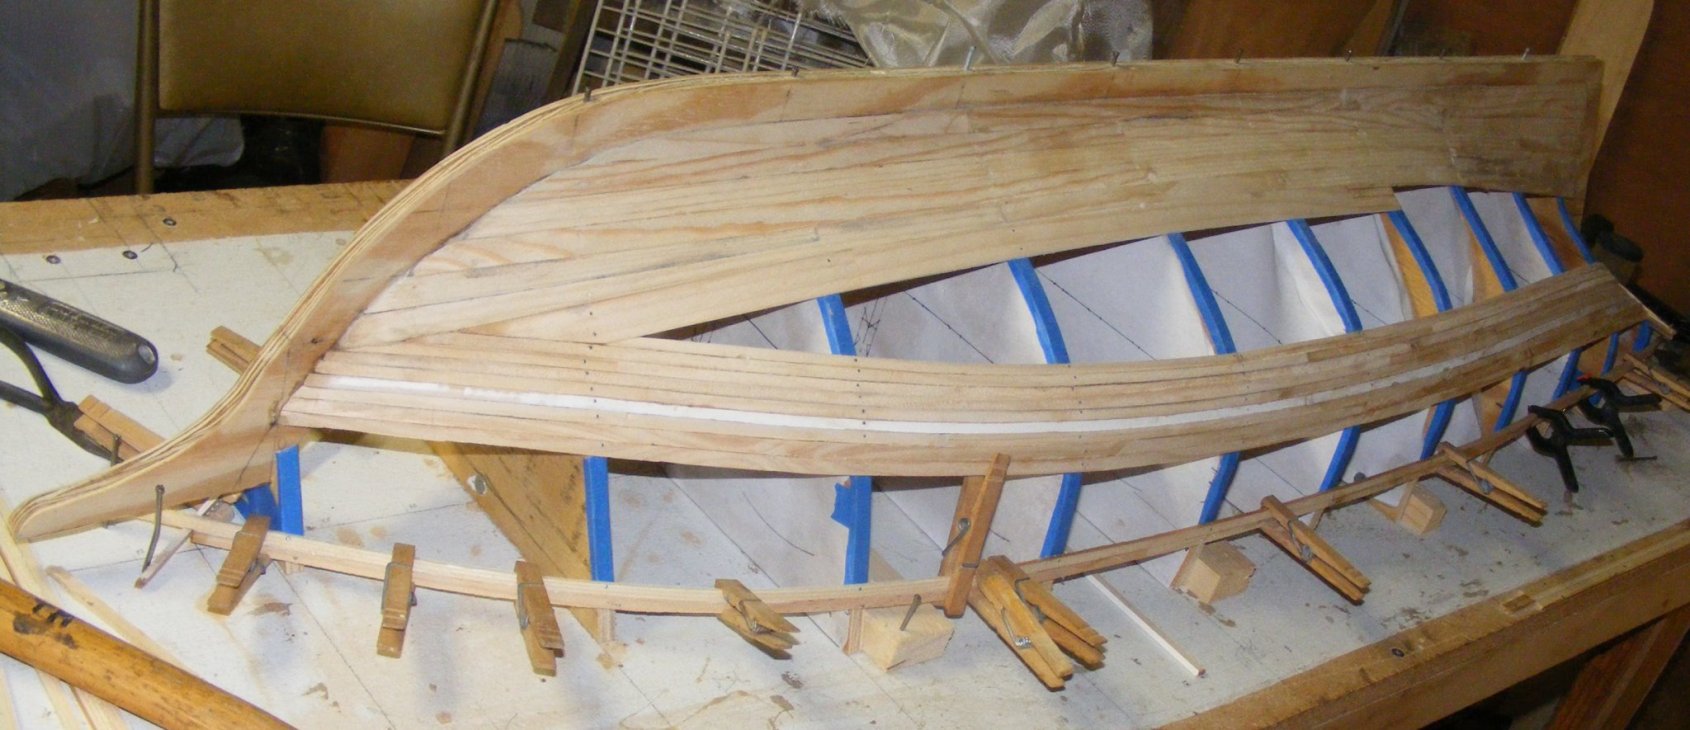
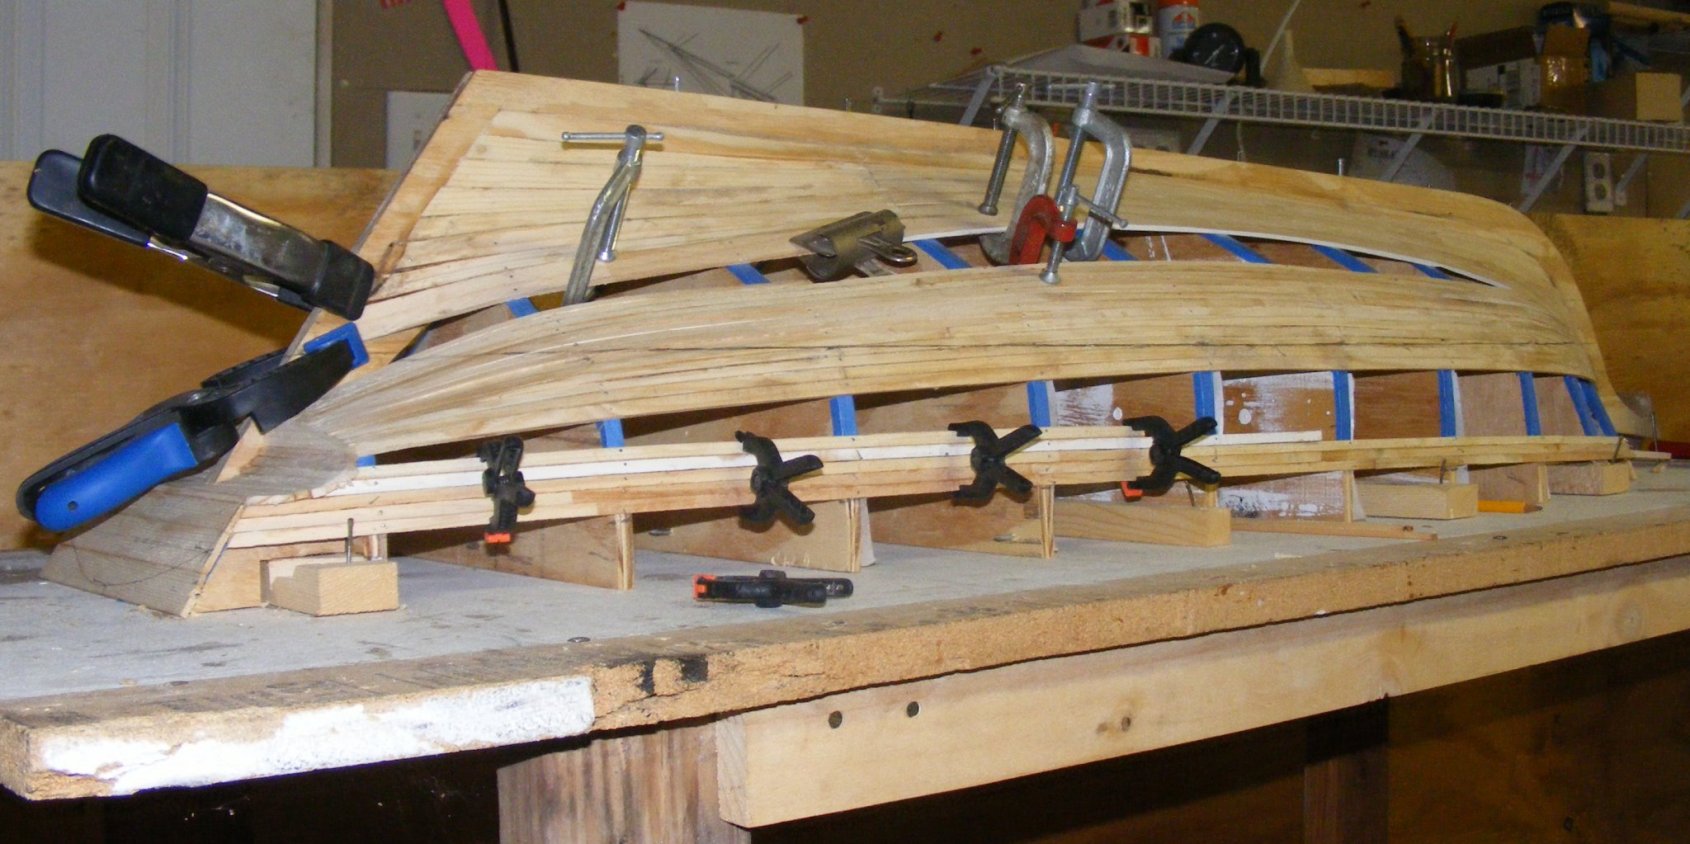
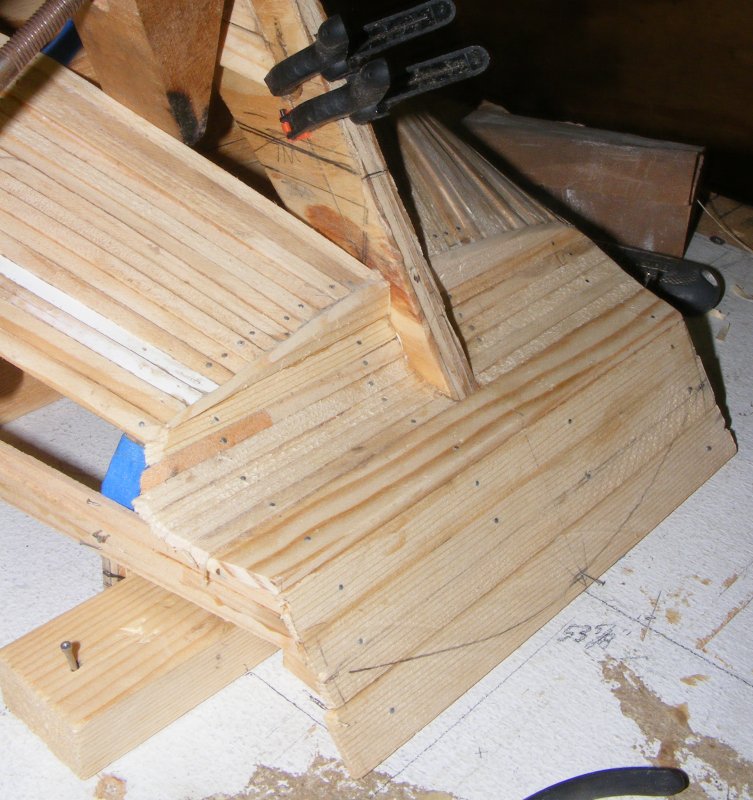
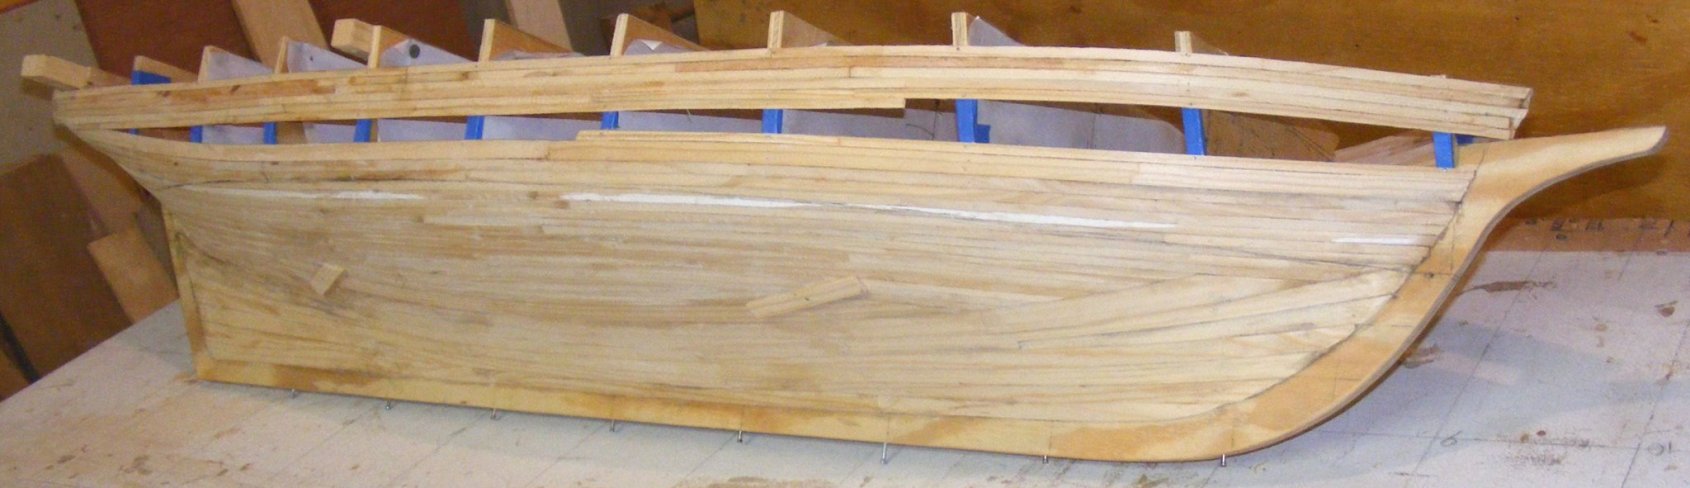
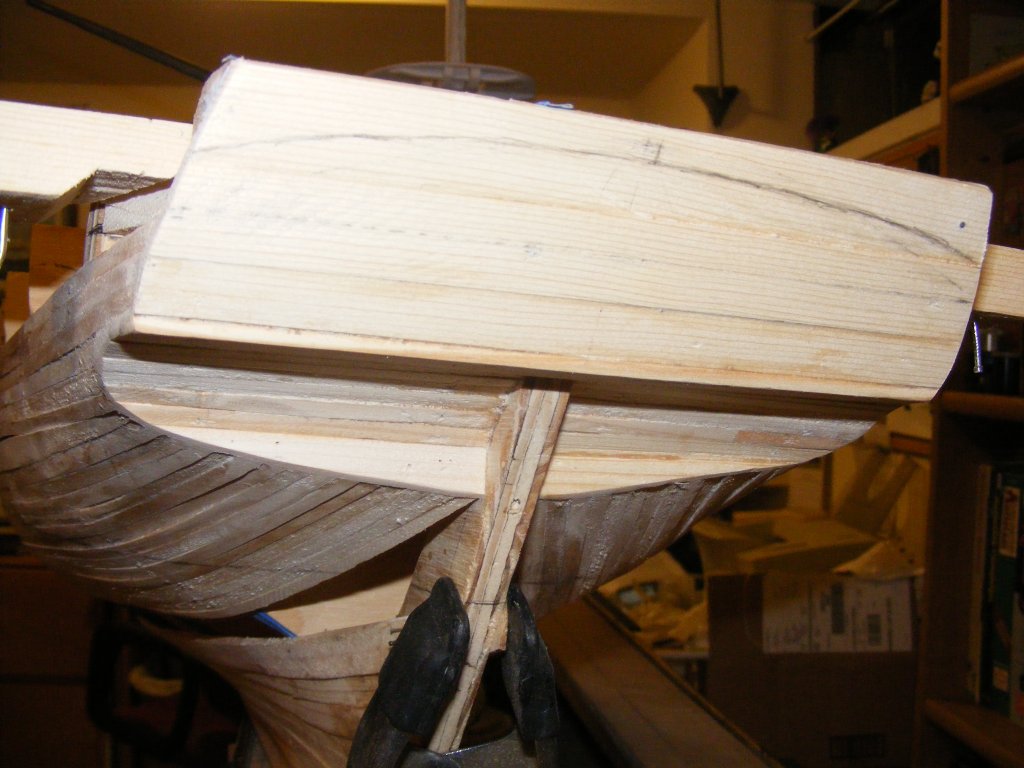
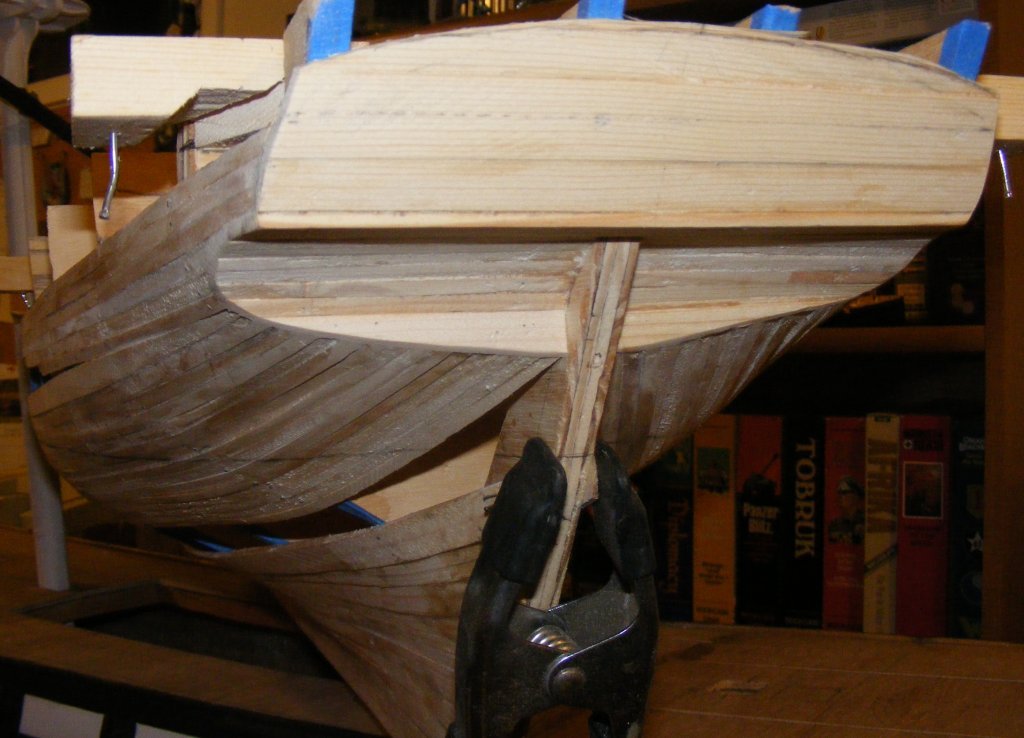
The forms were taped so the planking wouldn't stick to them. The planking will be glued to the keel and to each other. The starboard side garboard strake was put on in three planks, followed by a second strake. Once the glue had set, the Portside garboard was put on. 10/8 10/10: Over the weekend a few more strakes went one; 4 on one side, 5 on the other, plus stealers. I put two strakes under the wale on, but the 1/2" wide planks didn't take the compound curves well, so I pulled them off and used narrower 5/16" planks which worked much better. The hull will get glassed up to the bottom of the wale which is about double the thickness of the planking above and below it. 10/10/2011 Ok, strike that, the hull will NOT get glassed up to the bottom of the wale, but right up to the rail. That's the rail on top of the waterways, not the cap rail on the bulwarks. Thinking about it and talking it over with Mark, who is often the other half of my brain on such things, there's not really anything to be gained by doing that. The wale will be added over the glassed hull. The water ways, sheer rail, etc, will seal better and have less potential for problems that a glass edge butted against the bottom of the wale. So, planking continues... As planking progresses, I pull out the small nails holding it except in the most recent strake. The bulkheads were held steady with 8p finish nails inserted into pre-drilled holes through the keel. Those nails were reinserted because nothing is glued to the bulkheads (that's what the blue tape is there to prevent) and I don't want them moving quite yet. So if you're wondering what the pins sticking out of the keel are for in the pictures - that's it. 10/21-23: I was actually hoping to finish planking this weekend, but just couldn't get there. The transom was framed and planked and much more planking done from the sheer down. 10/21 10/22 10/23 10/25: The transom and counter sides were trimmed back to the planking back on the 23rd. Today the transom top was scribed and rough cut.
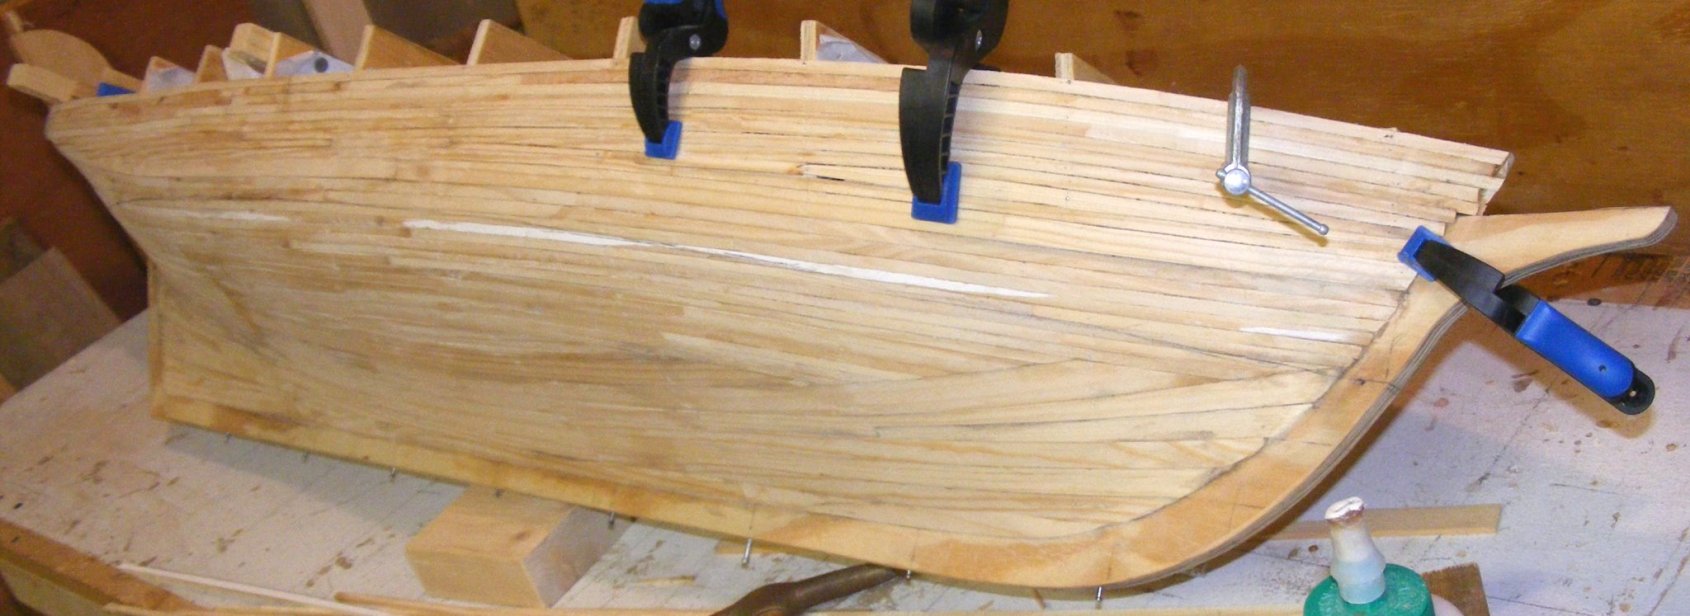
 10/27: Pulled almost all the nails out of the planking, knocked off some bumps and ridges with the block plane, and sanded a bit.
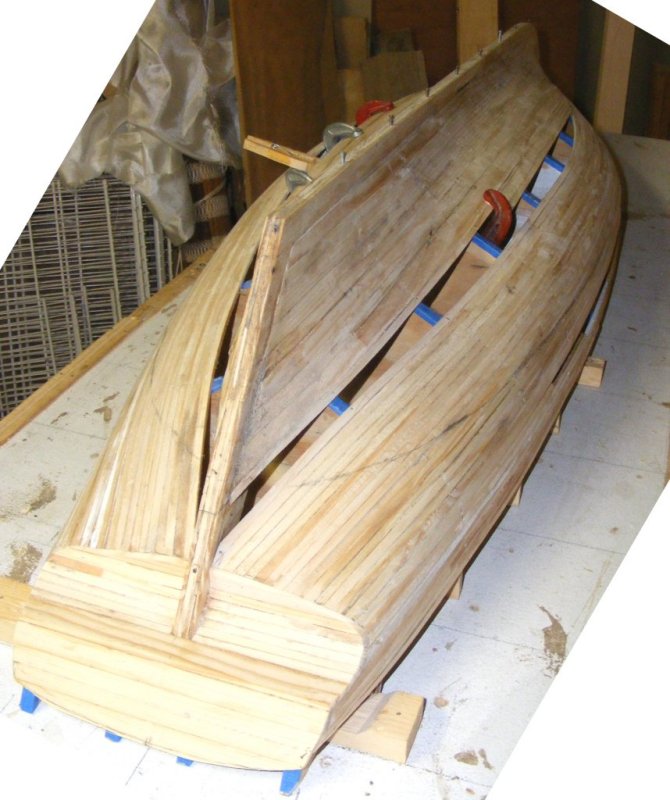
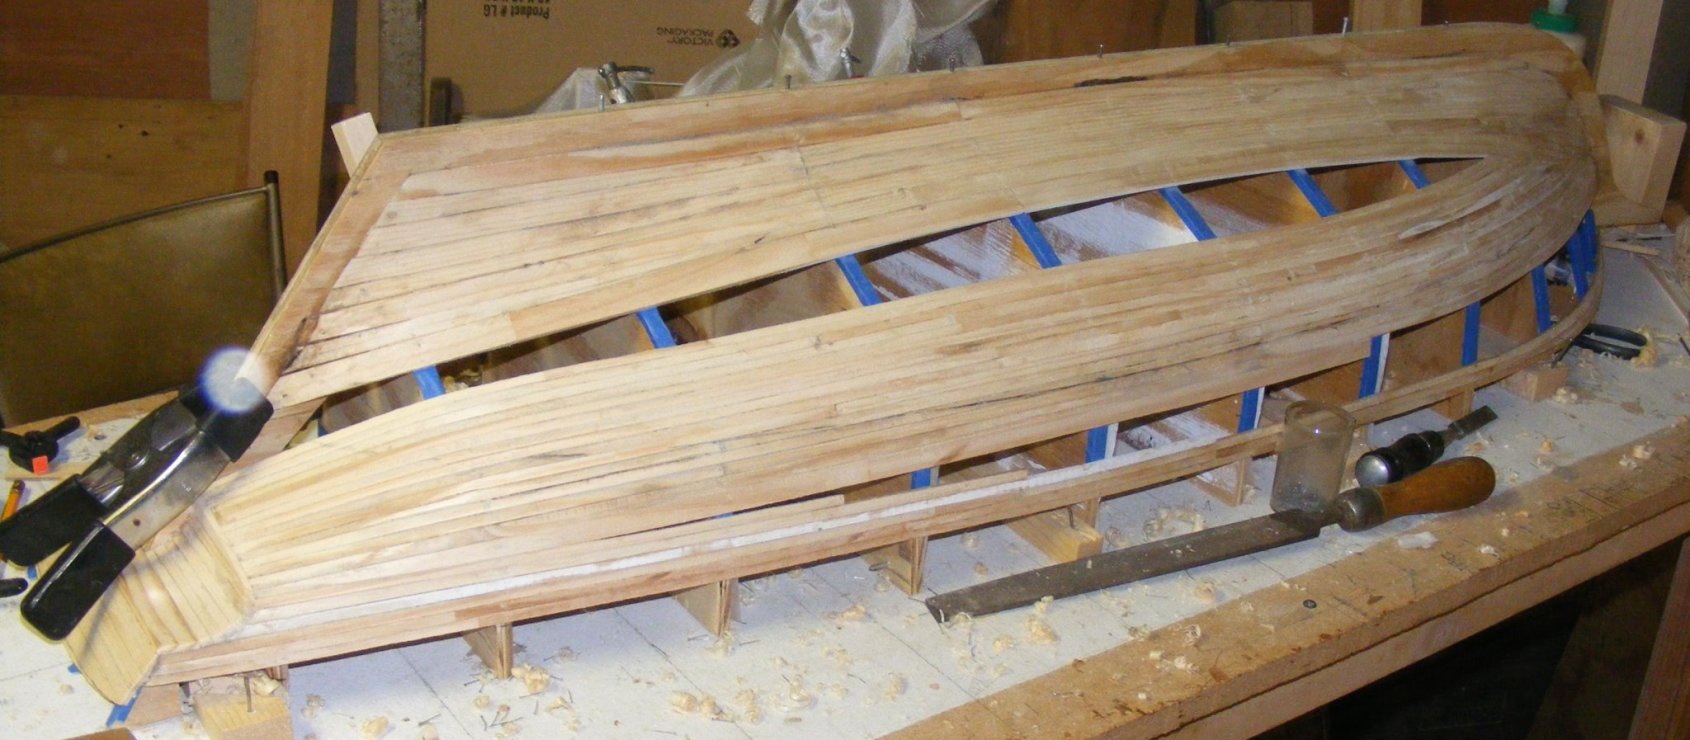 10/29-30: A few more planks... the bottom was finally closed up on the 30th.
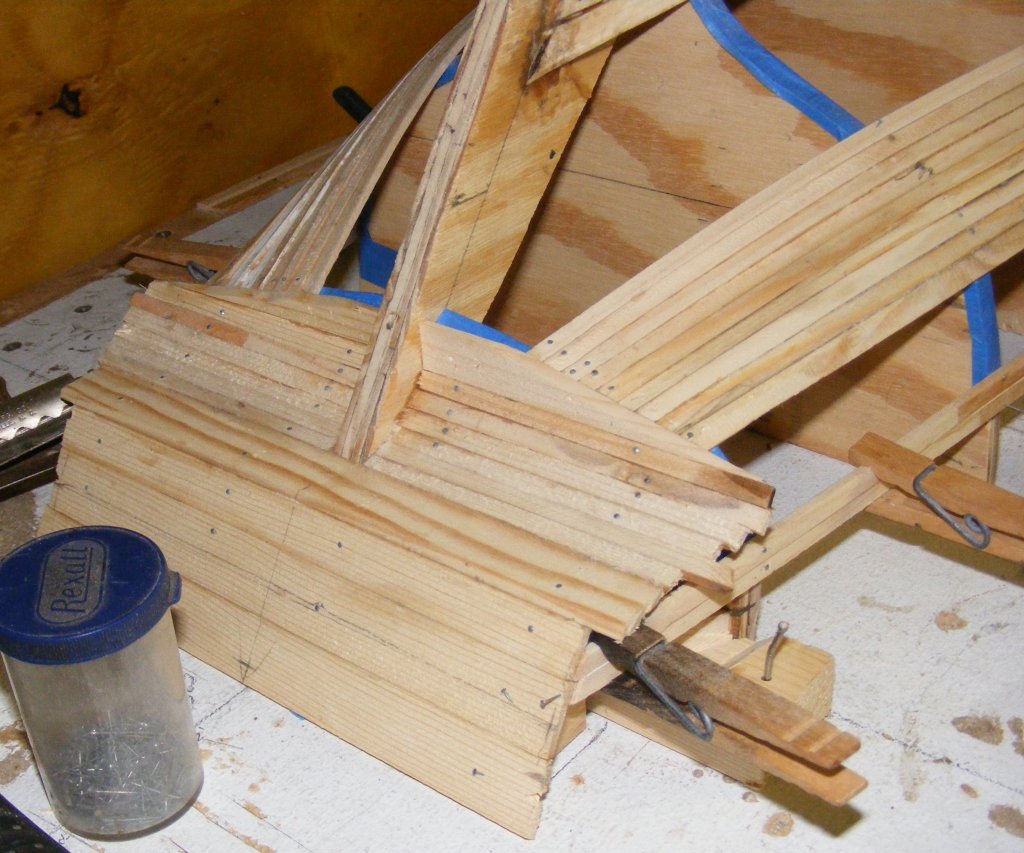
10/31: Almost there - just one plank to go, but it was getting late, I was tired, and I broke the darn thing, so I called it quits for the night.
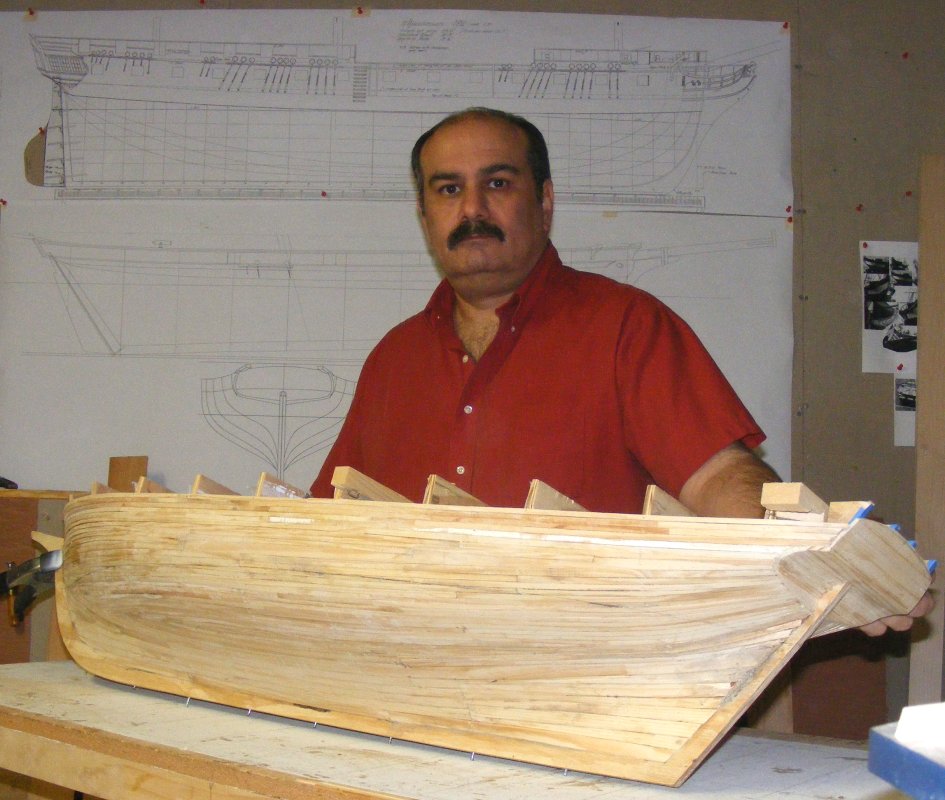
As it was Halloween I took a picture with a scary monster in it:
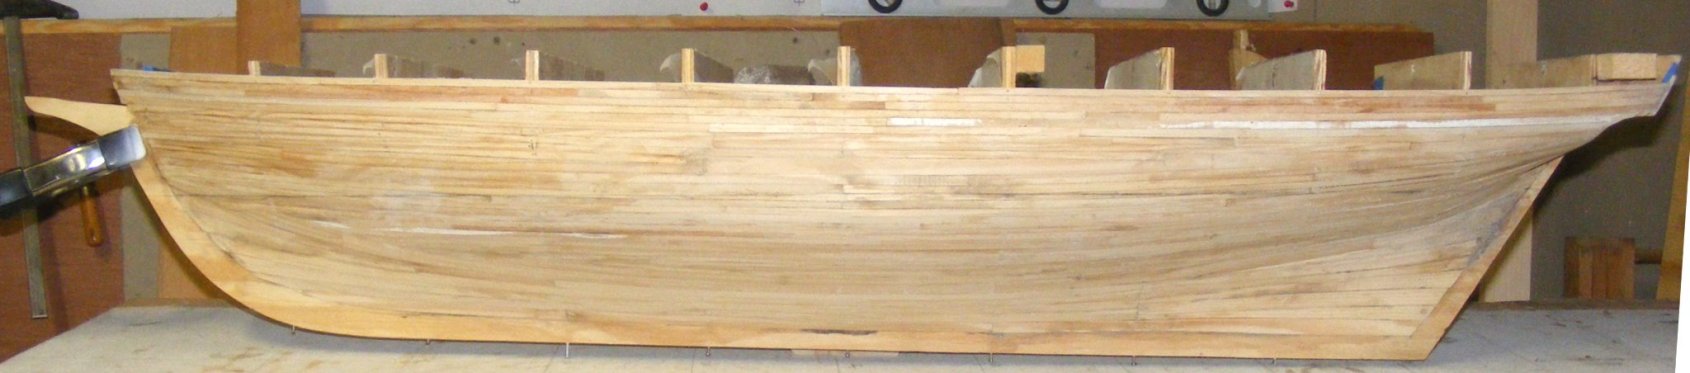
11/1: At last, the final plank is installed!
 Next Page | Latest Entry | Top |
||