5/18/2012
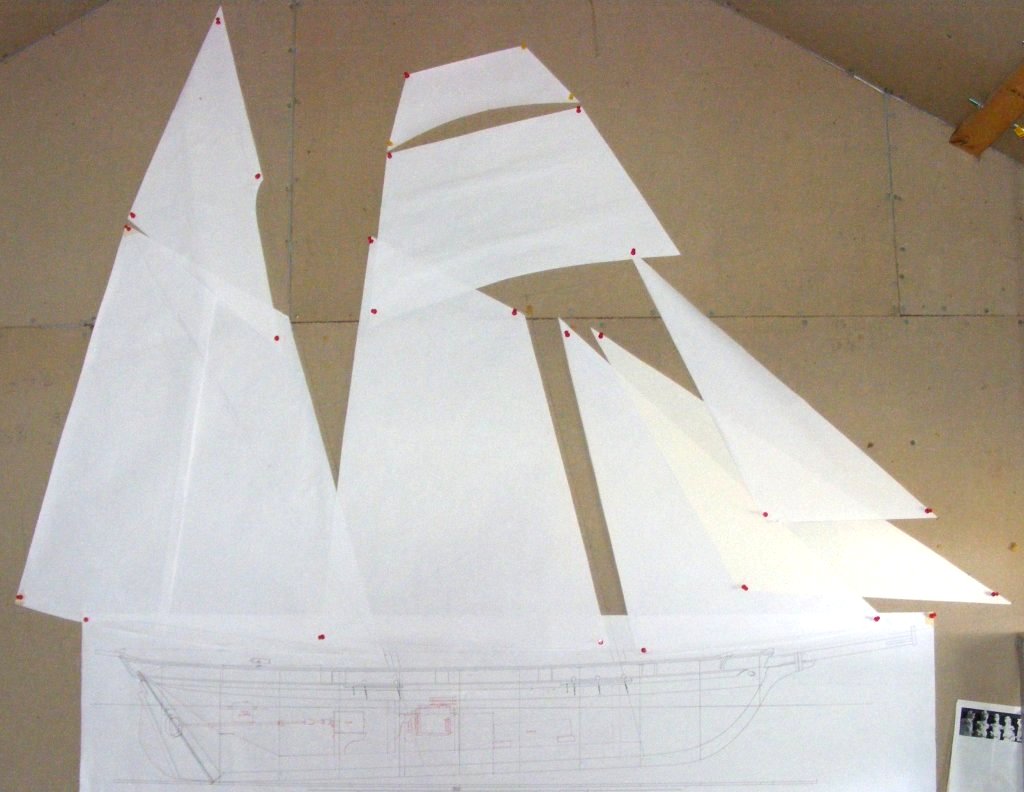
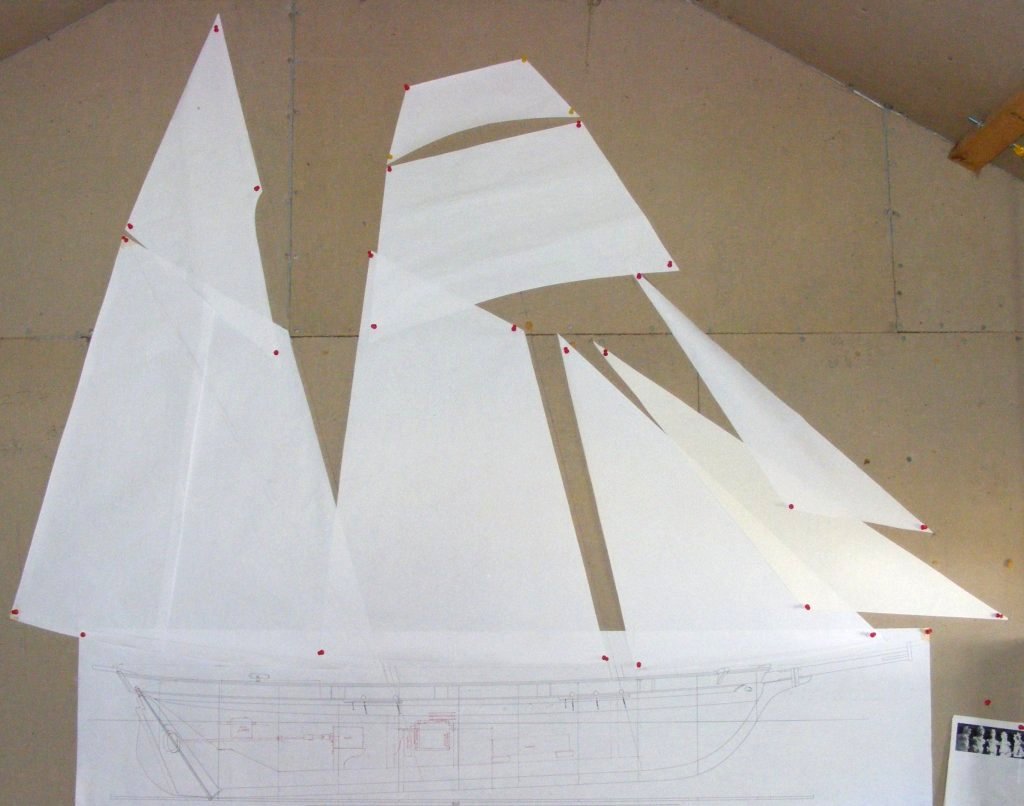
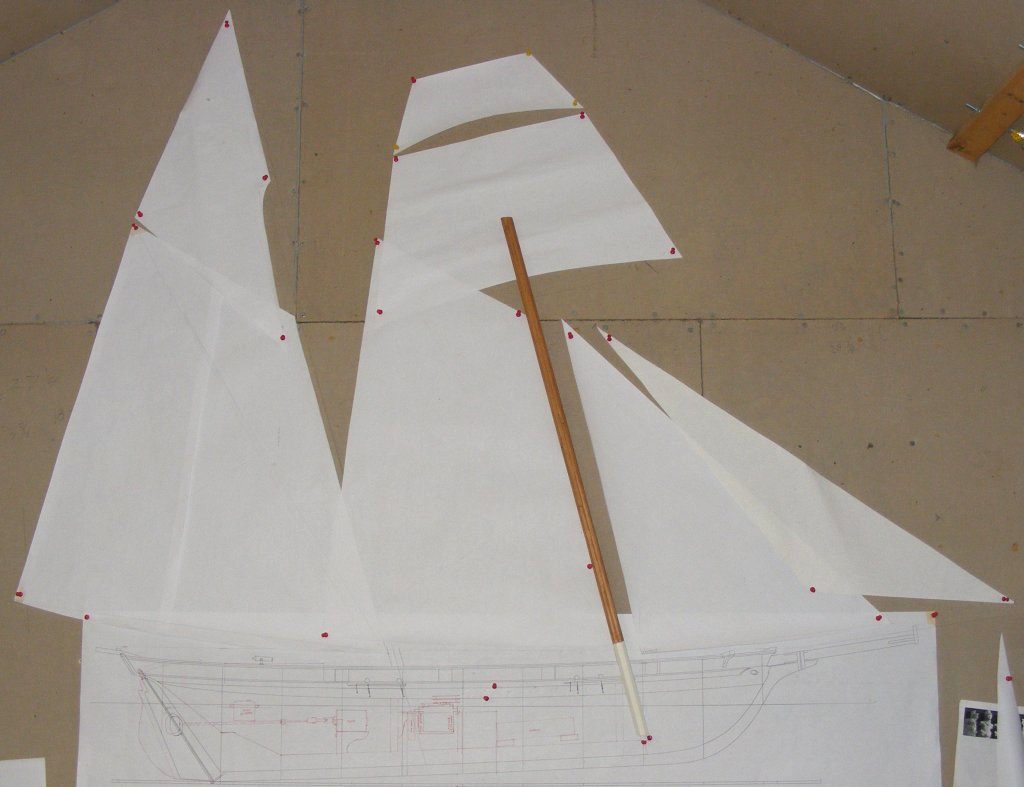
Previous Page | Next Page | Table of Contents 5/10/2012: Sail Patterns I cut out and pinned the rest of the full size sail patterns up on the shop wall. I felt the amount of overlap in the head sails was too much, so I moved the clews on the jib and the flying jib. The pictures below are before and after this alteration. The sail area stats on the first page of the log reflect this alteration as well.
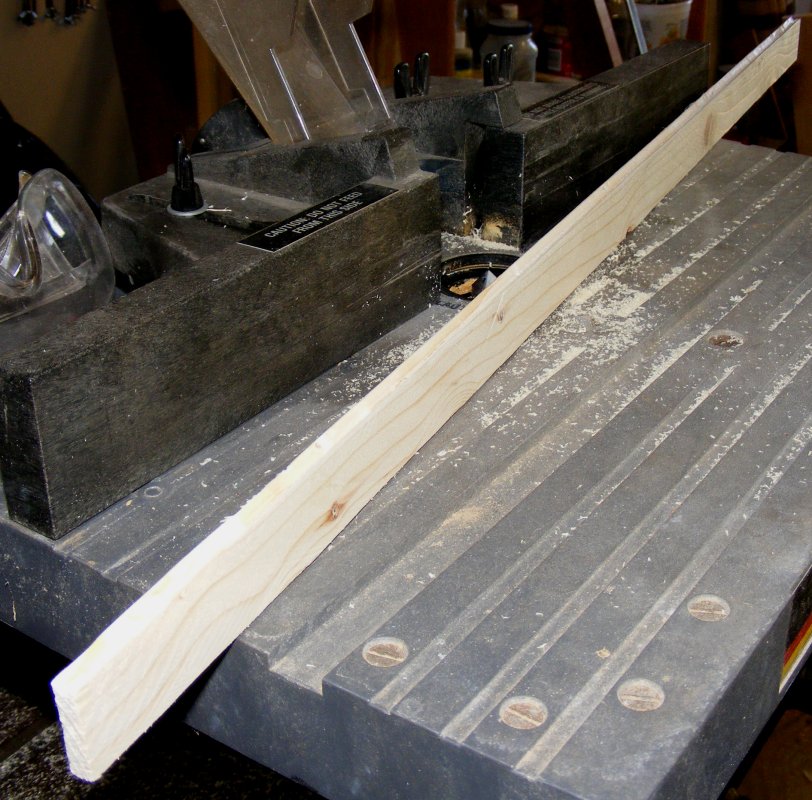
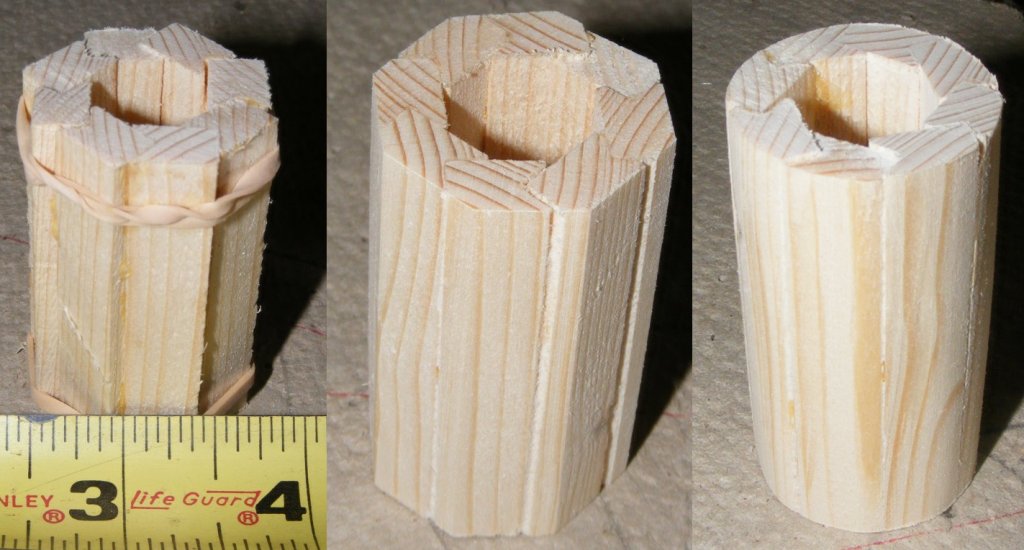
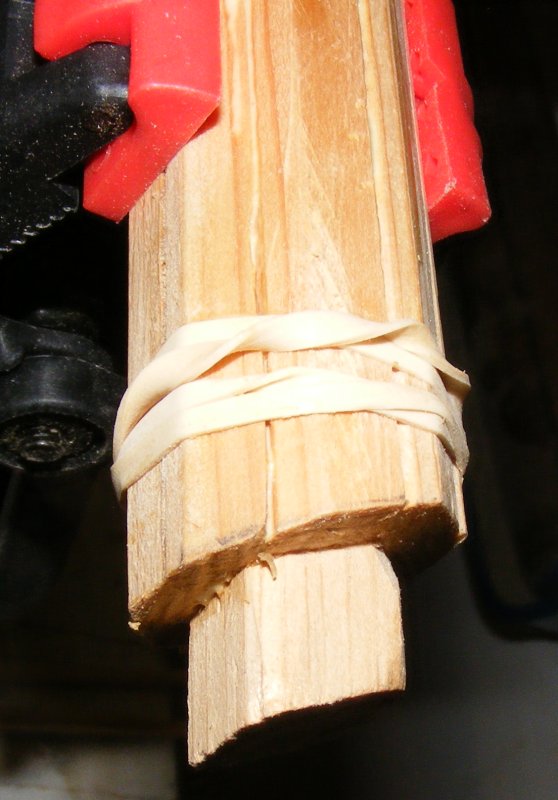
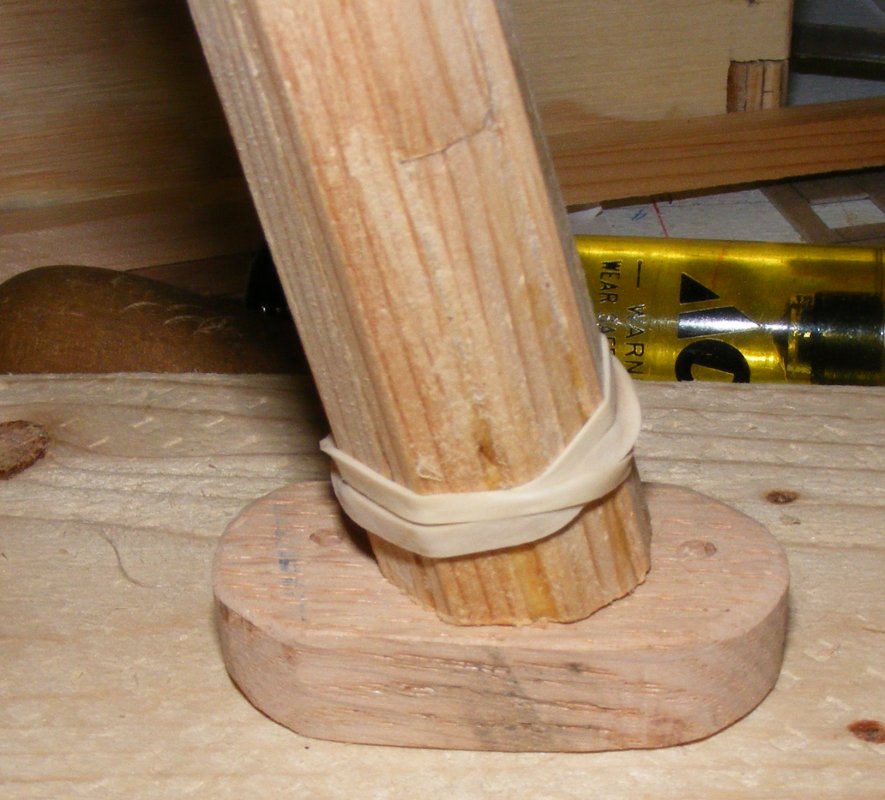
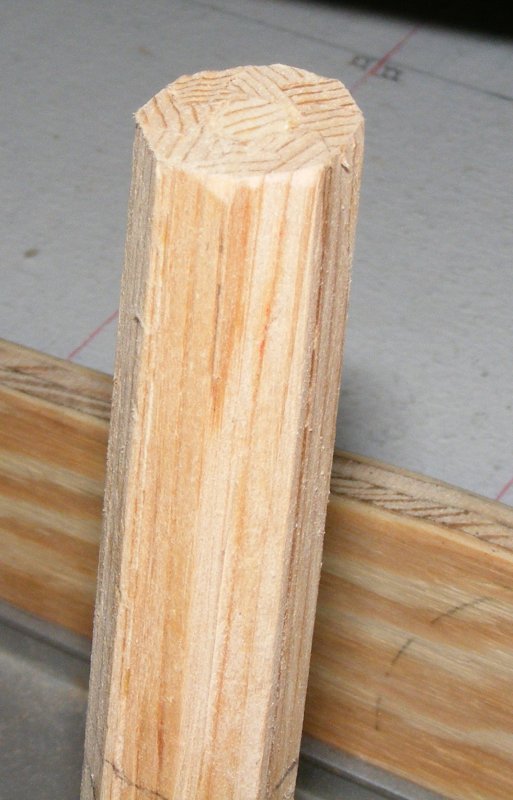
5/11: Making the Sticks! I started experimenting with making the masts using the birds-mouth method. Mark brought over a V groove router bit and I set it up in the router table. I ripped some cut-off from a 2x4 down to 1/4" thick and cut the V in one edge. I ripped the piece down to about 3/8" wide, and chopped off 8 pieces about 2" long. This was glued up and clamped up with rubber-bands. When the glue set, I knocked off the corners that stood proud and made it 8-sided. Then I made it 16 sided by eye on the belt sander. Finally I made it round.
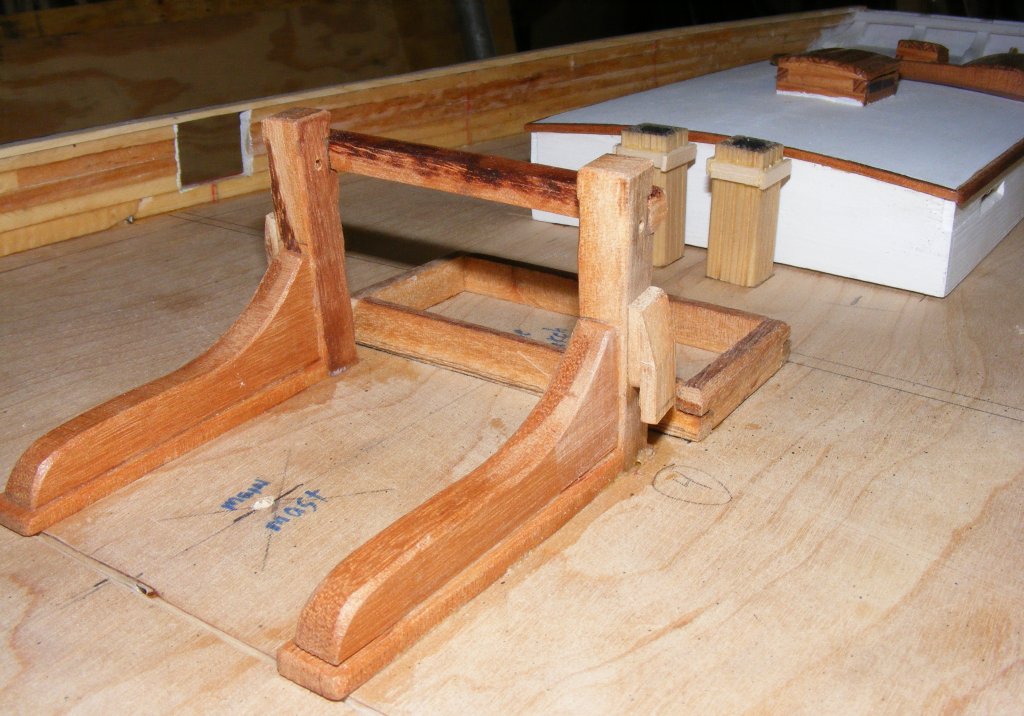
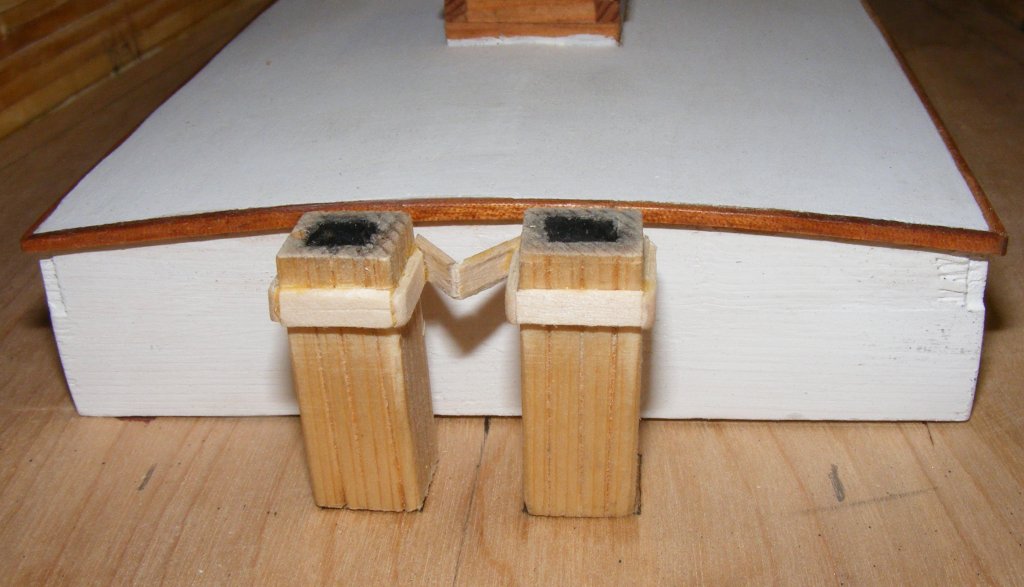
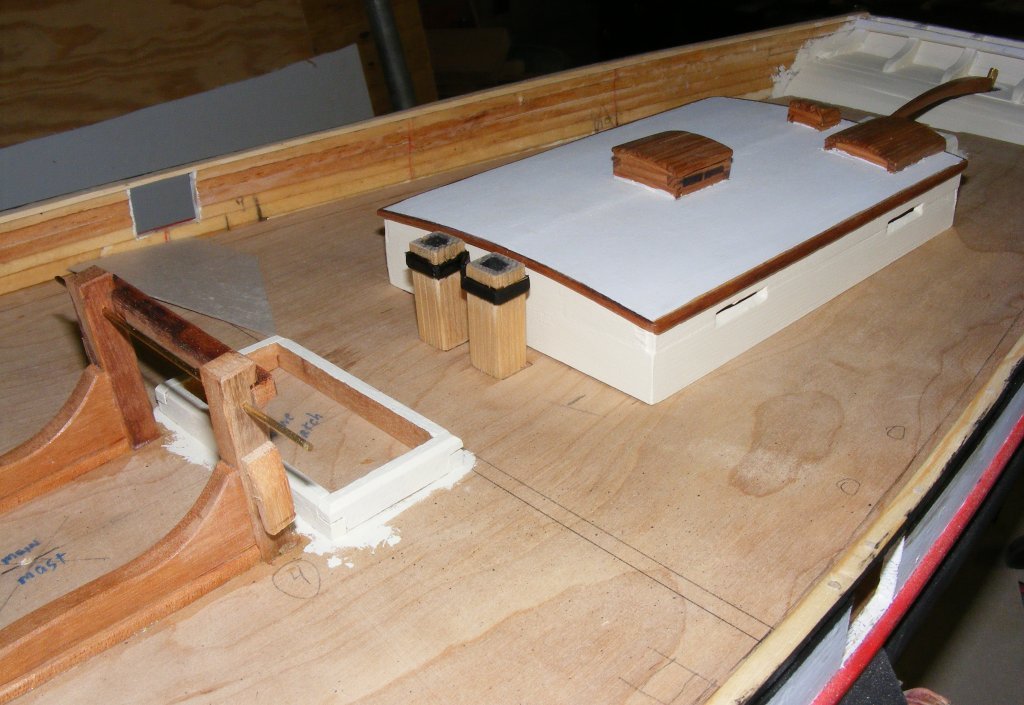
I almost forgot to put the cheek blocks on the riding bits, that got done today.
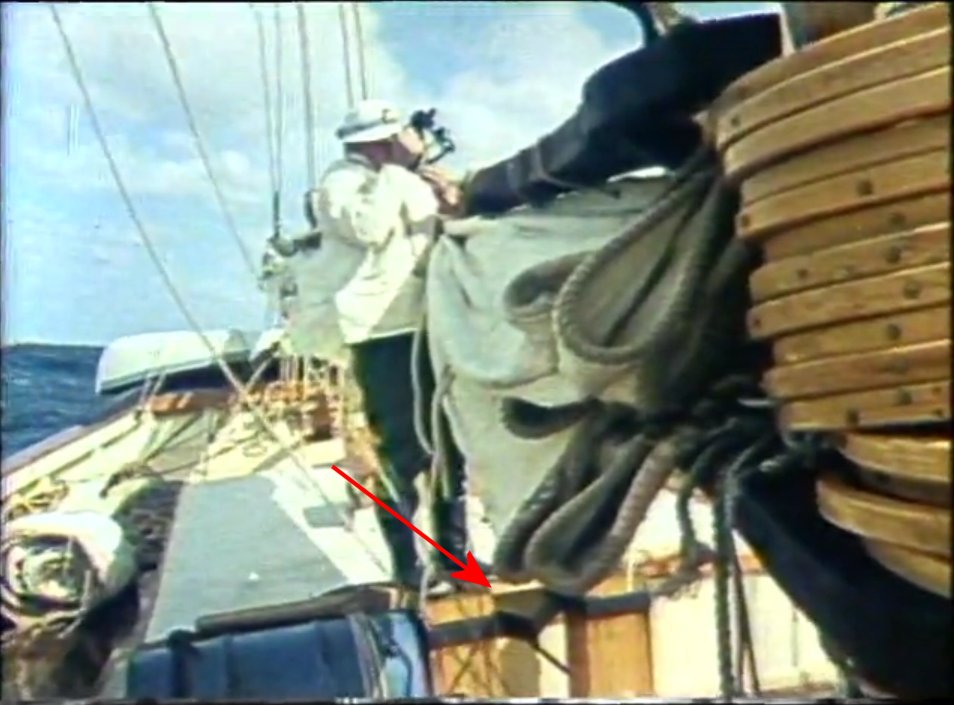
5/12: Based on the capture from the video, I removed the metal tape which wasn't thick enough, and used bass to represent the iron banding and the V strap between the pumps.
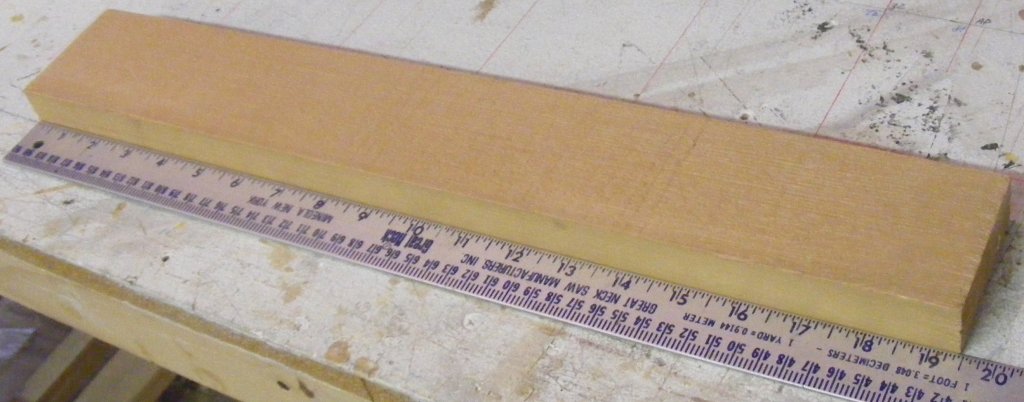
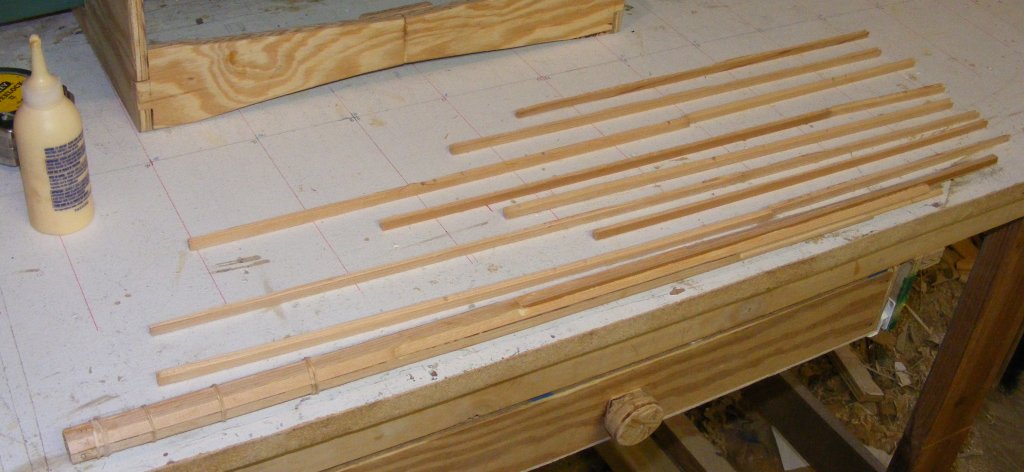
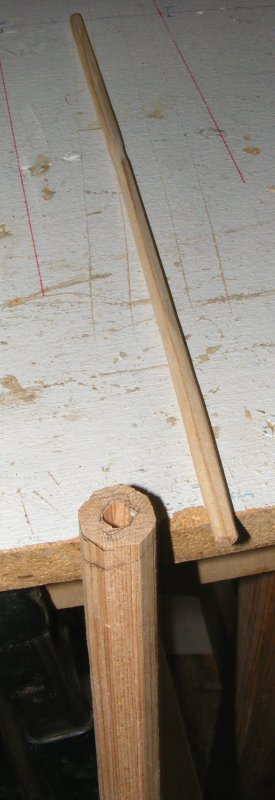
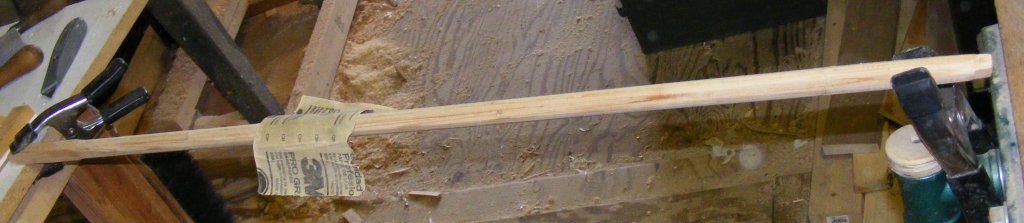
Then I started making the foremast. Checking all the plans I determined that neither mast had any measurable taper and at 1:20 scale was 15/16" in diameter from deck to hounds. The bird's mouth calculator, to make an 8 sided mast with 1/4" thick staves called for the staves to be .358" wide, or just a fuzz under 3/8". I sliced off 1/4" strips off left over cedar from Constellation's masts and spars, then ripped them down to just under 3/8". Then it was over to the router table to cut the bird's mouth. I wish I had a way to do the with a saw - I think it would have come out more accurately, but the router's what I have. None of the pieces is the full length of the mast, so there's a butt joint or two in each stave, but I made sure they were all staggered with plenty of overlap. Then I glued them up and wrapped rubber bands around the spar every 3 inches or so. When the mast set up, I made a plug for the bottom of the mast that was about 6 inches long and stuck out about 5/8" to act as a tenon for the mast step.
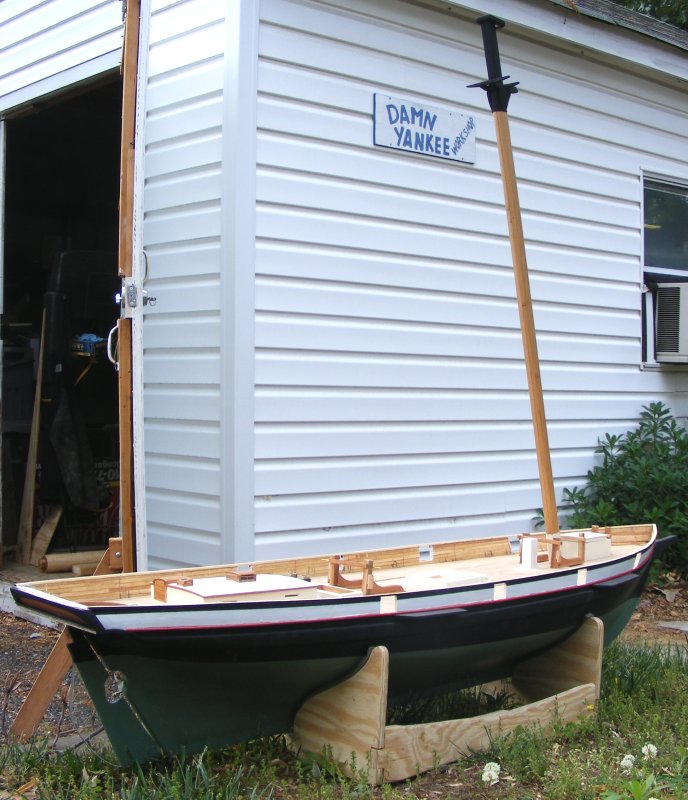
Using a block plane, I made the mast 16 sided from about 2" above the deck to the top. Then I knocked off these corners and sand it round. I painted the 8-side lower end, which includes the bury and tenon, and I stained the round part with golden oak stain. The top needs a plug also. and then gets shaped square at the doubling with a tenon for the cap. The whole spar is 37-3/8" end-to-end. 5/13 Mother's Day: The lady decided today would be spent planting something, and off to the Home Despot we went, returning with tomato plants, mint, and little flowers. I managed to sneak off to the paint department and got a pint the cream color everything on Pride seemed to get painted. After planting everything, two of the tomato plants going into those upside down hanging things, I dropped into the shop to get a coat of the new paint on. The cabin sides, coamings, the counter decking, and the 8-sided portion of the foremast, all got a coat of the cream colored paint. It's hard to see in the pics, but I'm really happy with the color match. The "iron" banding on the pumps got some black paint as well.
Lastly a hole was drilled in the subdeck for the foremast.
5/14/2012: Today is the 26th anniversary of the day Pride was lost at sea.
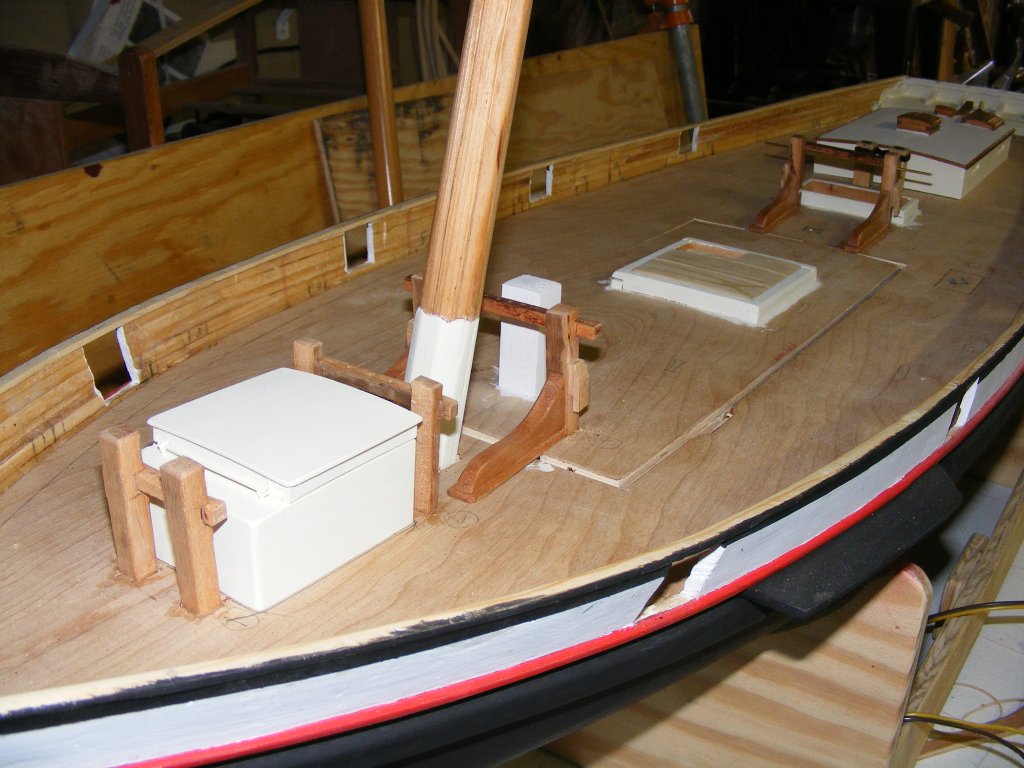
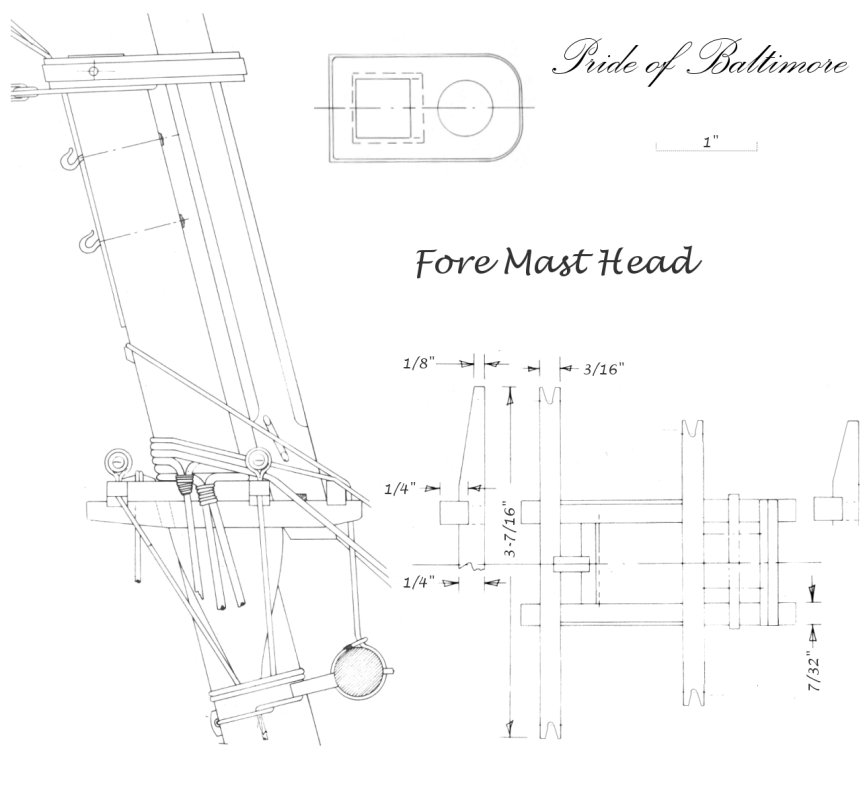
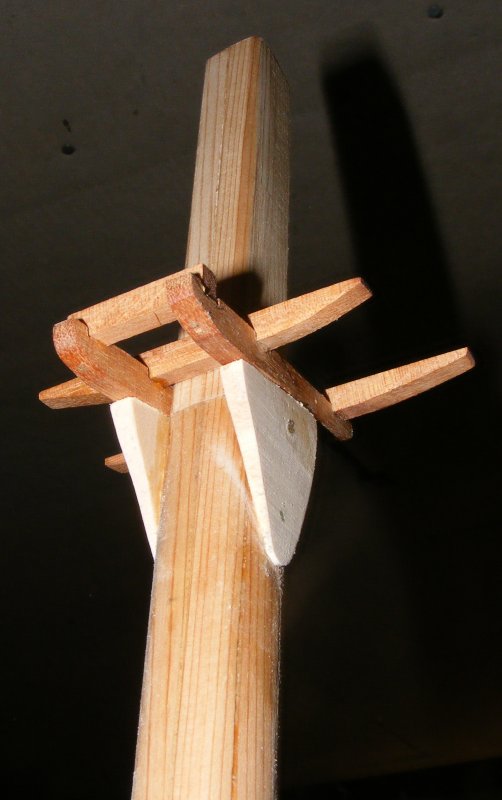
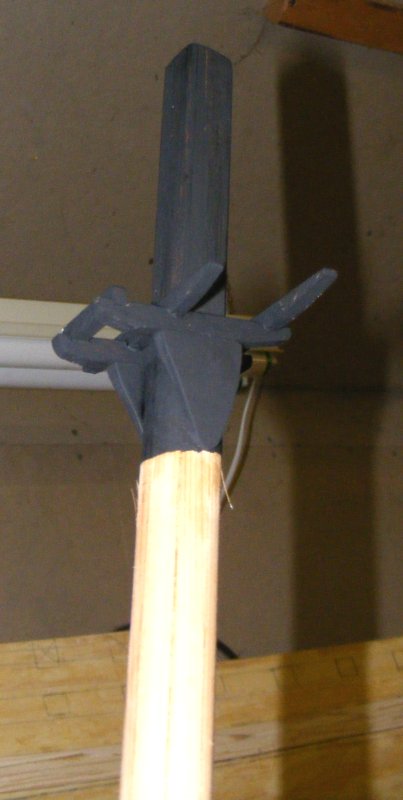
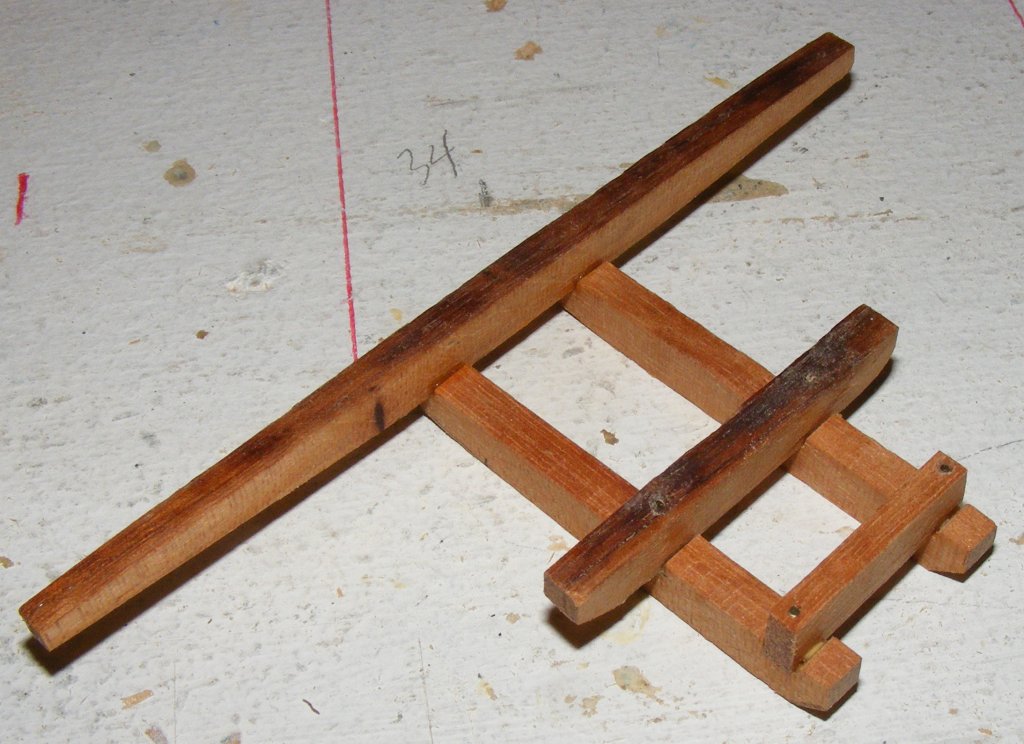
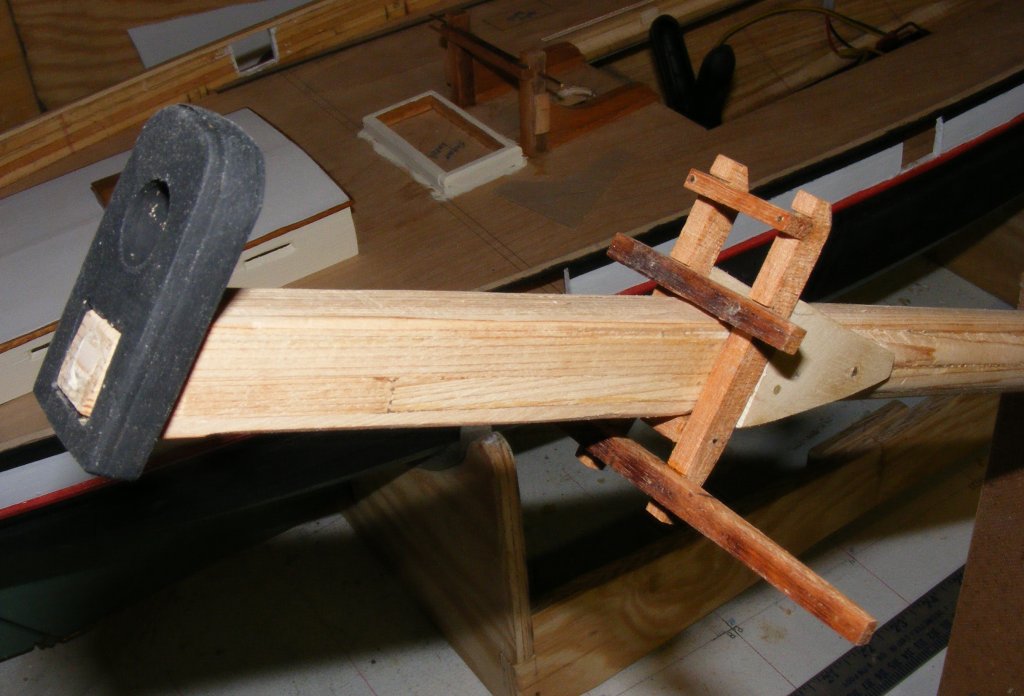
The mast was tapered to the doubling on either side where the hounds go,so I tapered mine and then made the hounds from some maple and installed them. These got two 1/16" brass pins all the way through from side-to-side. Everything got a coat of black paint. I still have to cut the head tenon for the cap, but I want to make the cap first to get a good fit.
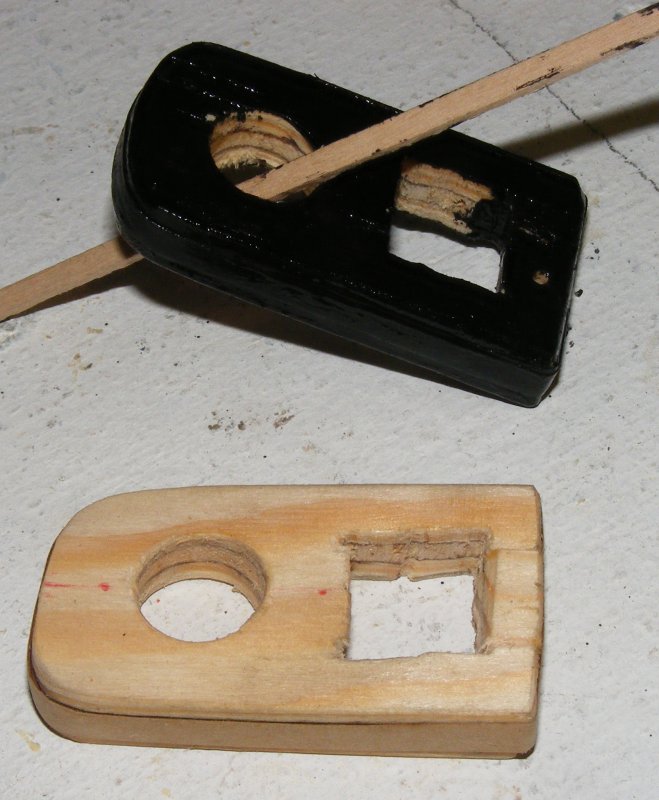
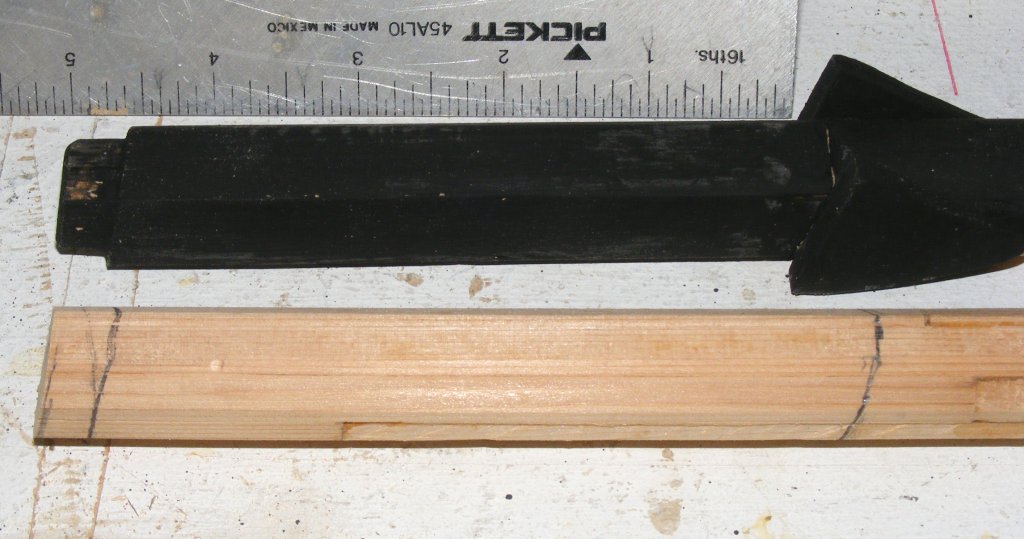
5/15: Made both mast caps from 5/16" plywood. After making the holes and shaping, the got an 1/8" strip of brown paper tape wrapped around a couple of times to simulate the iron band,
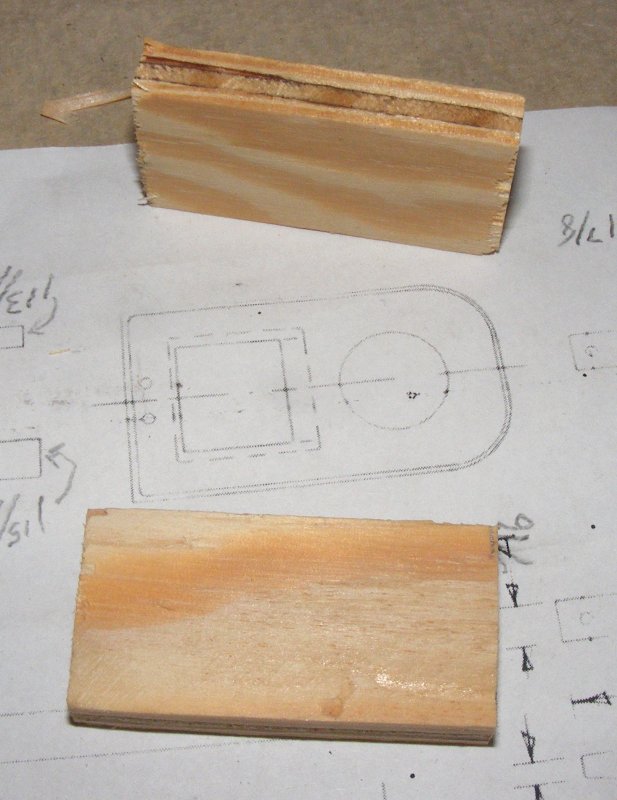
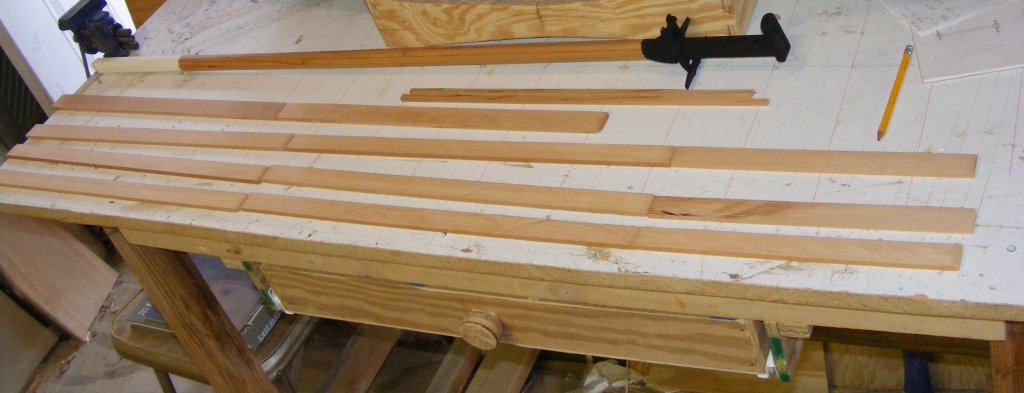
and they were painted black. The main mast hounds were cut and shaped, and now await a main mast. 5/16: I gathered up the cedar for the main mast. One piece, shown in the pics, was about 18" x 3" x 1", the rest were smaller. From these I ripped 1/4" thick boards, which in turn, were ripped into 5/16" strips getting two from each board. In the end I had 28 strips.
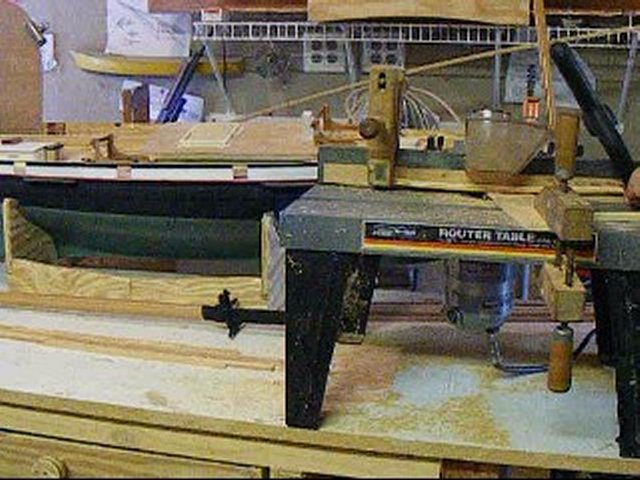
I rerigged the router table with a sacrificial fence, a piece of one of the model's deck beams as a leaf-spring to hold the work down, and a home made finger board to hold it against the fence. I pushed each strip through the router using the next strip to push the prior one through. This all went much quicker and resulted in much cleaner cuts than when I did the foremast.
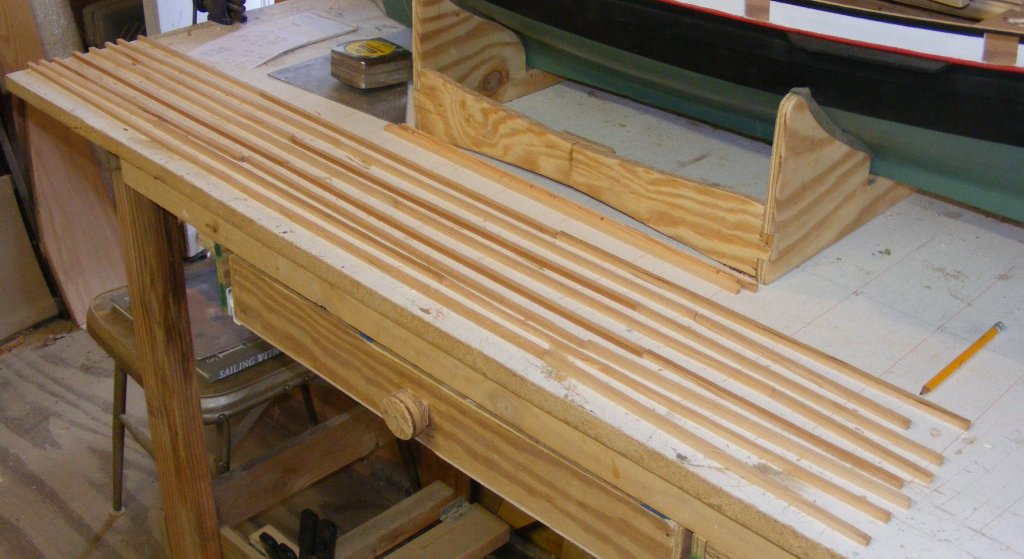
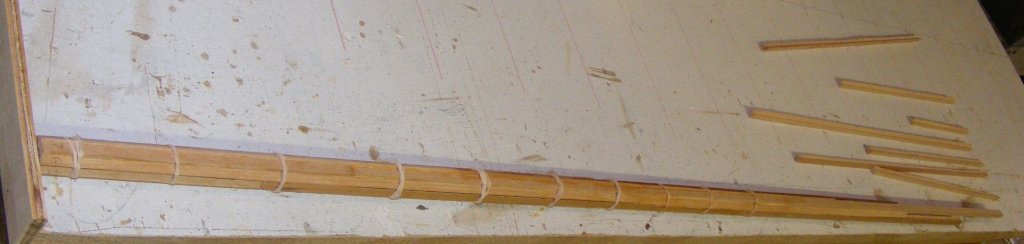
I laid out the strips by staves to make sure the butt joints were well staggered, then started gluing up the spar using rubber bands to clamp it together. I started with the first 8 pieces and added the next piece at each lowest butt in succession, until all the stave were complete. When it was all together I wrapped it tightly with some cotton cod line, the string clamp.
I trimmed it to 47" on the band saw, and played with it for a while, making sure all the butt joints were tight and there were no twists or bends, then finally it was left to set-up over night.
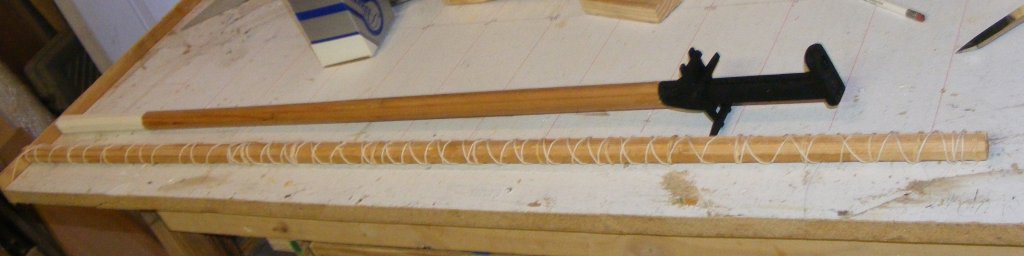
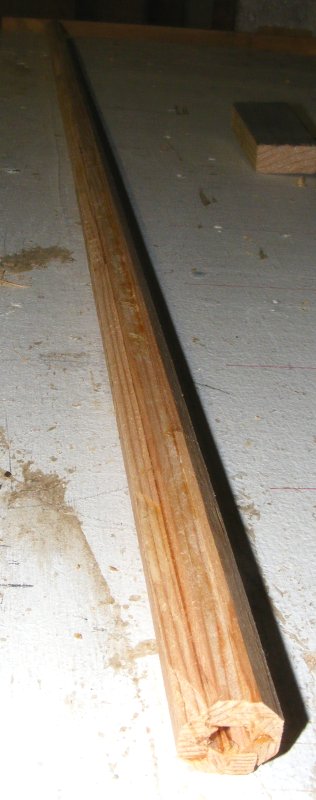
5/17: Took off the string and rubber bands and the wooden tube I made last night was just right. Planed off the ridges and made it 8-sided.
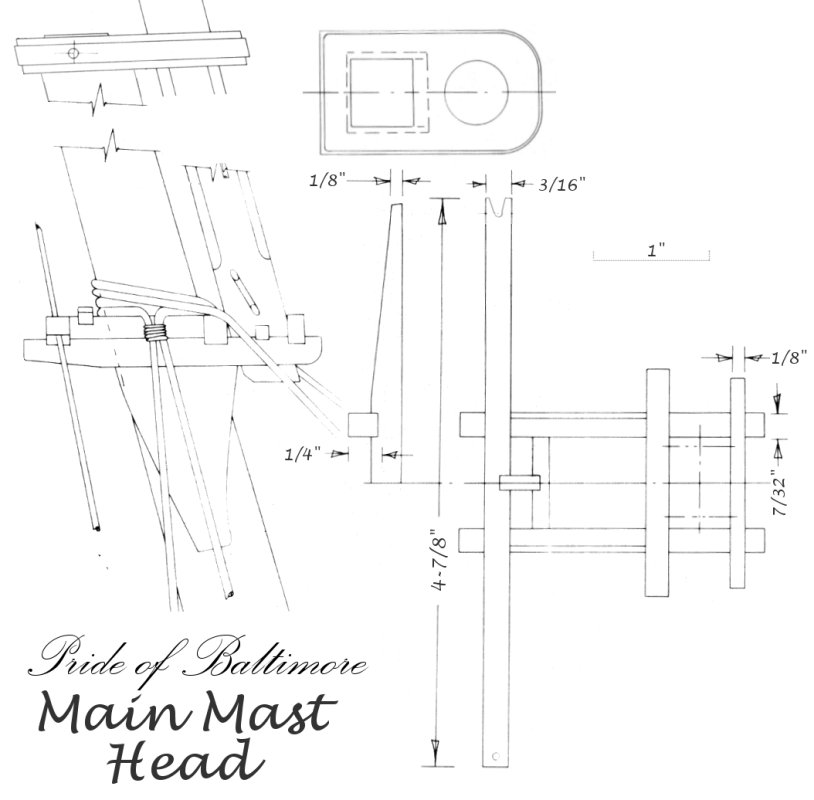
The head is the same as the fore mast head except for a slightly increased rake angle. The head tenon was cut and the fit of the cap checked. The doubling was squared and the taper for the hounds cut in.
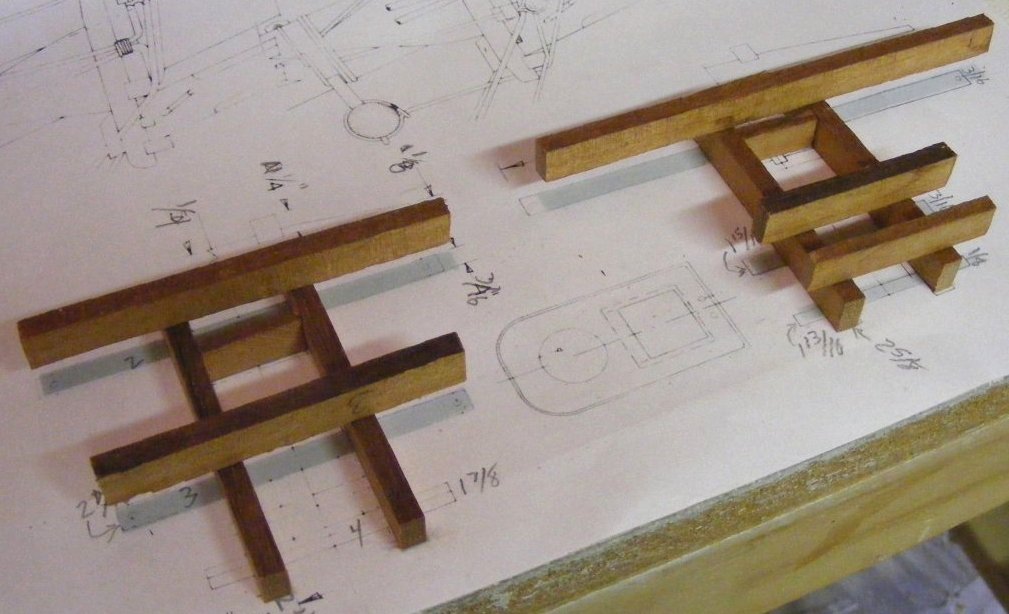
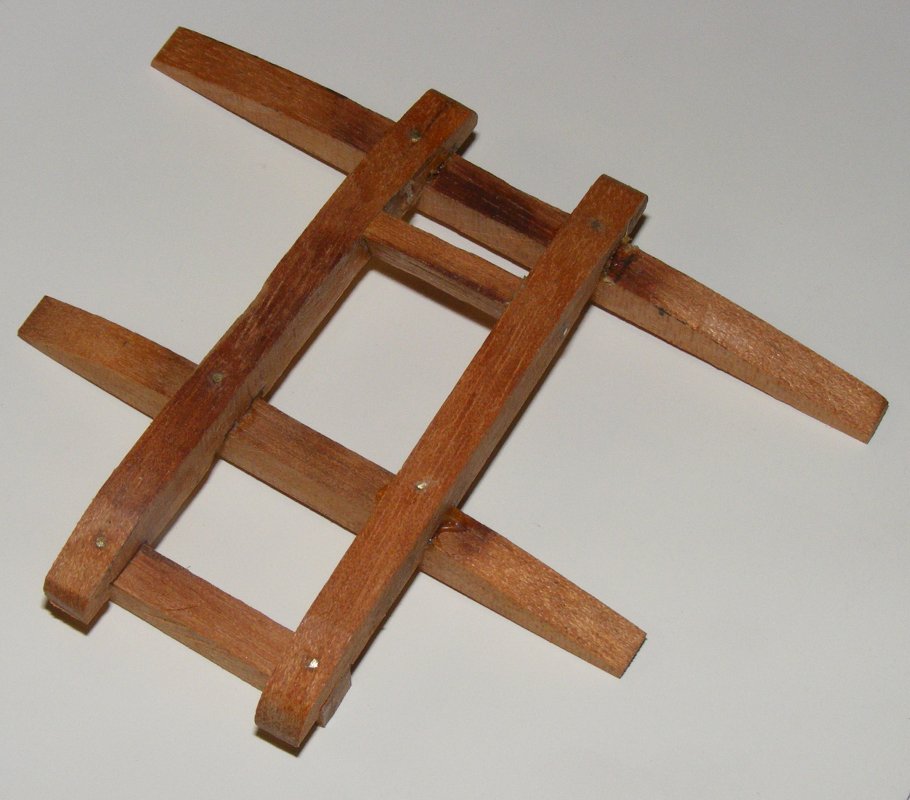
I assembled the cross-trees and trestle-trees, glued and pinned, just like the foremast set. Finally, the bottom of the mast was painted cream and the head flat black.
|
||