8/12/2025
Previous Page | Next Page | Table of Contents
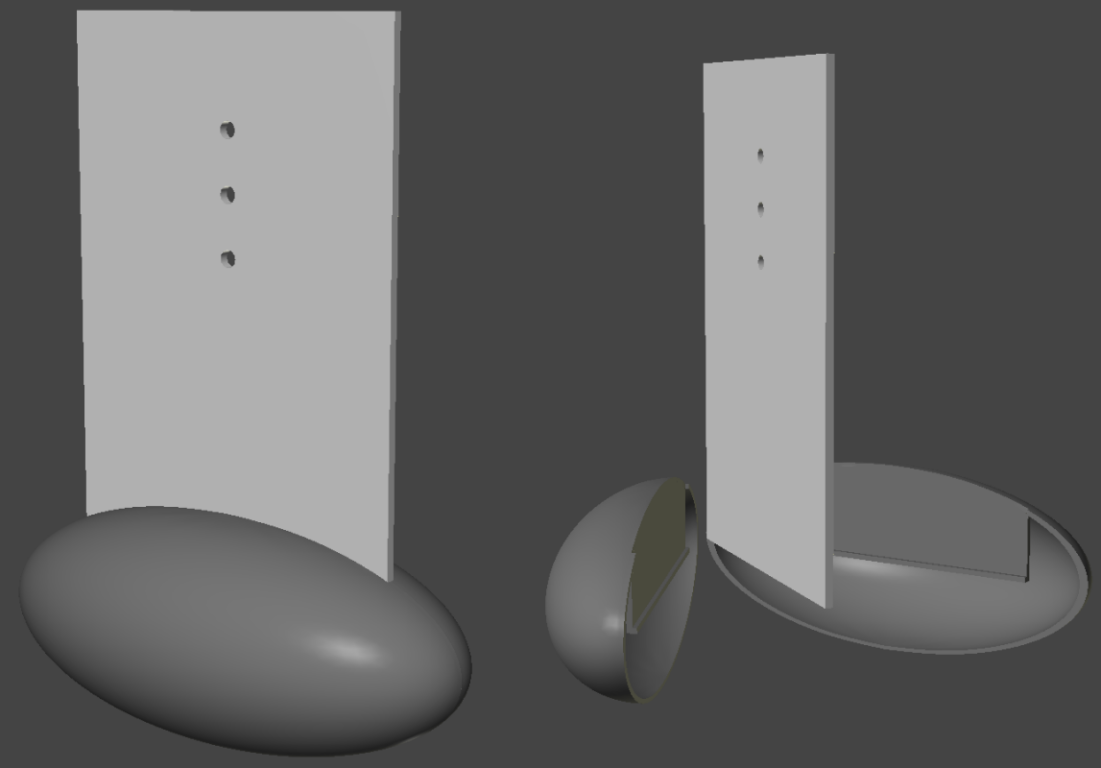
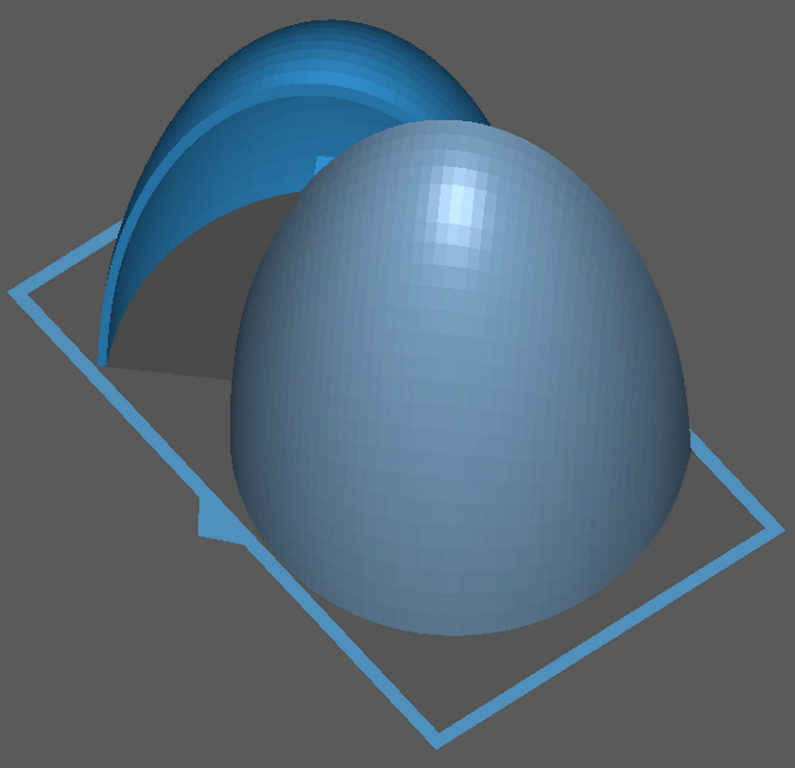
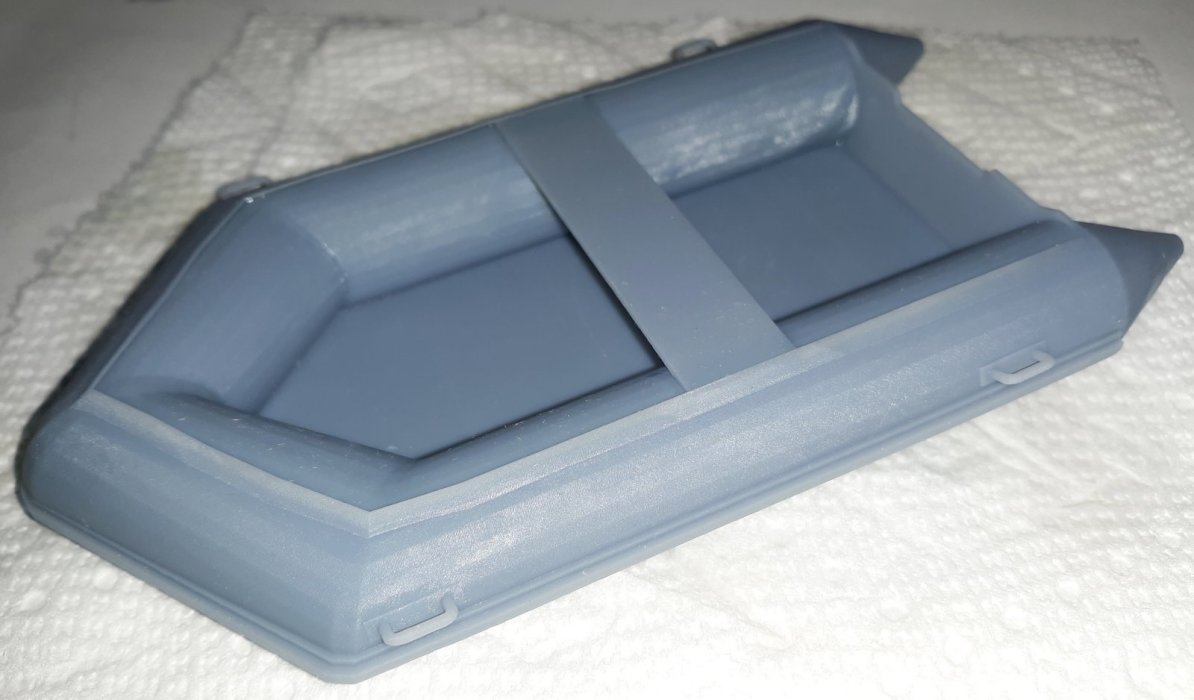
11/27-28: While tinkering on a 3D model of Constellation's 2nd cutter, I was giving the idea of making Pride's 25 pound lead bulb some thought. I decided I didn't want to get the tools and materials to melt and cast lead. Regardless, I would still have to come up with a container, or a form. That's basically what I did for Constellation's ballast, using a PVC pipe as the container. Why not 3D model precisely what I needed as a container for Pride?
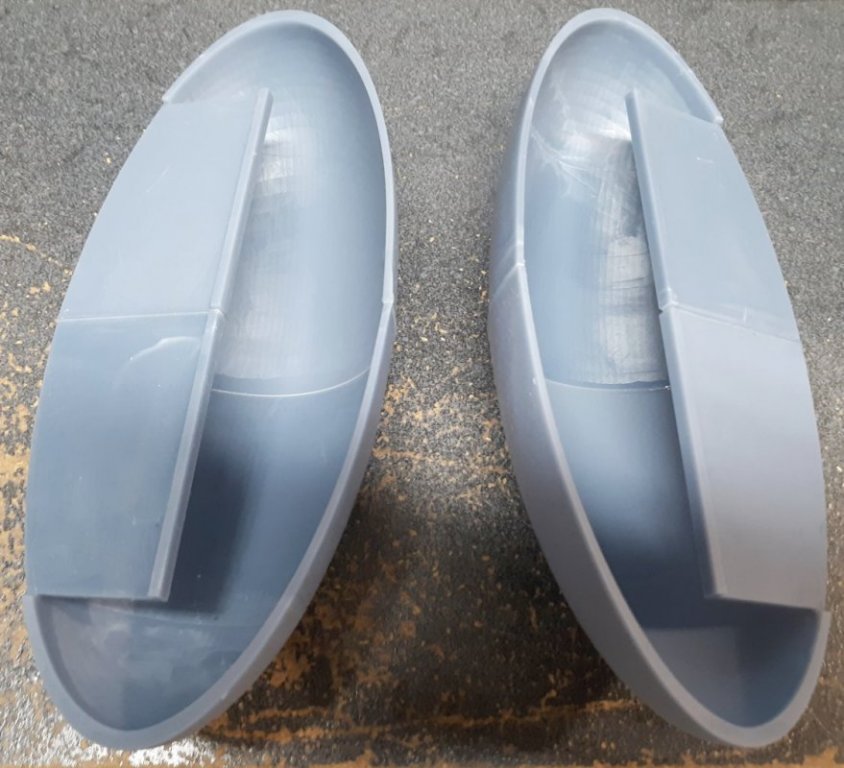
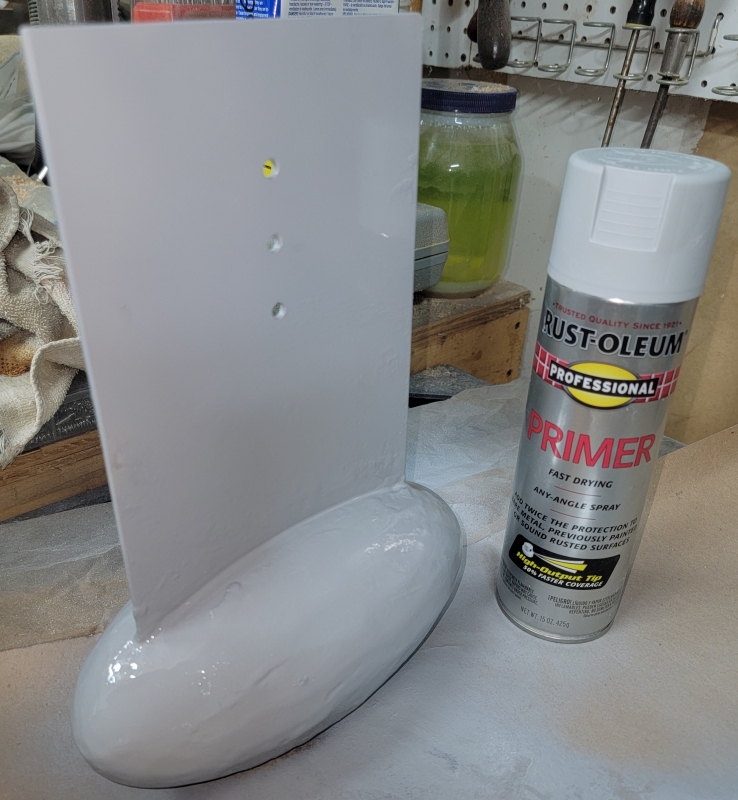
Once printed, the pieces will be bonded together to form a left and a right half. I'll fill these with the lead shot, and pour epoxy into each half to bond everything together and make it solid. The two halves will be bonded together on the fin and then a hole will get drilled through the bulb and the fin for a pin, so there's no chance of the buld coming off the fin. The whole thing will get a coat of epoxy outside to toughen up the resin bulb, and then it'll be painted the same Moss Green as the models bottom.
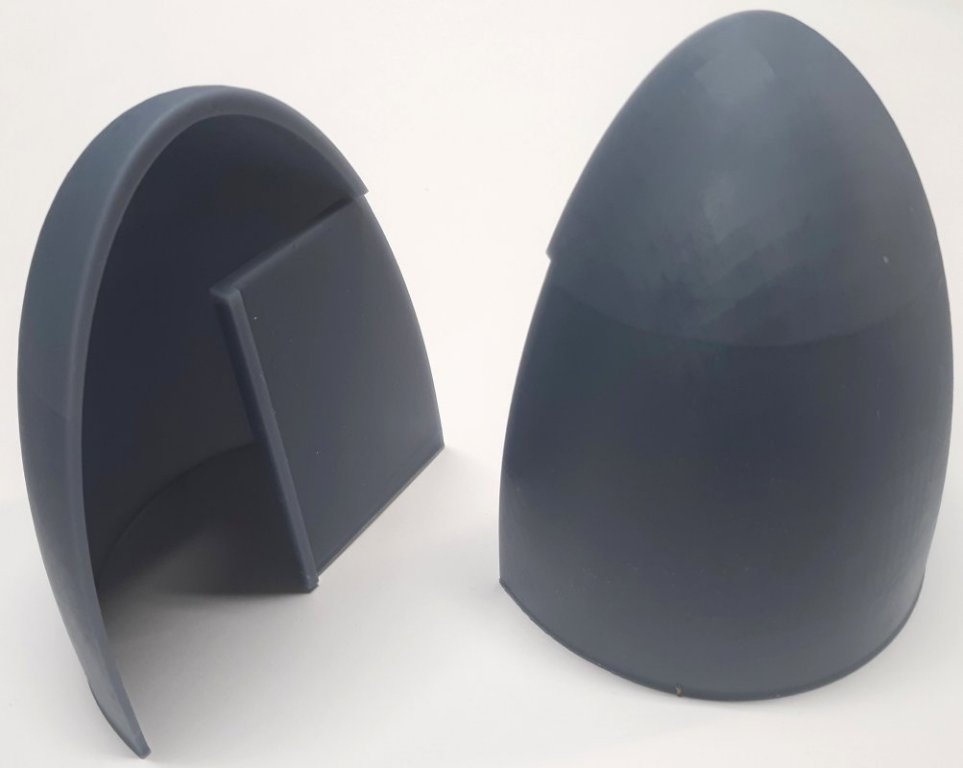
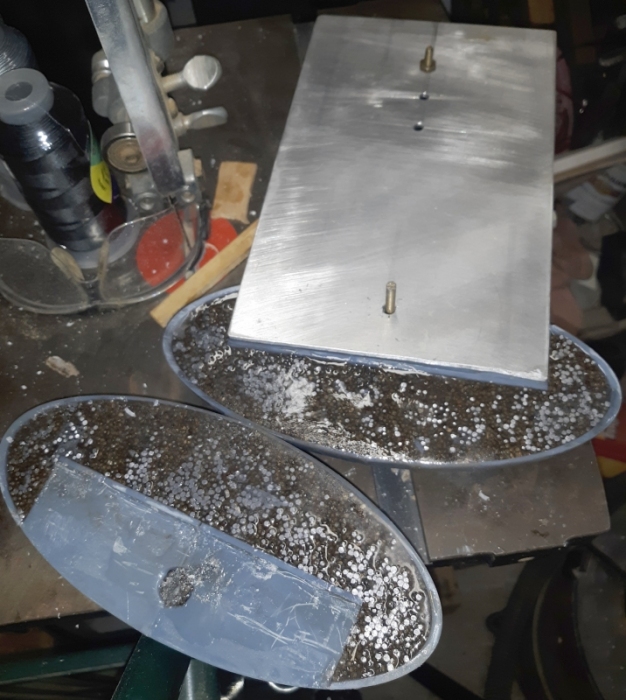
With all 4 quarters finally printed, I bonded two each together with resin and UV light to make two halves. The seams will need sanding, but that's not an issue. Now to load it up with lead.
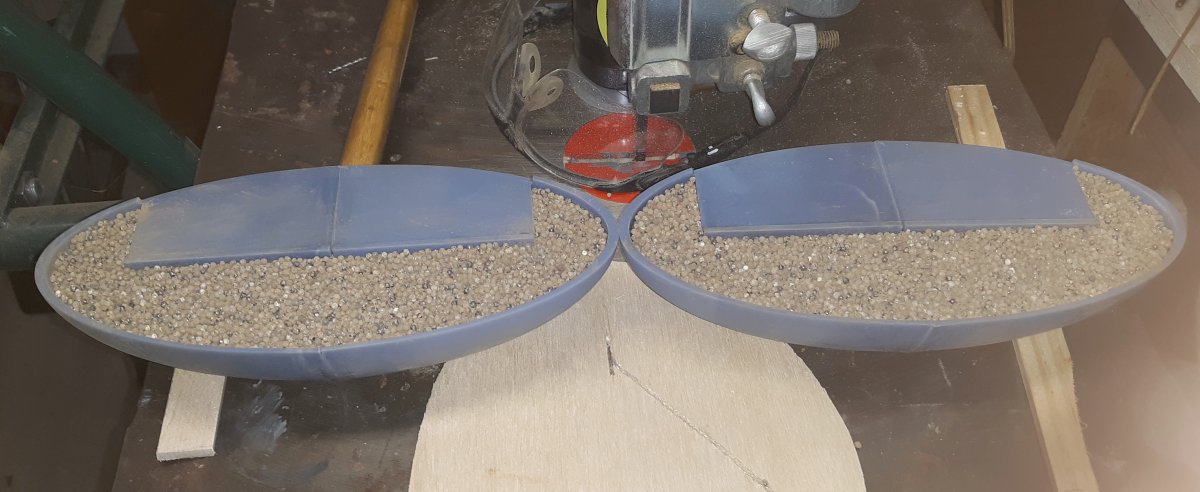
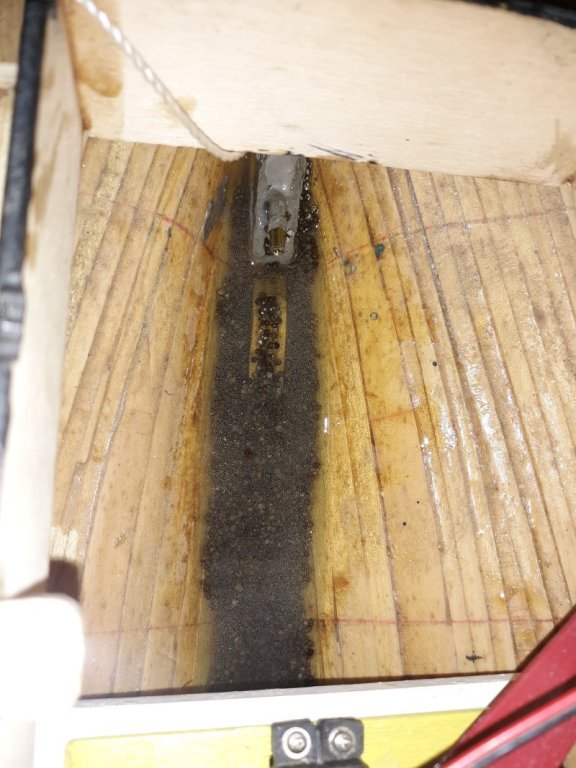
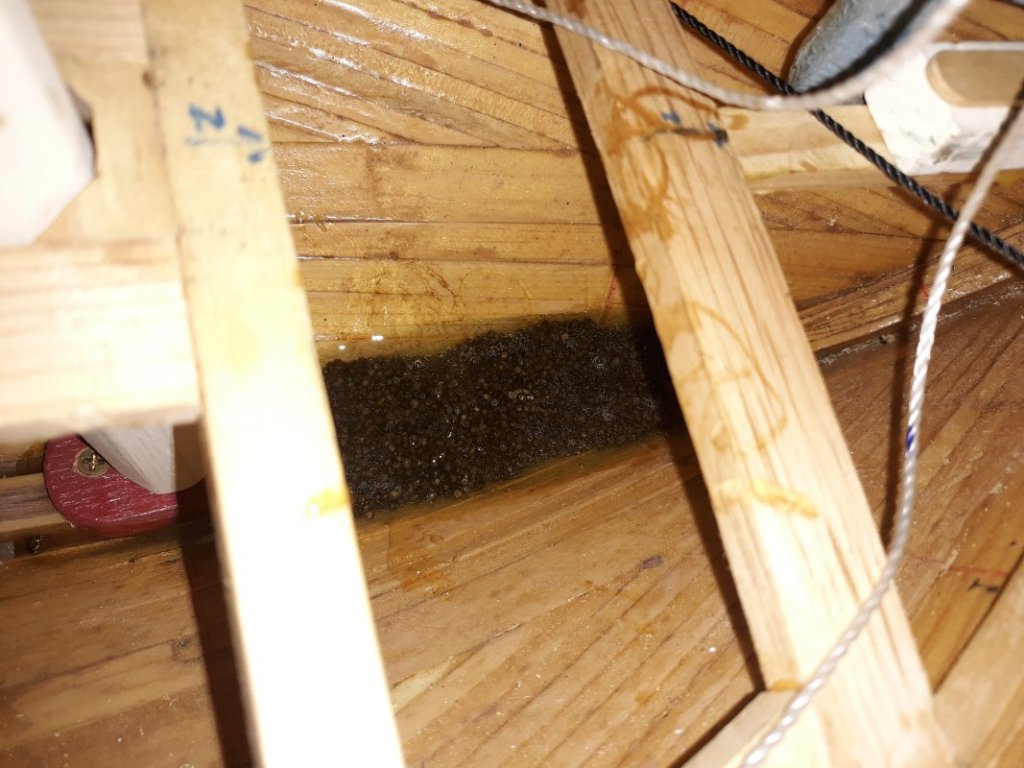
11/30: I sieved the reclaimed lead a few times to lose as much dust and dirt as I could. I didn't wash it because it would take a long time to be completely dry, and I don't want to seal moisture inside the bulb. As long as it's dry, I don't think being dirty will matter. I filled both halves with shot, but it was too cold tonight to pour epoxy, so, if it's above 55 degrees tomorrow, I'll give it a try.
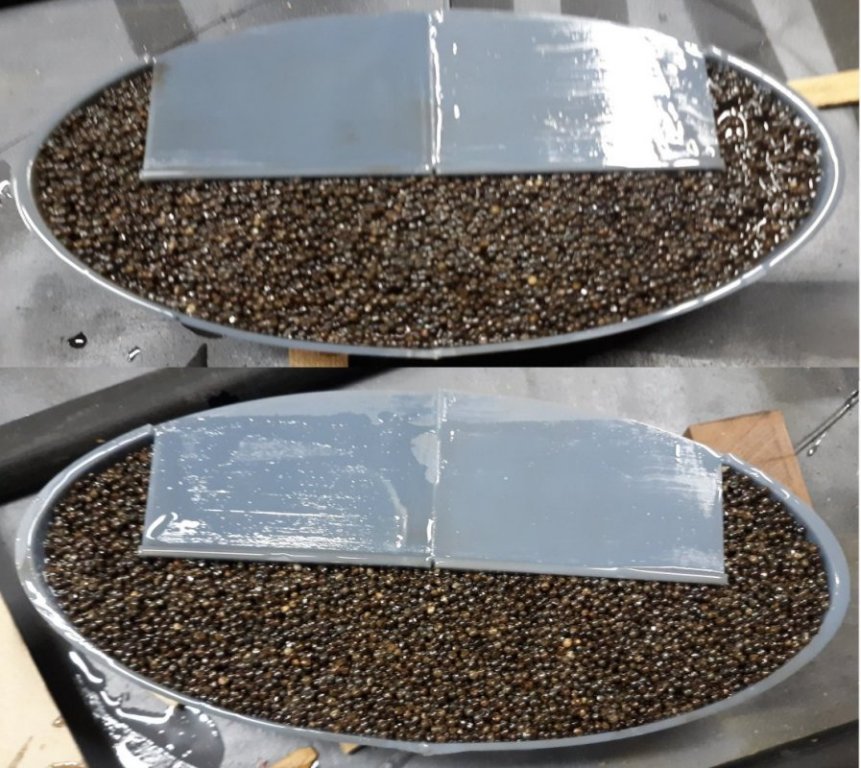
12/1: I got everything together to pour expoxy and when I went to mix it, the resin was like an old ketchup commercial (hardly moved, wouldn't pour). I put the epoxy in the house to warm up, and will give it another go later. 12/2: Bringing the epoxy in the house did the trick. The resin is still thicker than the hardener, but it it's pretty fluid when mixed, even when it's not above 70 degrees. I mixed a yogurt cup full and still had about 1/3 of it left after pouring, so I propped up the bow of the model poured it into the bilge, filling the tight spots back at the deadwood. Later it hit me that I should have put some lead in there too. I did that, and it all sank down into the epoxy as if I'd done it right the first time. 12/3: I brought the bulb into the house so it would hopefully set better than in the 55 degreeish shop. By morning it was only a little tacky to the touch. Mixing another batch of about half of what I did before, I poured in some more with the halves tilted a little to get behind that flap for the fin to rest against, and to get it up to the edge. Again, I had some left-over, and this time I poured it and some lead into the bow of the model.
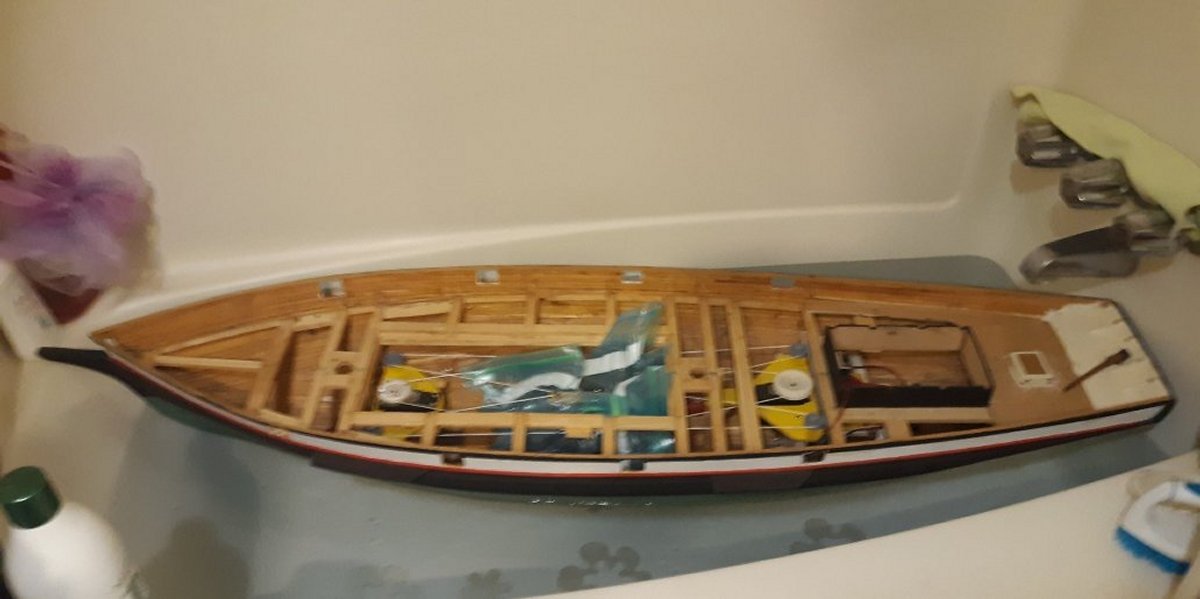
1/20/2024: I'm just about done making Constellation's remaining boats, so I started working on Pride's. Pride had four boats when I was aboard:
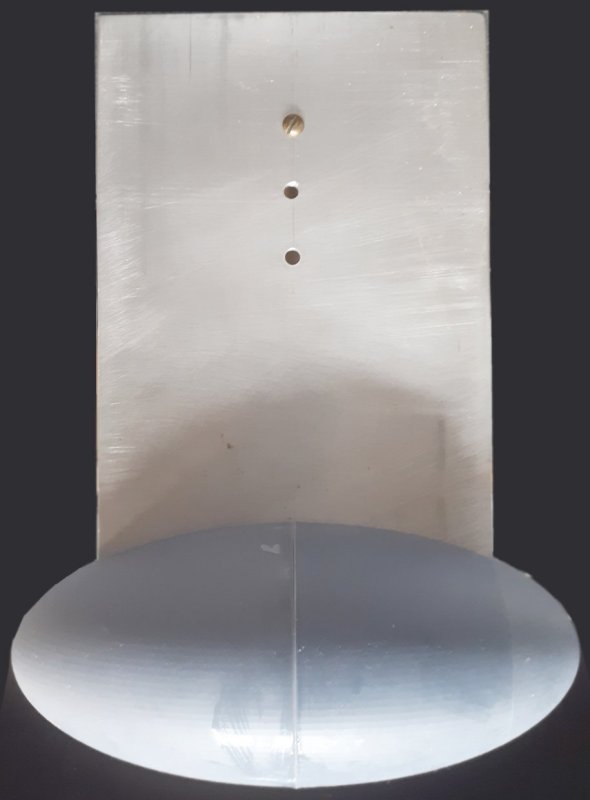
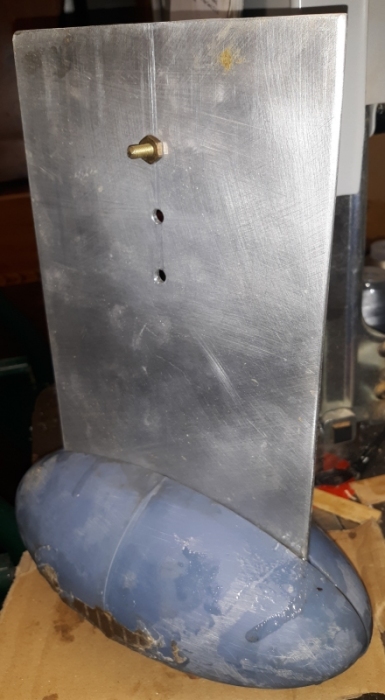
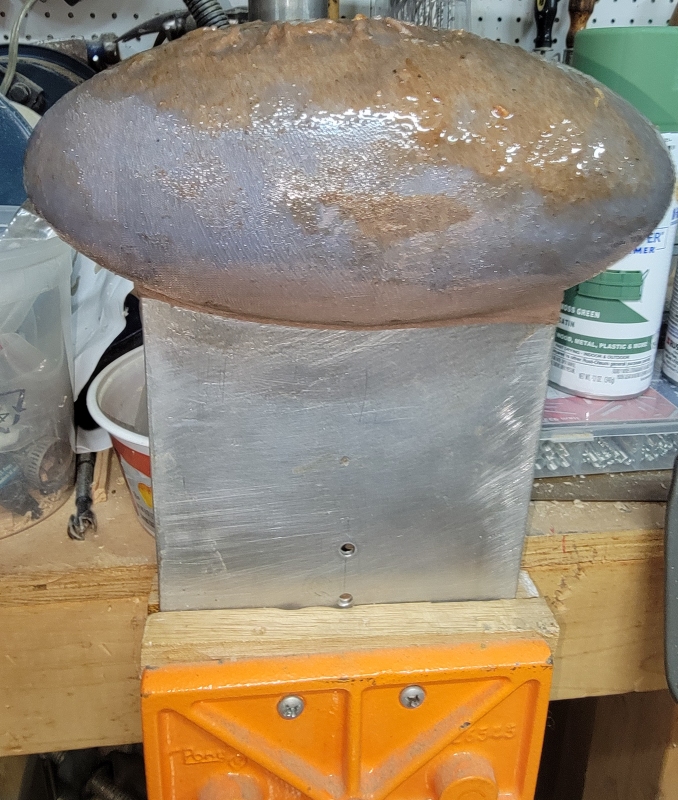
5/23: Winter, as far as handling epoxy in an unheated garage matters, seemed to last almost till the end of April and even crept into May; but finally the temperatures and my time have coincided enough that I could get somethingsome movement on these models. It seems the plastic egg deformed a little from the weight, so the two halves won't lay flat to each other. If I do this 3D printed bulb thing again, and for you following along that might be thinking of using this method, I'll will put ribs inside the bulb to stiffen it, and maybe fashion some sort of cradle that supports the bulb so it doesn't try to flatten out as the epoxy and lead set-up. There were also pockets in the bulb that resin hadn't gotten to and I could hear the shot rattling around inside. What sounded like the biggest of these pockets was behind the flanges to support the fin. I opened the holes here and poured more resin in to hopefully fill this void. I re-drilled holes for the pin that will keep the bulb from sliding off the plate, and cut about a 3 inch length of 3/16" brass rod for the pin. I mixed some very fine sawdust from my band-saw with the epoxy to make a paste of it, and buttered both sides of the bulb and the pin holes, placed the pin, the fin, and put the other half on. Editor's Note:It would have been better to mix the lead shot into the epoxy, then pour the mix into the bulb. This would have prevented the "dry spots" inside from pouring the epoxy into the lead. I used a sliver of wood as a wedge to hold the seam closed on top, where the fin enters, as close as I could, making something of a gap at the bottom. The epoxy butter filled this in fairly well, but the seam's open almost all the way around, which I'll fill with more epoxy butter.
5/30/2025: Look at that, a whole year! Back then I thought I was getting on a roll and would have the model sailing, if not finished, by the end of summer. But on the morning of June 22nd, I had a stroke. With my left side not wanting to do what I wanted to do, I spent a lot of time "retraining" myself to do things like walk a straight path, and sign my signature on a single sheet of paper. By the time I felt I could hold a tool and do something with it, it got too cold to work in the shop, again. The cold months were spent working on the computer making 3D models of parts, mostly for Macedonian and Constellation.
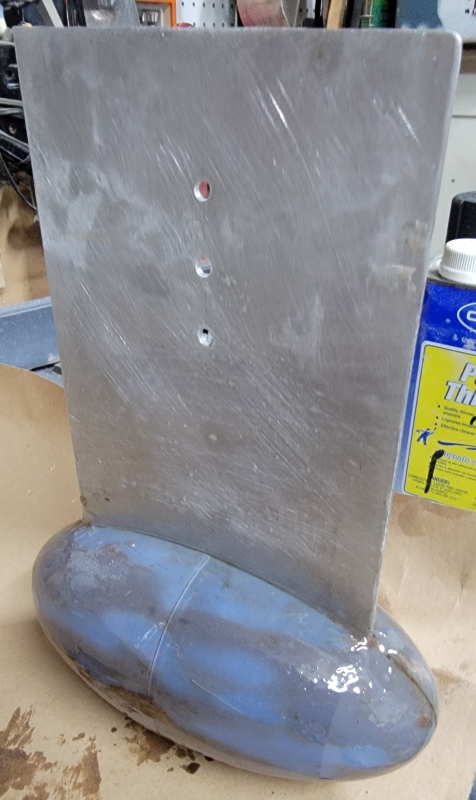
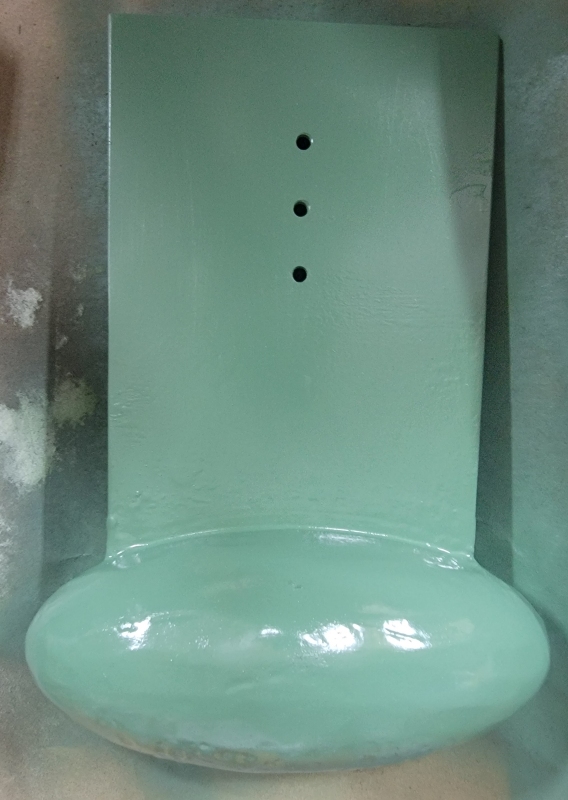
6/4: Once the epoxy had set, I took a disc sander to it and knocked off all the lumps and bumps, then coated it with epoxy (sans sawdust) again. This was done for a second coating so the bulb, (in person at least), appeared to be encased in glass, albeit, wavy glass.
|
||