11/30/2023
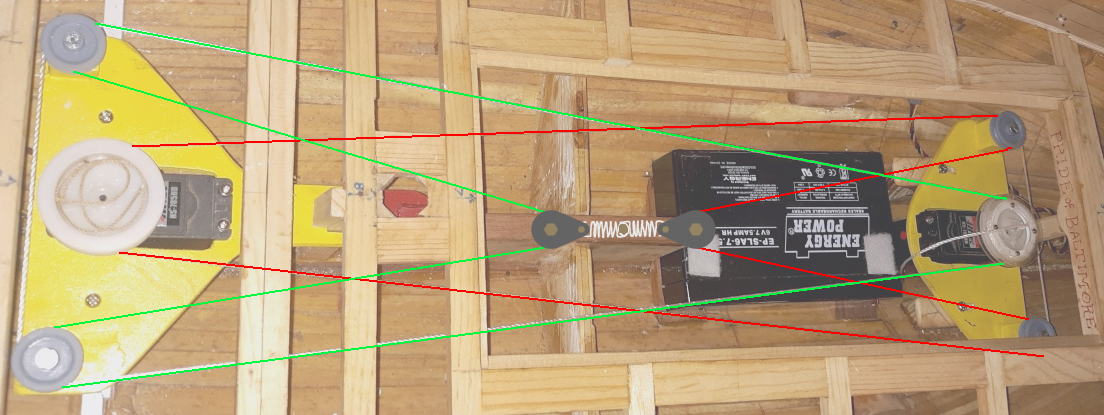
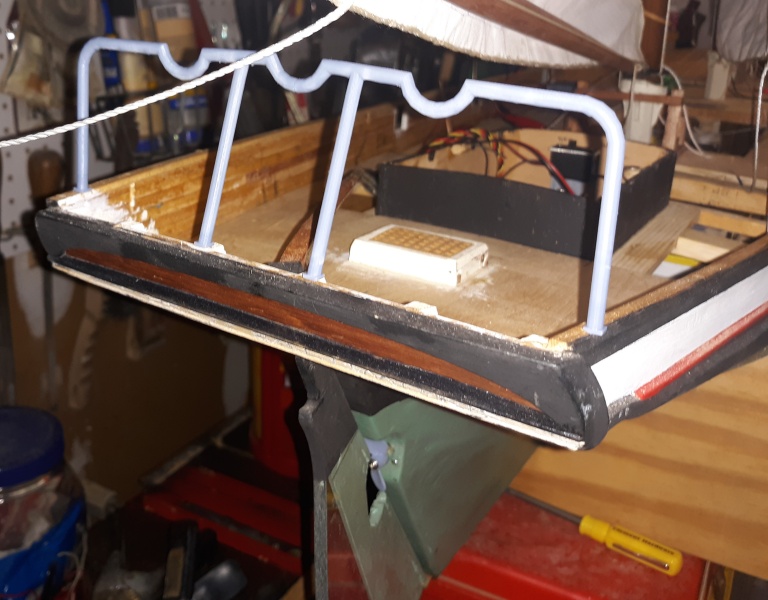
Previous Page | Next Page | Table of Contents 7/13/2022: More loop-de-loops A test run of the loops went pretty well, but I felt it needed some suspension in it, so I figured I'd put a pair of blocks connected by a spring in the middle of the system. Thinking some more, it seemed tensioning the two loops together like that wasn't a good idea, so I decided to mount a post on the fin trunk and hang the blocks on separate springs from that, keeping the two loops independent.
I rigged up one loop this way and ran it back and forth hauling the weight of a can of spray paint up and down, and it seemed to be up to the task, though I did wind up switching to a harder spring than I had started with.
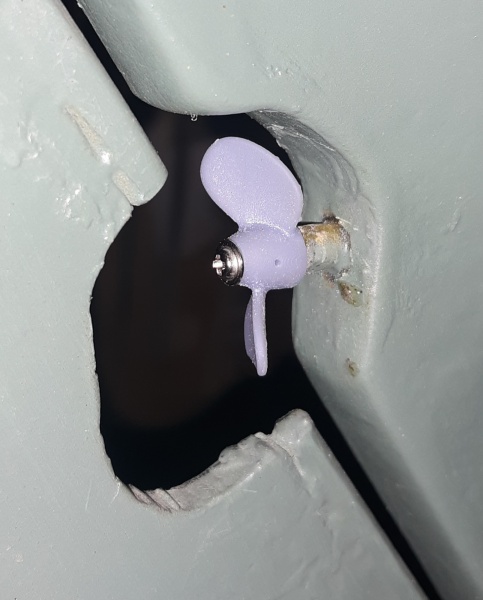
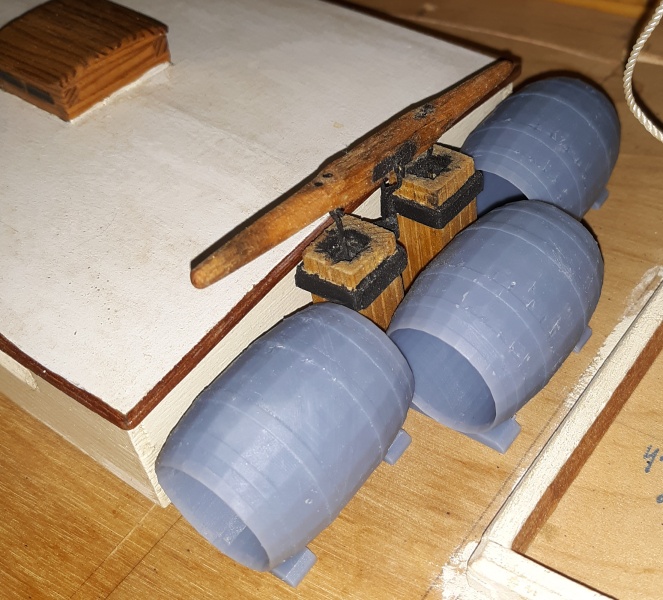
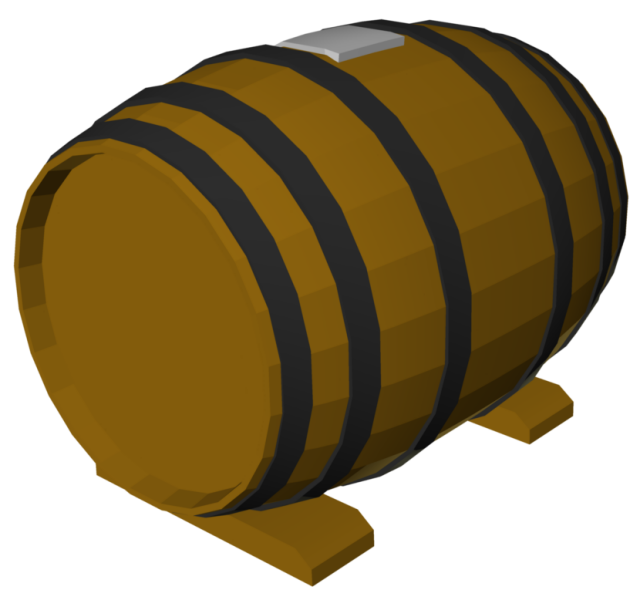
Pride had three of water-casks lying on their sides in front of the house, blocking the hand-pump. There was sometimes a 55 gallon drum lashed in there as well, but not when I was aboard. A 3D printed prop will be just for show, since the motor's been removed. It'll be screwed on so it'll spin as the boat sails.
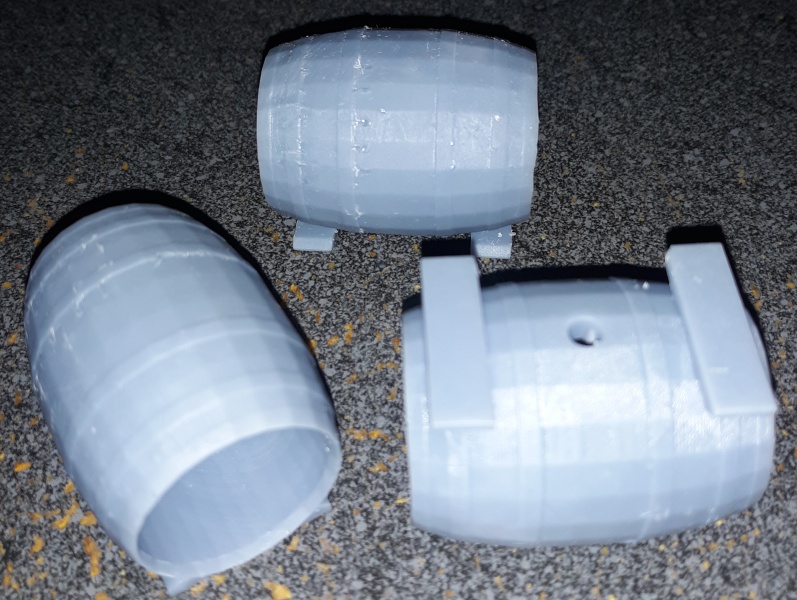
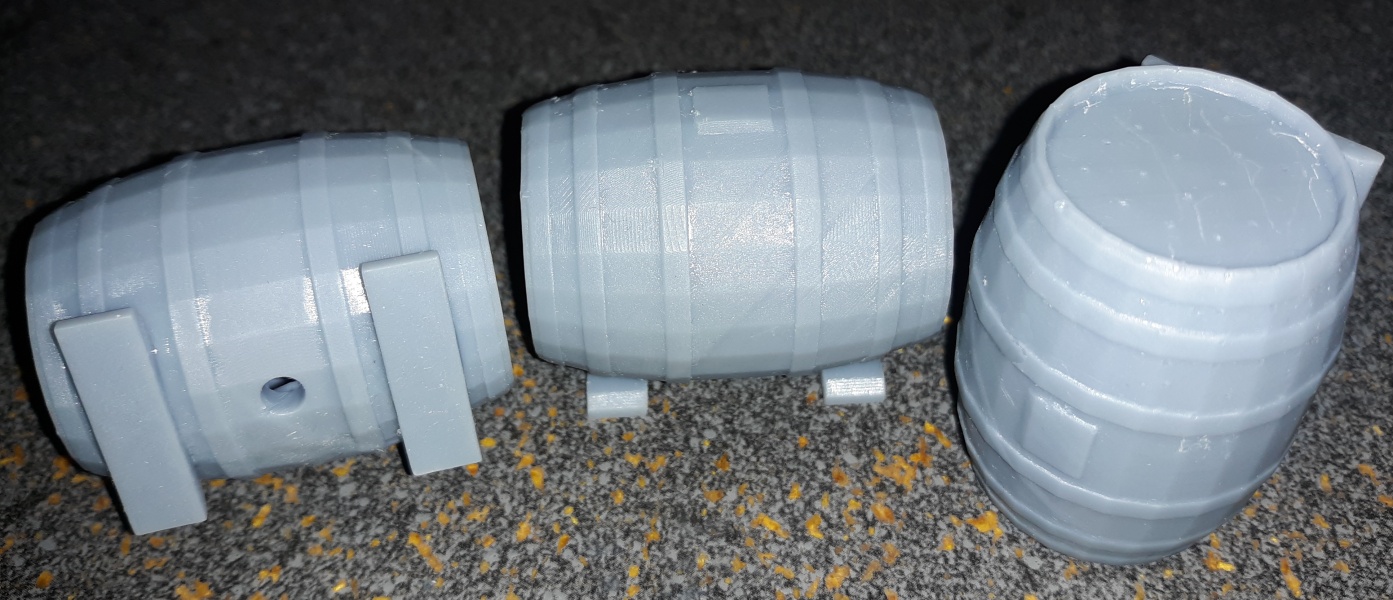
7/15: Well, they printed great, except the ends didn't print. Seems they were too thin. The size is right though the iron bands could be a little more pronounced.
Editing the file from Thingiverse wasn't going to fix it, so I made one from scratch and modeled the flap that covers the access hole on this one.
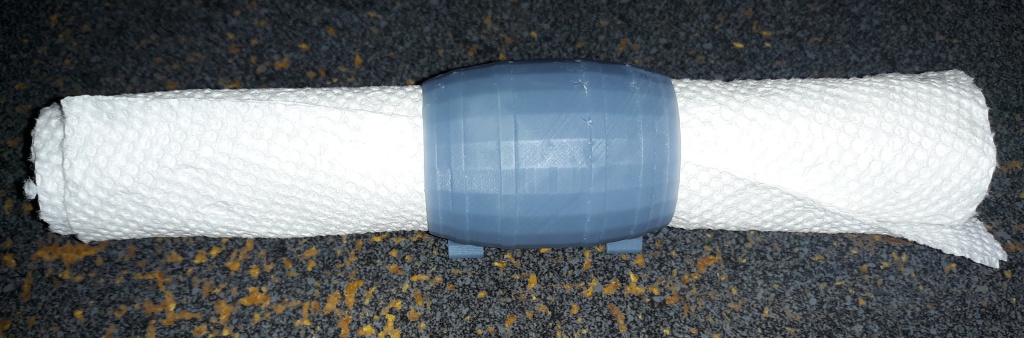
7/16: While I waited for the new barrels to print, I wondered what to do with the open ended ones - I thought maybe using them as napkin rings. The new barrels printed fine.
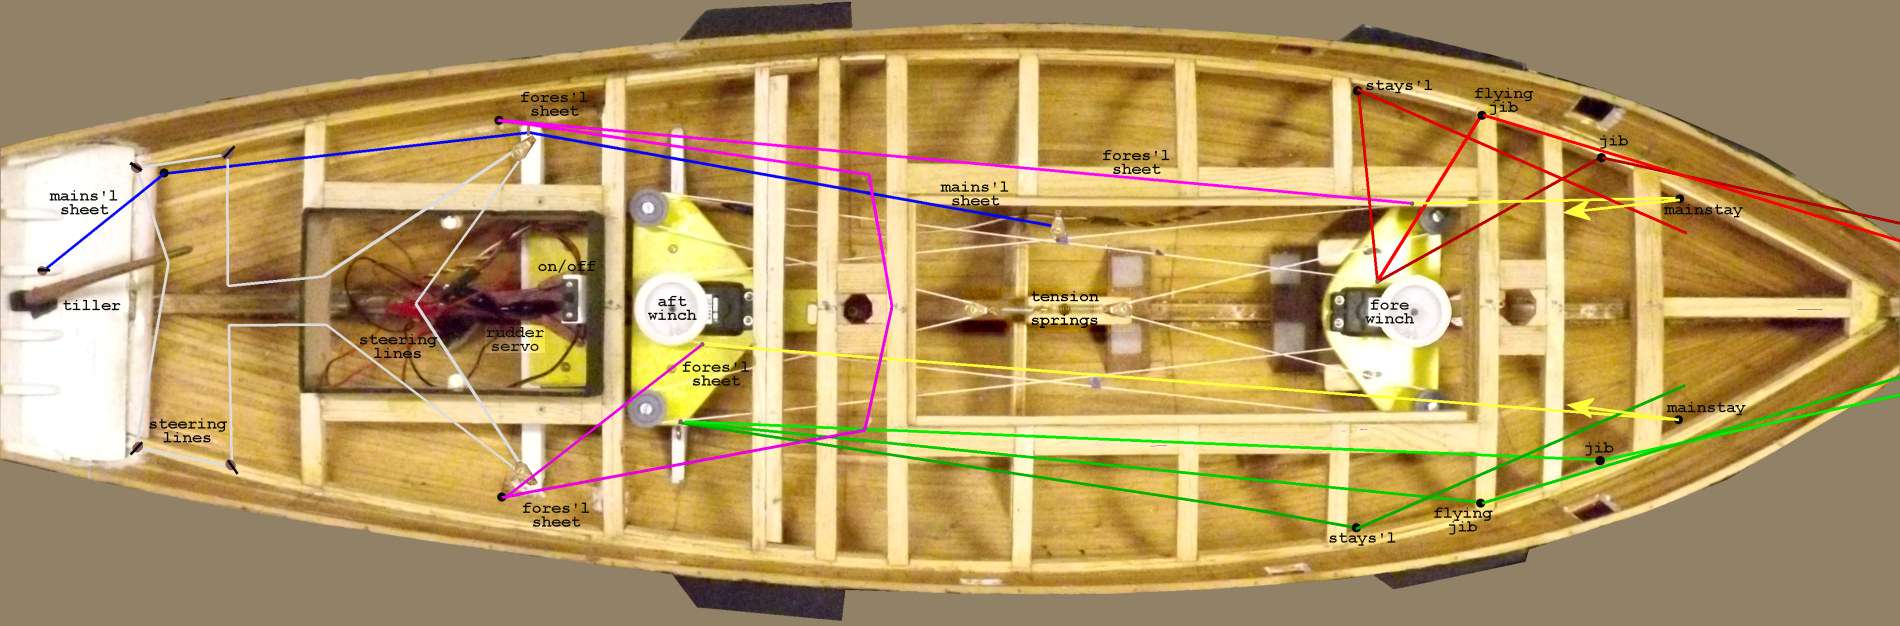
7/27: The Cat's Cradle With the control loops in place and operational, I have to figuring out the fairleads, through-decks, and where things were on deck on the real boat. Also, how I want them to operate on the model. For instance, things like the mainstays ran aft so the winch could be used to tighten it up. Should I have my thru-deck aft, of forward and pull the other end of the tackle? A lot of this I'll have to temporarily rig up on the model to try out and see what works, and looks, best. Here's a draft diagram of the controls. The braces for the squares aren't on it yet, nor are running back-stays for the main top-mast.
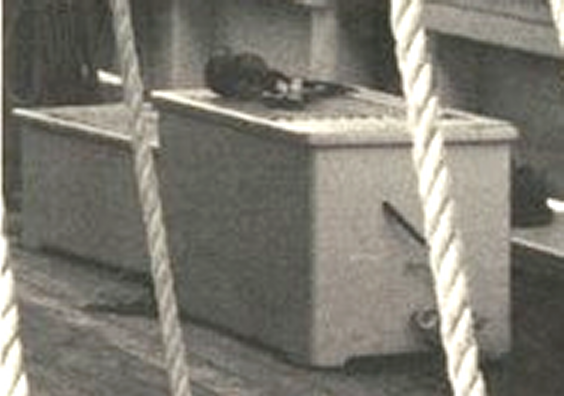
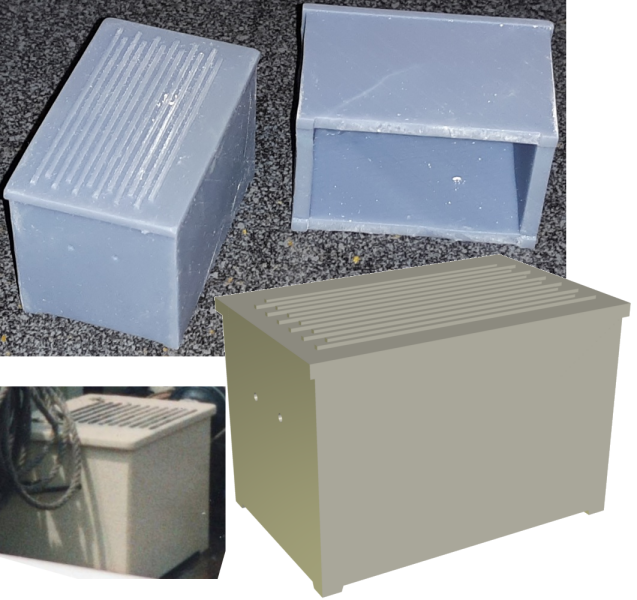
7/31: Deck Boxes From the beginning, Pride had a pair of deck boxes, port and starboard that served as steps for people coming aboard. By 1981, the shorter box seems to have gone below and only the taller boxes stayed on deck, along with a pair of woven rope mats. I guessed at the size for my 3D model by the other items in the photos. The printed models have no bottoms so there's no issue with draining.
|
||