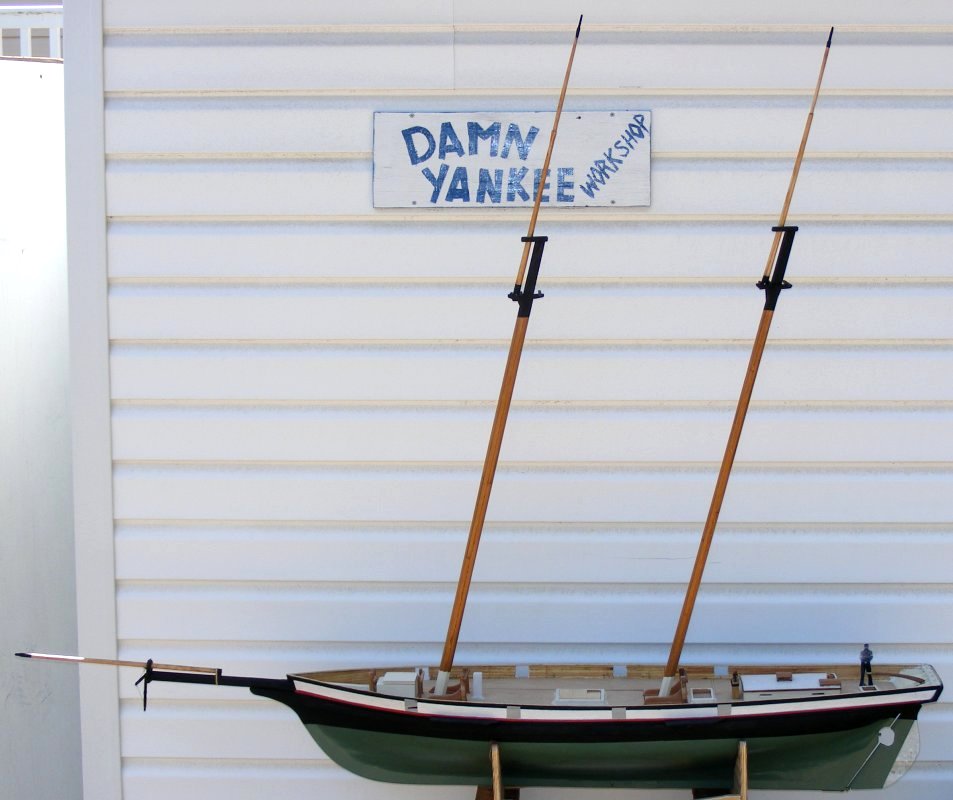
5/29/2012: Topmasts & Hoops
 It's actually tougher to get into the shop on weekends sometimes. This weekend was spent helping someone move and getting visits from friends, some I haven't seen face-to-face
for decades.
It's actually tougher to get into the shop on weekends sometimes. This weekend was spent helping someone move and getting visits from friends, some I haven't seen face-to-face
for decades.
Looking at pictures, and at the sticks I cut for the topmasts, I figured what-the-hell and went ahead and used them. Yeah, there's a little bend in them, but the real boats sticks
weren't poker straight either. Mine weren't too bad, and nothing the rigging couldn't pull straight (I may have to eat these words later, but we'll see).
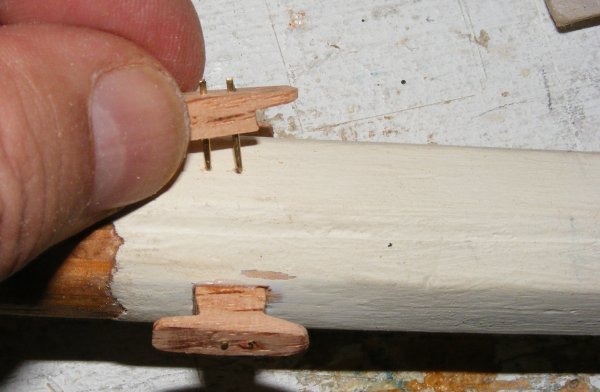
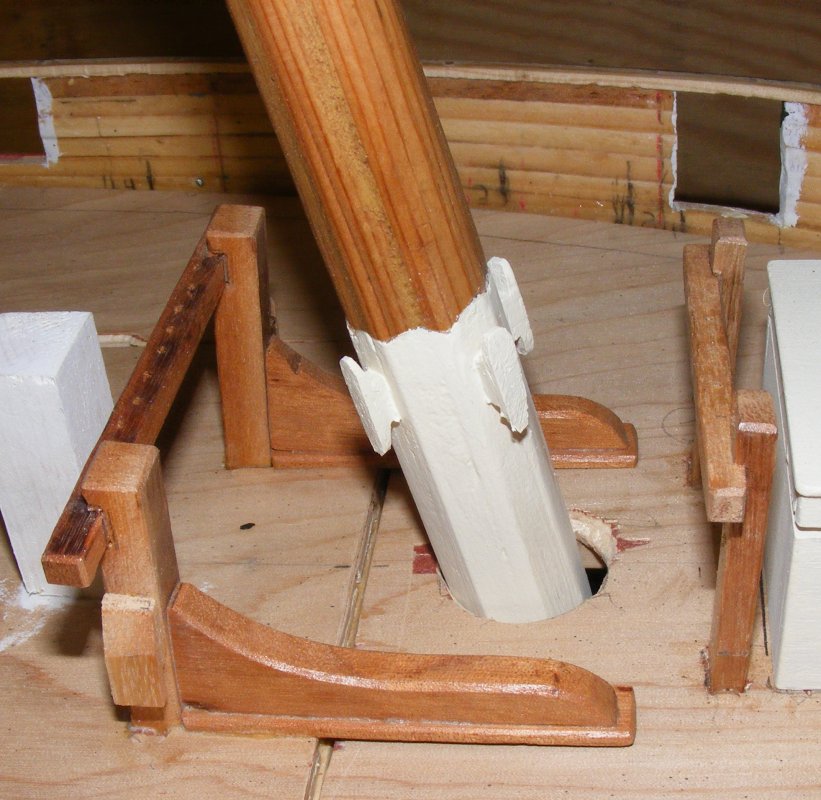
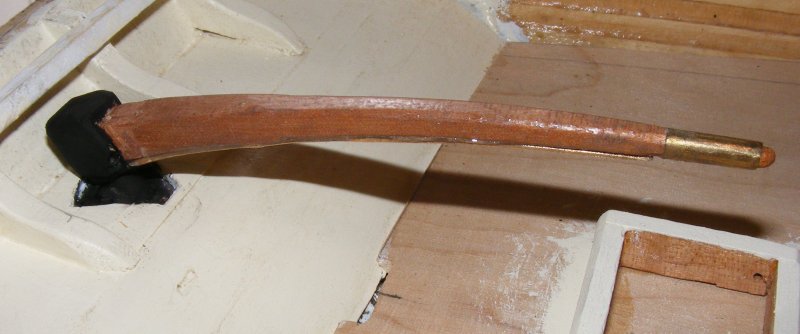 5/30: I started with a false rudder head on the tiller to hide the collar that attaches it to the brass-rod rudder post.
That turned out pretty well, with a almost unnoticeable hole that allows access to the set-screw.
5/30: I started with a false rudder head on the tiller to hide the collar that attaches it to the brass-rod rudder post.
That turned out pretty well, with a almost unnoticeable hole that allows access to the set-screw.
Then I looked at making a blade for my soldering iron to cut the sail cloth with. The tips for the iron have a 1/4"-20 thread, which is easy to come by.
I ground a screw to a blade and gave it a try. It was hot enough, but too narrow and snagged on the wood under the scrap of cloth I was cutting.
I saw something online that cutting on glass, the only glass I have would be a shelf from the refrigerator, but I'll have to come back to that later.
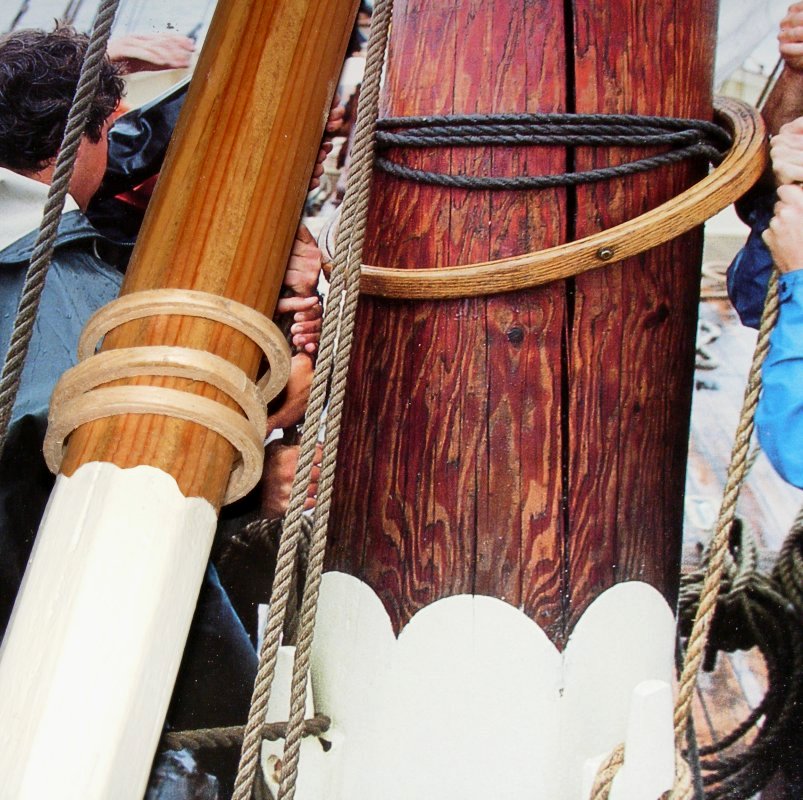
Moving on, I rummaged all through the shop to find something to make mast hoops from. The real ones were oak, as these things typically are,
but shaving whatever I found down to 1/16" thick and 1/8" wide just seemed like a pain. I have several sheets of 1/16" bass, including some 4" x 7" sheets from an assortment bag,
so I figured I'd give that a try; if it works, I get off cheap, if not I'm not out anything.
 The real ones are sometimes glued but are often just steam bent and riveted. Mine would only be glued. I cut a few strips from my sheet, soaked them in water,
and wrapped one around a 1" dowel, which failed immediately. So I soaked them longer, better but still failed. Next I tried hot water and that worked, well enough at least.
The real ones are sometimes glued but are often just steam bent and riveted. Mine would only be glued. I cut a few strips from my sheet, soaked them in water,
and wrapped one around a 1" dowel, which failed immediately. So I soaked them longer, better but still failed. Next I tried hot water and that worked, well enough at least.
 Once I had a system that worked, I cut enough strips to make all my hoops, plus a few extras. The ends get feathered with a couple of swipes of the block plane; this is important
when wrapping them without the taper, the hump on the inside is enough to crack the strip. Then they all get soaked in hot water and wrapped around a spray can to pre-curl them.
Then they go back in the water and wrapped around a 1" pipe to get them to the final curl.
Once I had a system that worked, I cut enough strips to make all my hoops, plus a few extras. The ends get feathered with a couple of swipes of the block plane; this is important
when wrapping them without the taper, the hump on the inside is enough to crack the strip. Then they all get soaked in hot water and wrapped around a spray can to pre-curl them.
Then they go back in the water and wrapped around a 1" pipe to get them to the final curl.
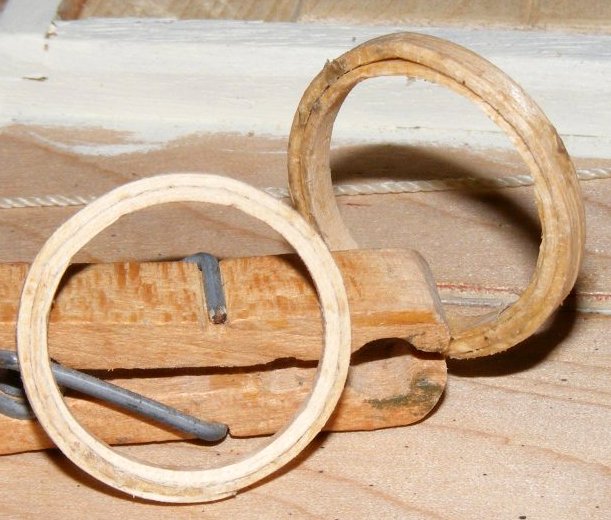
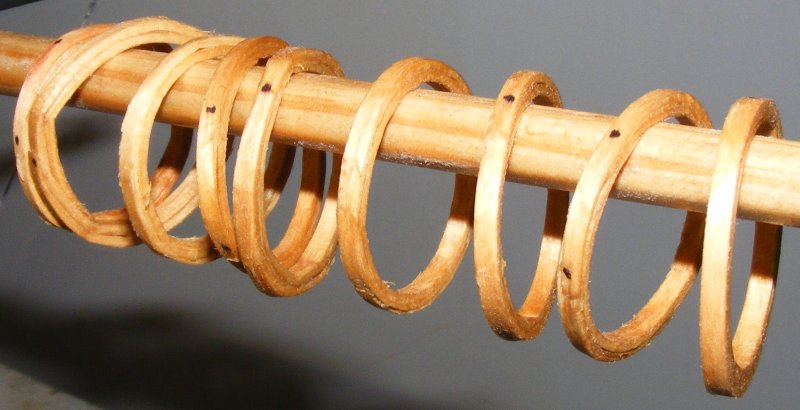
Each one gets glued up with wood glue, curled around a 1" dowel, and clamped. After they set-up a bit I slide them off and clamp them at the outside end. Even if they cracked,
being glued in layers should keep them strong enough, I squirt a little glue in any gaps and clamp them at any cracks or kinks.
I managed to make about half of the 26 I need, the rest are wrapped around the 1" pipe waiting their turn.
5/31: The rest of the hoop are made, and as they set up, the first half gets sanded, rivets marks, and stained. The next batch got the same treatment when they set up.
before long, I had 26 completed hoops.
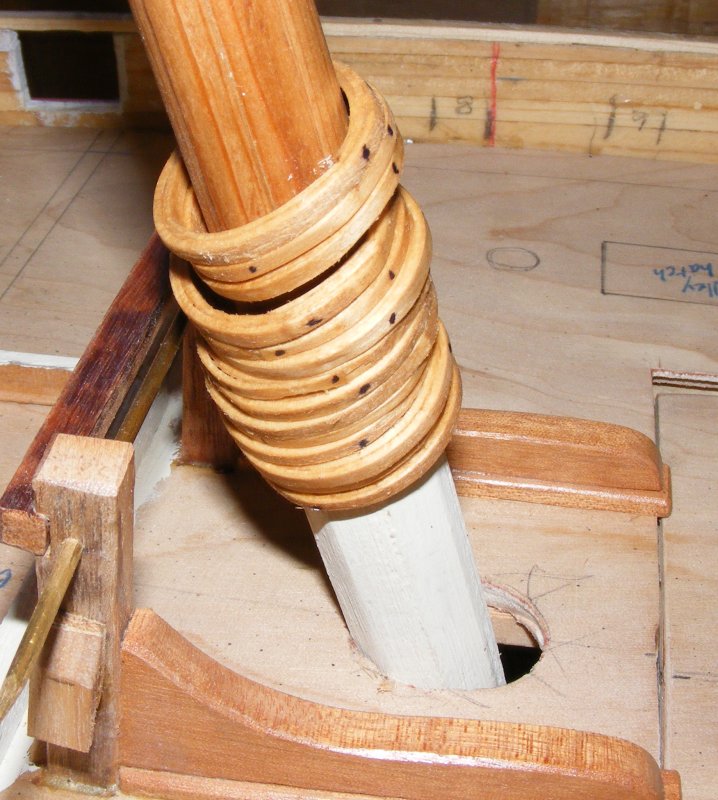
With the hoops done I could install the cleats at the base of the foremast. The hoops won't fir over these or the hounds, so the hoops have to go on first.
The cleats are red oak, CAed and pinned to the mast.
6/01: A new month started with a new project; making a hot knife to cut the sail cloth with. Two yards of Supplex came in back on the 18th, but I need a better way to cut it.
On Constellation I cut the sails with a rotary cutter and sealed the edges by running a soldering iron along the edge. That was dicey - the slight wrong move and the iron
eats a big scallop out of the sail. This time I intend to use a hot knife that will cut and seal at the same time.
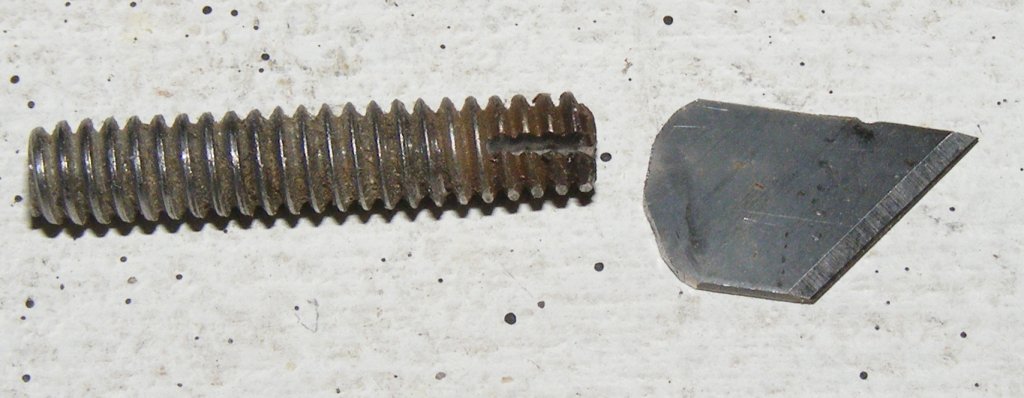
 My first try was simply grinding a steel 1/4-20 screw into a blade. That was ok, but it wouldn't cut and snagged causing over melting and a ragged edge.
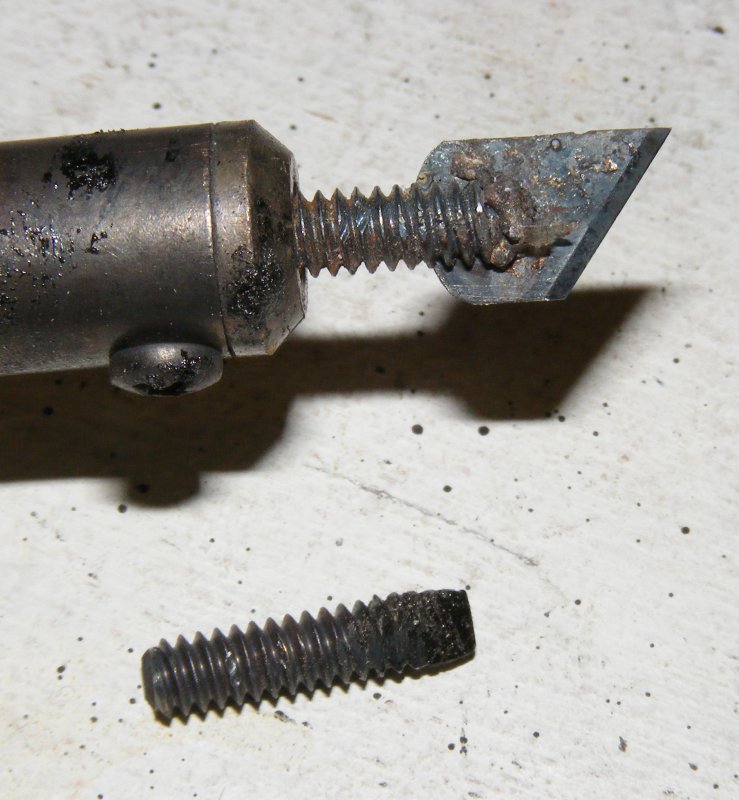
Next I cut the head off another screw and slotted it to take part of a #19 blade. I had a soldering rod that requires a torch to melt; cleaned everything up,
applied some flux, lit the torch and proceeded to accomplish nothing. The solder would not stick to anything.
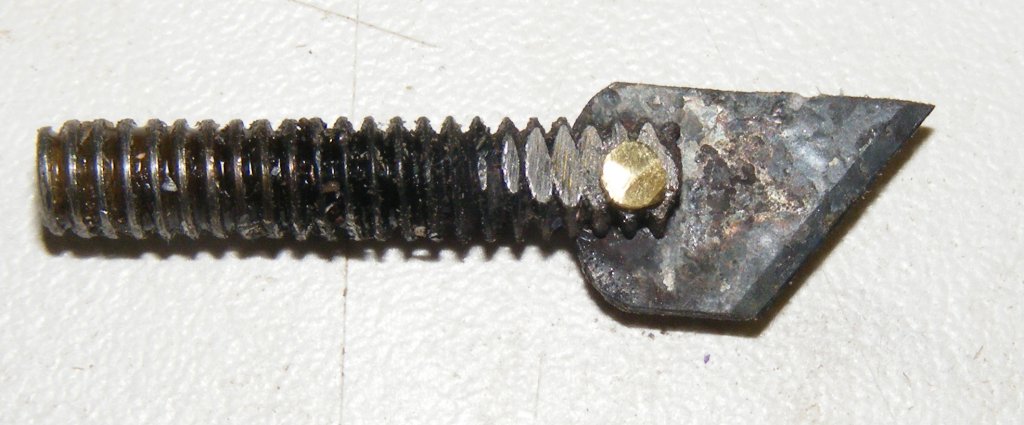 Plan B: I drilled the screw and blade and put a bit of brass rod through it, peening it over on either side. This was great for making the blade secure,
but it wasn't quite hot enough. The blade would cut, but it wasn't sealing the edge very well as it did.
Plan B: I drilled the screw and blade and put a bit of brass rod through it, peening it over on either side. This was great for making the blade secure,
but it wasn't quite hot enough. The blade would cut, but it wasn't sealing the edge very well as it did.
 Soldering iron tips are usually copper, so I thought a copper screw with a copper pin to secure the blade would work better, and I will make another knife using copper,
but I wasn't ready to give up on this quite yet. I scratched my head for a while.
I couldn't imagine the blade wouldn't get hot enough to melt anything, but that seemed to be the case, when I simply shortened the screw.
Soldering iron tips are usually copper, so I thought a copper screw with a copper pin to secure the blade would work better, and I will make another knife using copper,
but I wasn't ready to give up on this quite yet. I scratched my head for a while.
I couldn't imagine the blade wouldn't get hot enough to melt anything, but that seemed to be the case, when I simply shortened the screw.
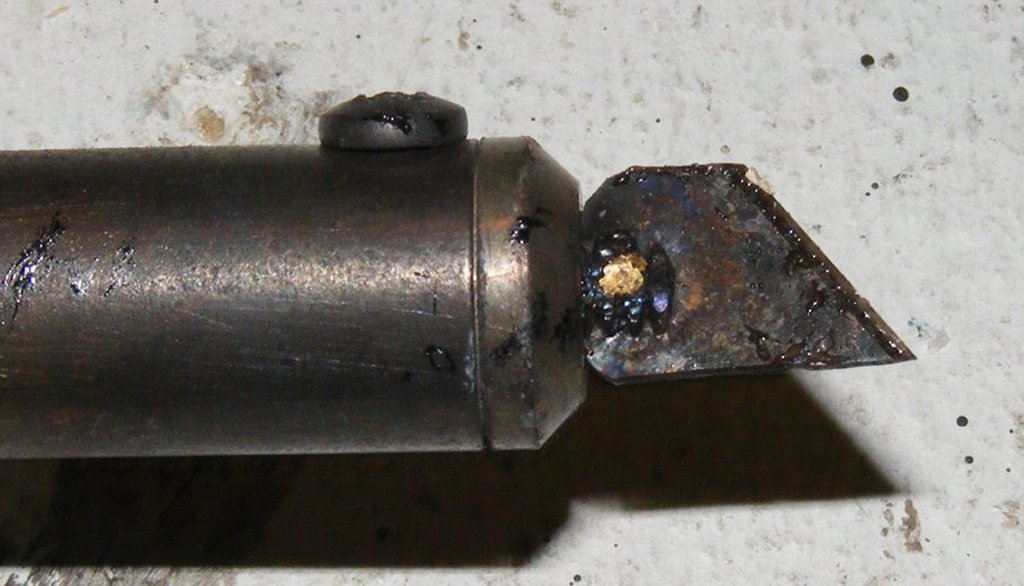
 That allowed the blade to snug right up to the iron and made less steel screw to have to heat. That made a big difference.
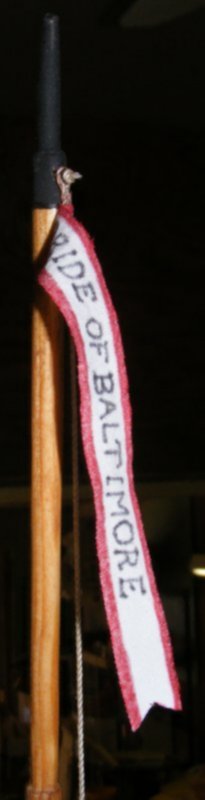
I cut a pennant from some scrap cloth and it came out very nicely. Later I cut the models first sail with the hot knife - the foresail.
That allowed the blade to snug right up to the iron and made less steel screw to have to heat. That made a big difference.
I cut a pennant from some scrap cloth and it came out very nicely. Later I cut the models first sail with the hot knife - the foresail.
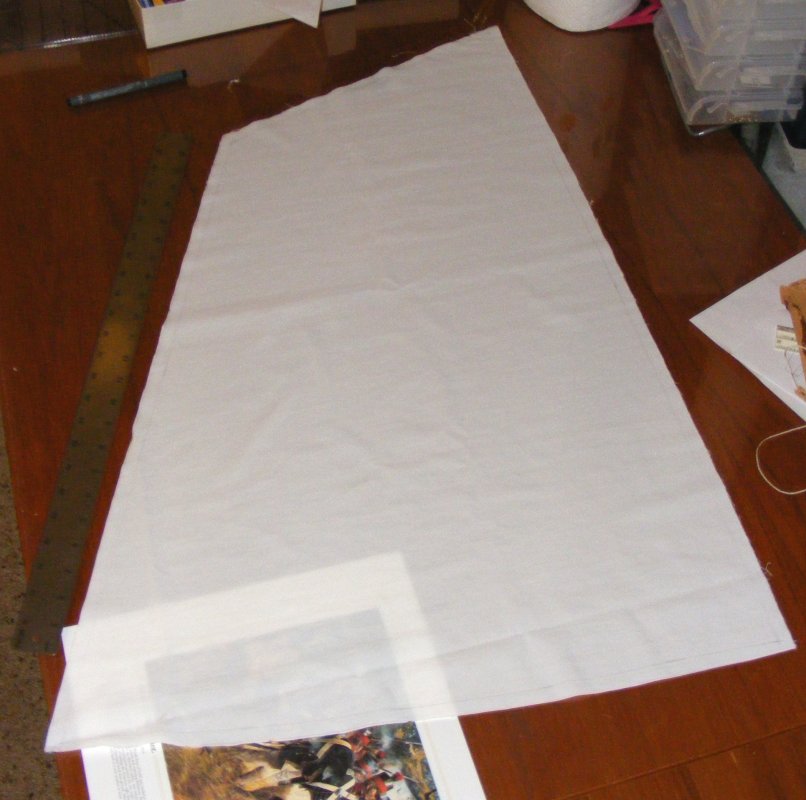 A video on YouTube suggested cutting on glass. I had an ugly painting I got for the frame, hiding behind the television. It had a 27" x 20" bit of glass in it,
so that's what I cut the foresail on. I can't say that cutting on glass was better. The big foresail as opposed to the little pennant isn't a fair comparison;
so the next sail I'll try cutting on hardboard (Masonite).
A video on YouTube suggested cutting on glass. I had an ugly painting I got for the frame, hiding behind the television. It had a 27" x 20" bit of glass in it,
so that's what I cut the foresail on. I can't say that cutting on glass was better. The big foresail as opposed to the little pennant isn't a fair comparison;
so the next sail I'll try cutting on hardboard (Masonite).


