5/1/12
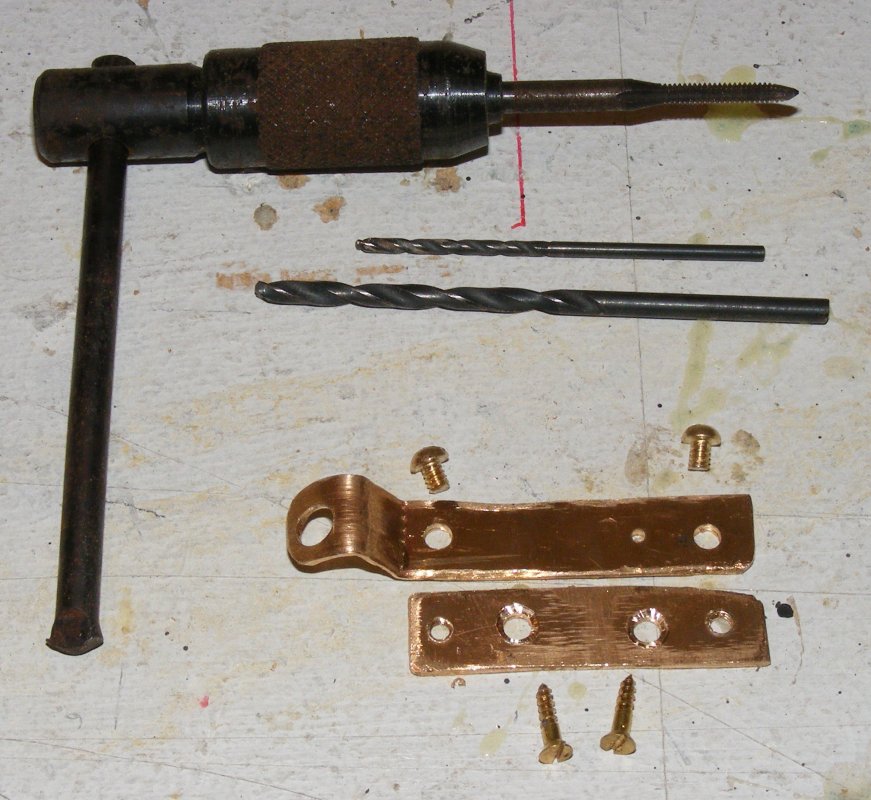
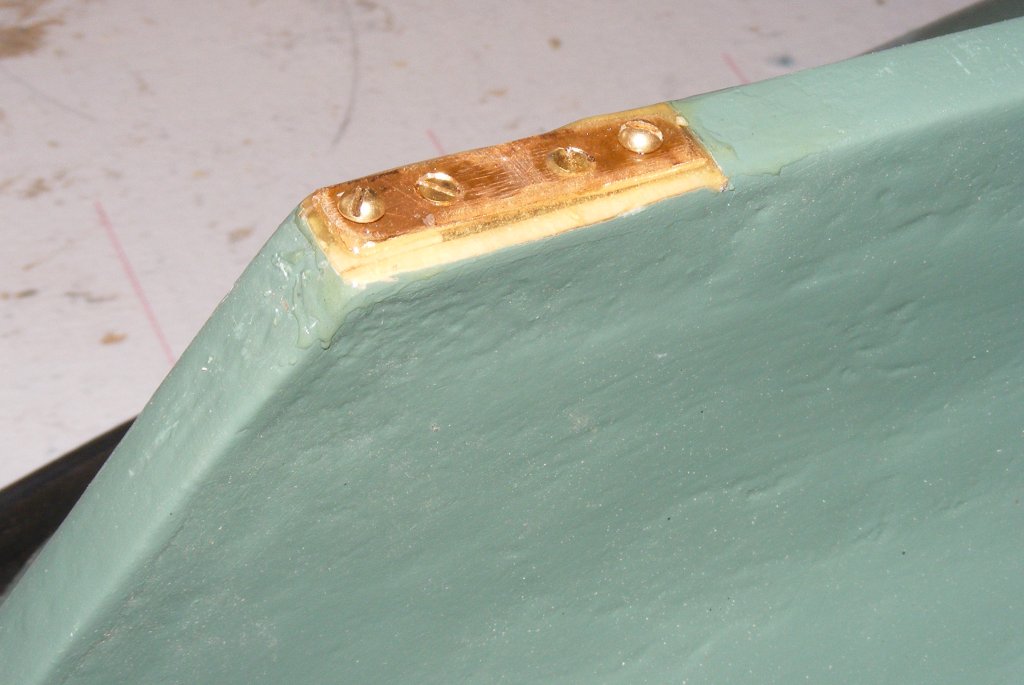
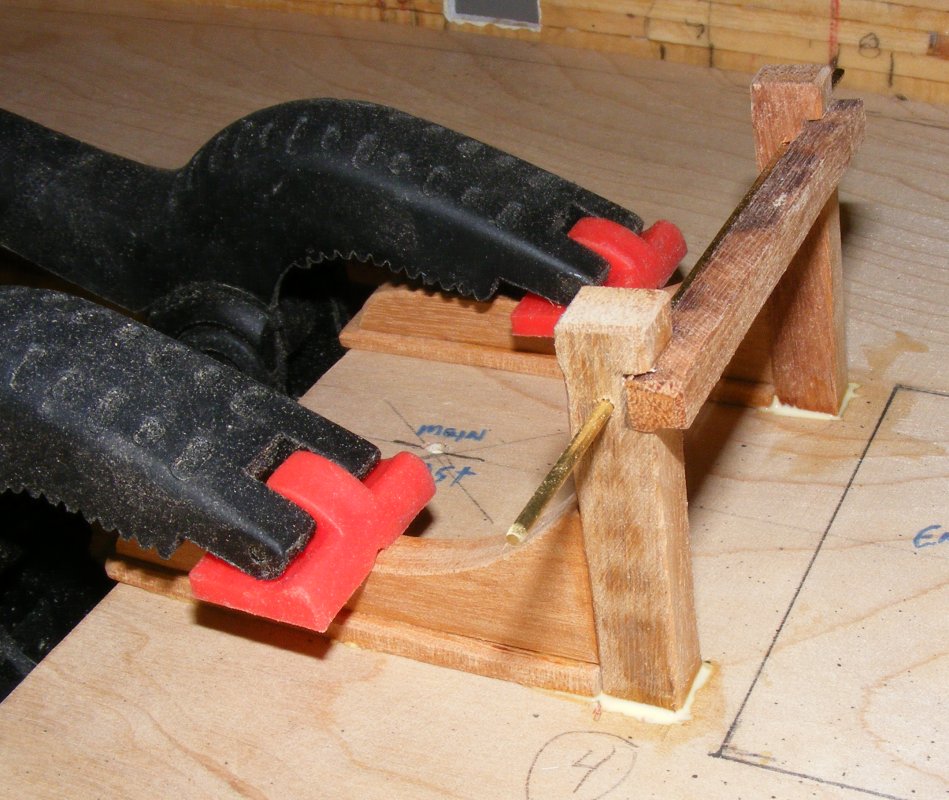
Previous Page | Next Page | Table of Contents 4/27/2012: Setting up the rudder. I found some #2 brass wood screws and some #4 brass machine screws without having to buy any more, so I drilled and tapped the holes in the mounting plate, and drilled and counter-sank the holes for the wood screws. The holes in the gudgeon plate were opened to the right sizes, and the mounting plate was screwed and epoxied to the keel.
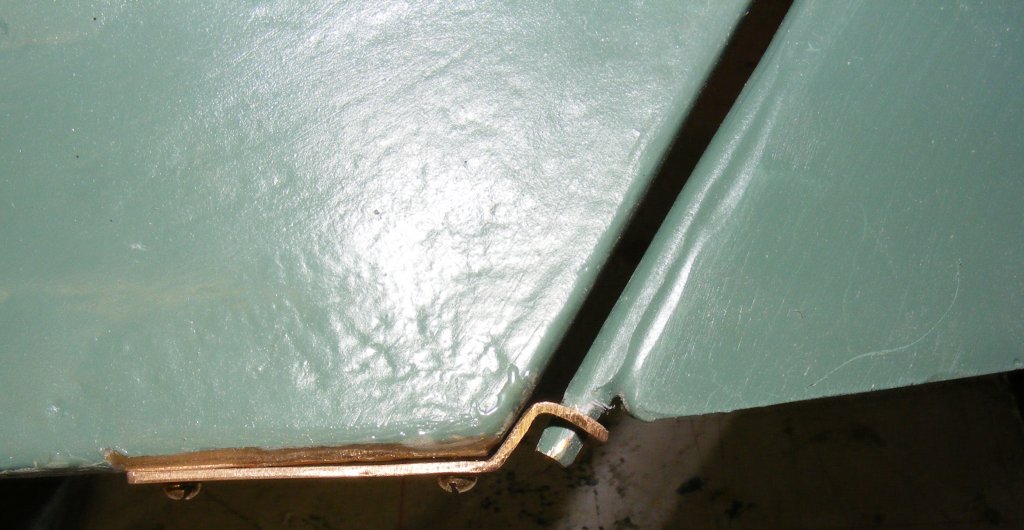
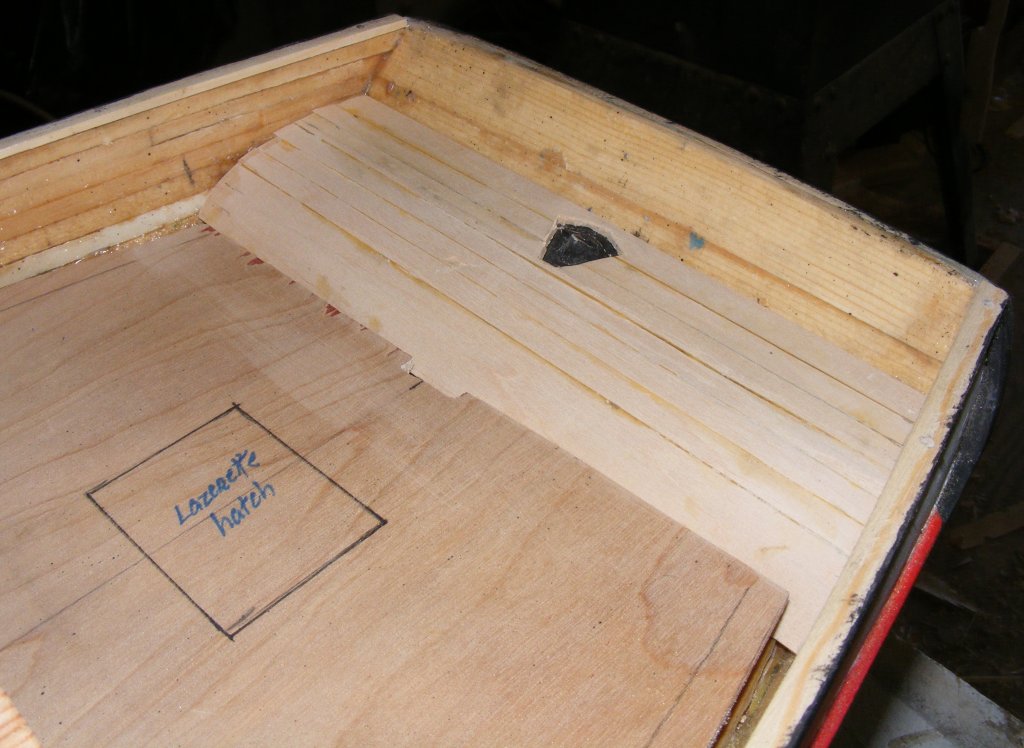
One set-up, everything went together just fine. That done, I completed the inboard planking of the counter leaving the keystone shaped opening for the rudder head-just for looks.
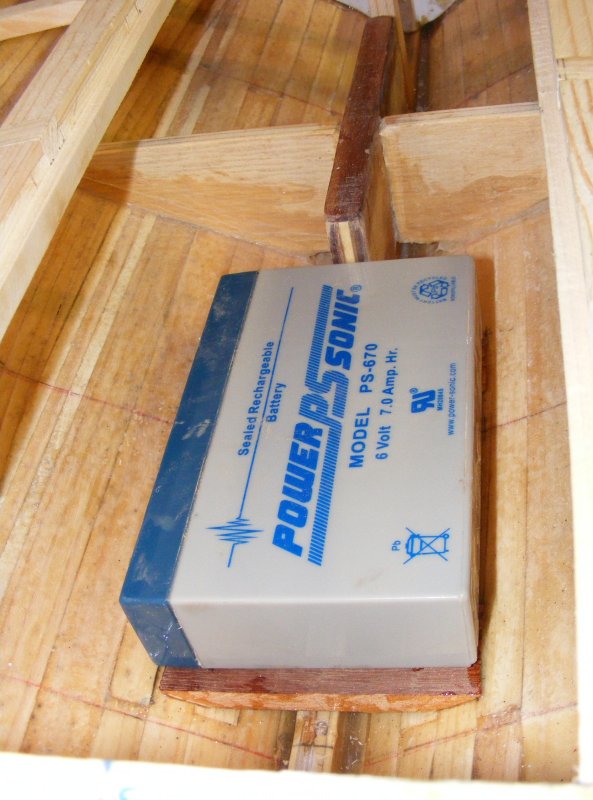
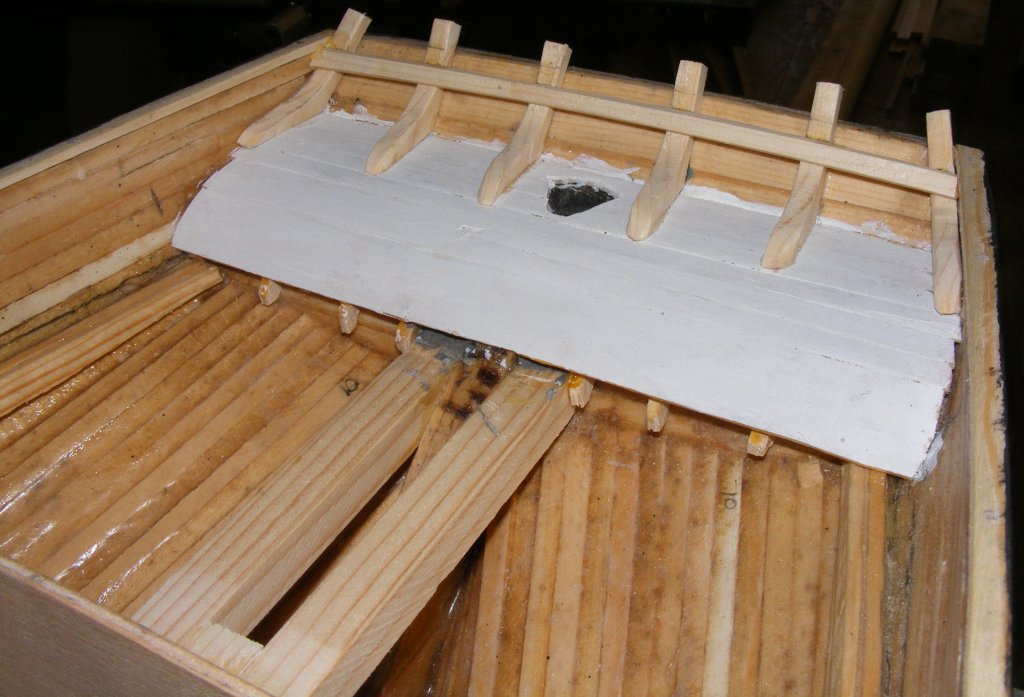
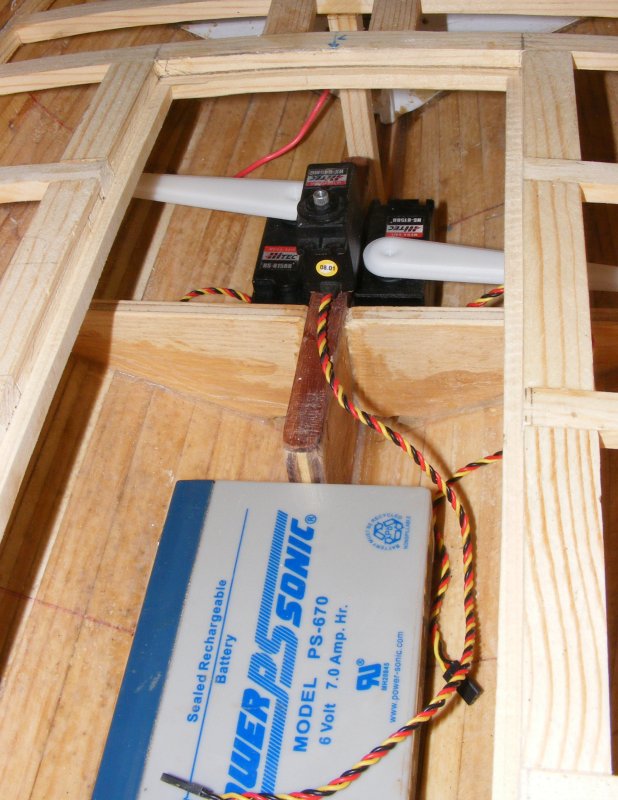
The riding bitts also got glued to the subdeck, and a pair of beams went into the hull for the batteries to lay on. The batteries are held by peel-n-stick Velcro tabs, just as in Constellation.
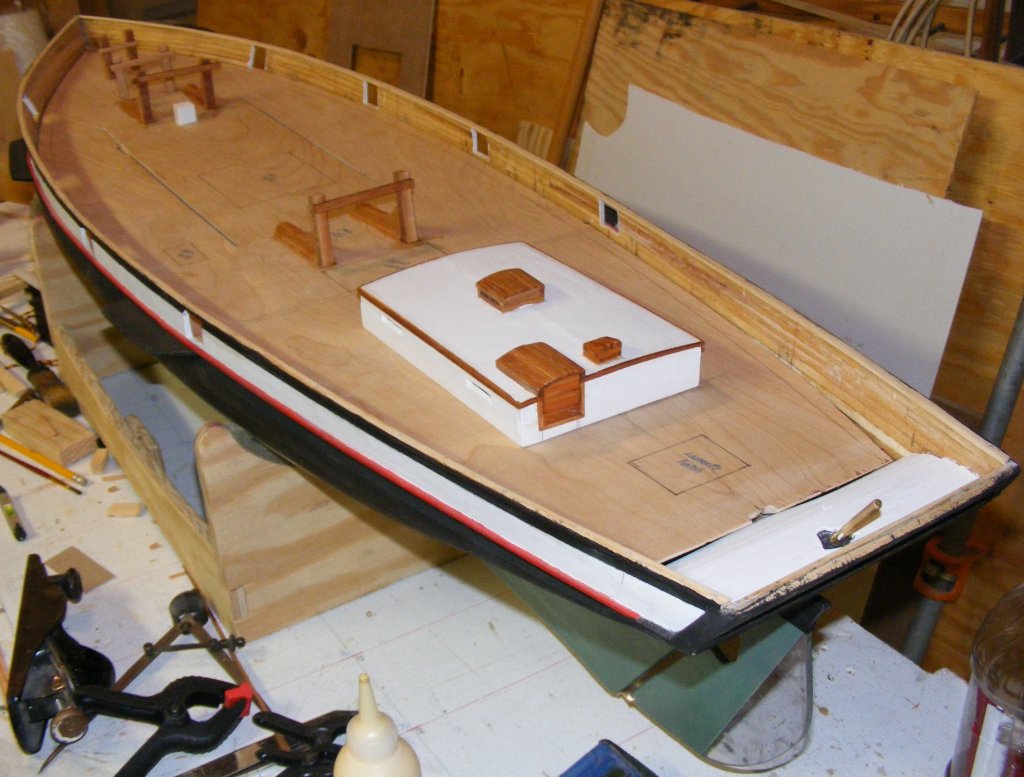
The cabin top got it's binnacle box, hatch panels, a coat of primer, and some poly on the wood work. The counter decking also got a coat of primer.
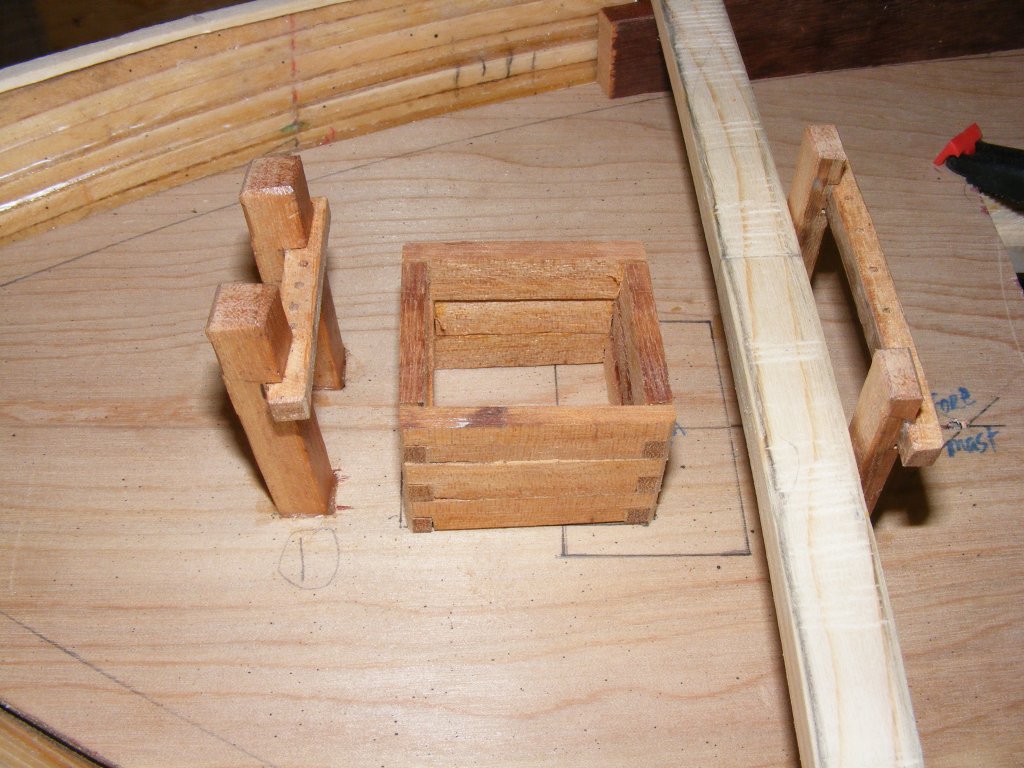
4/30: Put in the transom knees and the top clamp across them. Reinstalled the binnacle box facing the correct way. Started the pump boxes which need some iron banding and a handle. While looking a photos to figure out the pump boxes, which, by-the-way, are not on the plans, I noticed that the cabin top is white, and not the cream color the bulwarks and cabin sides are.
I was going to plant the rudder servo in the cabin, but I'm thinking of mounting it on top of the dagger-board trunk, which the sail arms on either side.
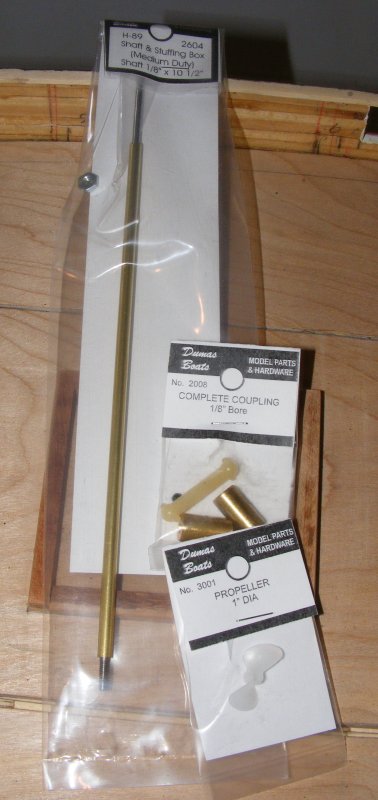
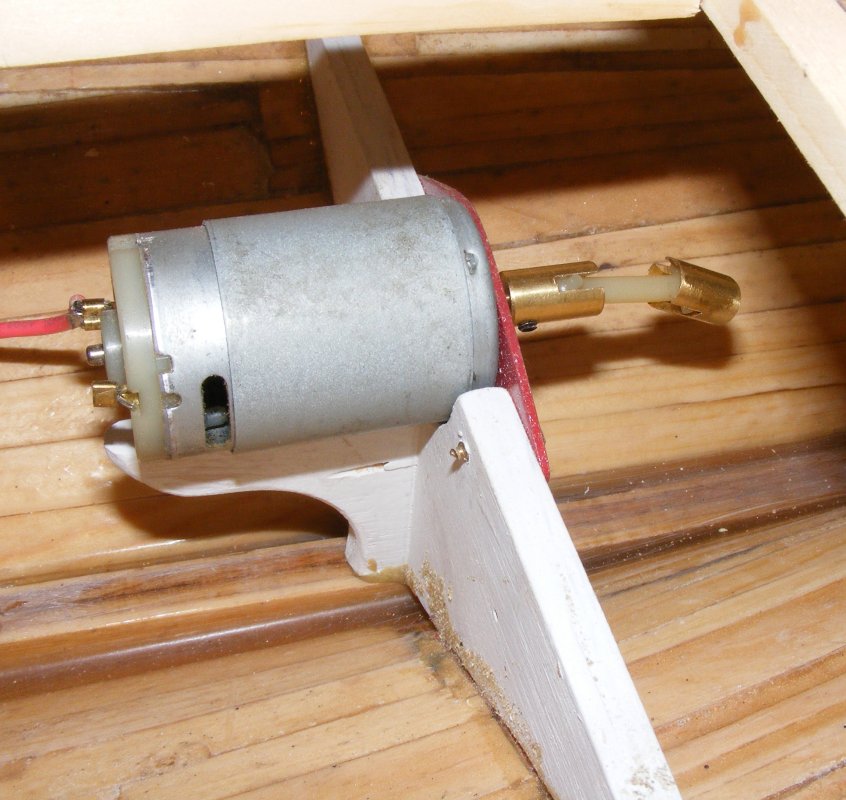
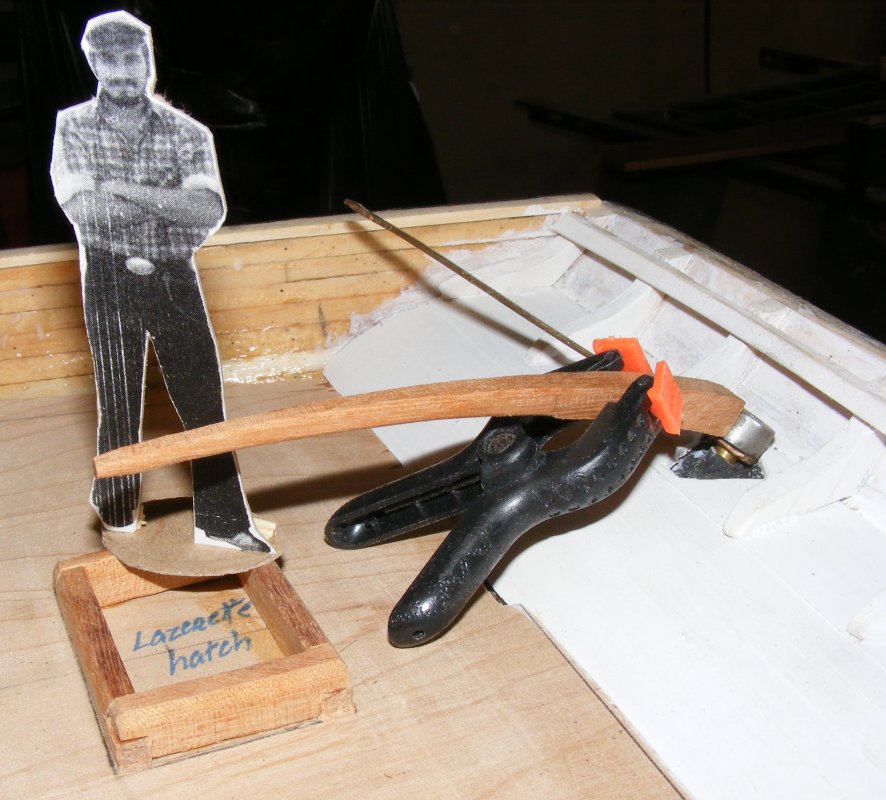
5/1: I was making the hatch coamings when the prop shaft, stuffing box, and prop came in the mail from Dumas. I need to get a collar so it won't take off out of the boat when in reverse. So, I made all the hatch coamings - none of which are actually going to function as hatches and most of them had covers on them all the time while I was aboard - it was Fall after all. If I finish them covered I won't have to make any gratings - that's a plus. Looking at photos to figure out how tall the focs'l hatch coaming was I noticed it didn't look like what the deck plan showed. A look at the structural plan matched better what was in the photos, so that's why what I made doesn't match the lines drawn on the subdeck. Finally, I started shaping the tiller. I plan to make a tiller of thick copper with a collar soldiered to it like Constellation's but attach this wooden tiller over it. The copper tiller will provide strength while the wooden one hides the copper one - that's the plan, at least.
|
||