4/22/12
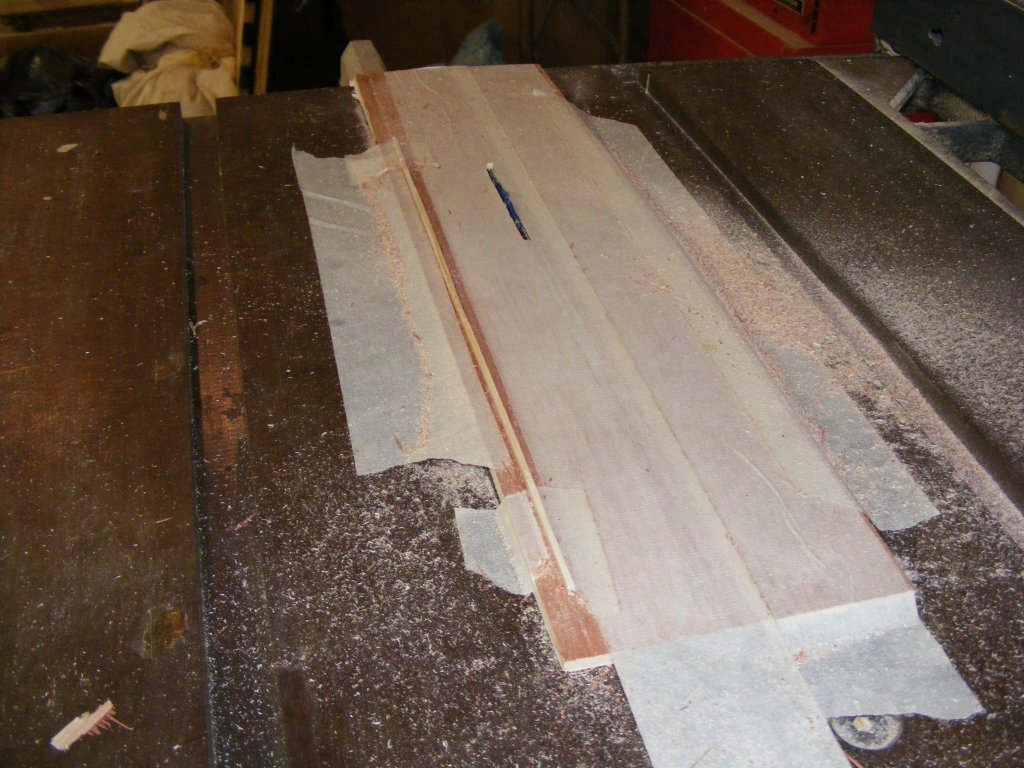
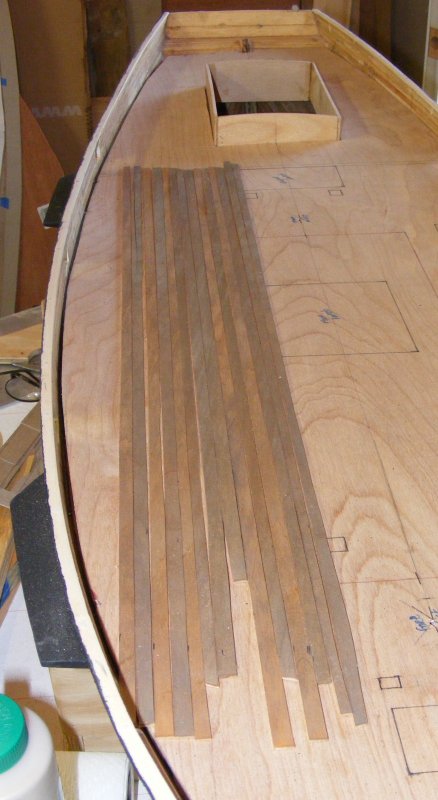
Previous Page | Next Page | Table of Contents 4/15/2012: Deck the Hull The sub deck has to bend to curve to the hull's sheer, but it also has to bend across that to take the decks camber. I loaded a 7" circular saw blade onto the table saw to get the narrowest kerf I could, then ran the deck through cutting a kerf down the centerline about 3/4 the thickness of the plywood. I then set up a jig with a wood strip that would ride in the notch just cut to make another cut 1-1/2" over and parallel to the first. I wound up with 9 cuts the length of the plywood sub-deck - which allowed it to bend to the deck camber much more easily.
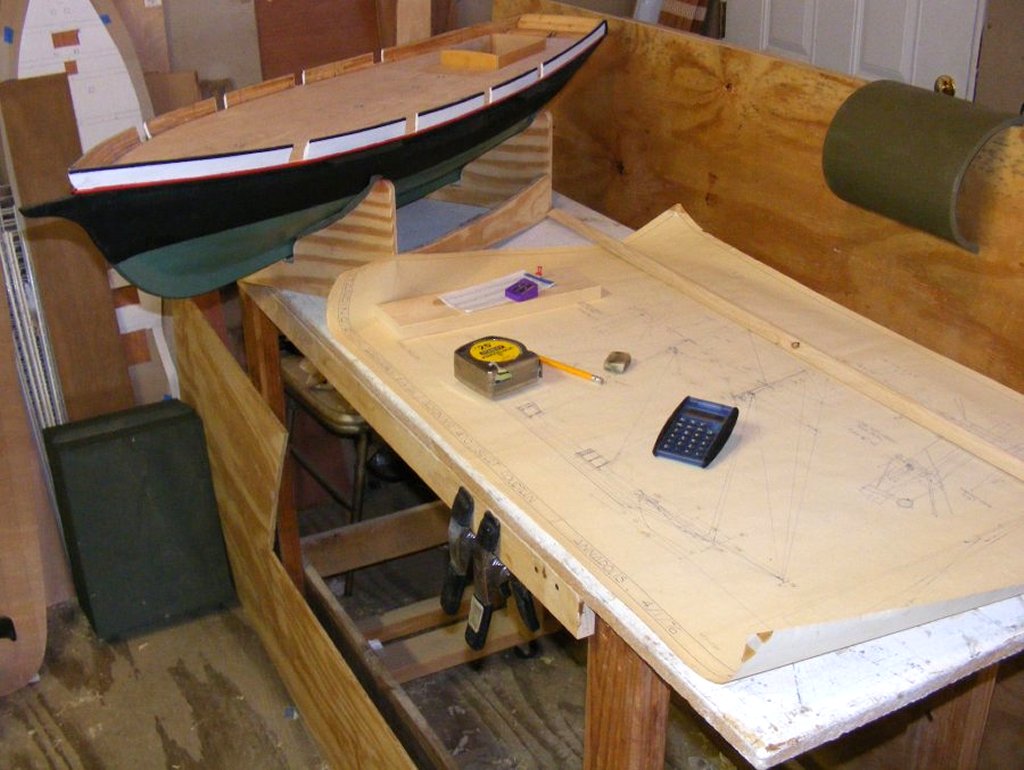
4/18: Yesterday, between other things, I marked the 1:64 scale spar plan with the 1:20 scale dimentions in preparation of starting on the spars.
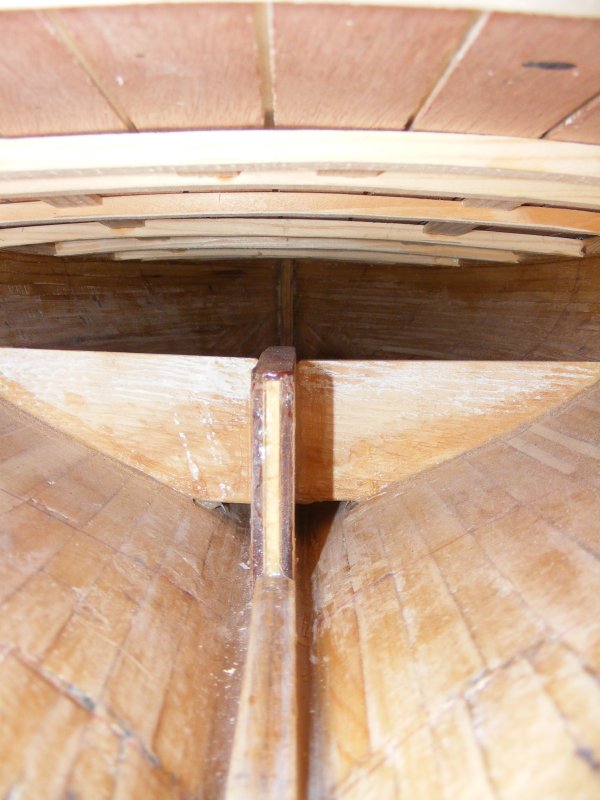
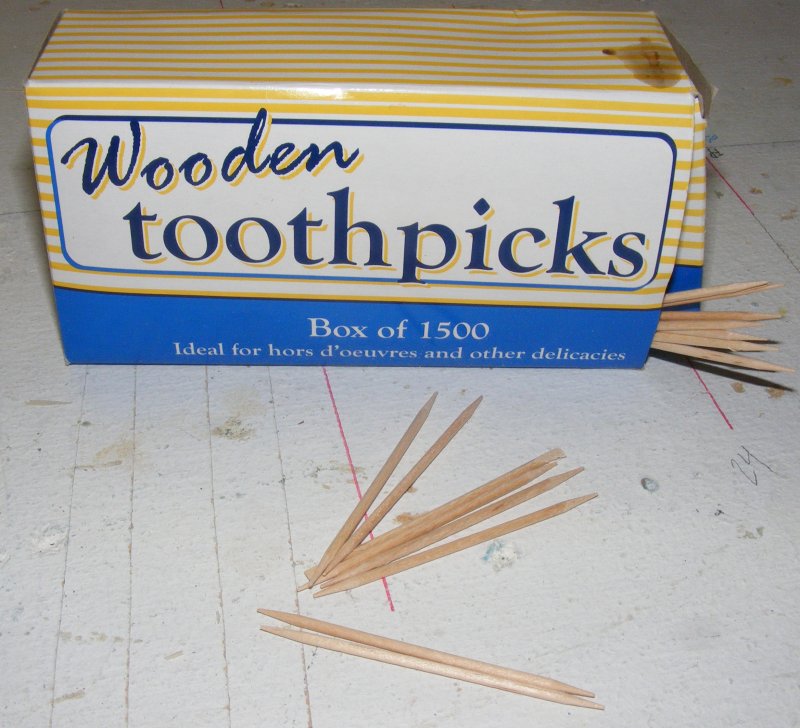
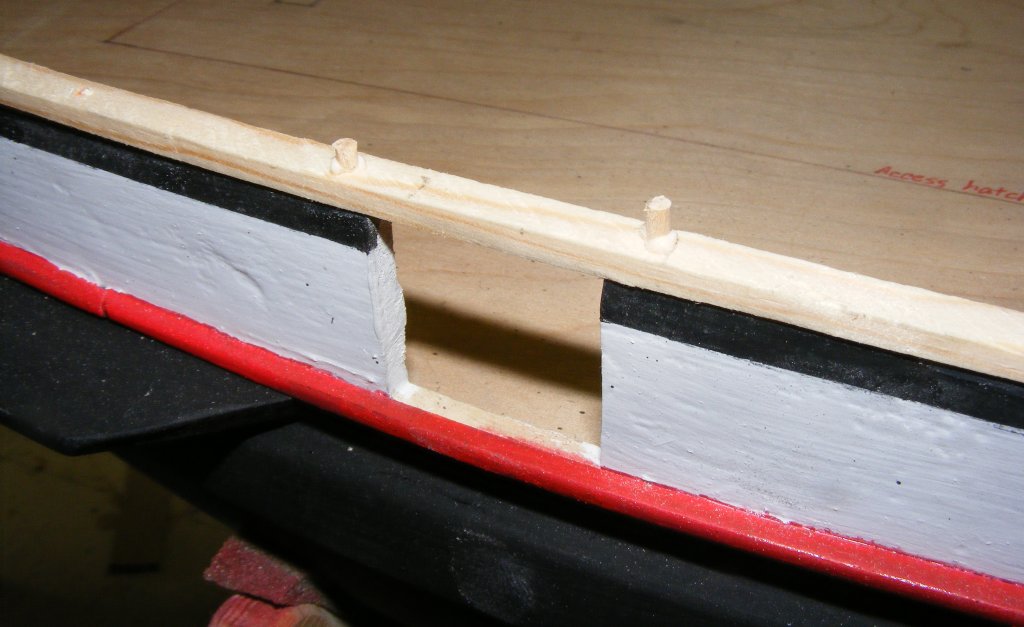
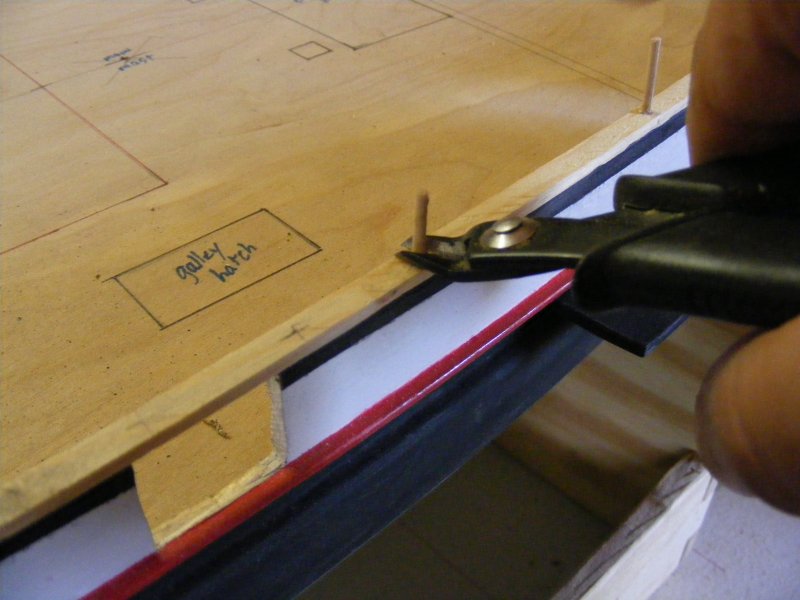
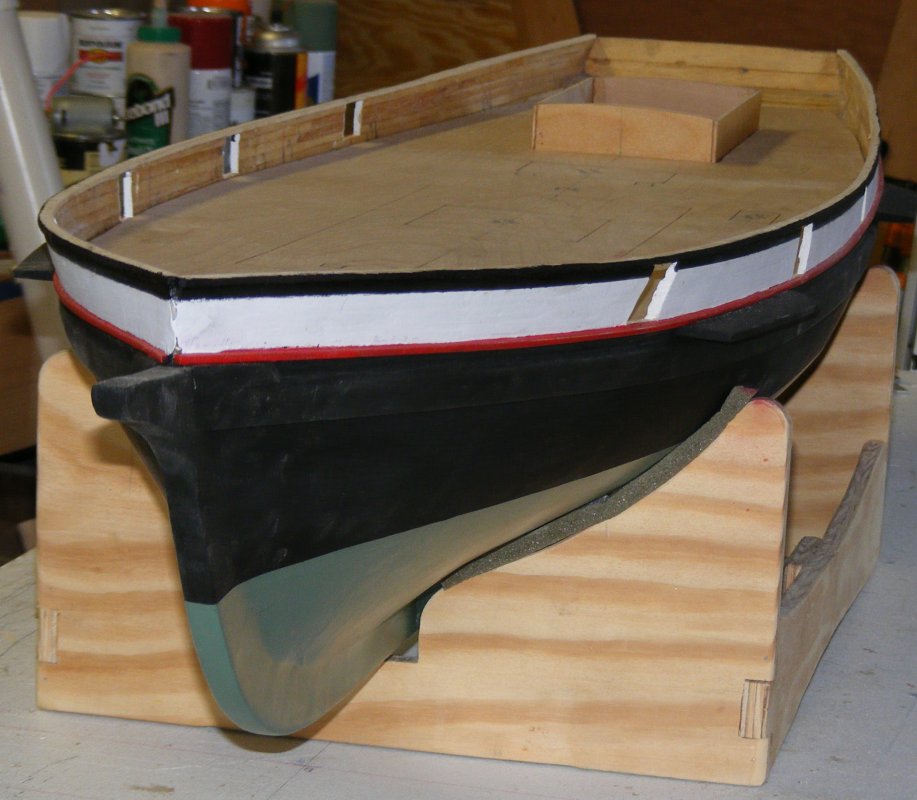
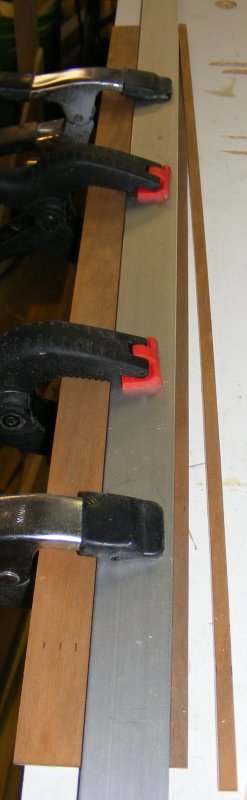
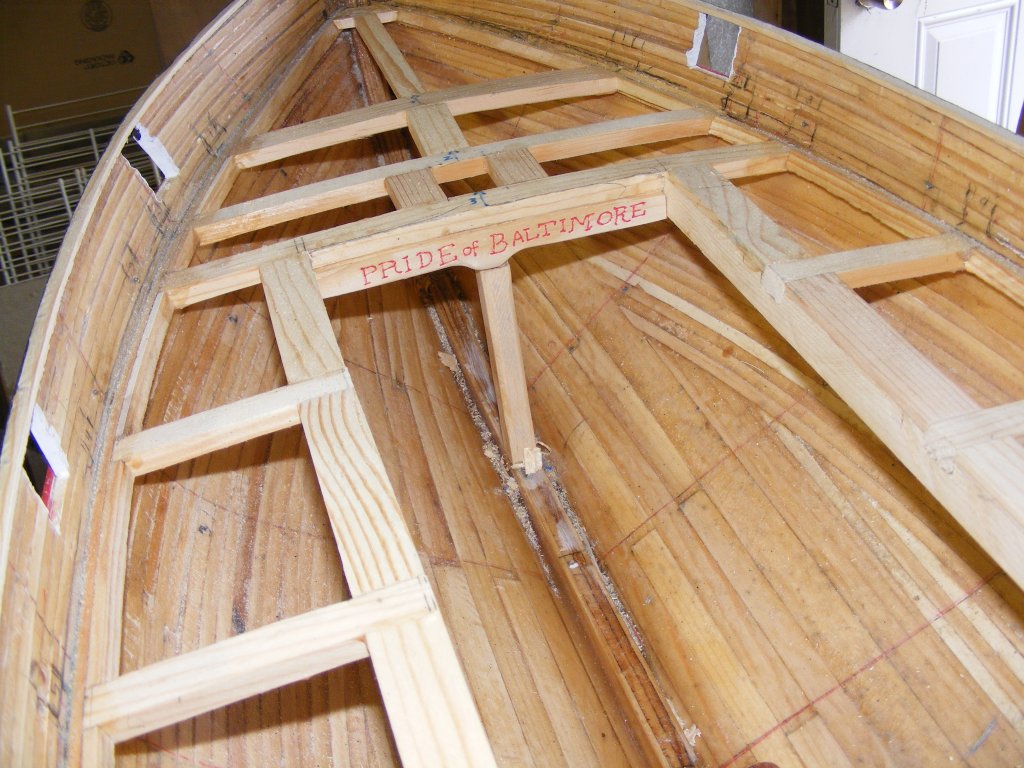
4/19: A rail was installed around the top of the planking. This isn't the finished cap rail, but a board that covers the top of the planking and the timber heads. My timber heads won't get installed until the deck and waterways go on, and the full width rail would get in the way of that, so this is a piece about half the width that ties the top of the planking together, especially over the gunports. The rail was wetted and clamped to the hull to take it's shape. Then it was predrilled at the drill press every 3" or so. I didn't really have an efficient way to clamp it to the top of the hull, so I opted to peg it on using some nice round wooden toothpicks I found at the "Dollar Store" a while back. After getting glued and pegged, the pegs were snipped off with flush cutters and everything sanded.
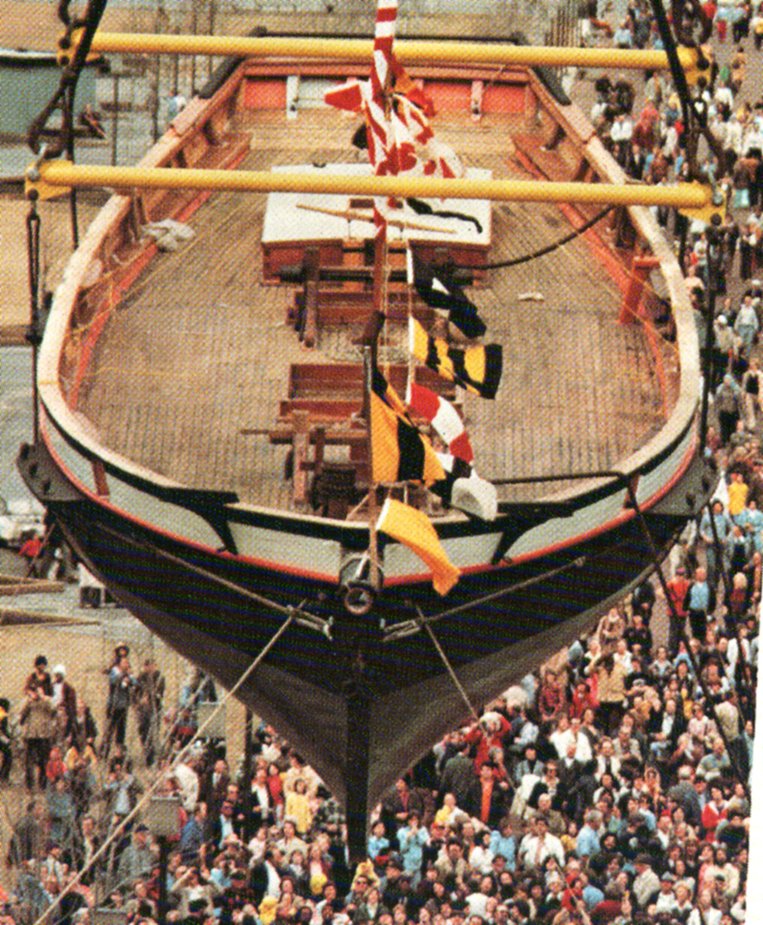
4/20: Pride's decks were always very dark, even when she was brand new,
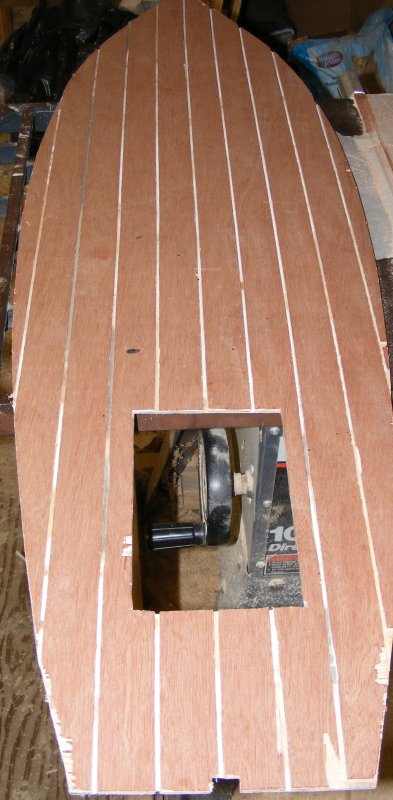
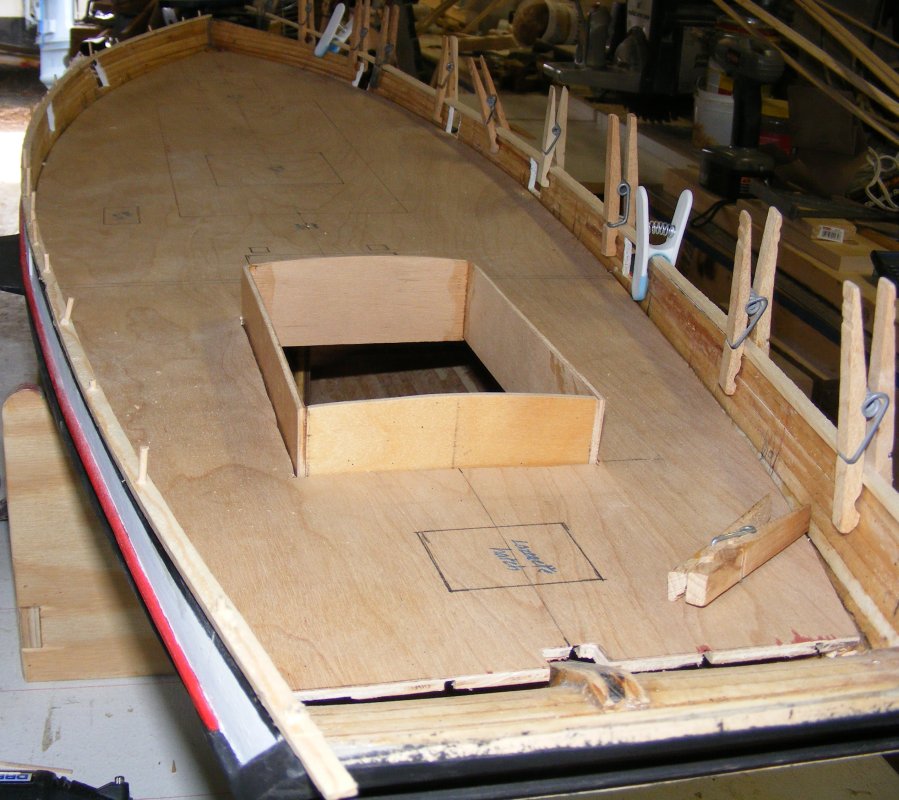
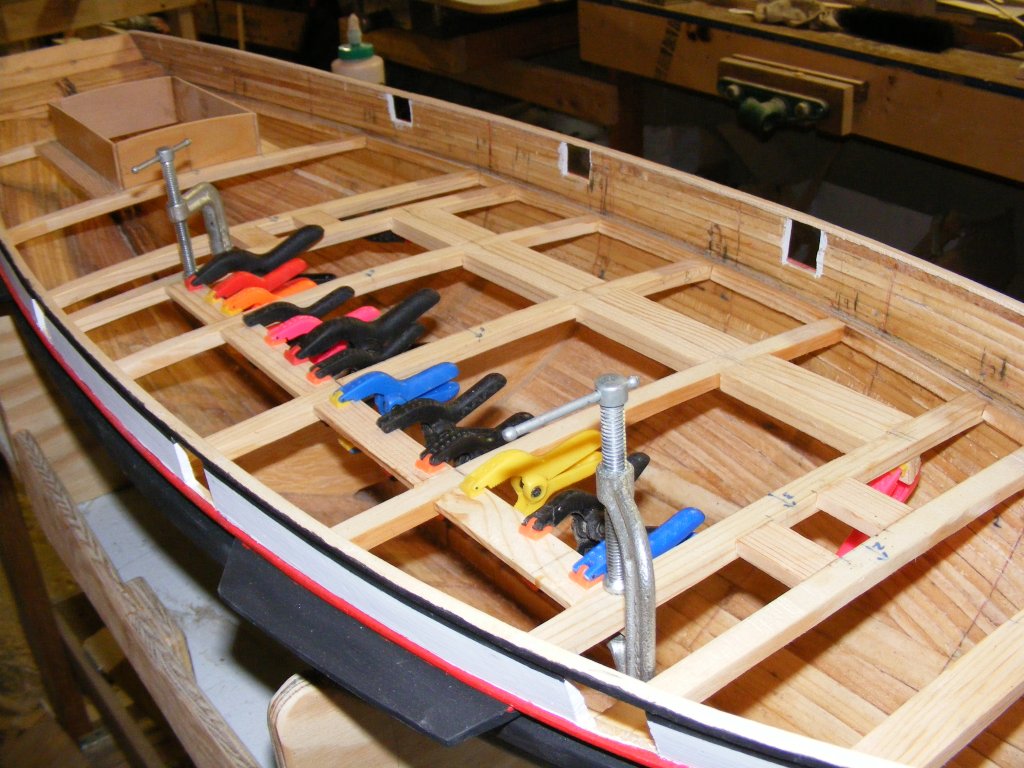
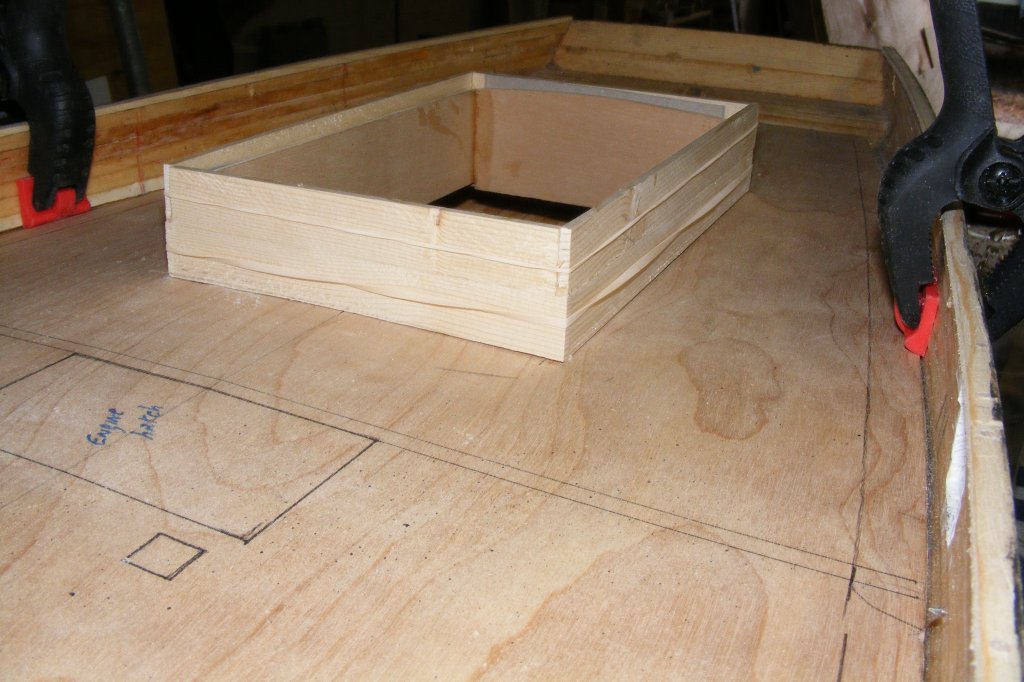
I continued framing the access hatch. When the framing is complete, the beams will be cut to allow that section to be removed without loosing it's shape. When the subdeck goes on, everything will get a coat of epoxy; beams, underside of the deck, etc. I expect the model will be as wet as the actual boat was, so the deck will be sealed as tight as I can get it.
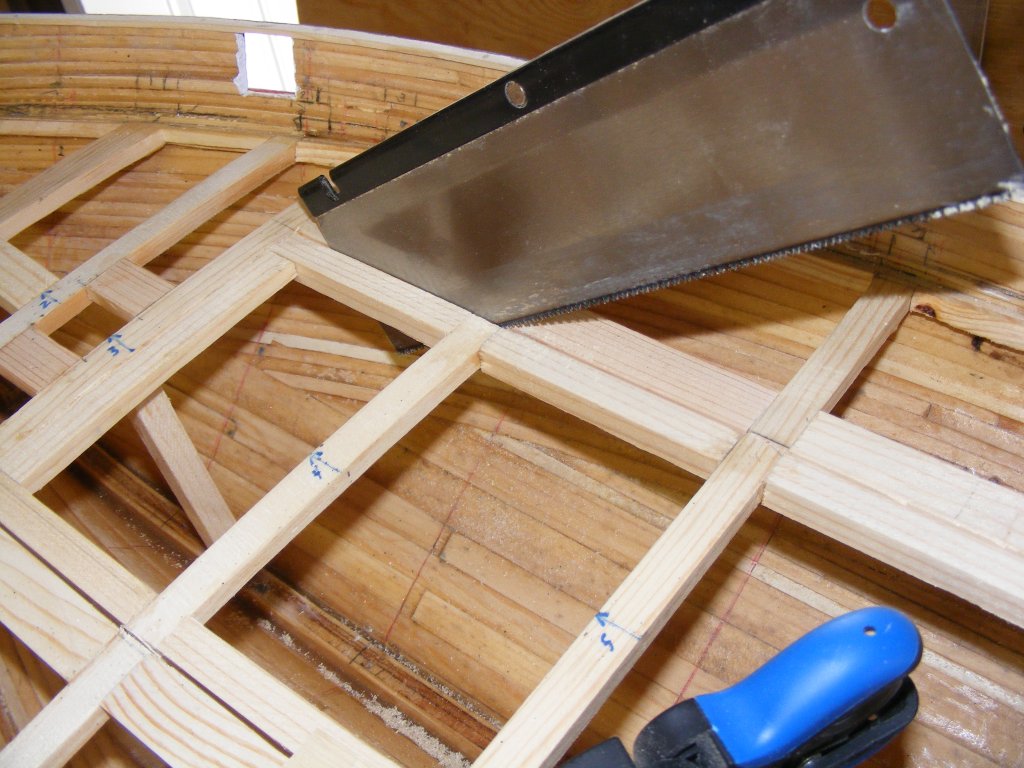
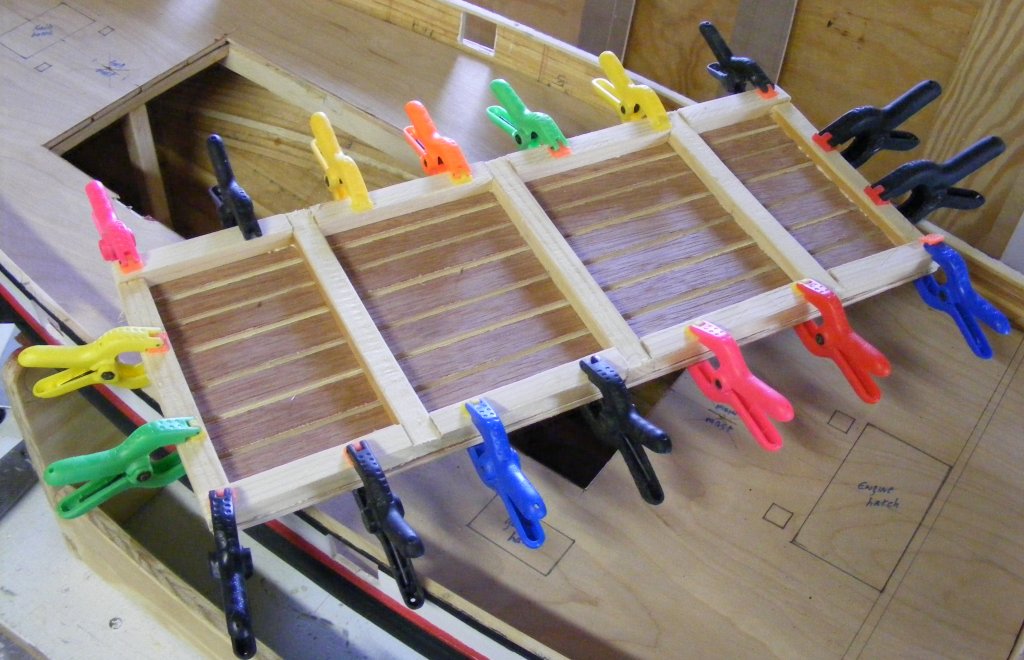
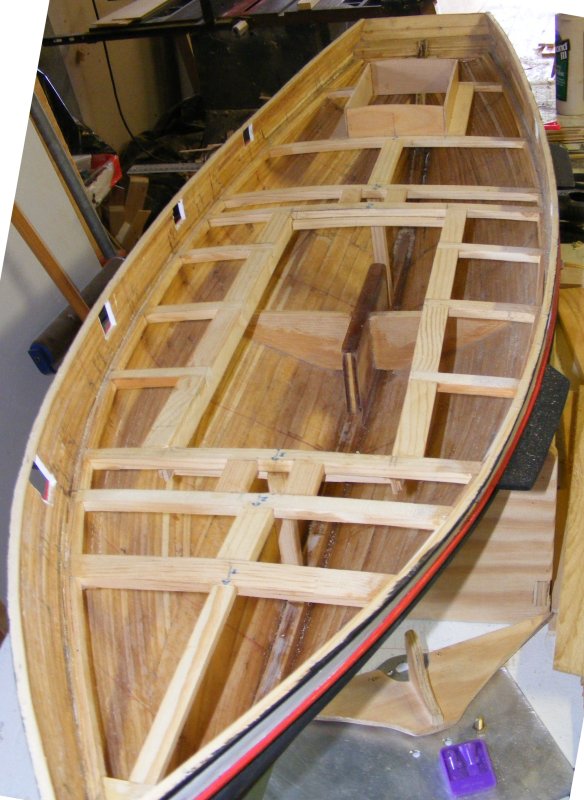
4/21: After finishing the access hatch framing, I added more bracing to the deck framing. Some fore-n-aft stringers between beams that had none, and a couple of support post between the deck beams and the keel at the mast partners. Thinning the deck beams made them more flexible and this extra bracing stiffens things up a bit. Then the hatch frame was cut out. One of those hold your breath moments, but everything went very well. I cut a few more kerfs in the bottom of the portion of the subdeck that covers the hatch because it was a bit stiff bending over so narrow a span. Then I glued the subdeck to the hatch frame and it became a hatch cover.
The hatch was fitted with ledges for the cover to rest on. I haven't decided how I'll fasted the hatch down yet, but I have a couple of ideas to work out.
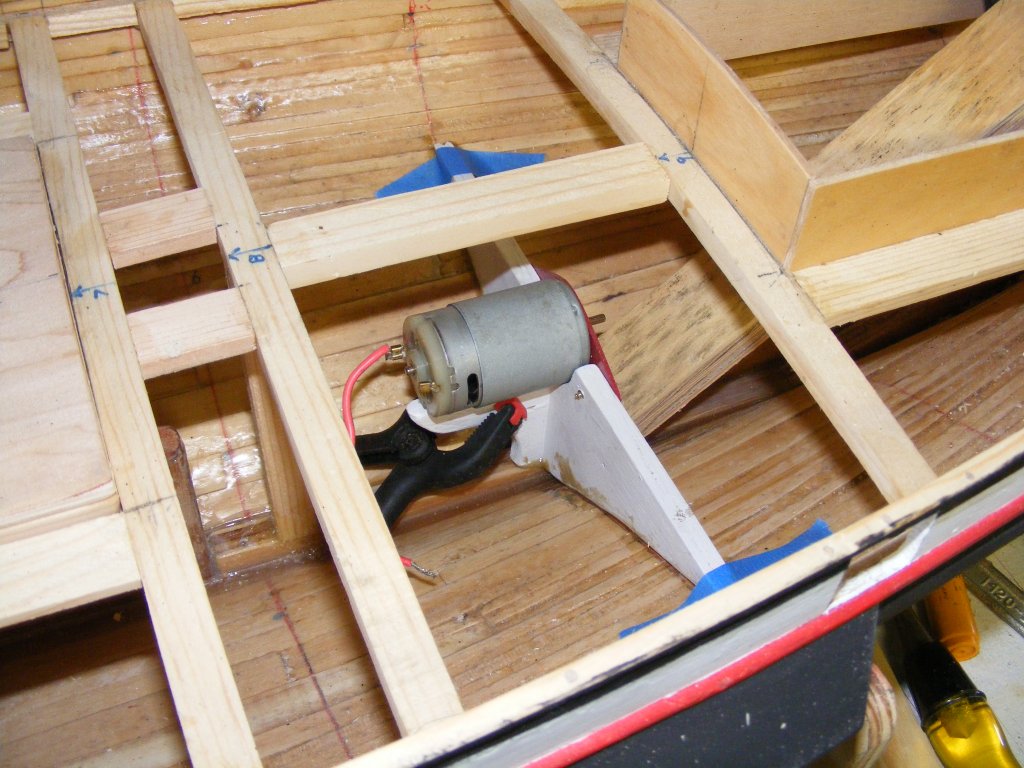
Using the red spray paint from back on the 9th, I painted the motor mount plate. I also painted bulkhead #7 white. The whole thing was put in the hull with thinkened epoxy.
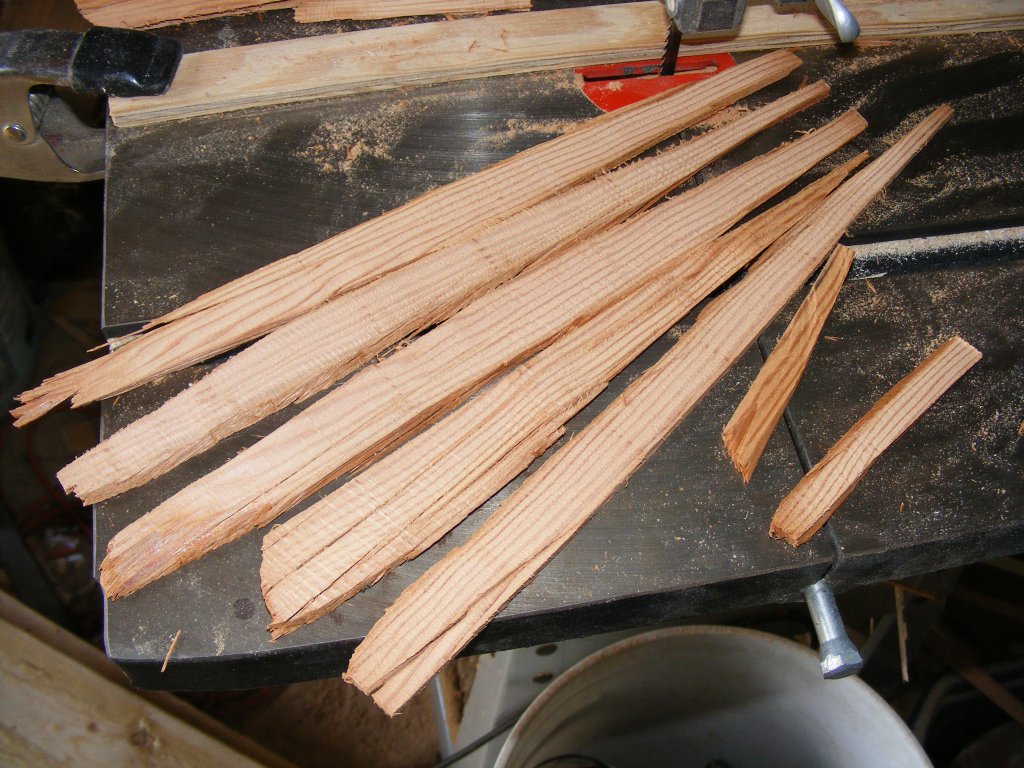
As that set up, I milled the wood from Pride's mast down to 5 3/16" slabs on the bandsaw. I should be able to get the binnacle box, skylight, and cabin hatch and trim out of this. Toward that end, I started building the cabin trunk, which will actually be a lid over the existing trunk.
|
||