8/11/2011

 |
 |
|
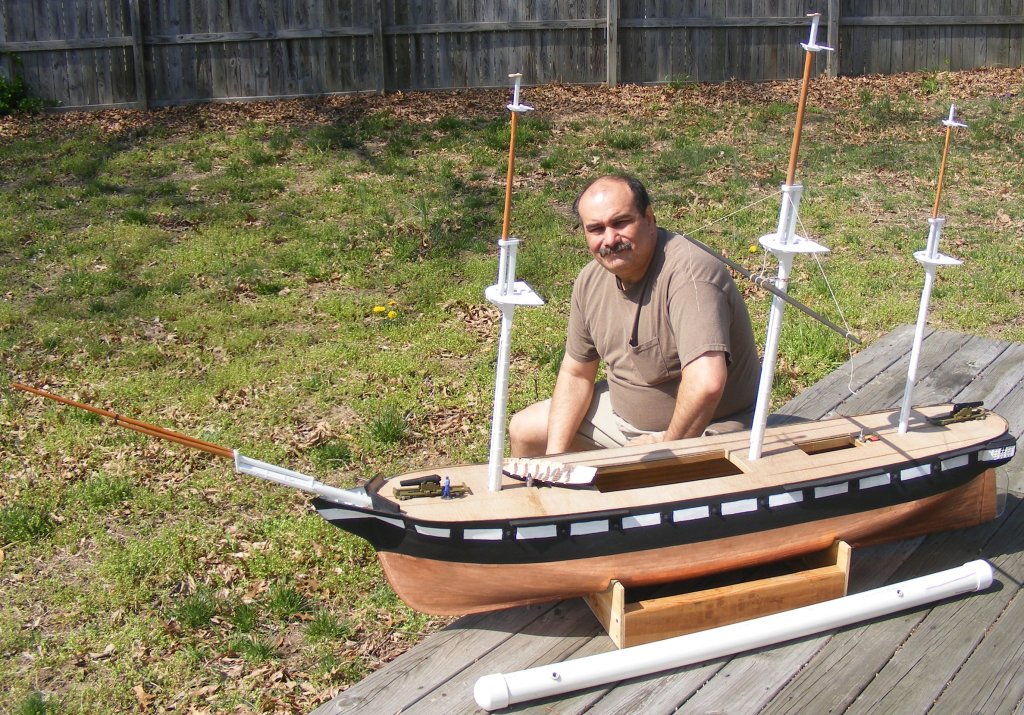
Previous Page | Next Page | Table of Contents click pictures for a larger version A Goal to Sail by July It was already a week into April 2011 and there was no way the model be finished this year, but I did want to get her into the water again. Thinking on it, I figured I could make her at least temporarily functional so she could actually sail as opposed to just another float test. To do that still required a certain amount of work to be accomplished, but I figured I could get it done in time to sail her by the end of June. Since I was going to a Civil War reenactment the first weekend in July, I set the goal for the weekend of the July 9th - provided the winds were light. April 15th I took the model out for a few outdoor photos.
To make her sailable meant getting some items to a usable state:
Mid-April to early July is 6 or 7 weeks which seemed like plenty of time to get ready, but that didn't account for things like the air conditioning failing and the associated nightmare of getting it fixed, along with a menagerie of other gremlins that seem to spring to life the moment you set a date for something. A jury rigged steering set-up was already in place, though I toyed with several different set-ups on paper, I still kept coming back to the set-up I had.
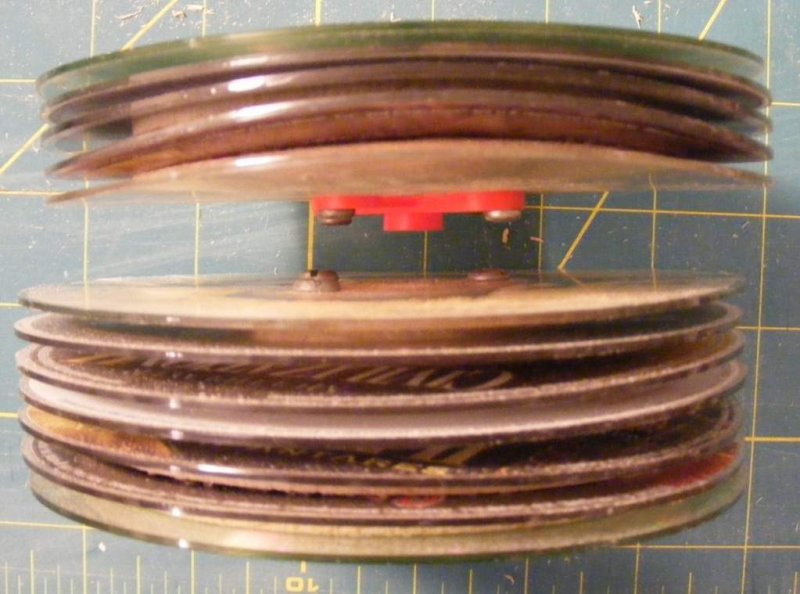
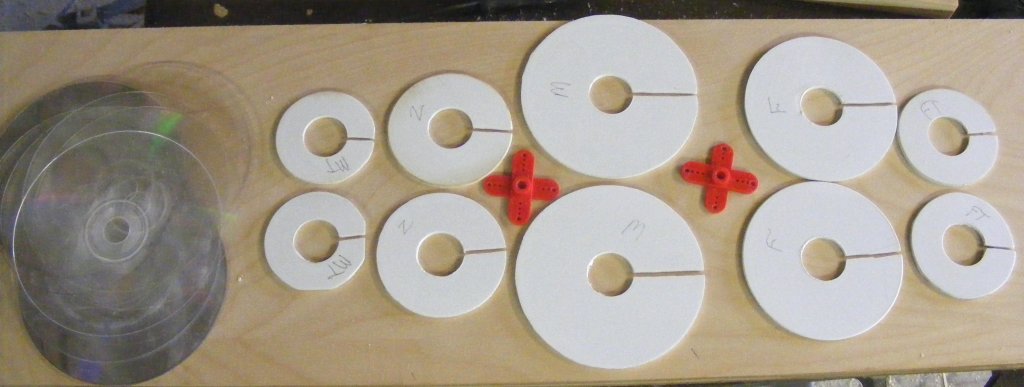
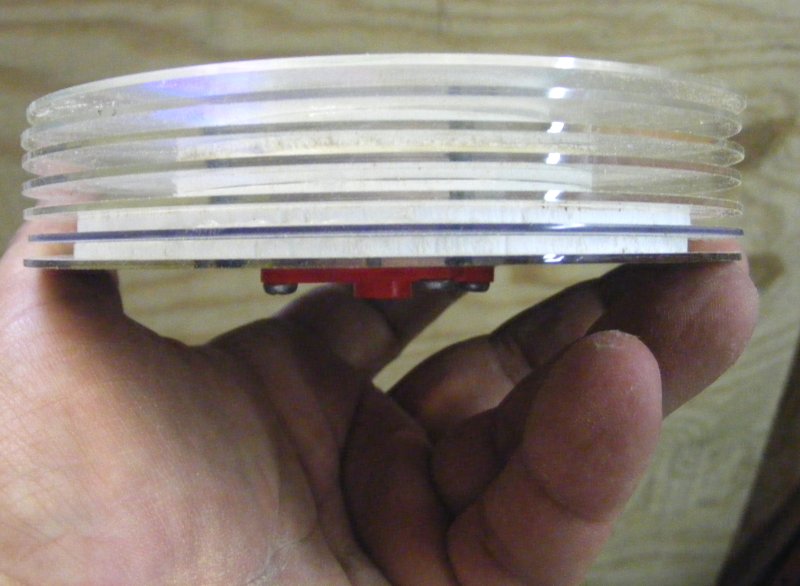
The original winch drums used wooden disks sandwiched between compact-disks, (CDs). Dissimilar materials caused them to warp.
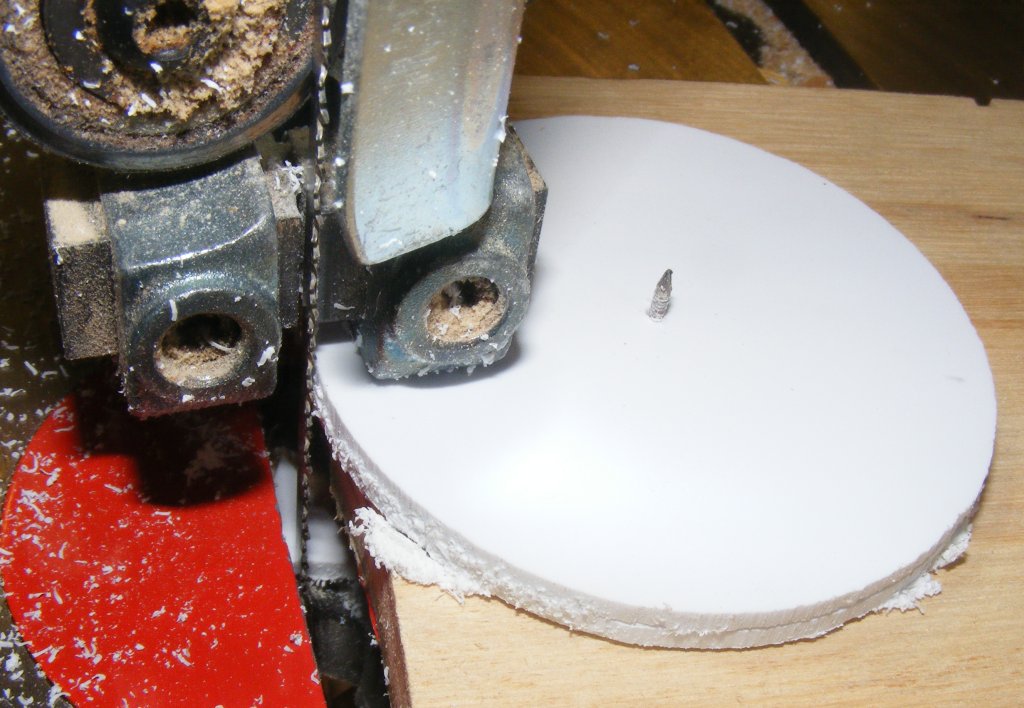
I bought a 2 ft x 4 ft sheet of 1/8" thick styrene and made a new one. I still have another to make but I'm short two clear CDs to finish it.
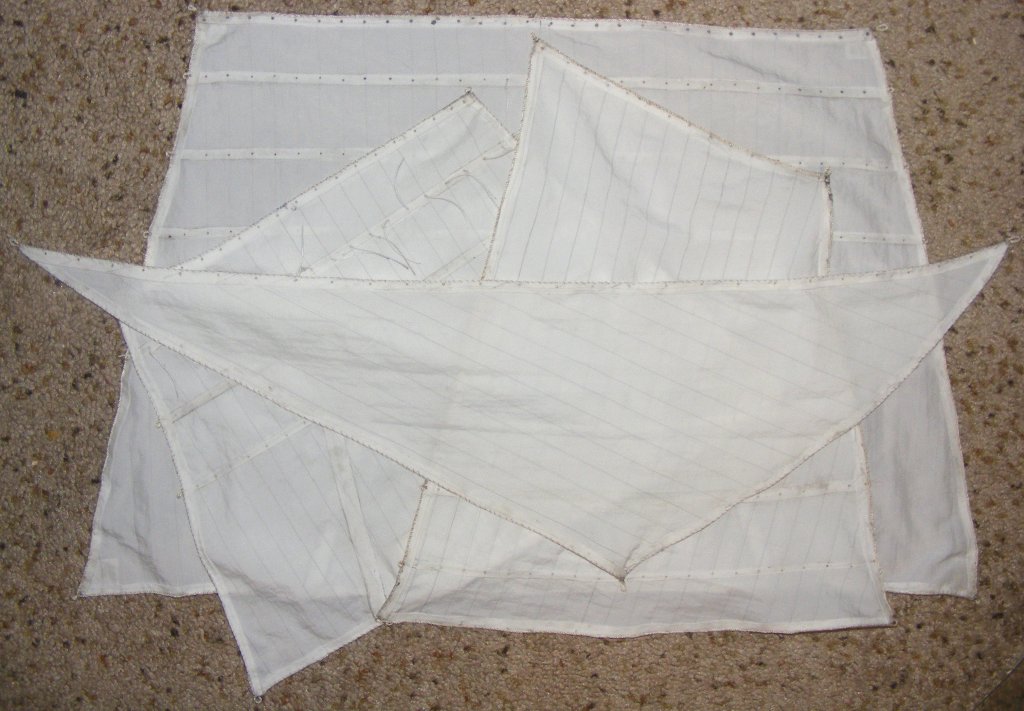
Only the mizzen tops'l and jib were made, and the main tops'l had it's tabling applied and was hemmed; it needed to be bolt-roped. The fore tops'l and spanker were just rough-cut cloth so I proceed to apply tabling and hem them, and bolt-roped all three sails. They'll need that zillion reef-points yet to be finished, but they were usable now.
Eyes had been set into the stem for the bobstays in early April, they're a little over-sized, but I felt there was going to be a lot of strain here and wanted the extra strength a larger diameter rod would give. These eyes are 1/16" brass rod made into eye-spikes and CAed into the stem at 90� to the bobstays. They're connected and reinforced with a brass plate that is glued and nailed to the stem and soldered to each eye.
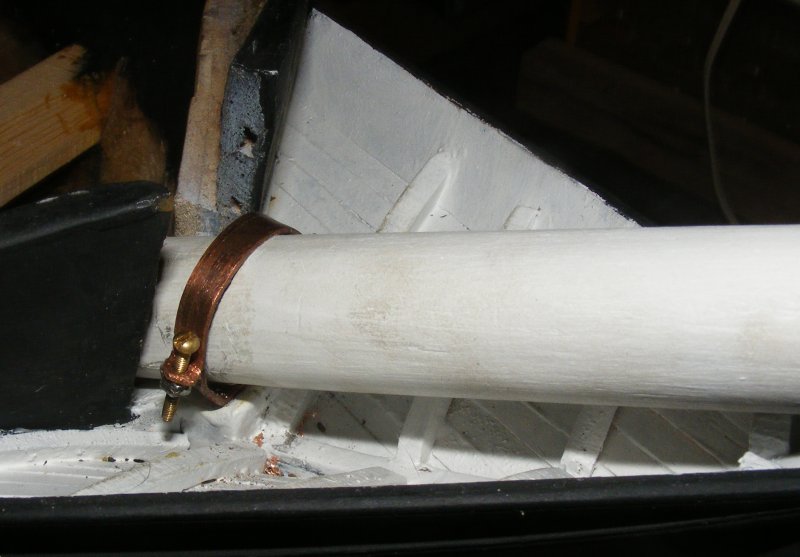
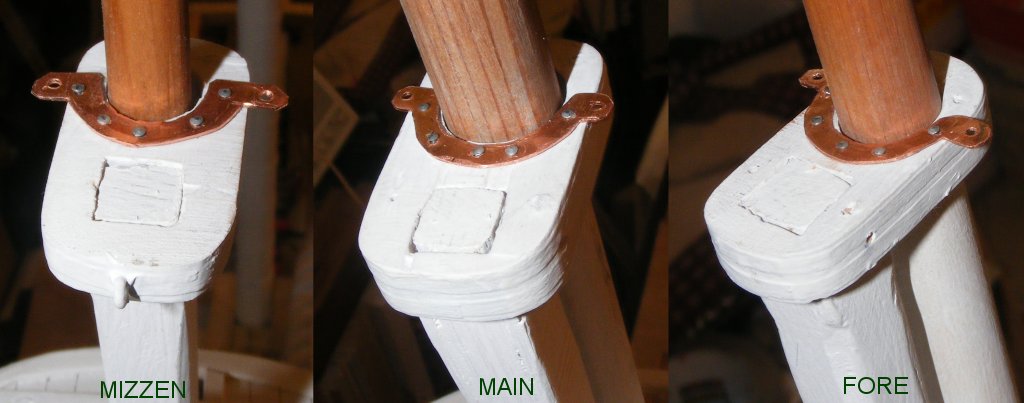
A gammon "iron" was made of copper - the same sheet the rudder gudgeon plate and tiller were made from. The actual ship had an iron gammon fitting instead of the traditional rope wrapping. Two copper nuts are soldered to the bottom allowing two copper machine screws hold the two halves of the "iron" together, clamping the bowsprit between them.
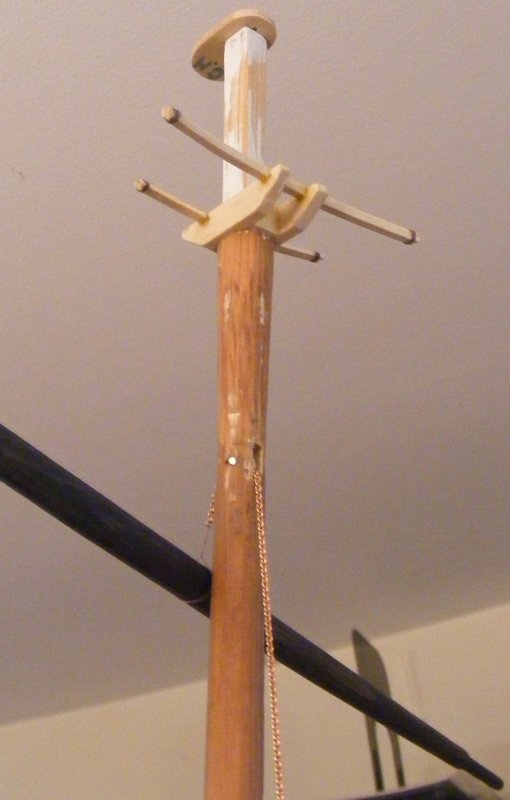
Earlier, topmast cross-trees and trestle-trees were made, along with some rough cut topmast caps made from aircraft plywood. The tops'l halyard sheaves were fitted In each topmast, through which a chain halyard would be rove for each tops'l yard. The straps that span the lower caps for the course yard topping lifts had been cut and fitted as well.
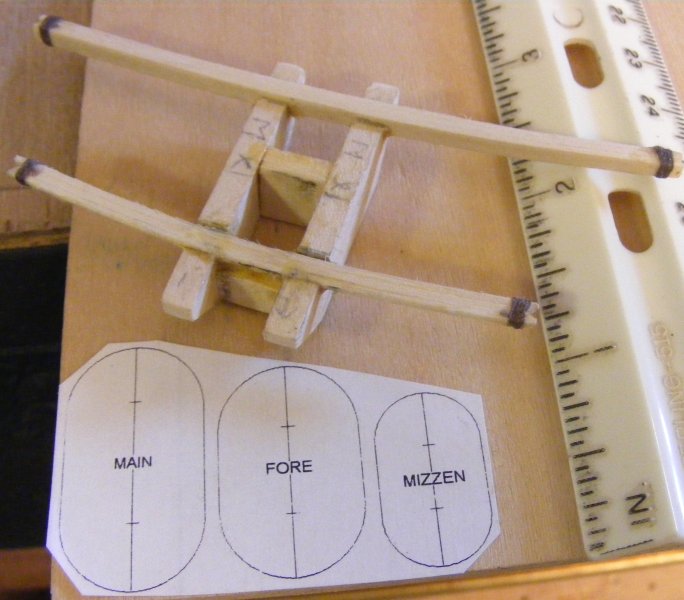
Only the main course and tops'l yards had been shaped. The fore course, tops'l, mizzen tops'l, and cross-jack were all still roughed out in square stock. Shaping these yards had to get done before the yard trusses could be attached.
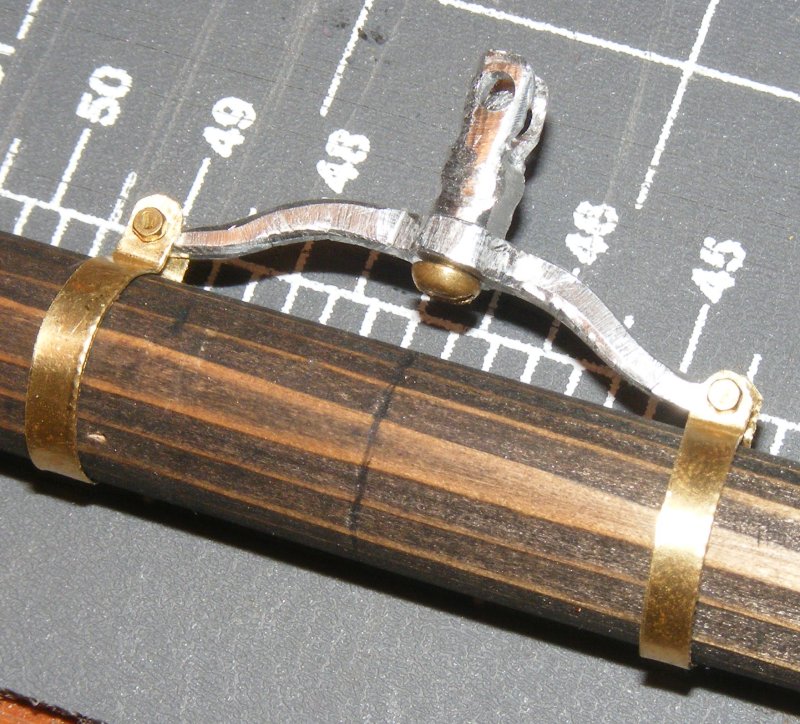
The yard trusses were finished up, and banding made to attached the bow to the yards, and the truss to the masts. This part required making eye-bolts threaded to take brass nuts. After some searching I found a small plate to tap tiny diameter rod that I could actually afford.
It was the end of June and I still needed a spanker gaff and boom, as well as a step fitting to hold the spanker mast to the mizzen. I started to make a mast step, gooseneck combination fitting, but soldering all the bits together resulted in unsoldering it all. Yet another item I want to look scale yet be strong enough to function, I put that aside for another look later. For the sail I simply taped a bock of wood to the mizzen mast.
The forecast for July 9th was perfect; North-Easterly breezes less than 5 knots would be light and blowing unobstructed up the creek. If there were problems, the breeze would blow the model back towards me; but I wasn't ready. The sails were lashed and sheeted to their yards - all the squares and the jib were set. Temporary braces were run in parallel from course yard to course yard so they would move together, and braces were run from the main yard to the winch below. Not how the model would eventually be outfitted, but functional for this first sail. I still needed a gaff and boom for the spanker - which were roughly made from some scrap pine - and looked it. With the spanker attached to it's spars and sheeted to it's servo with the jib, the model was finally ready to go. The battery and transmitter were put on the charger over-night. The rig lowered for transport, and everything set to sail the model on Sunday, July 10th. |
||
 |
 |