2/12/2012

 |
 |
|
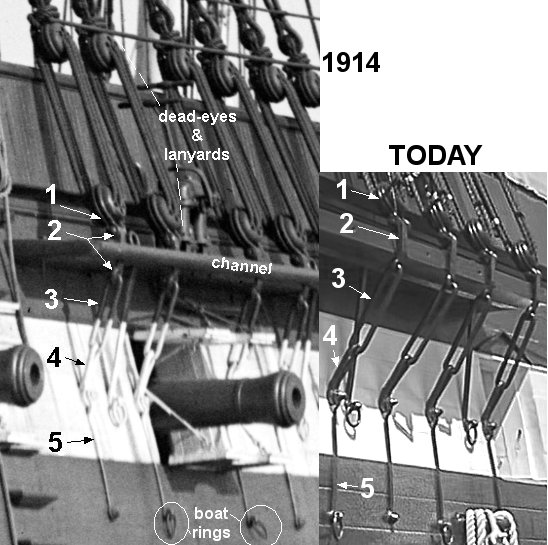
Previous Page | Next Page | Table of Contents click pictures for a larger version Chain-Plates Before the deck gets closed up, there's some things that need to go on that are easier while the hull's still open. The shrouds all come down the dead-eyes ranged along the channels. The lower dead-eyes are held against the pull of the shrouds by a set of iron links called chain-plates.
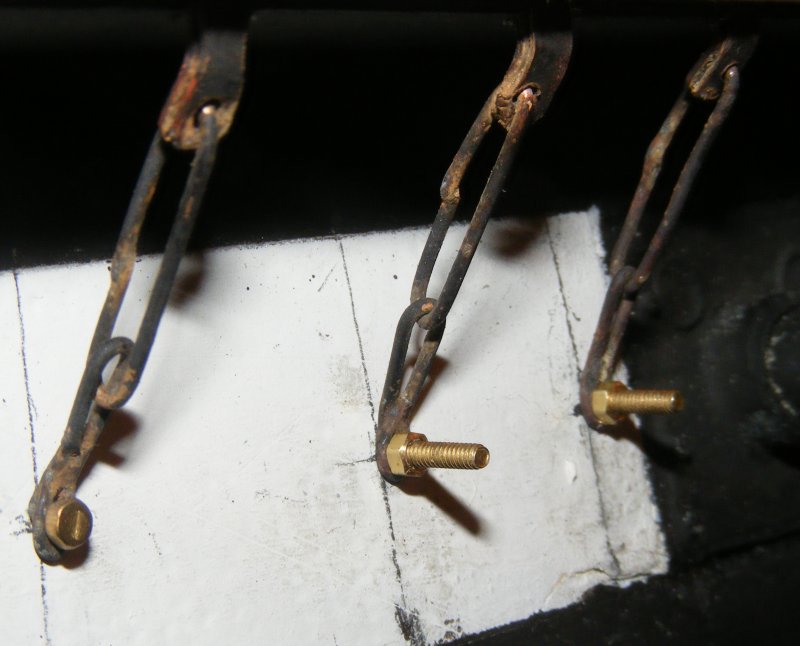
Constellation's chain-plates consist of five basic parts
The ship appears to have retained her chain-plates through the years. What's on the ship today appears to be the same as the earliest photos where they can be discerned, although the restorer's seem to have overlooked the original boat-ring pattern when reinstalling them (we'll get to that later). I'm reasonably certain what's visible in the 1914 photo (right), is correct for 1856 - unable to find evidence to the contrary - that's what I'm going with. You'll notice part number 5, the backing-link, is basically a flattened rod with an eye at each end. The top end is lifted so part number 4 can sit under it, and be held down by it. It's riveted through the hull with a pair of cone-headed drift pins. The through-hull attachment of this part is why I need to make these things before the deck can go on. I don't plan on riveting them, though, but instead I will bolt them on - so they can be removed if necessary. The chain-plates are an important part of the rig as they hold the shrouds to the hull and have to withstand forces that can roll the ship by pulling it, basically, by these bits of elongated chain. There's also a few that are not made as chain links, but are plain straps and are where the tops'l yard halyards and some other items are anchored - there's 22 of these to make.
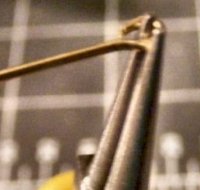
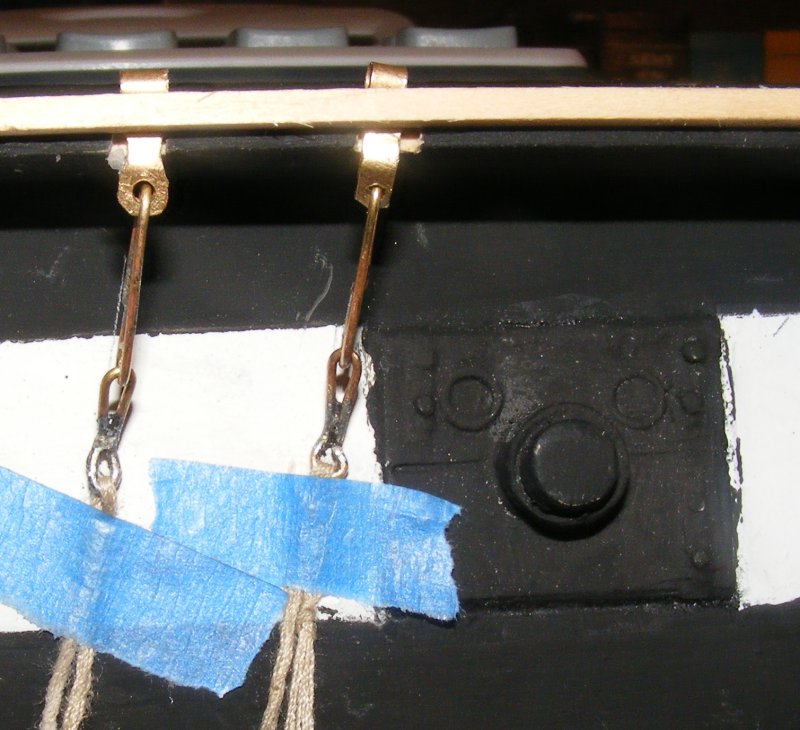
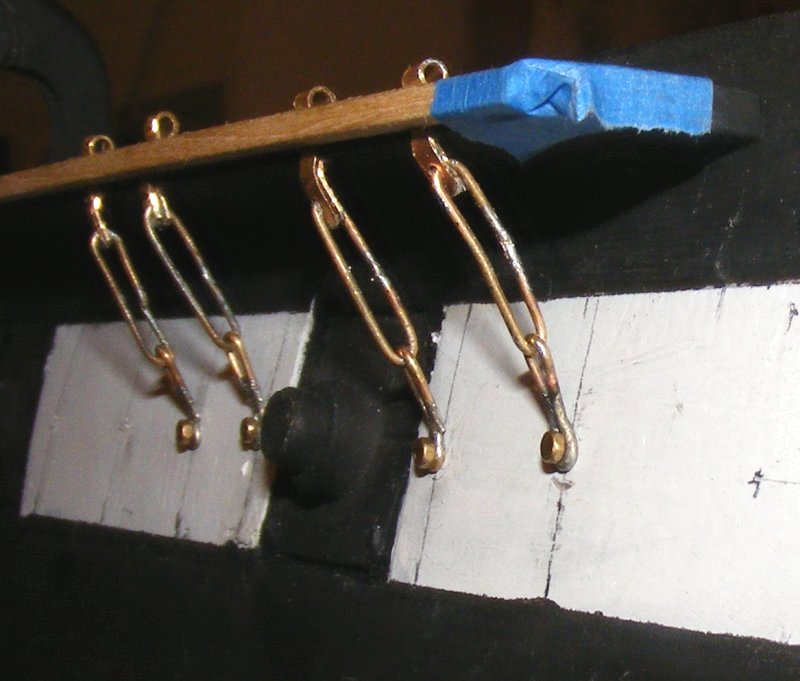
So, how to make these things? The plan is to use brass rod, bent into shape on jigs, silver-soldered, blackened, bolted to the hull, and eventually, painted. There are 52 of the chain-link variety to be made, all the same size, fortunately, and each assembly will be about 2 inches long, including the lower dead-eye. Before bending a lot of expensive brass rod, I experimented using paper clips. The strap (part #2) I made from sheet brass folded over a rod, bent, drilled, and shaped to approximate the real strap. Not having exact measurements, I had to estimate the length of the parts based on the gun port being 3 feet tall - 1 inch on the model. The pinched link's a little shorter than the oblong link. Bending these from the paper clips, I came up with a chain plate I think looks pretty much like the real ones, and when made of brass, and soldered, will be strong enough to do the job. It's a tedious job, but with the purchase of a pair of round-nose pliers and some flush cutters, it's decidedly easier. After making two sets, it's come to making all the parts and then assembling and soldering them later.
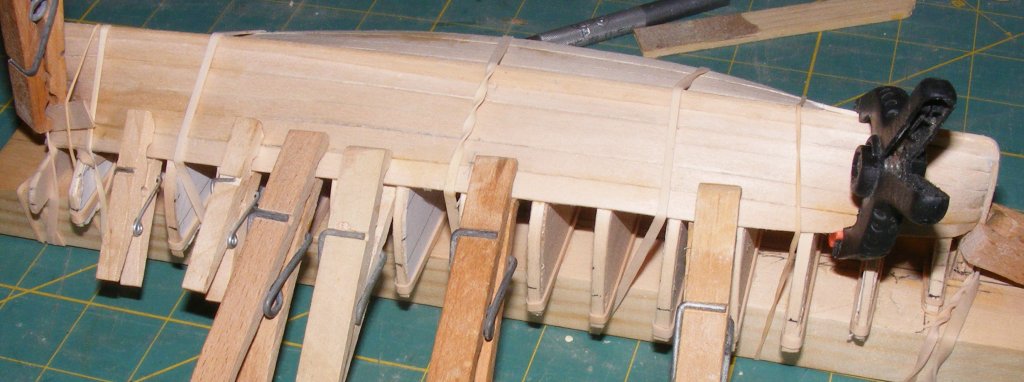
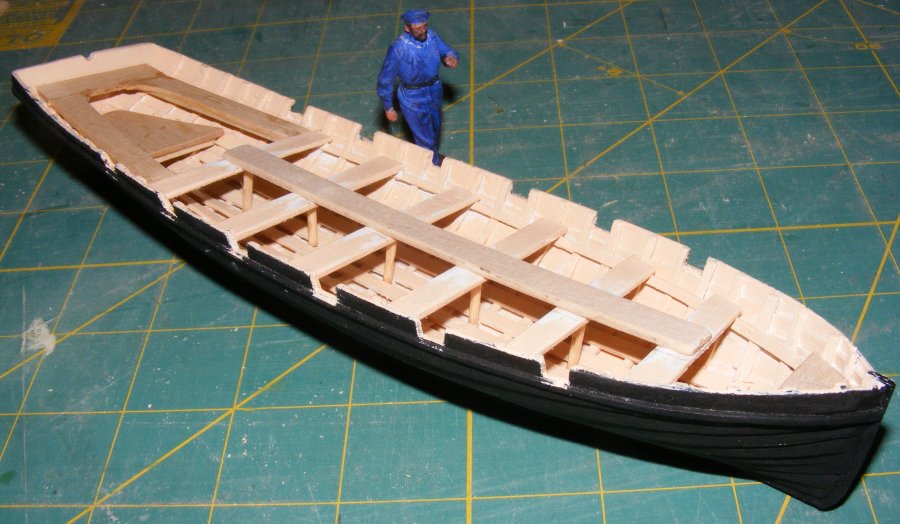
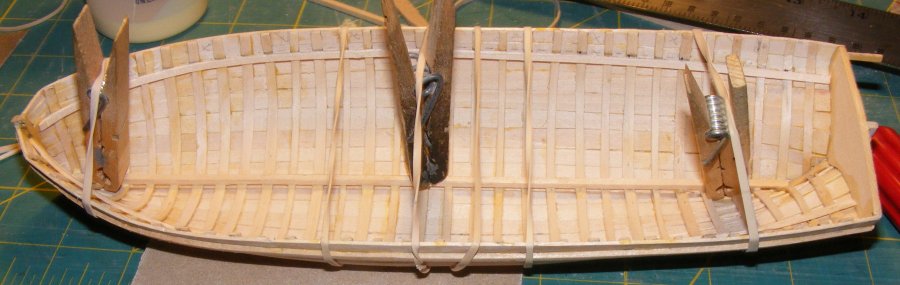
Back to the boats! February 2nd-7th, 2012: A few months gone away, working on other models, then losing my job at the start of the year - which at this point is still unresolved. So I decided to try and finish planking the launch which I haven't touched in over a year. Between looking for a new job and emailing my resume all over the place, I got the rest of the planking on.
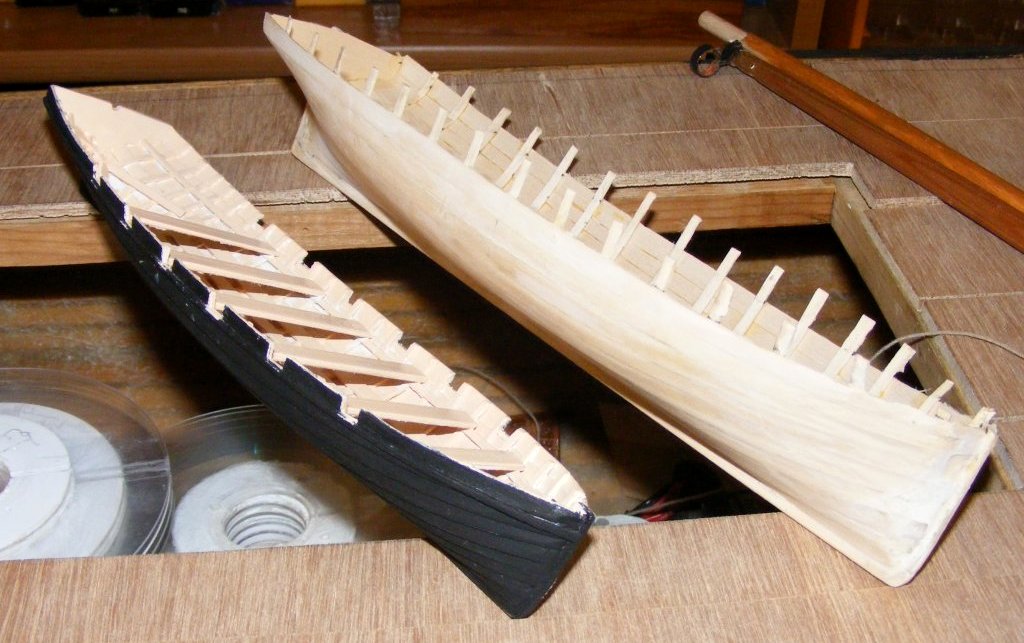
At last, all planked up, I popped the hull off the forms. The 1/32" thick bass planking kinked a bit the the forward-most form, but other than that - the launch came out very nicely.
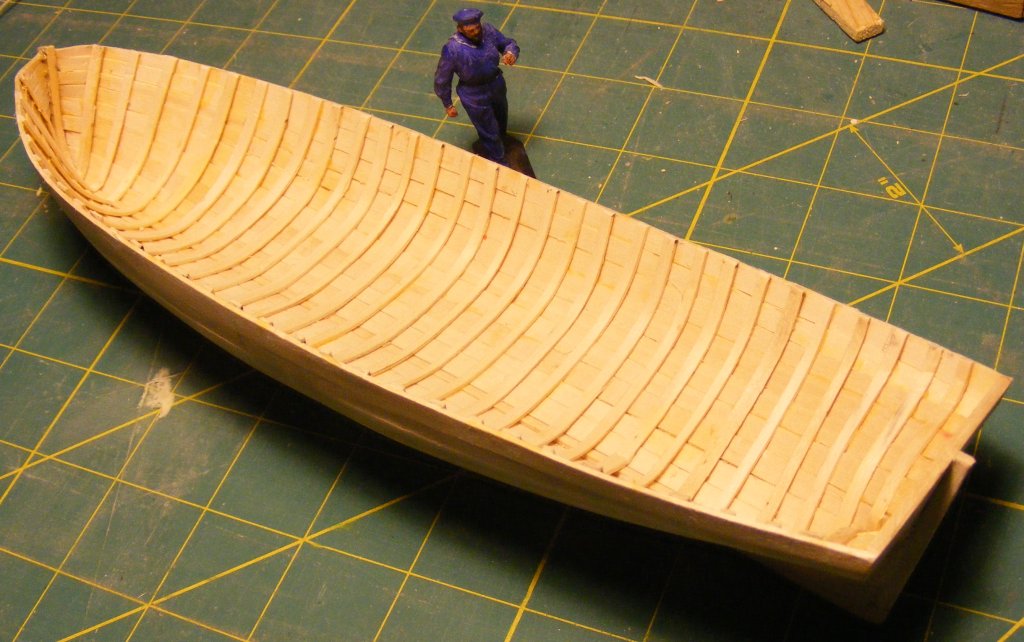
2/12: Back to the launch... The rub rail was installed made from a 1/16" bass strip. Then, from an 1/8" square strip, the keelson was installed. Then I started cutting and installing beams for the deck set 16 scale inches (7/16") below the seats so the rowers legs won't dangle in the air.
|
||
 |
 |