5/10/2015

 |
 |
|
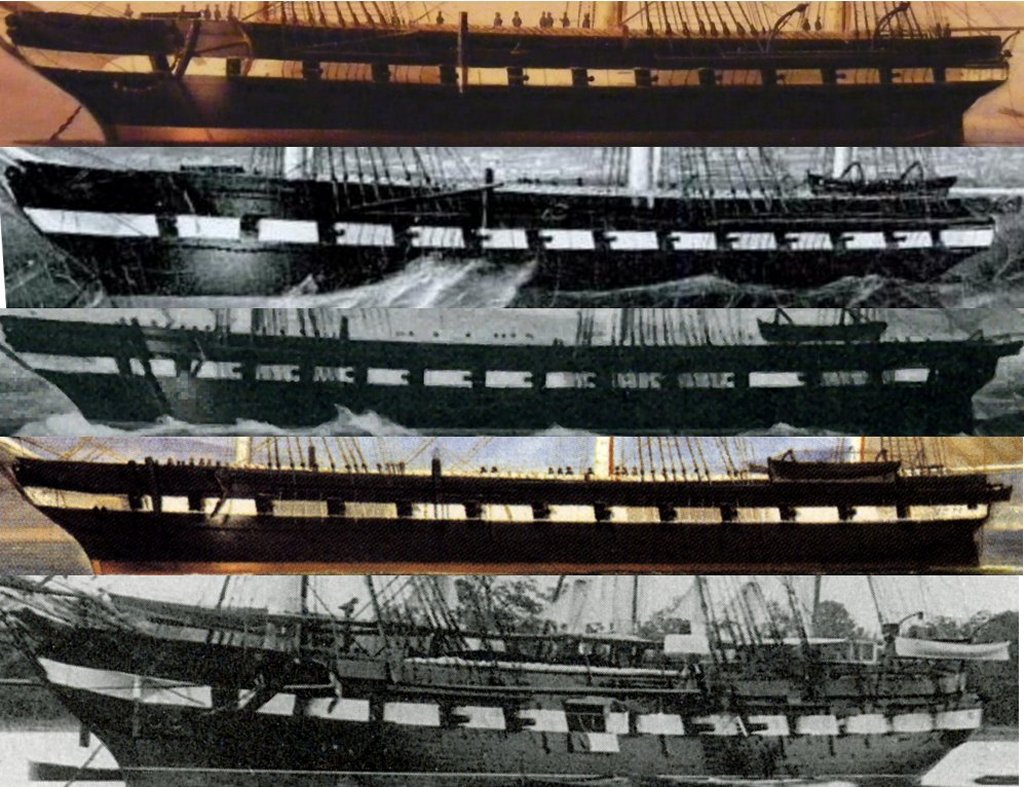
Previous Page | Next Page | Table of Contents click pictures for a larger version Hammocks or Tarpaulins?
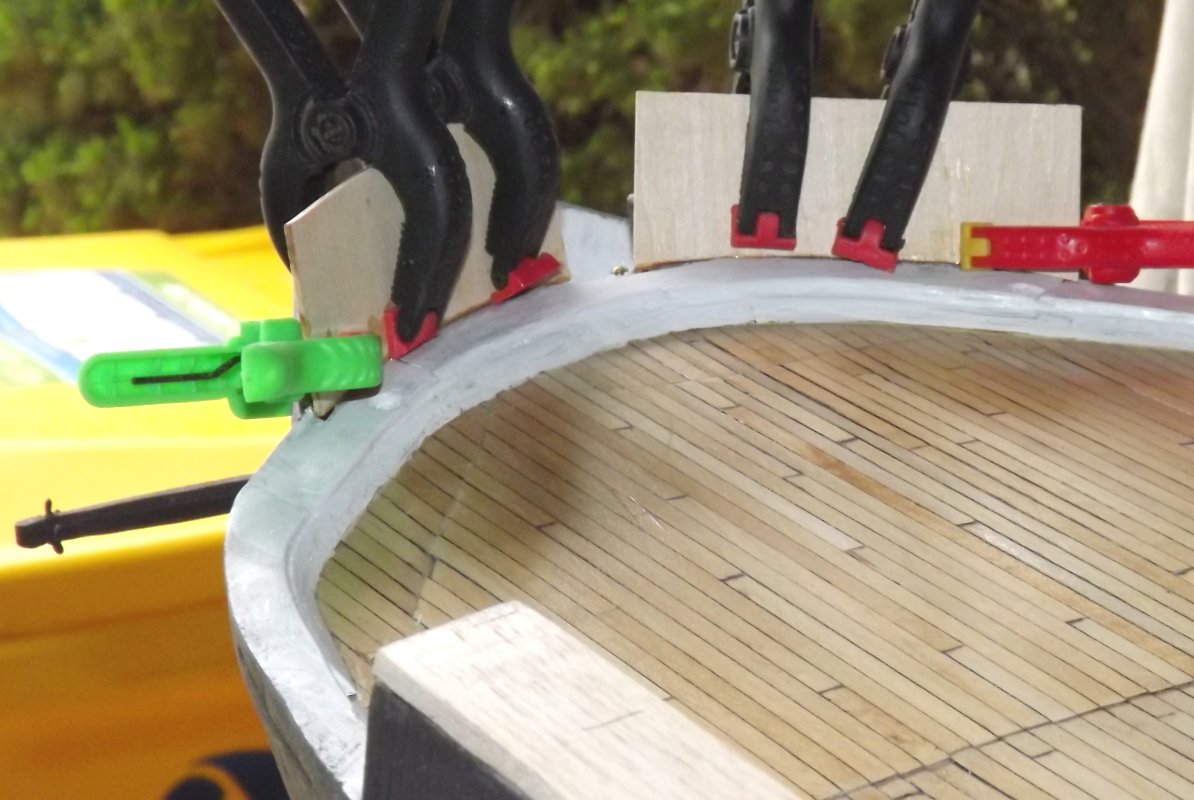
Bow Bulwark and Deck Fittings
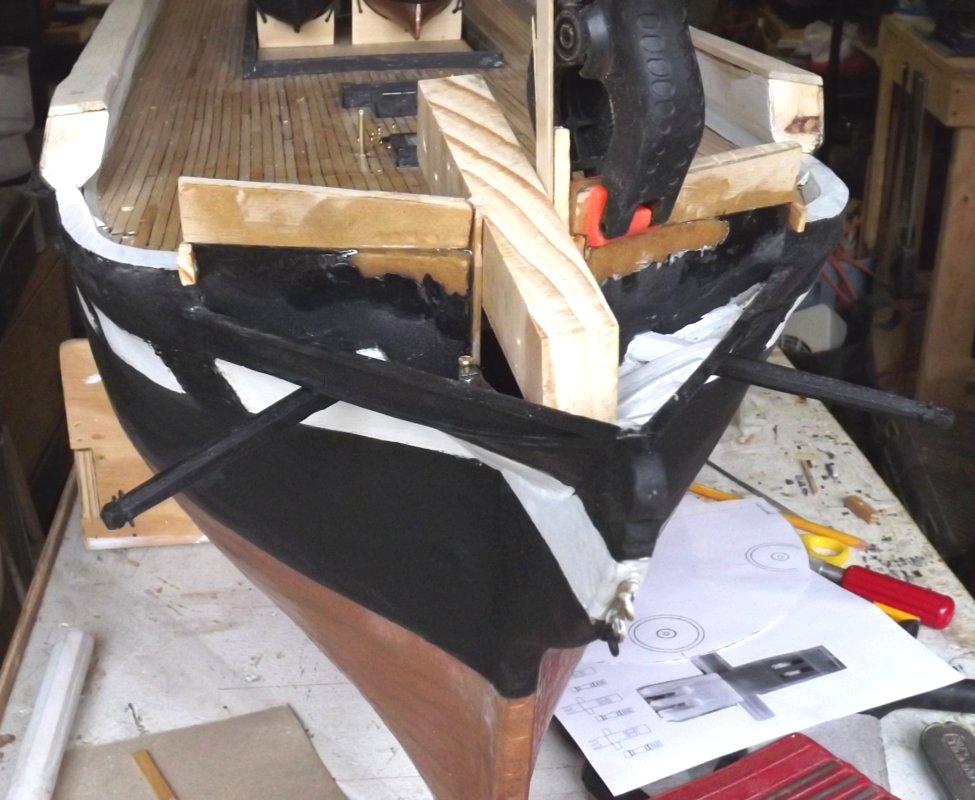
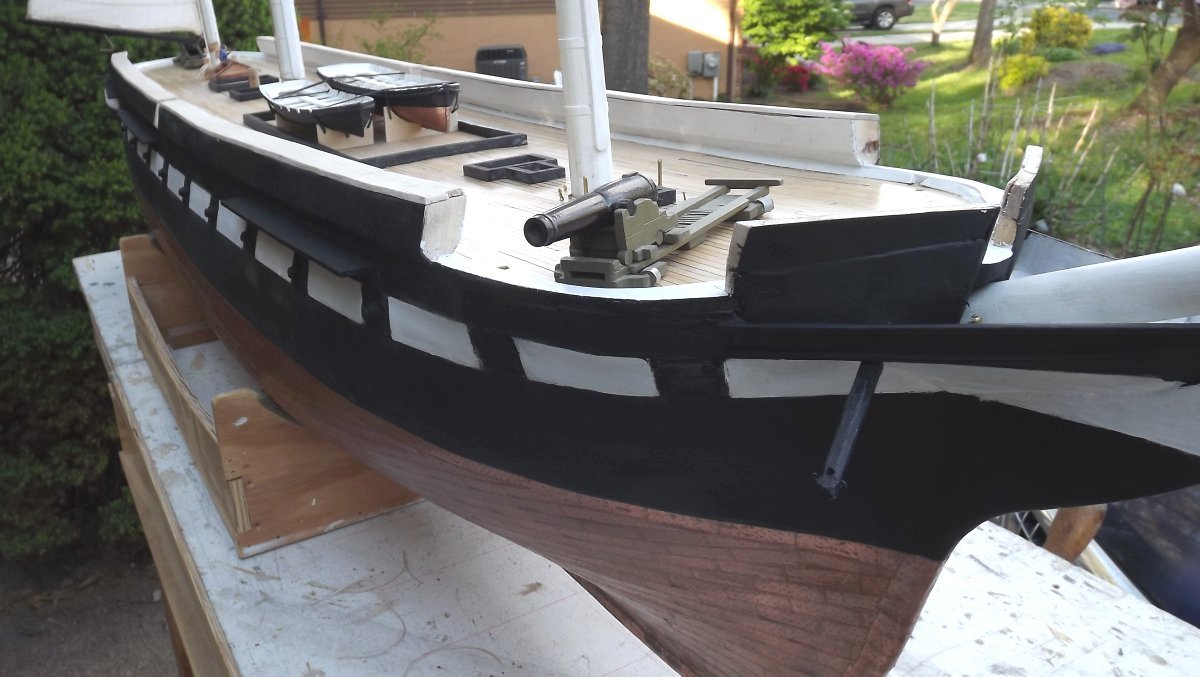
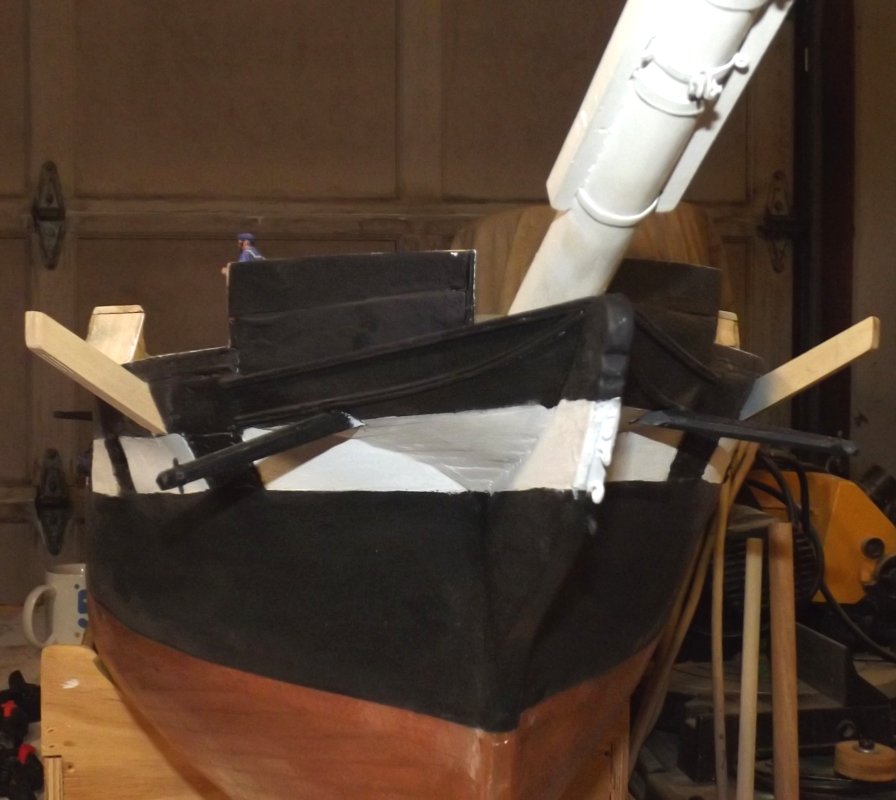
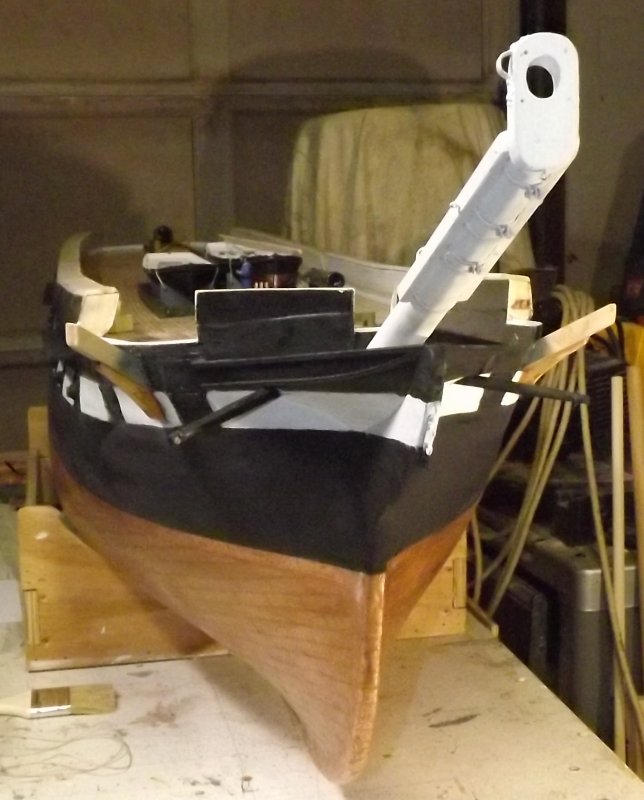
I begand by epoxying a layer of 1/16" sheet bass inside the existing bulwaks. When that set up, I epoxied another layer outboard of the first, and on top of the existing bulwarks. I'm letting that set up over night.
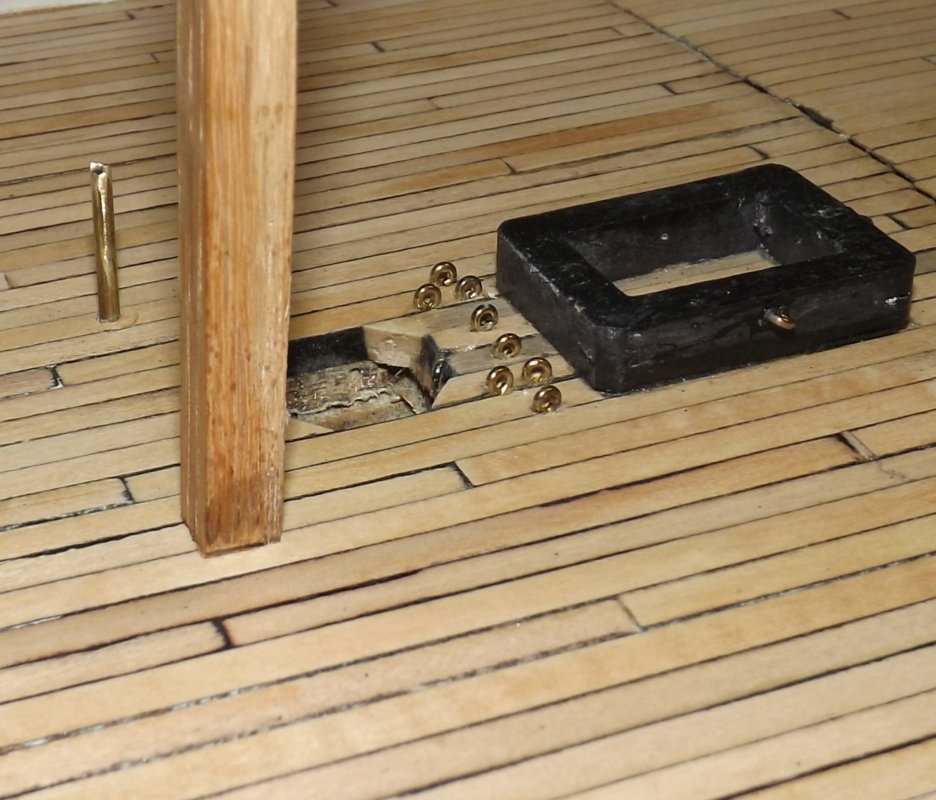
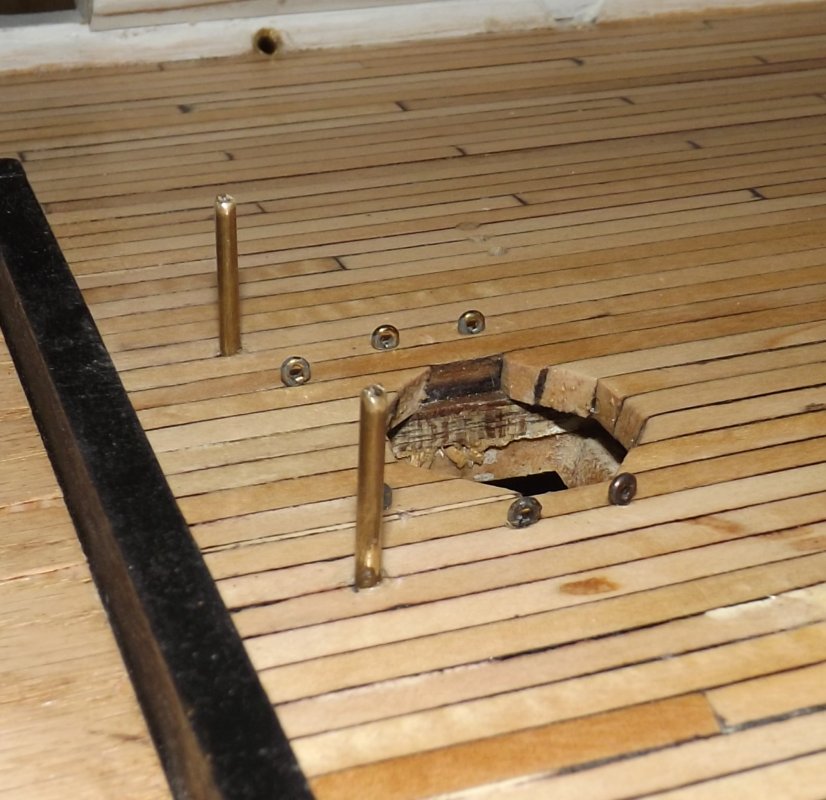
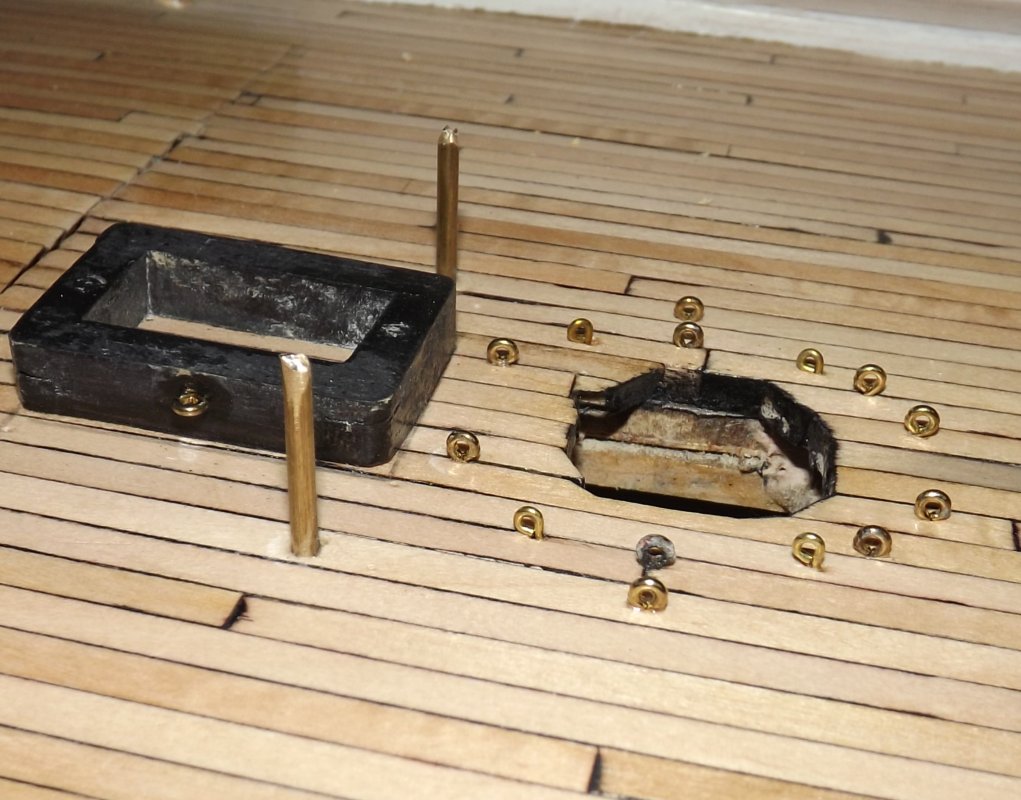
There's a bunch of eye bolts at the bases of the masts where blocks and some other items attach. I installed those, mostly brass screw eyes, but a pair that will anchor the main stays are eye-spikes set into the deck at a 45 angle. I also set the brass rods that will be the pins for the bitts. The placement of these items is mostly based on the 1888 spar deck plan.
5/2: A touch of paint on the bare wood and to make things look a little more finished.
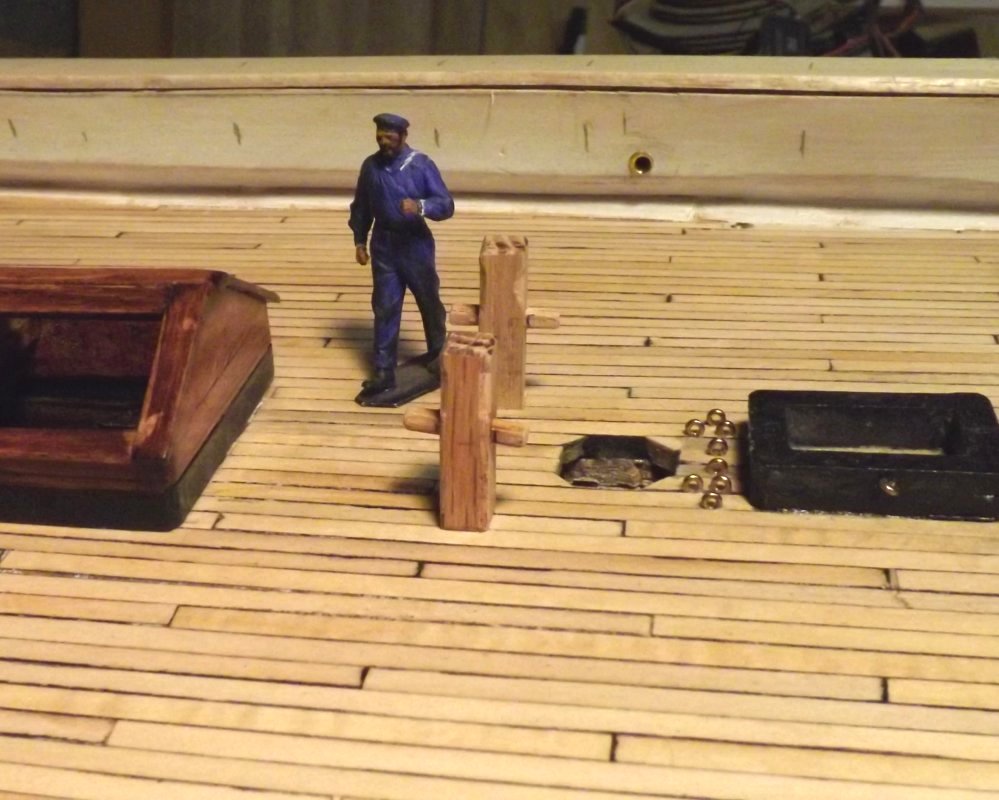
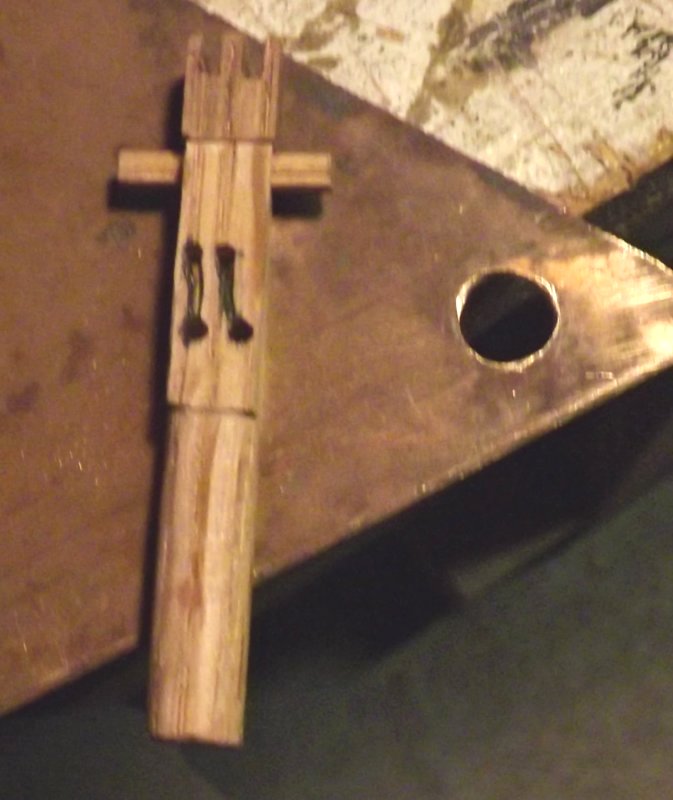
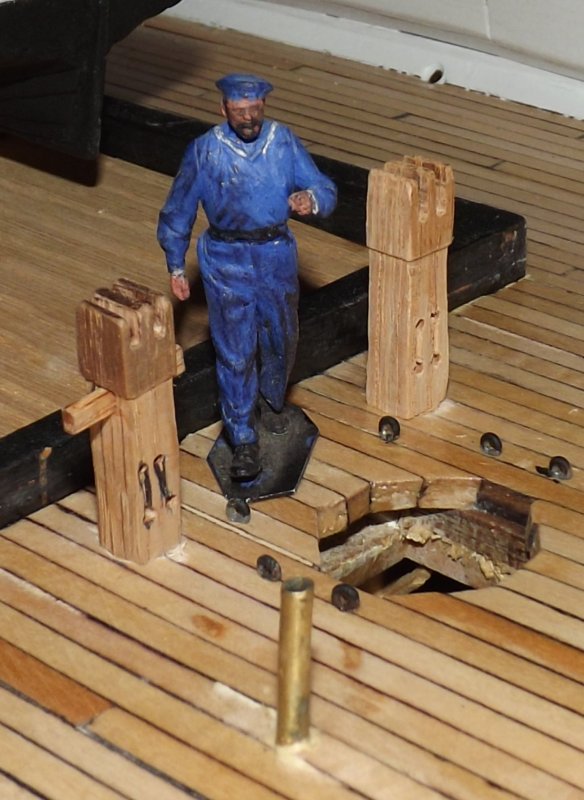
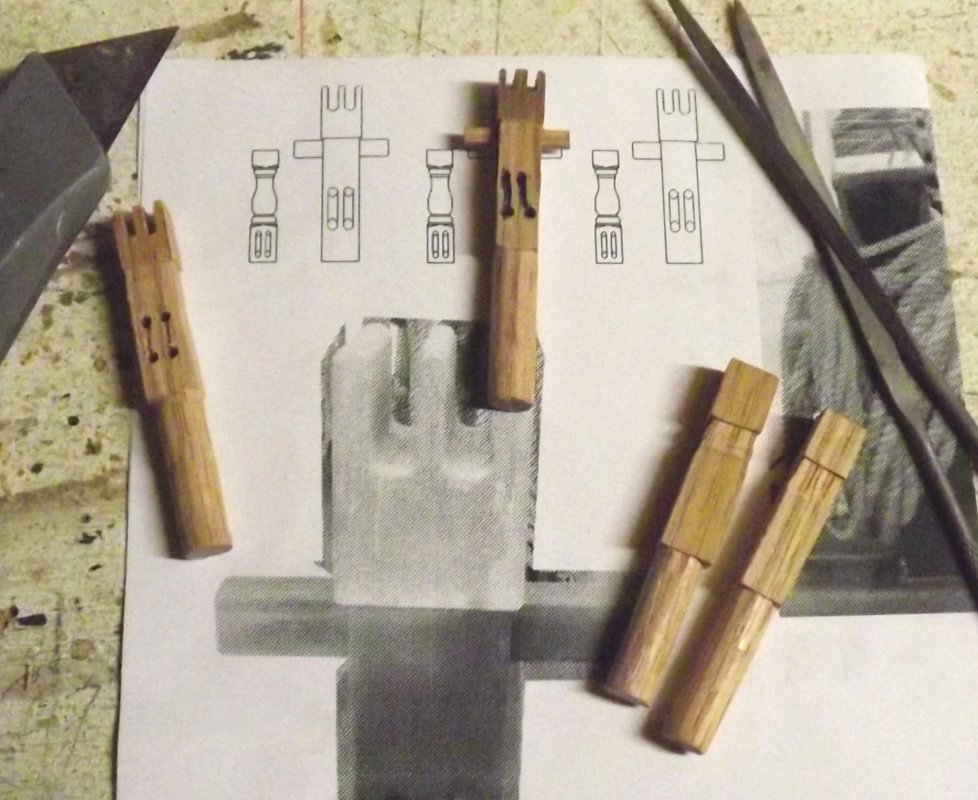
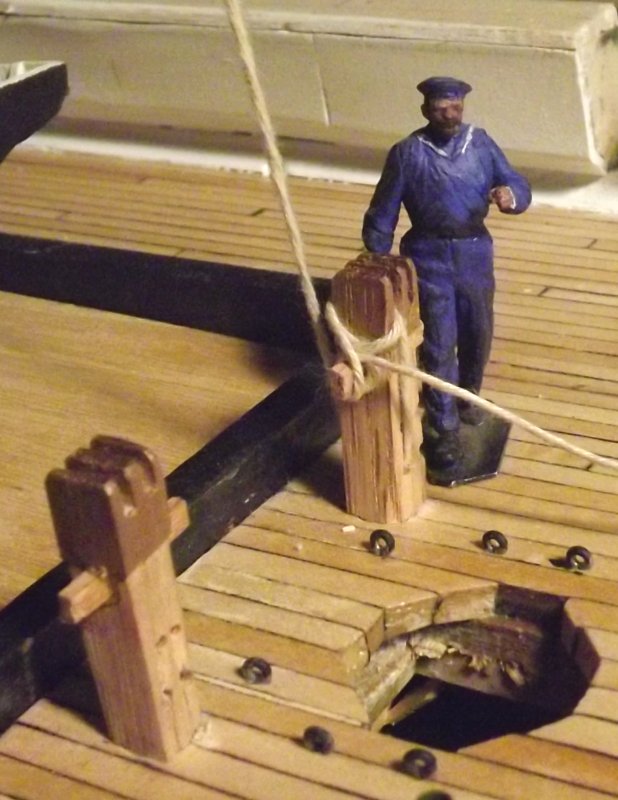
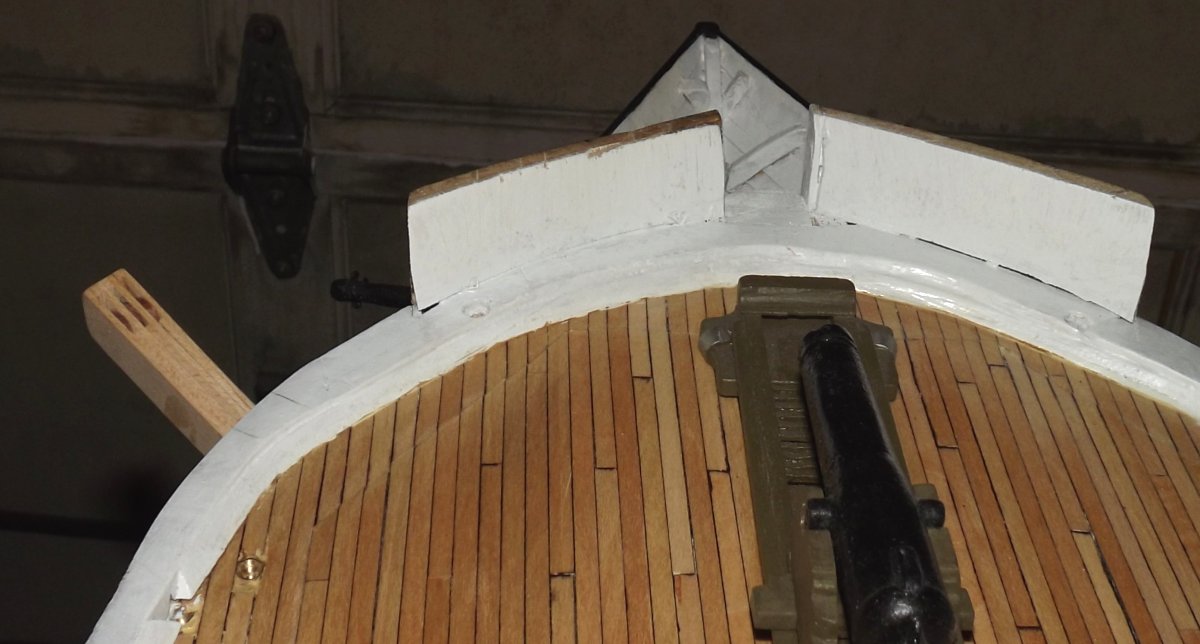
5/3: I made one of the bitts with the three pronged crown on it but the idea of mounting it on a brass rod set into the deck as I did the mizzen bitts wasn't working out. These have two sheaves in their base and the rod interfered with them, so, back to the drawing board... I made a new set, this time with an inch of extra length at the bottom that I carved a drew threw a 5/16" hole in a metal plate and basically made into a dowel. I pulled the brass rods and drilled 5/16" holes in the deck where they had been. There's no actual sheaves in these bitts, just 5/32" holes where the line will pass through. I tried covering the "crown" with copper tape, like I did on the caps of the mizzen bitts, but that wasn't working out very well because of those three fingers. On the real ones the "crown" is cast bronze and has taken on that green patina that bronze does. I think I'll wind up painting mine that way.
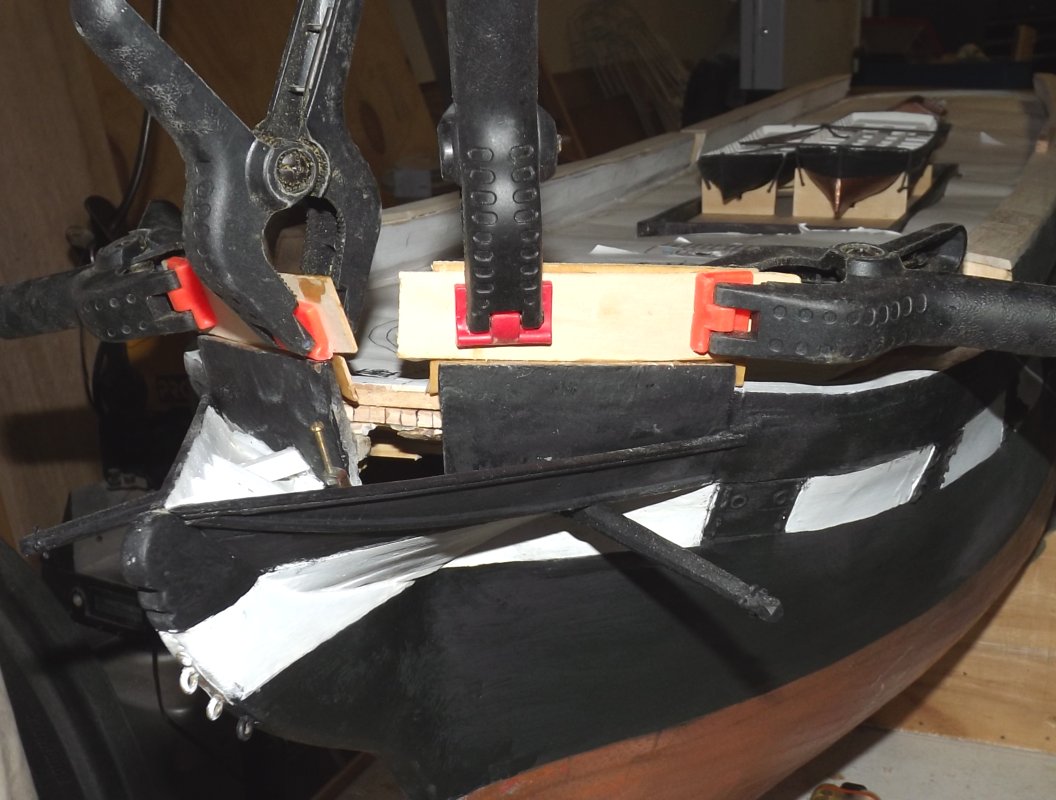
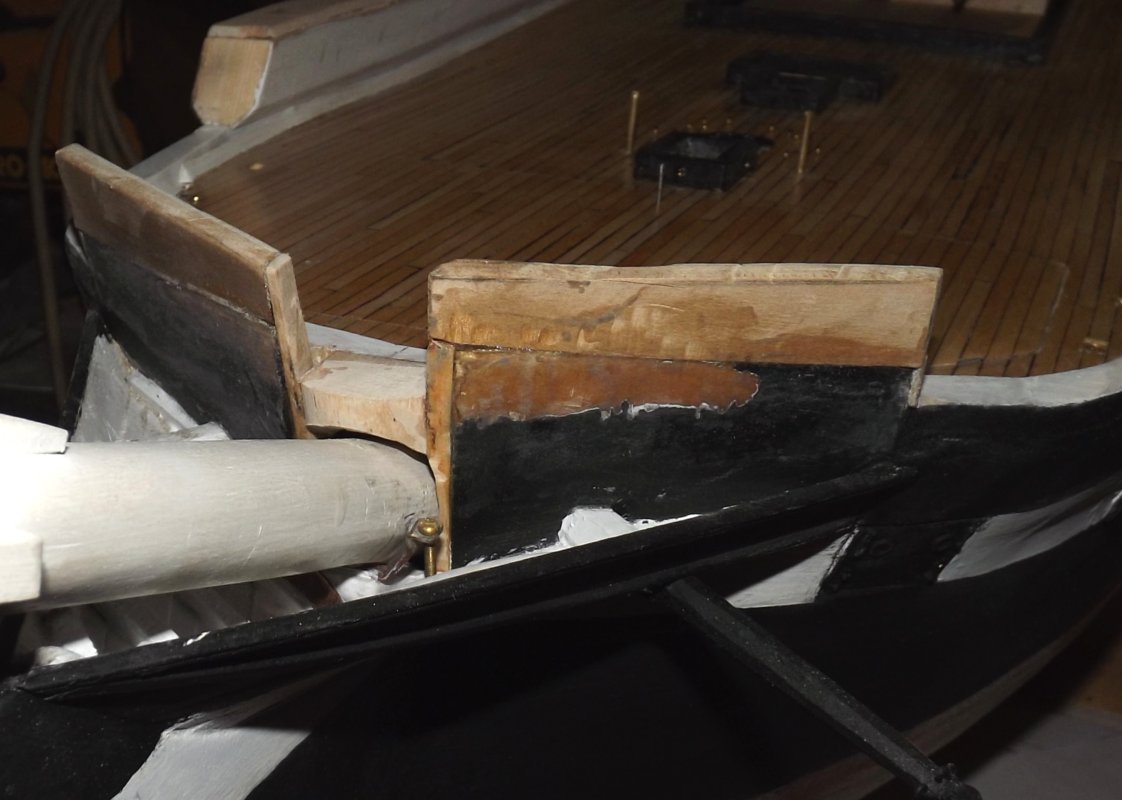
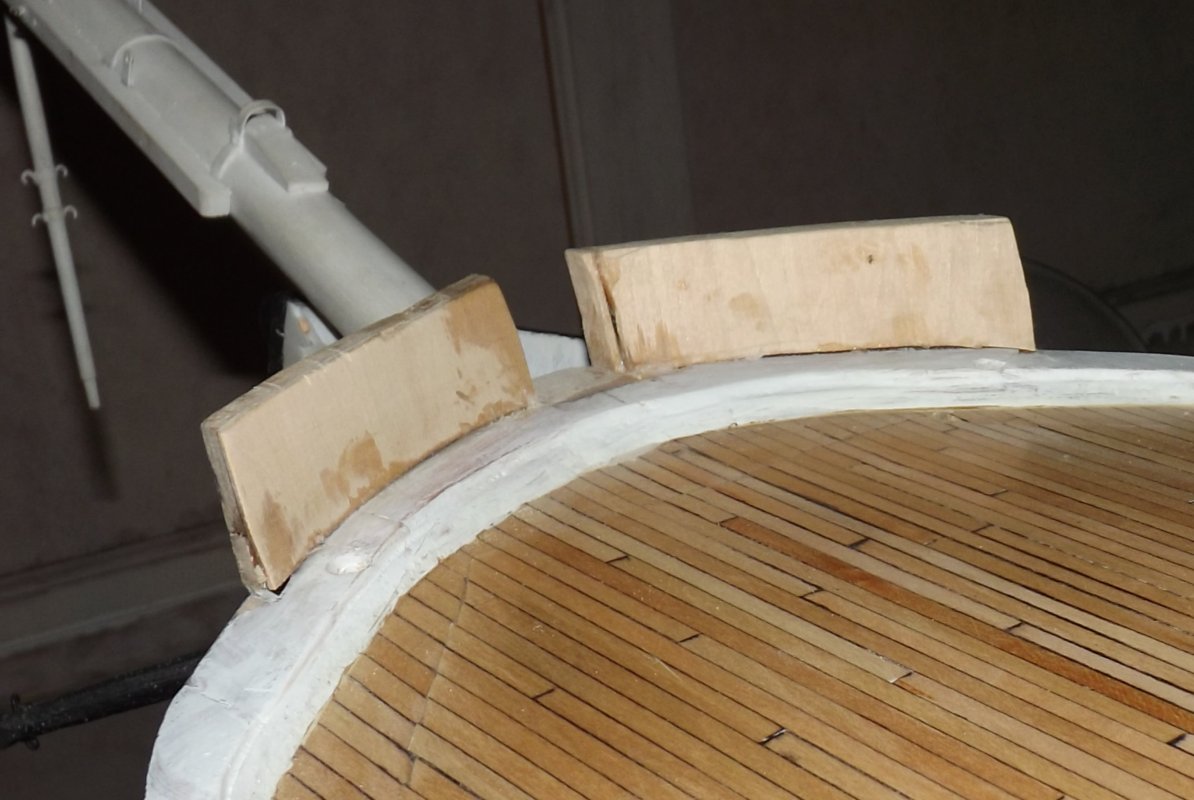
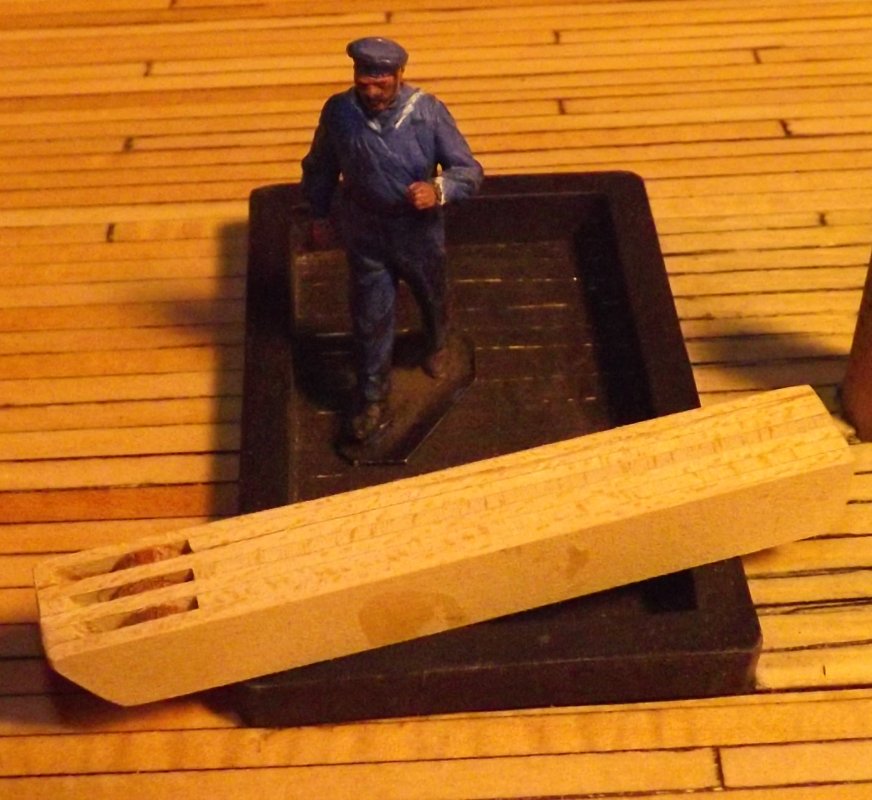
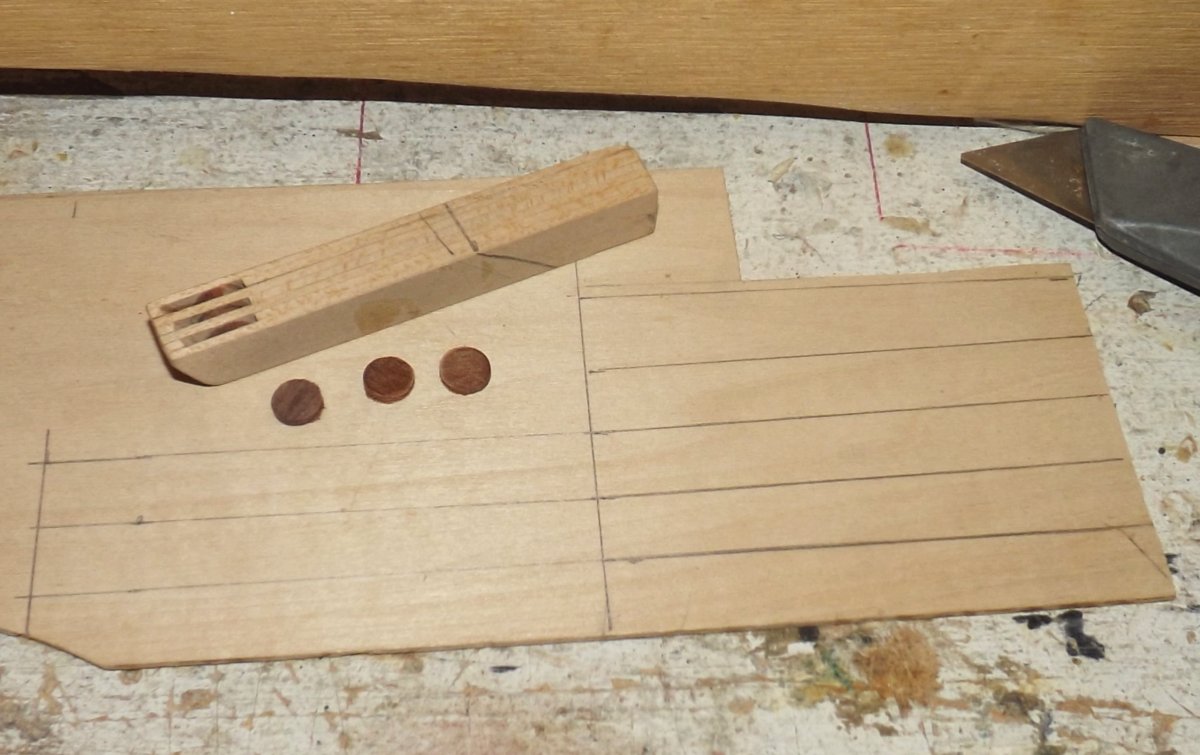
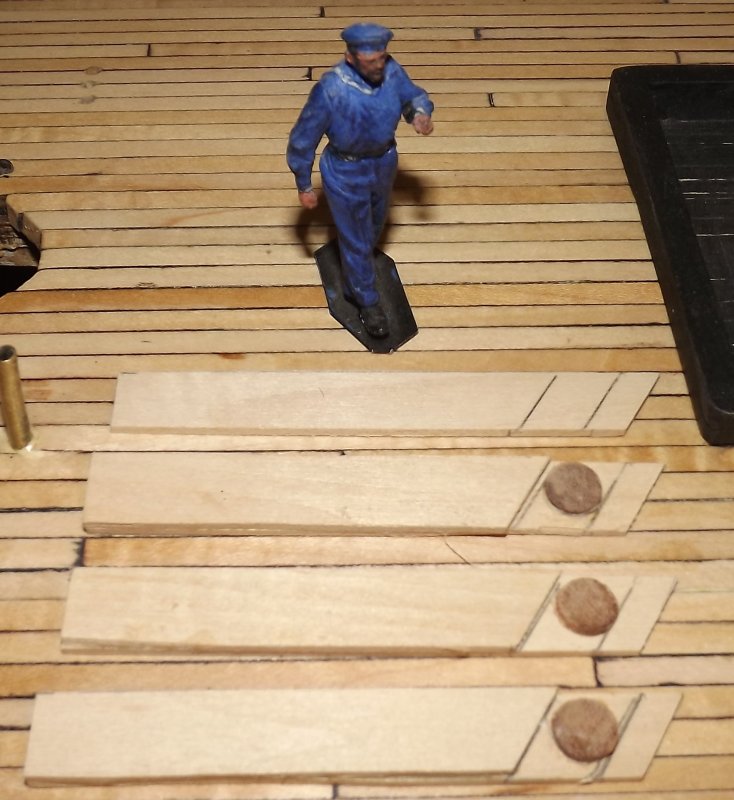
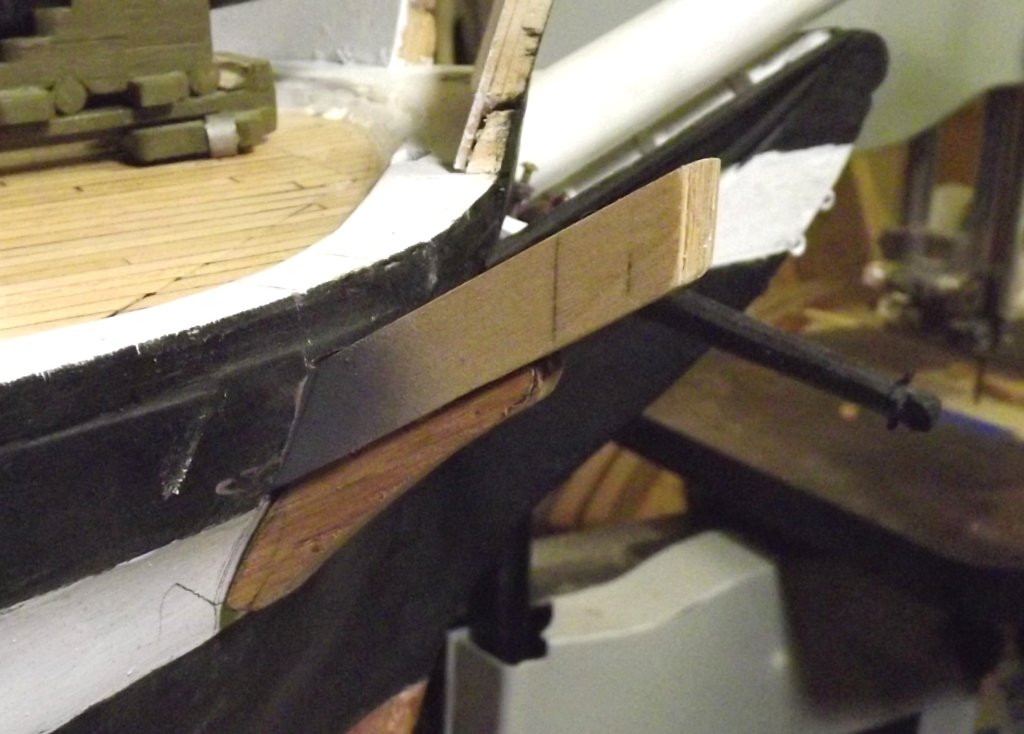
Catheads 5/4: I made one of the catheads by layering seven pieces of 1/16" bass sheet. This gave me the 7/16" square stock of the cathead, but made it easy to leave open the slots for the sheaves. The tricky part was fitting in the the hull. I fingured out it's size, placement, and angle by the 1888 spardeck plan, and photos both old and new.
5/5: Today I picked up from last night and made the starboard cathead. It was made the same way, laminating sheet bass and using slices from a walnut dowel for the sheaves.
Then it too had to be fitted to the hull which was done by drilling successively larger holes, and then squareing out the final hole with a burr on a roto-tool, knives, and files. With both catheads fitted, I made the oak knee that will support it. This was glued to the cathead and will be reenforced with brass pins.
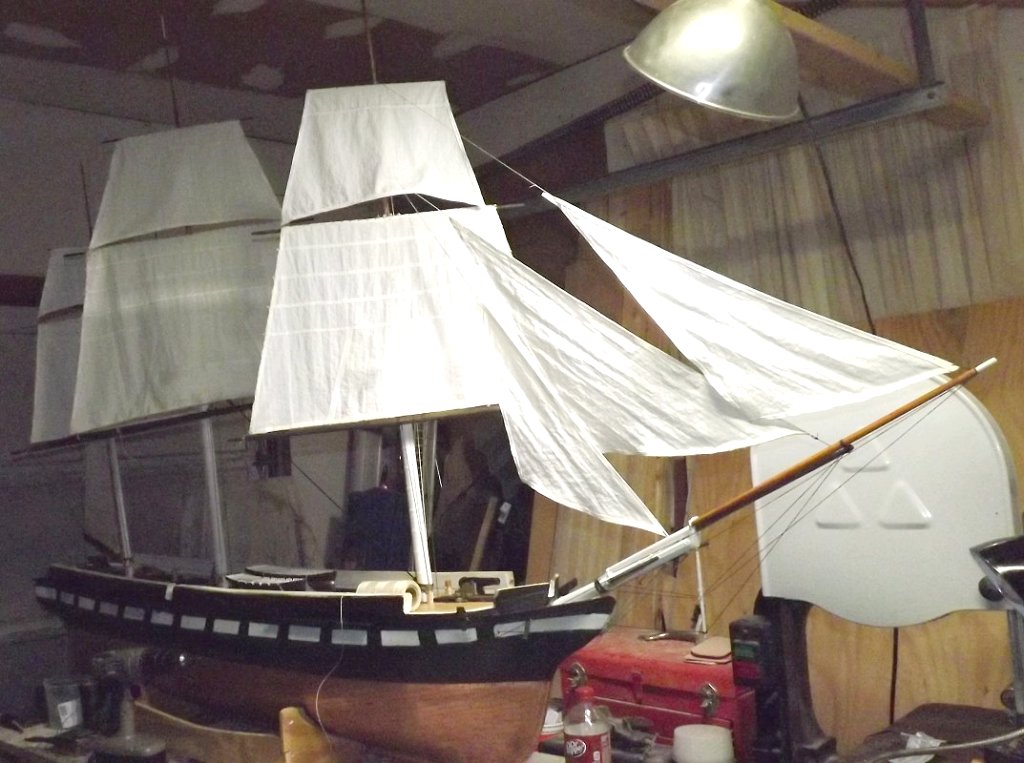
Bending Sail
|
||
 |
 |