4/29/2015

 |
 |
|
Previous Page | Next Page | Table of Contents click pictures for a larger version Cap Rail
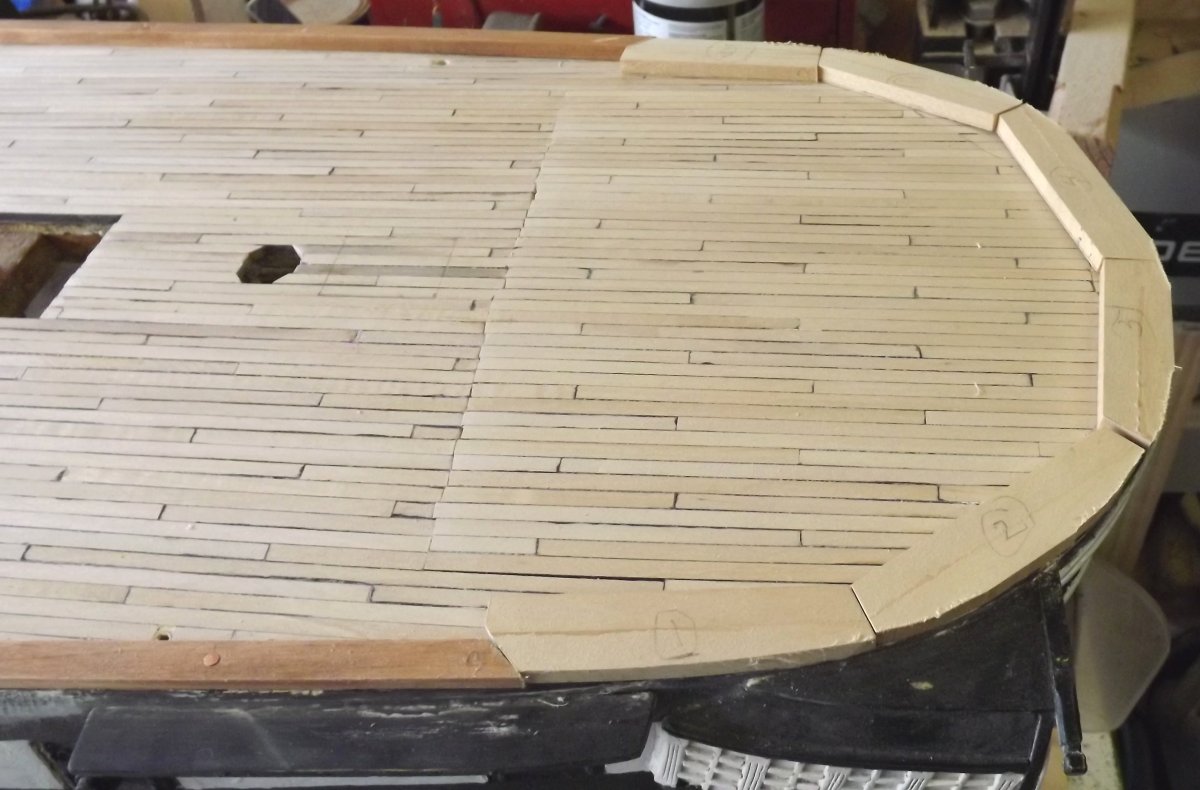
I cut one of the remaining 2 strips into 3-1/2" lengths and glued them up side-by-side to make 6 1/4" x 3/4" x 3-1/2" blocks I made a card stock template of the stern and used that to shape the blocks and piece together the cap rail around the stern. This was also glued and tren'led to the hull.
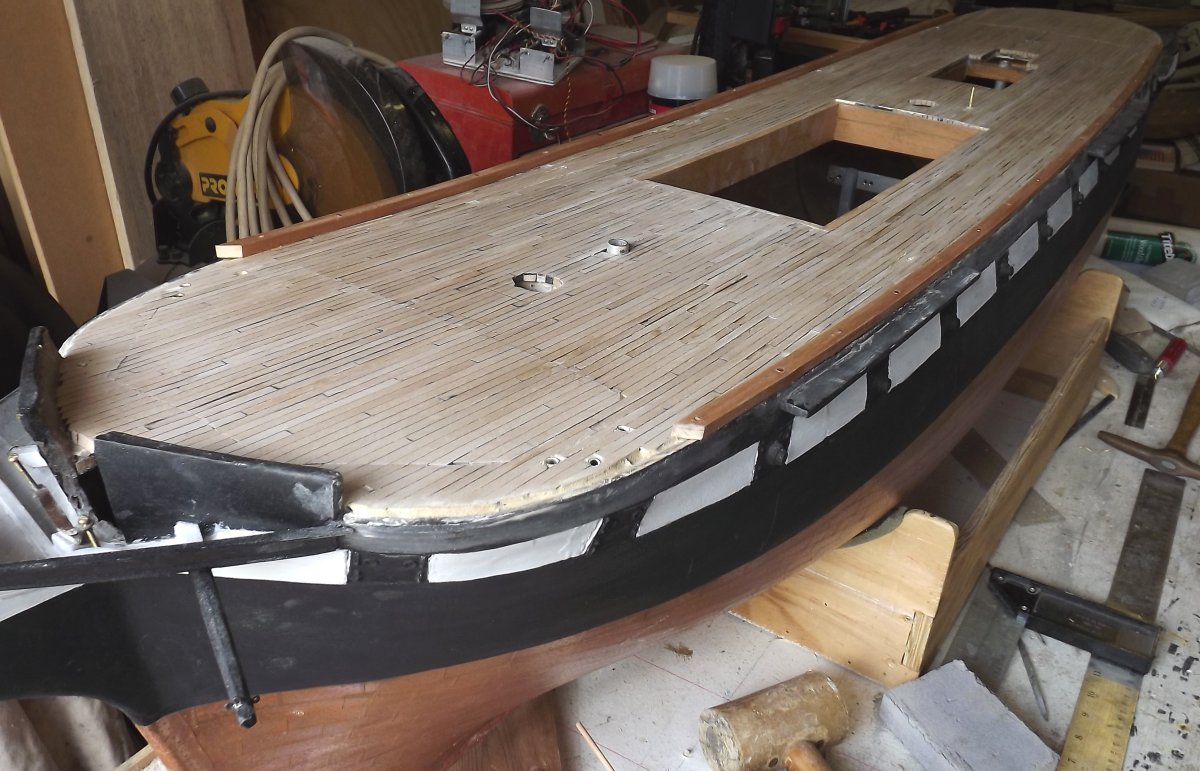
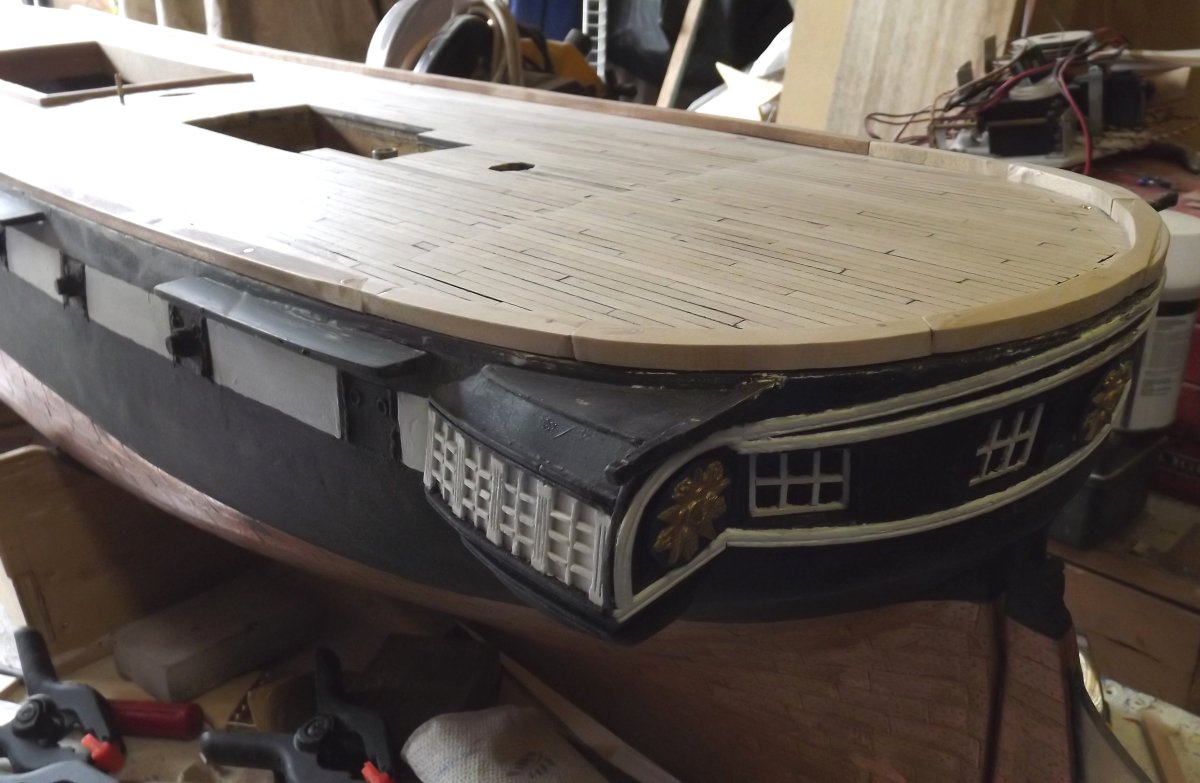
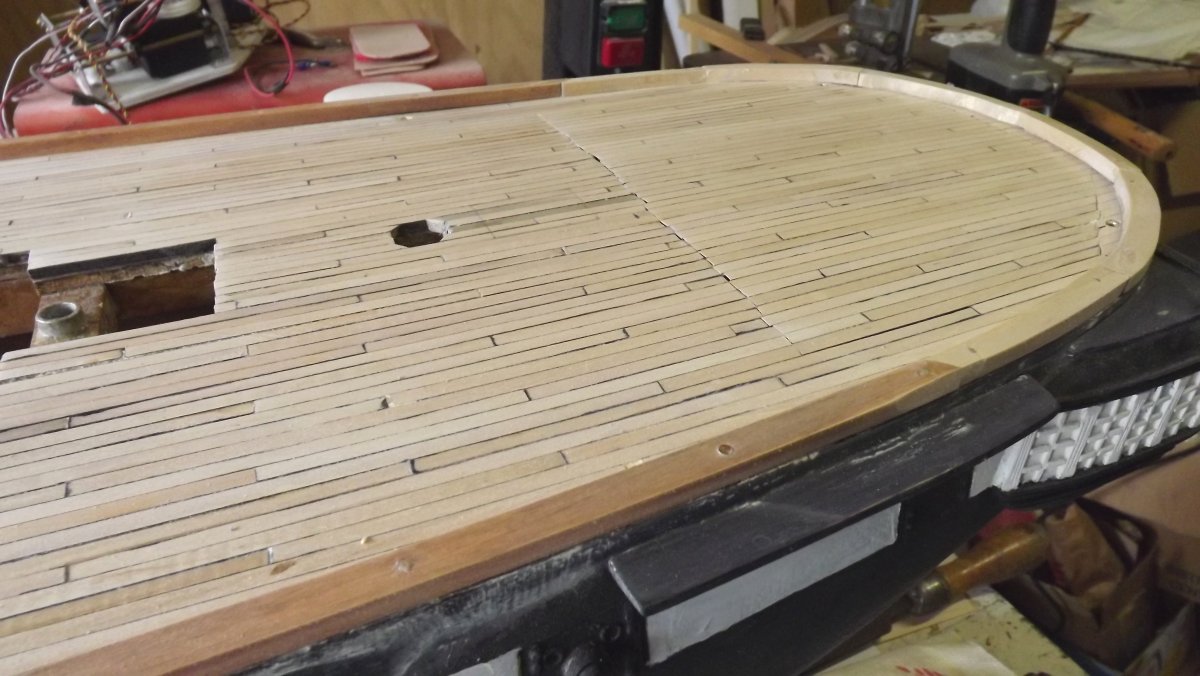
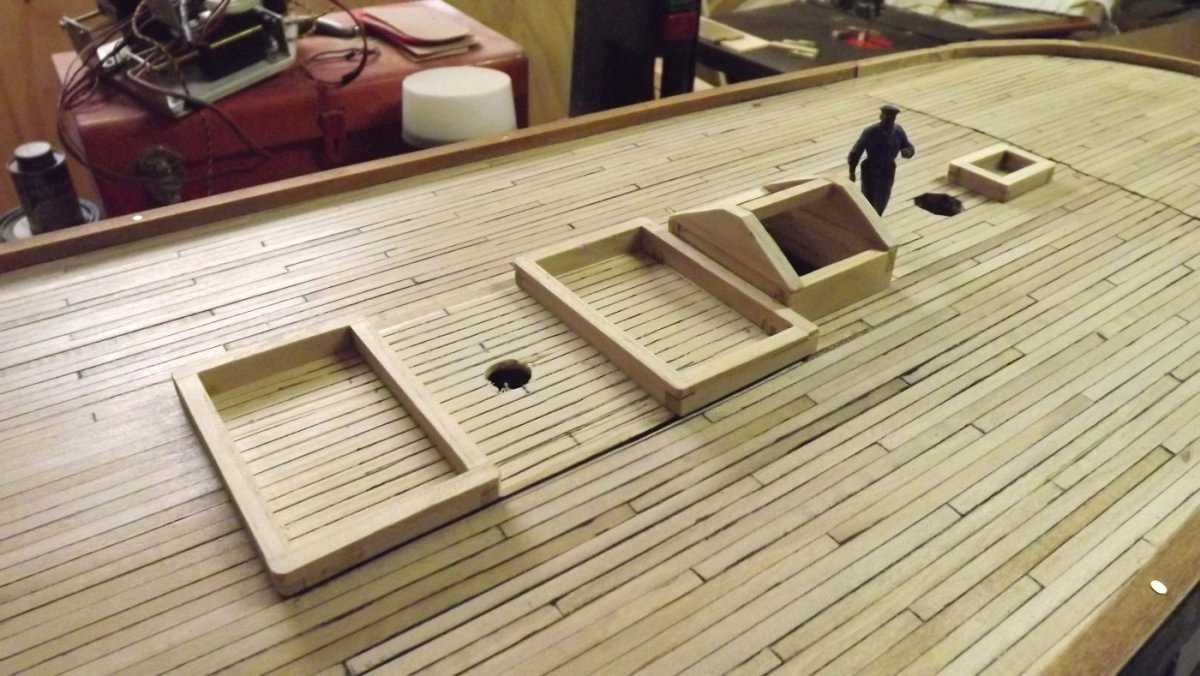
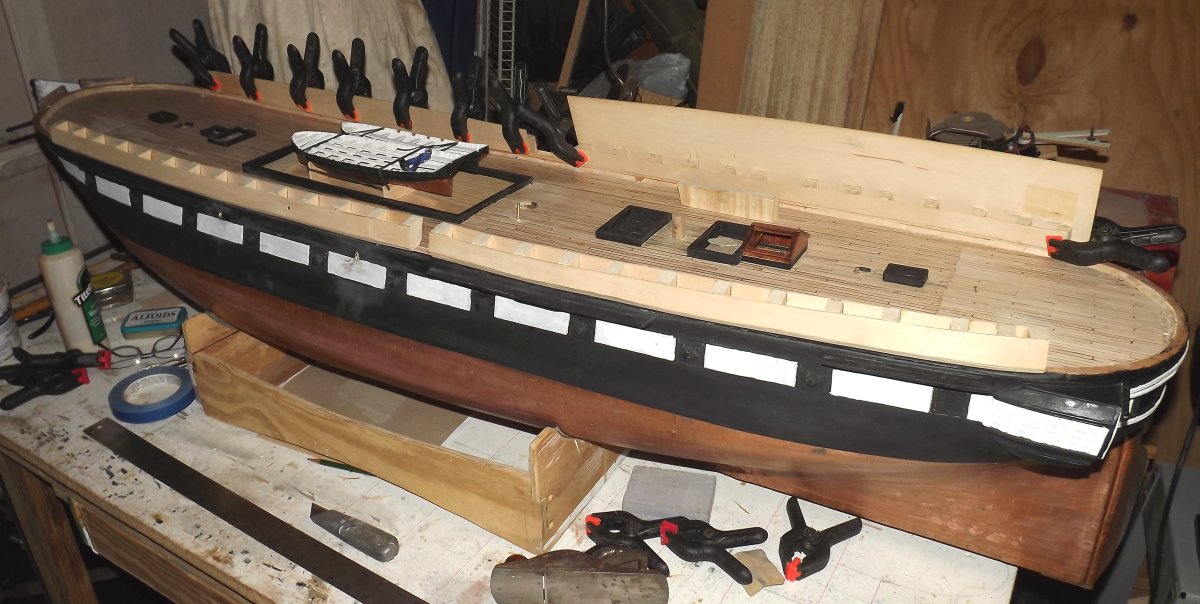
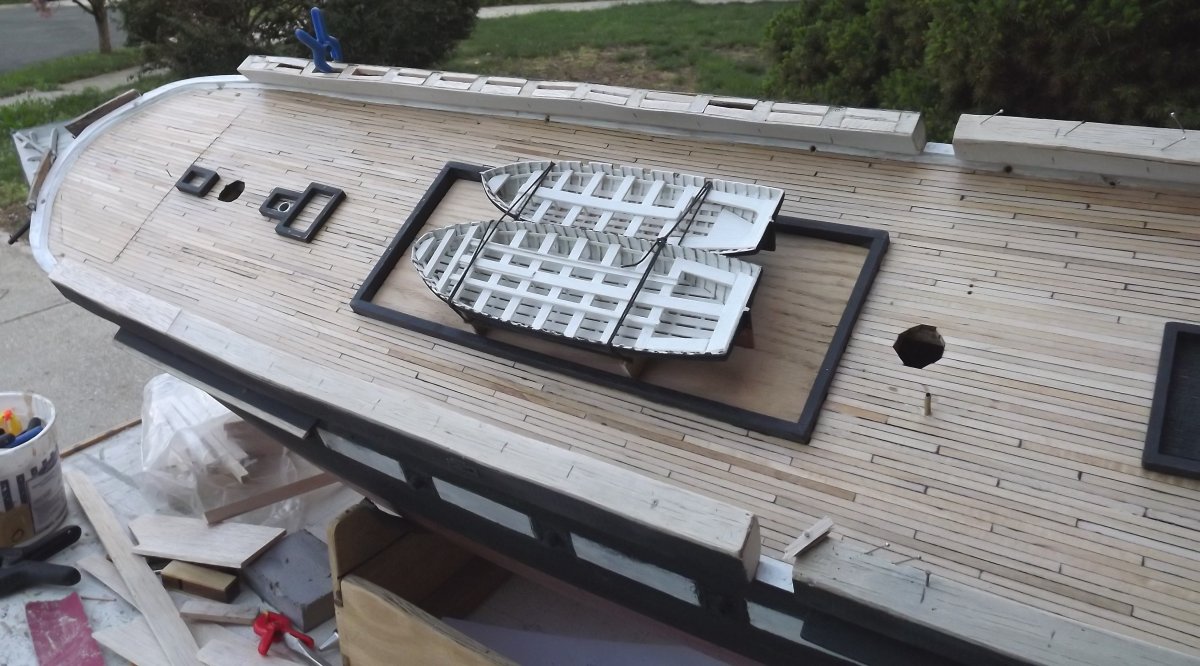
Hatch Coamings 4/18: Started on the hatch coamings last night and continued on them today. Built the battery hatch cover which consist of a section of deck where the capstan goes, two companionway hatches on either side, and the skylight - all in one unit. After gluing, sanding, fitting, etc, I put a little paint on them and the hull. I also trimmed the tubes for the ballast rods down flush with the deck.
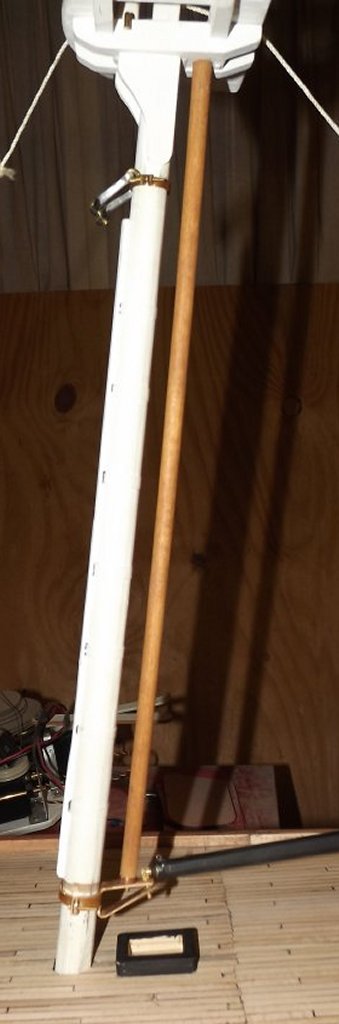
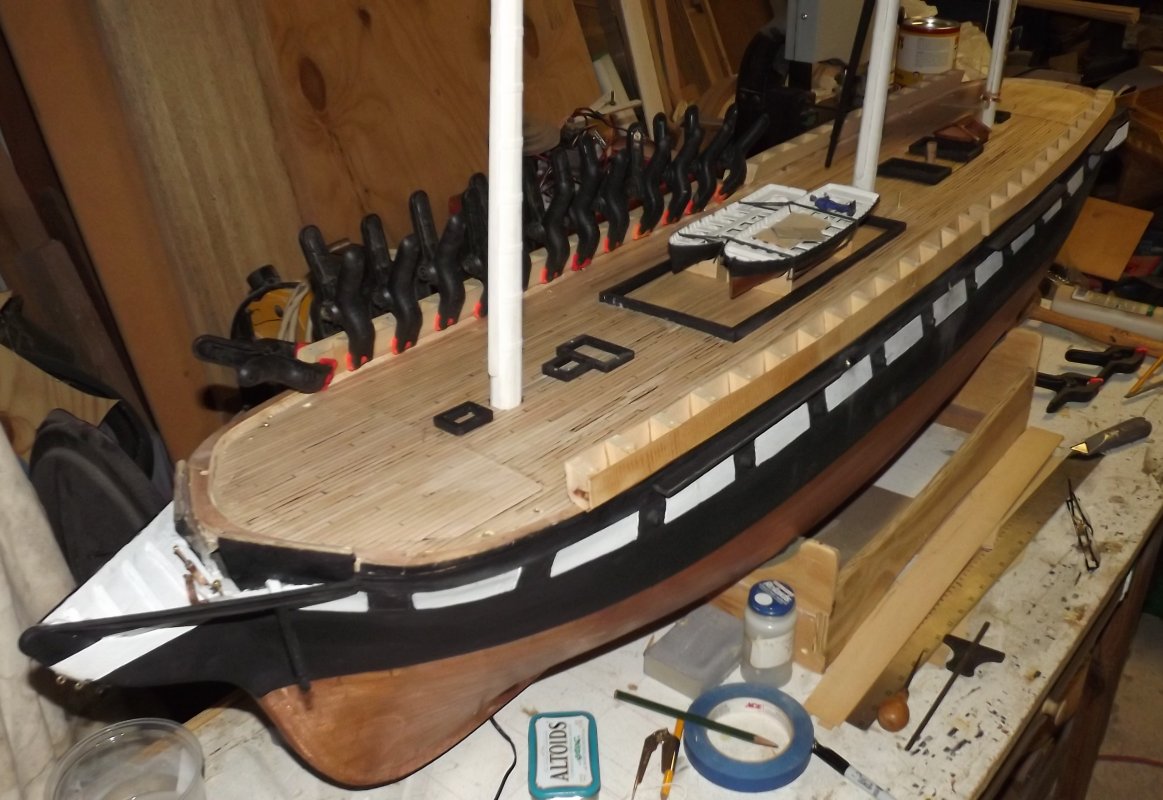
Trys'l Mast Step 4/19: I made a card pattern for this some time ago, and scratched it onto some copper sheet. Today I finally cut it out and made the thing. This piece is the step for the trys'l mast and where the goose-neck for the driver boom attaches. It's drilled and tapped for 0-80 bolts to hold the band that clamps it to the mast. I want larger diameter bolts, but only have 0-80 on hand at the moment.
Waterways and Hammock Rails
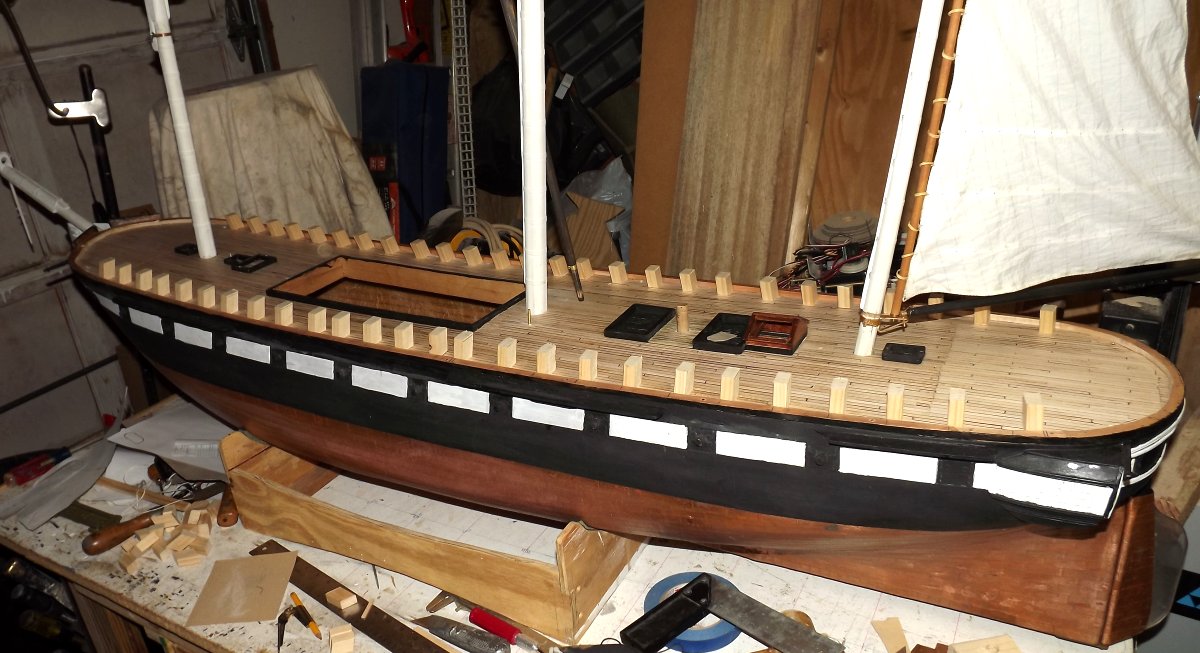
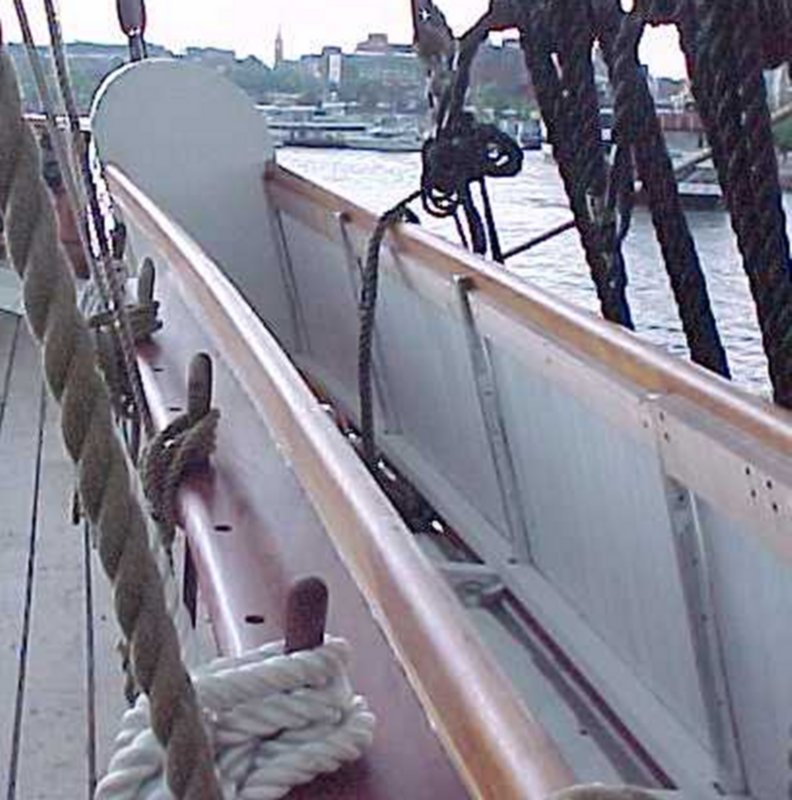
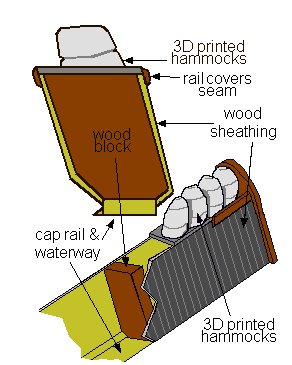
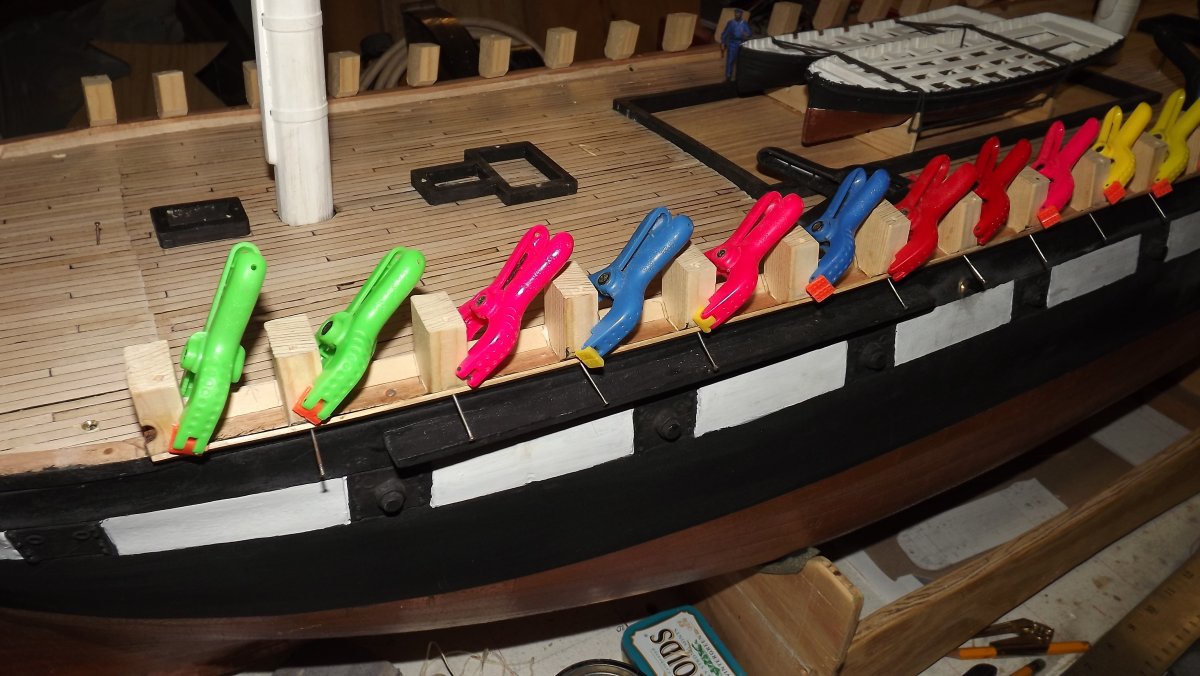
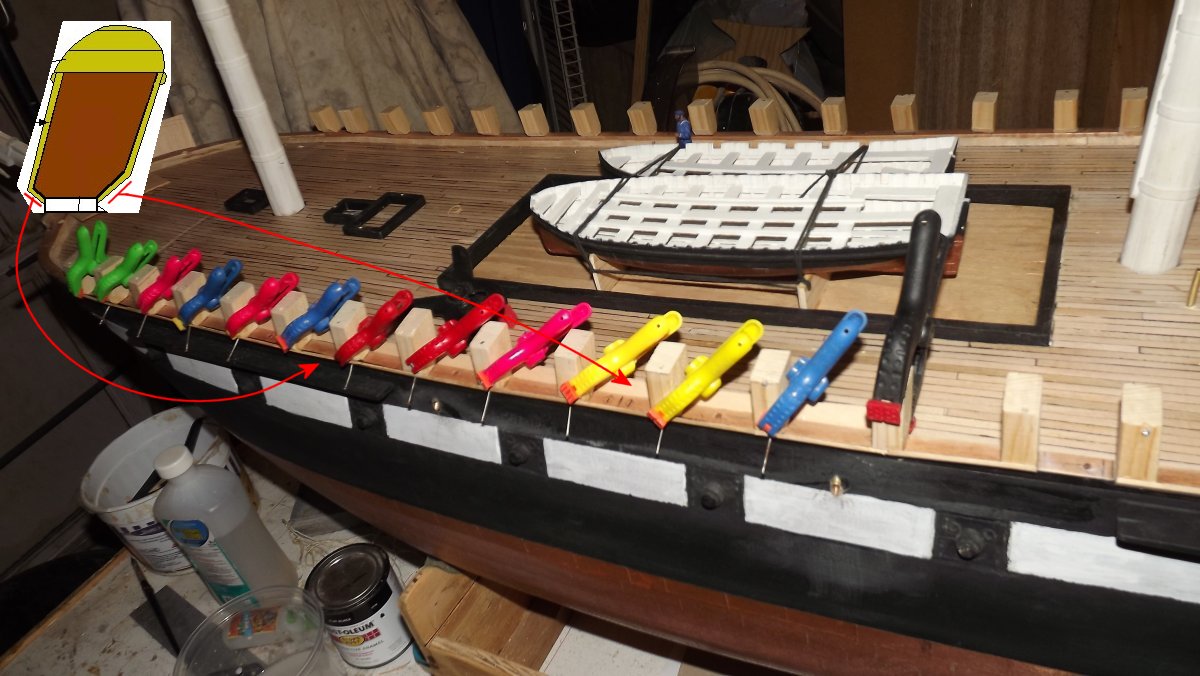
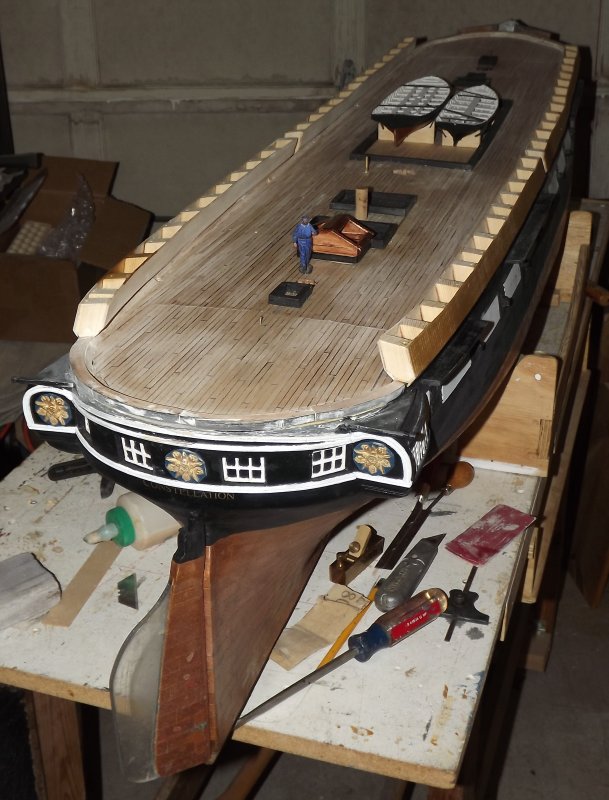
These blocks serve the purpose that the iron hammock cranes do on the actual ship. These irons are mounted on the cap-rail and normally would have been covered with painted "weather cloths" which would look like solid bulwarks. By Constellation's time though, it had become the style to wainscot the hammock rails with vertical staving. On Constellation the hammock rails were removed during her "restoration" to a frigate and the cranes apparently tossed into the hold. During her restoration back to a sloop I'm told all but one was found and reinstalled. The images below show Constellation's hammock cranes reinstalled and then wainscotted, note the pinrail is attached to nothing but the hammock cranes, there's no other bulwark structure. The drawing shows how I'm representing this construction on the model.
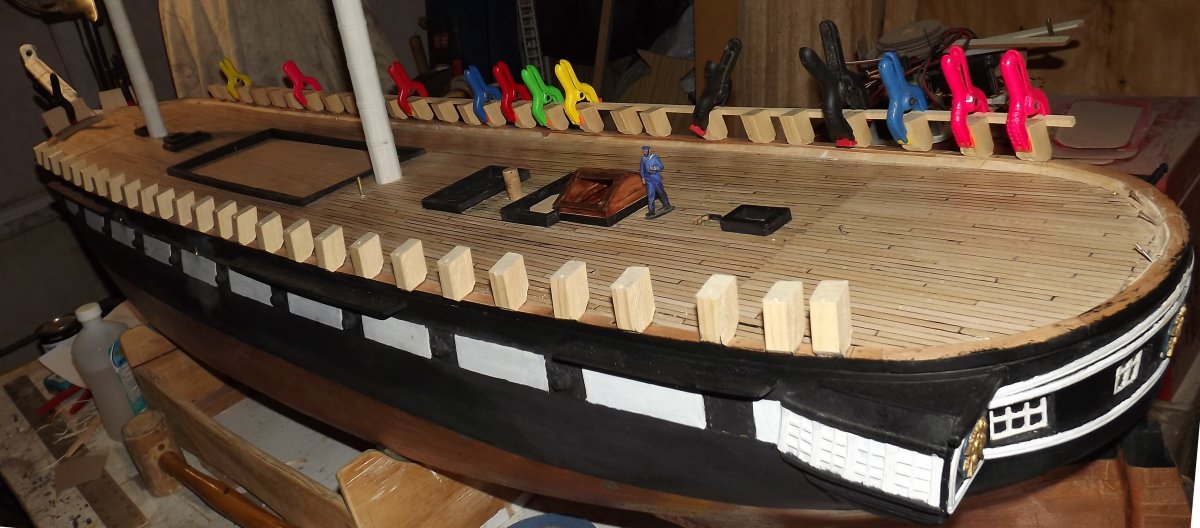
4/22: Began installing the waterways and continued installing the bulwark blocks.
4/23: Completed the waterways and installation of the bulwark blocks, even installed the scuppers. I stared at images for an hour trying to find all the scuppers just to figure out she only had two on either side on both decks. Looking at the ship today I found they put one in right above a gunport.
I tacked a couple of cleats inside the main hatch, cut some thin plywood to fit in the hole, and touched the coaming with some paint inside. I don't think I'll have gratings figured out in time for Maritime Day on May 17th, but this will make it look a little more "finished" and less like a large hole. I might glue on some boat chocks and carry the launch and cutter next sail. I also rough cut some sheet to line her forward bulwarks at the bow.
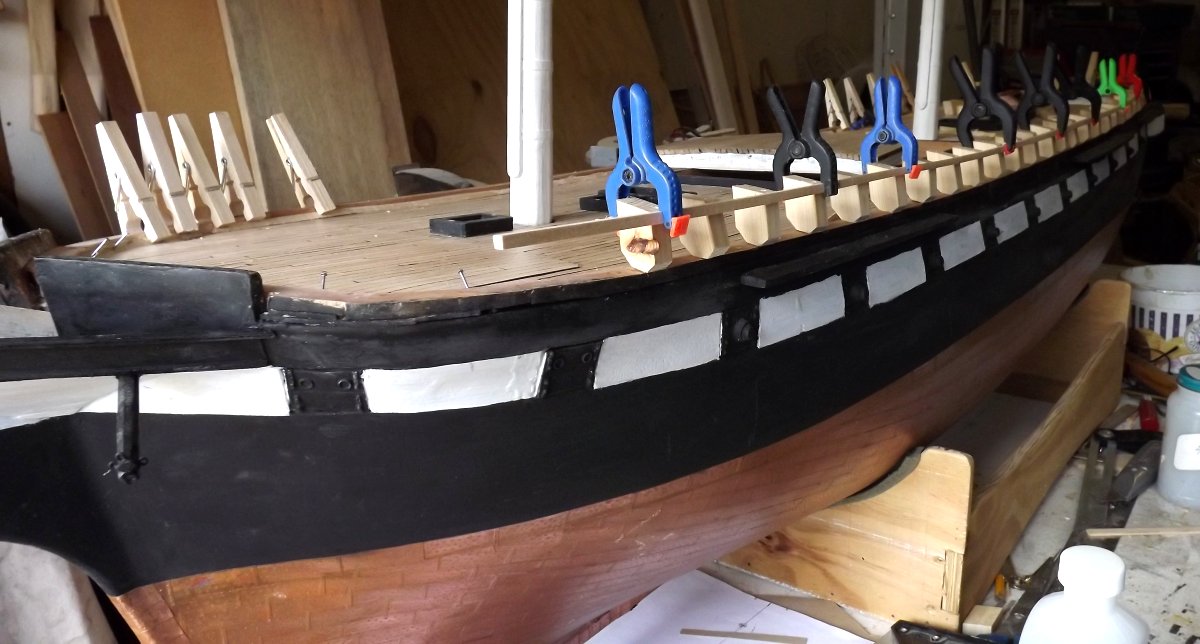
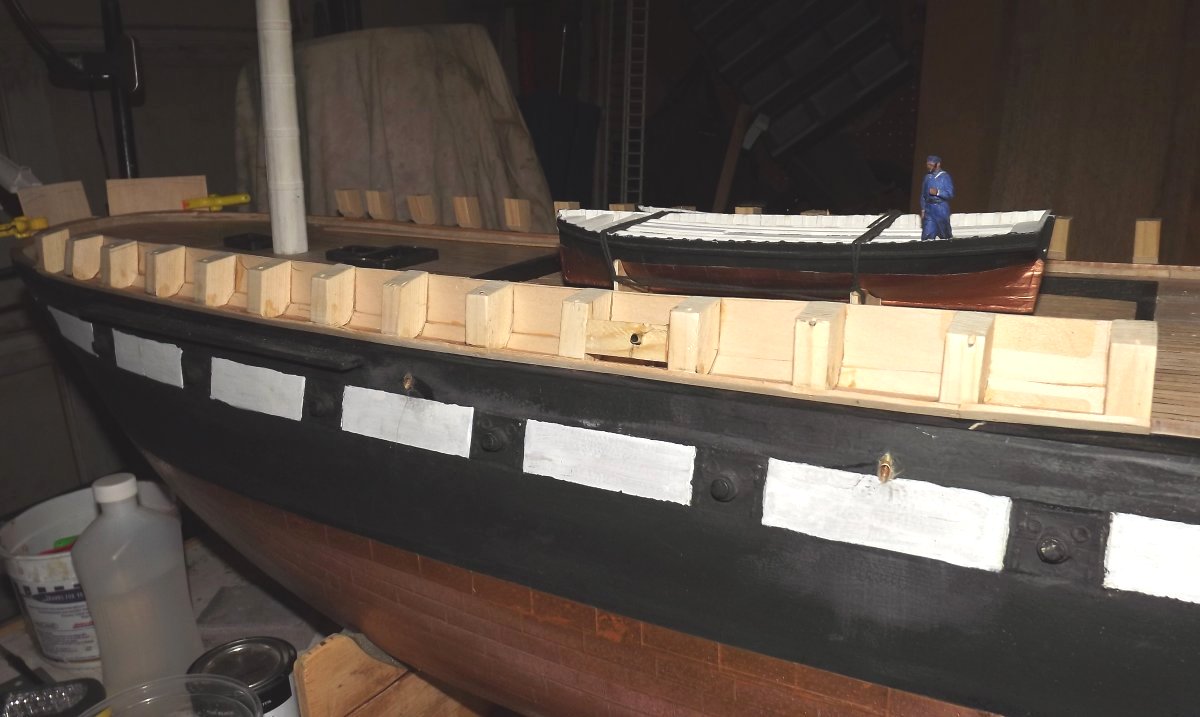
4/24: So, I made some boat chocks and tied the boats onto the temporary hatch - that should be good for Maritime Day next month. I also began paneling the hammock rails. I'm installing the inboard and outboard lower pieces first.
4/25: The port-quarter portion of the hammock rails with the clamps removed.
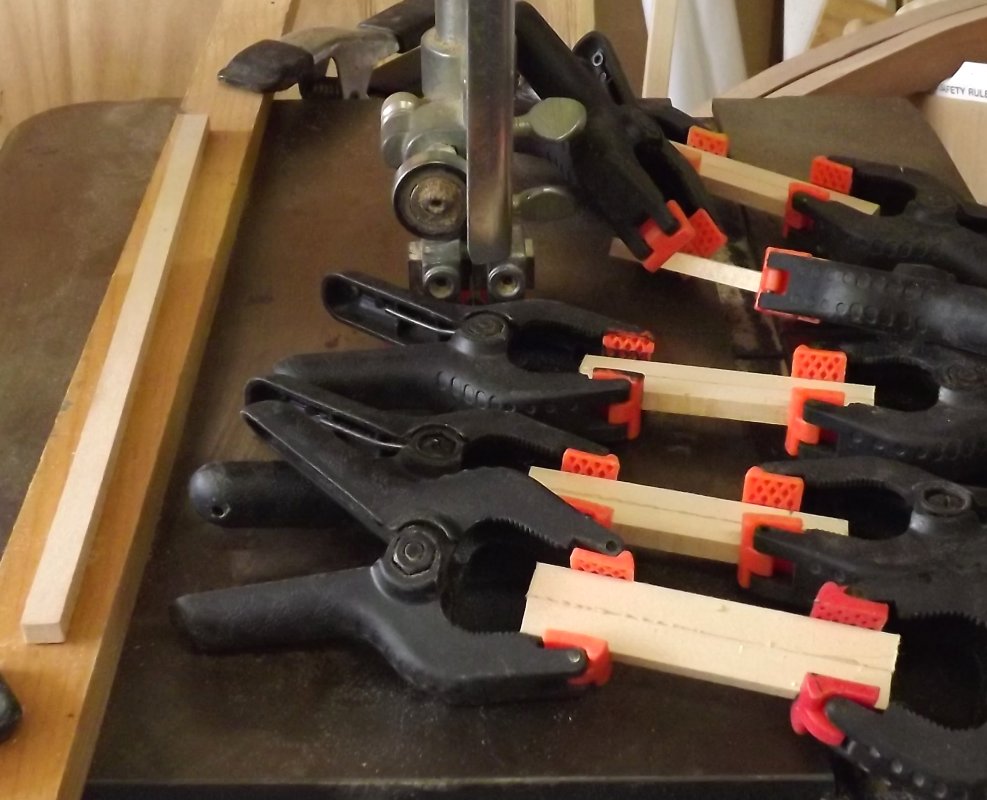
4/26: The starboard side hammock rail panels clamped in place to be marked for cutting, and glued in place later. The port side outboard panel's been polyurethaned to harden the wood a little and scribed with vertical staving.
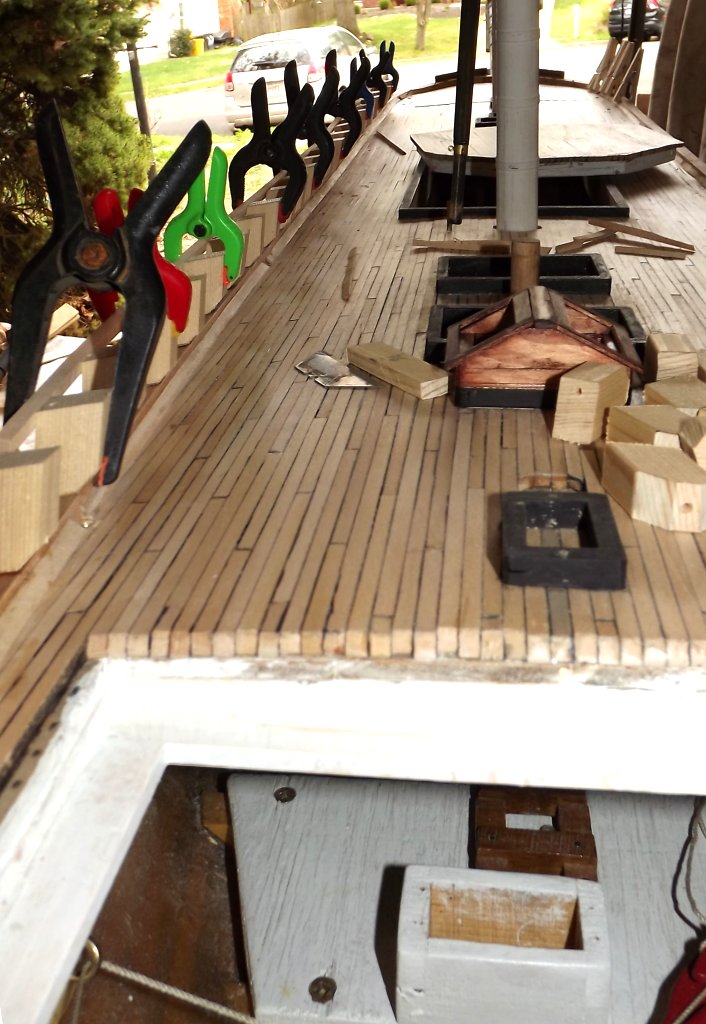
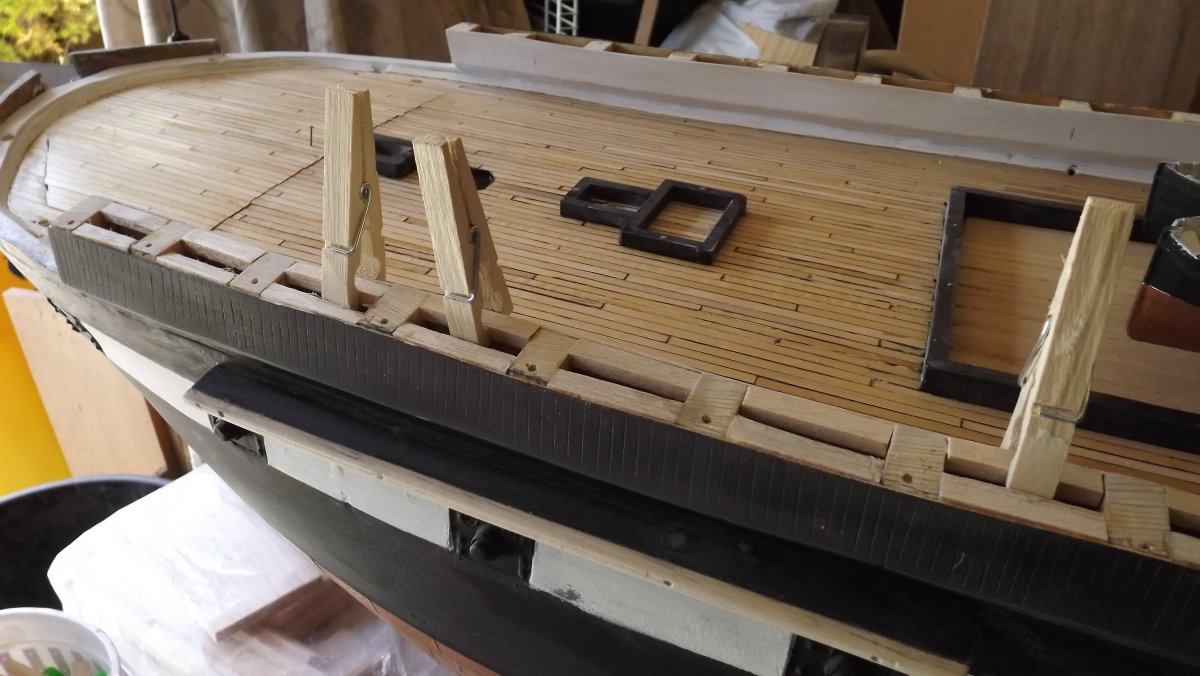
I installed blocking at the top of each compartment to stiffen the panels between the blocks and provide more glue surface for the covering. At the same time, I began installing the first layer of the covering which consist of 1/8" sheet balsa. The deck got another sanding and coat of poly, which I think may be the last coat, those it'll get another very light sanding just to take off the "satin" shine.
|
||
 |
 |