4/16/2015

 |
 |
|
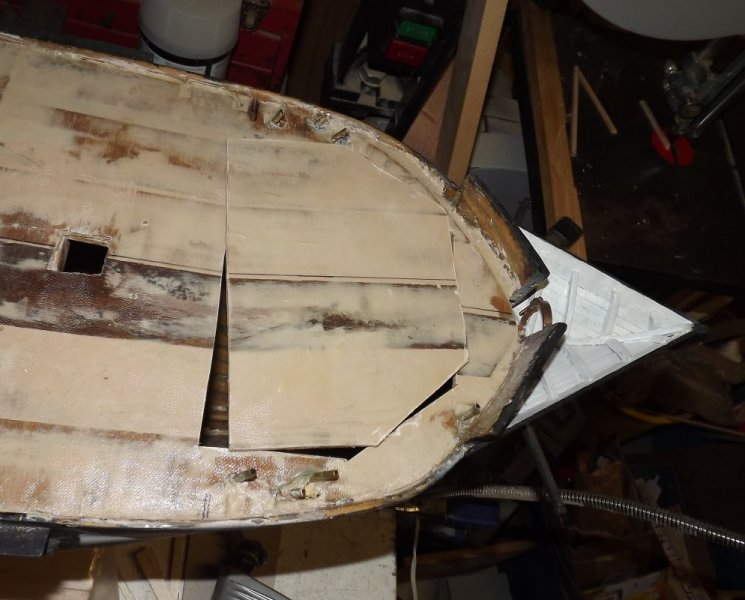
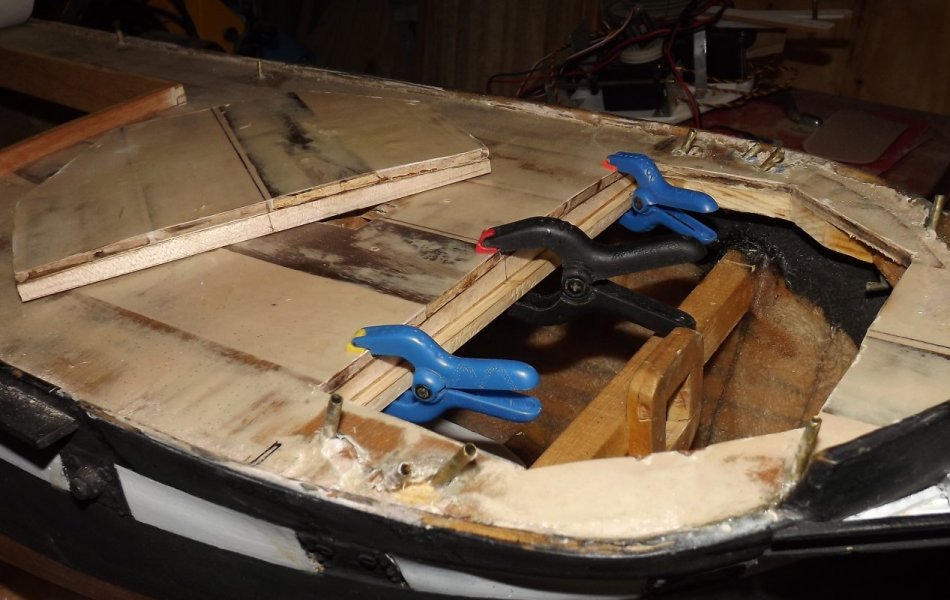
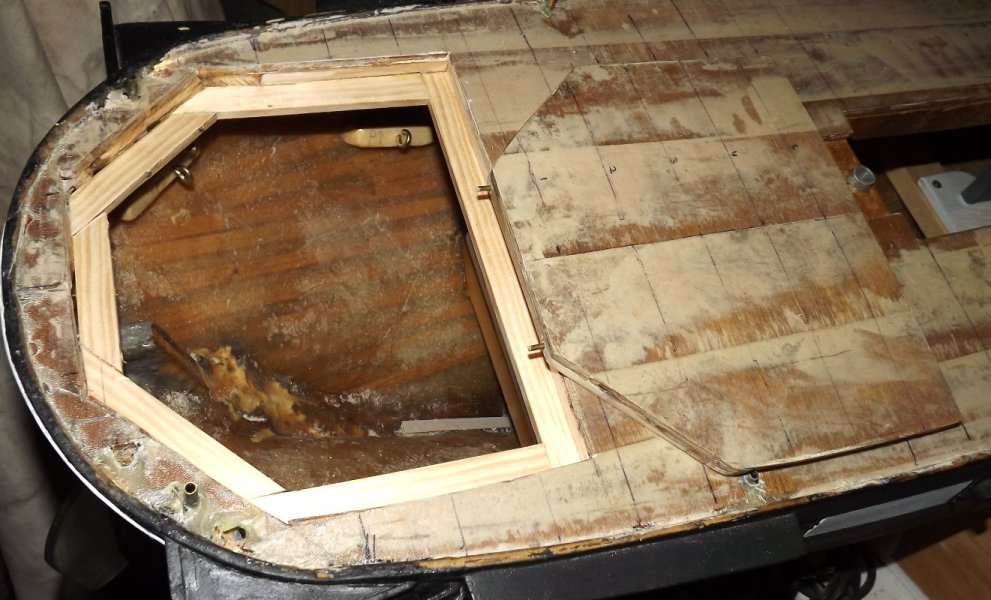
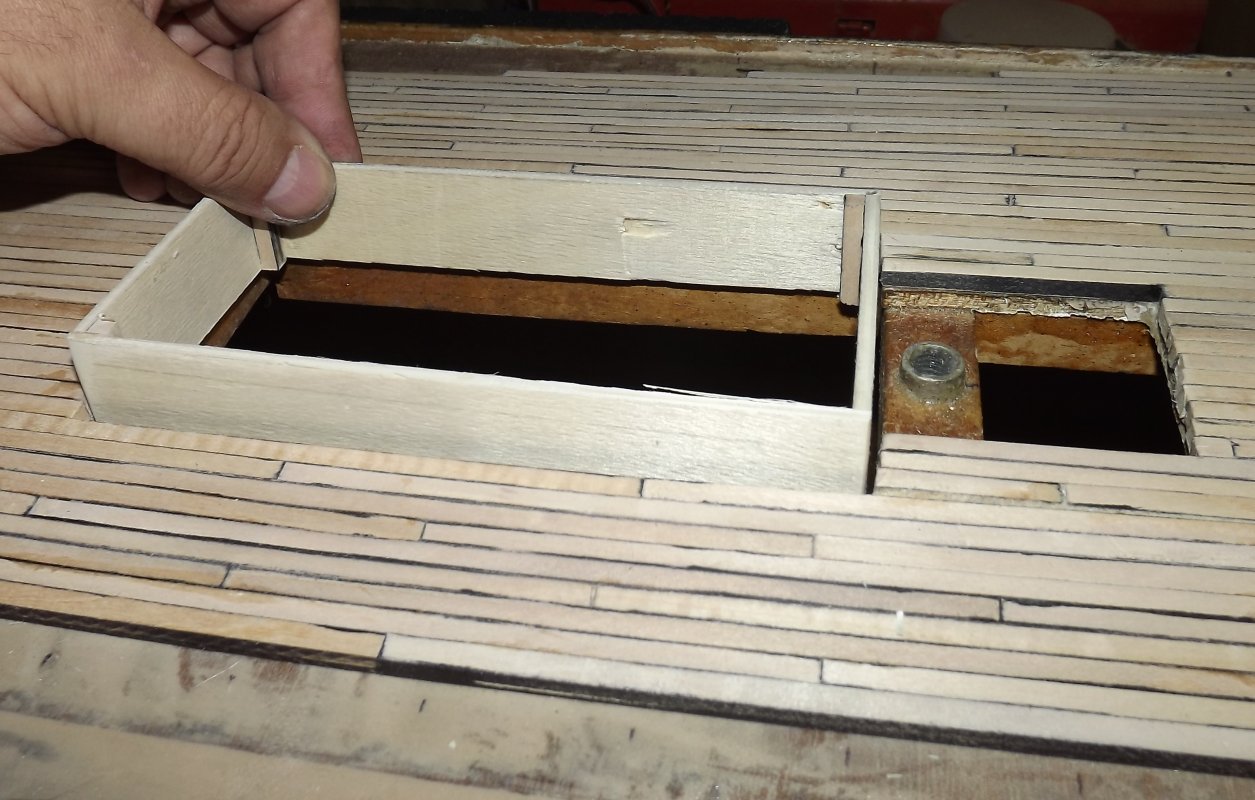
Previous Page | Next Page | Table of Contents click pictures for a larger version Fore & Aft Access Hatches 11/23/2014: I figured out the aft hatch opeing, marked it, held my breath, and cut it out. Immeadiately I installed a beam at the removed section's forward edge to hold it's camber. The opening is 8" wide x 7" long.
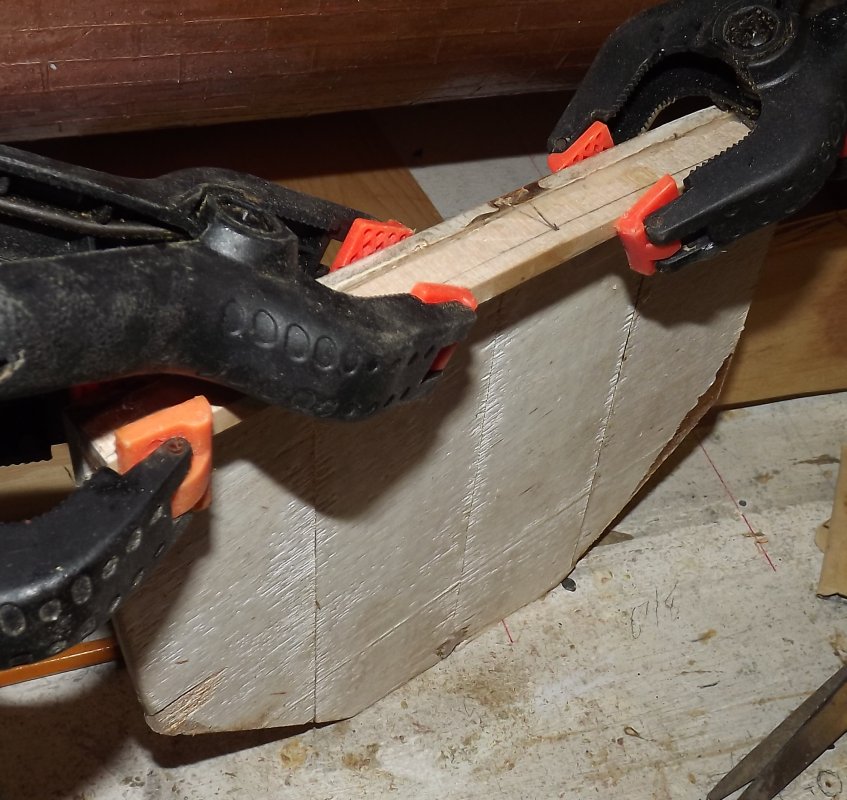
The Thanksgiving holiday is coming up, and it's darn cold in this garage, but I managed to frame up the underside of the aft hatch using the maple I initially ripped down for the decking. I still have to frame the opening with a ledge for the hatch to rest on. This ledge will get some weather stripping material to make it, well, let's not jinx it and just say "water resistant." 12/1: The ledge mentioned above is installed. There's some gaps to fill, and it'll get coated with epoxy. Then I'll put some threaded inserts in for the hold down screws, and the weather- striping, of course.
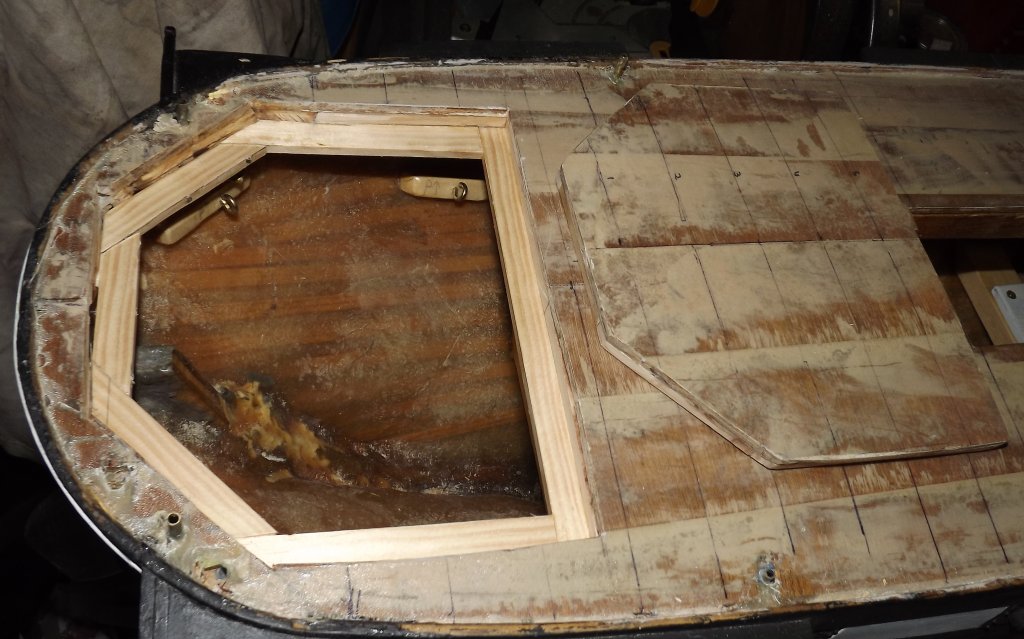
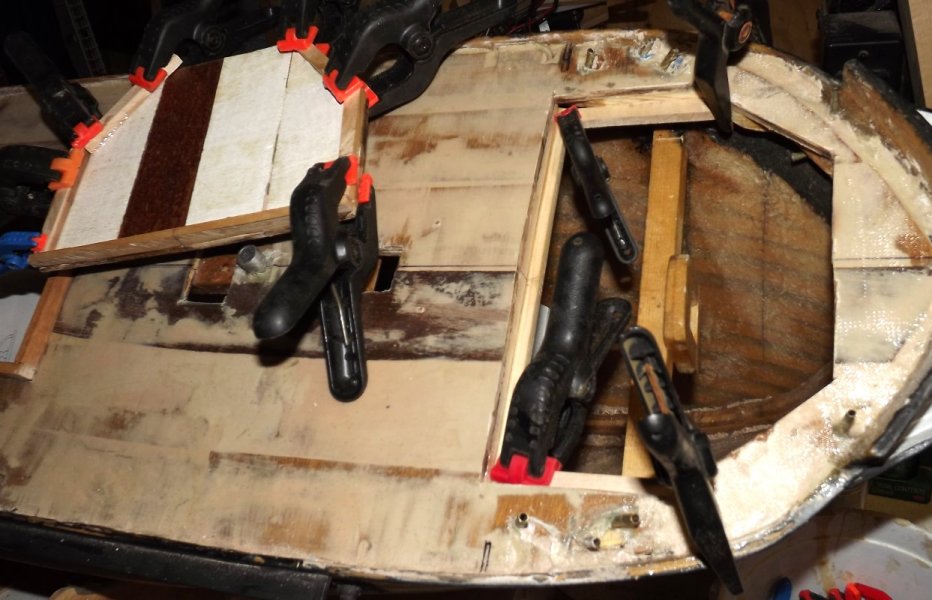
12/7: I cut out the forward access hatch and began framing it as I did the aft hatch. This hatch is 8" wide x 5-1/2" long.
12/8-10: Forward hatch framing continues.
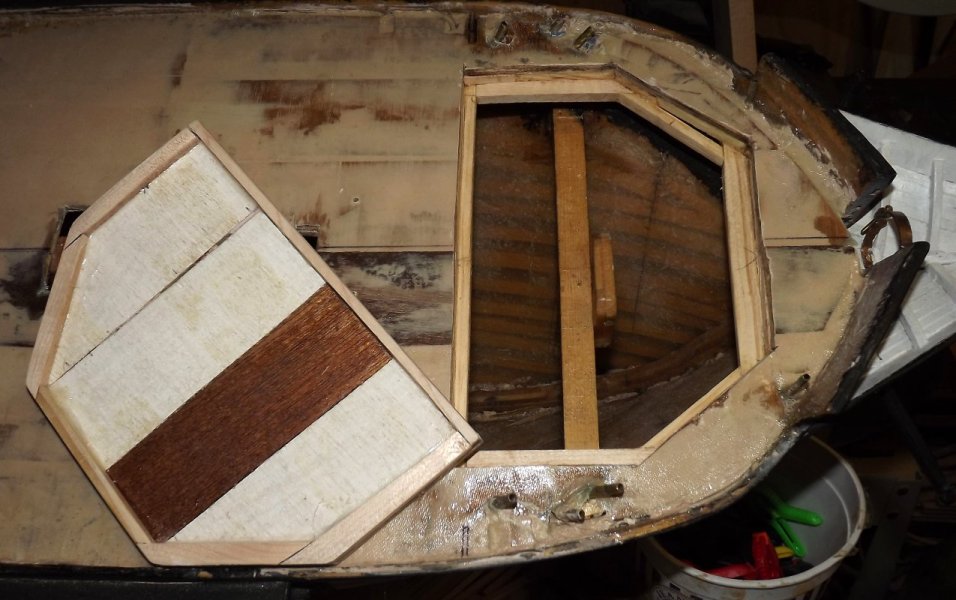
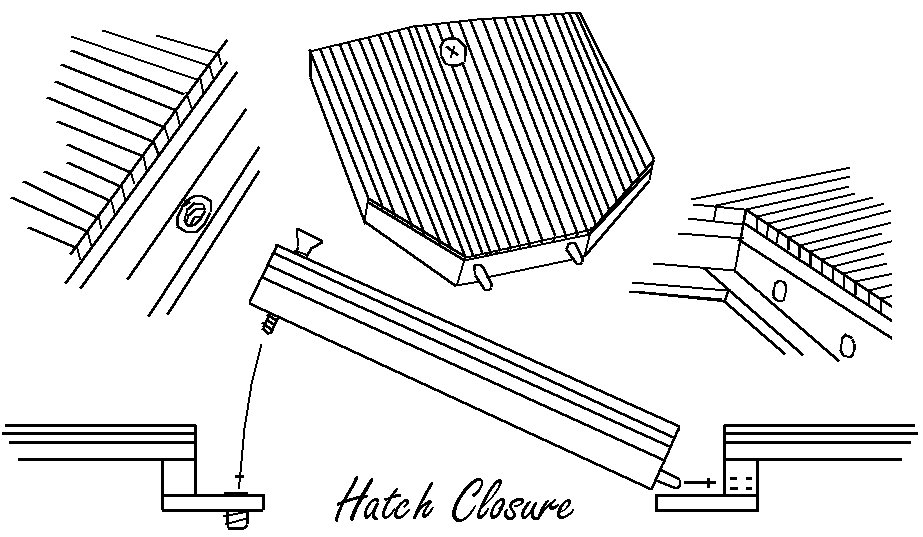
I've decided to close the hatches by putting two pins in one end, and a screw to hold down the other. Here the aft hatch has gotten it's pins and the corresponding holes in the opening's framework.
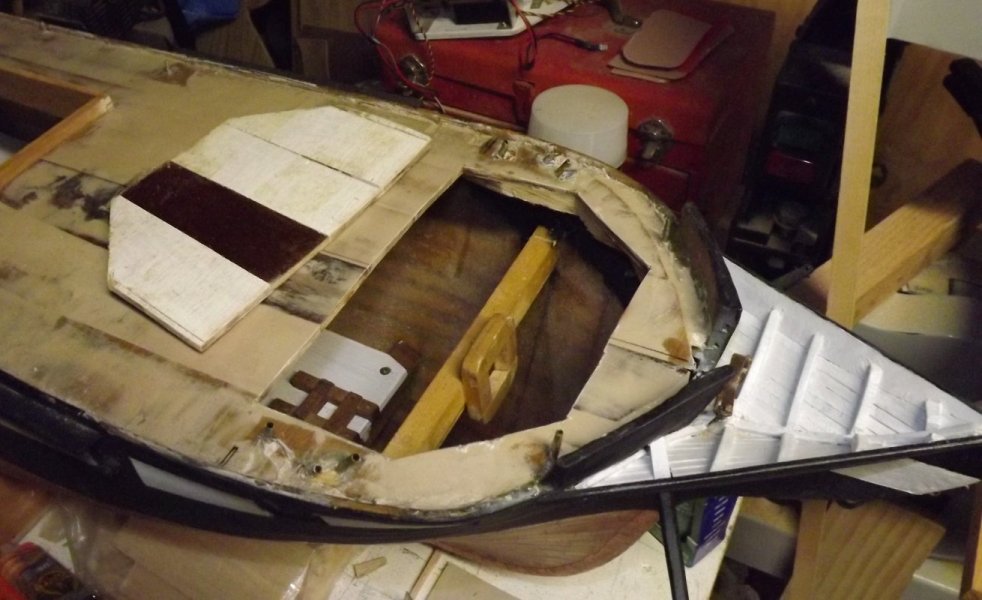
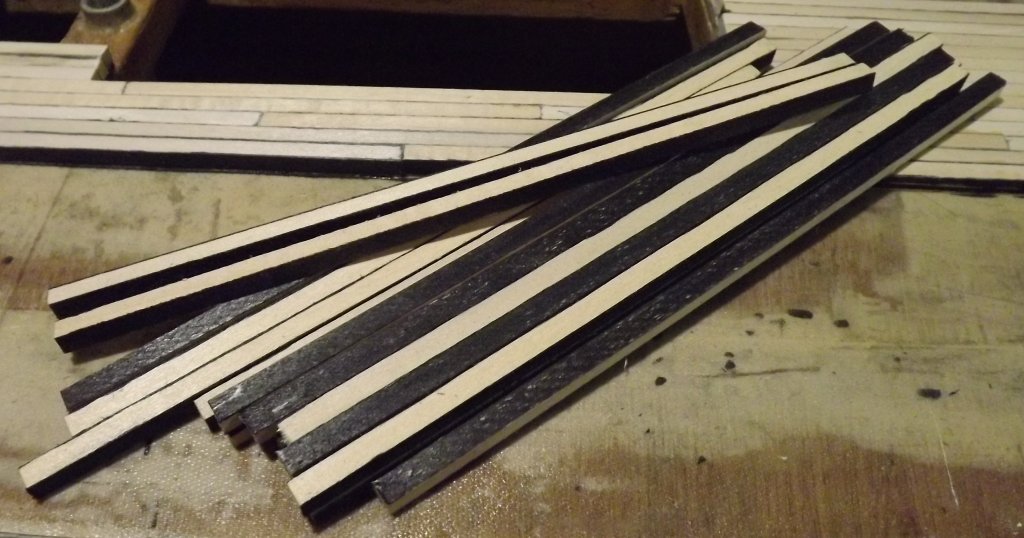
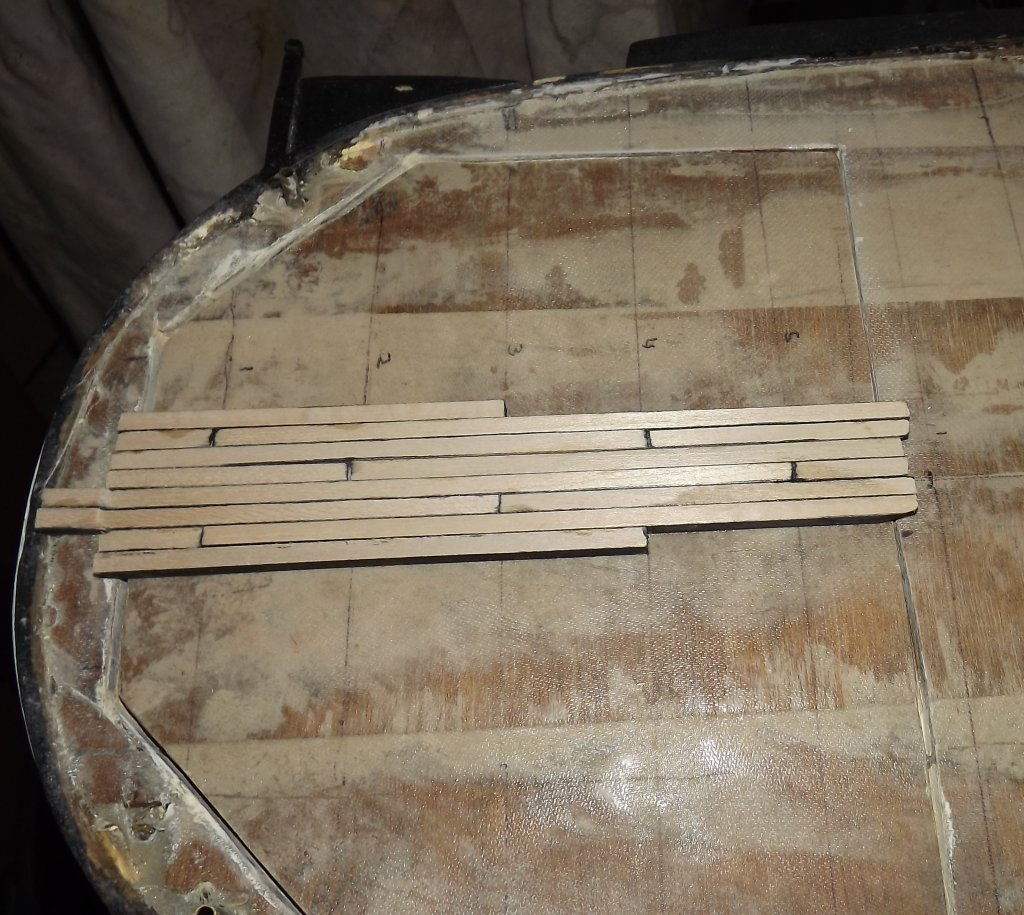
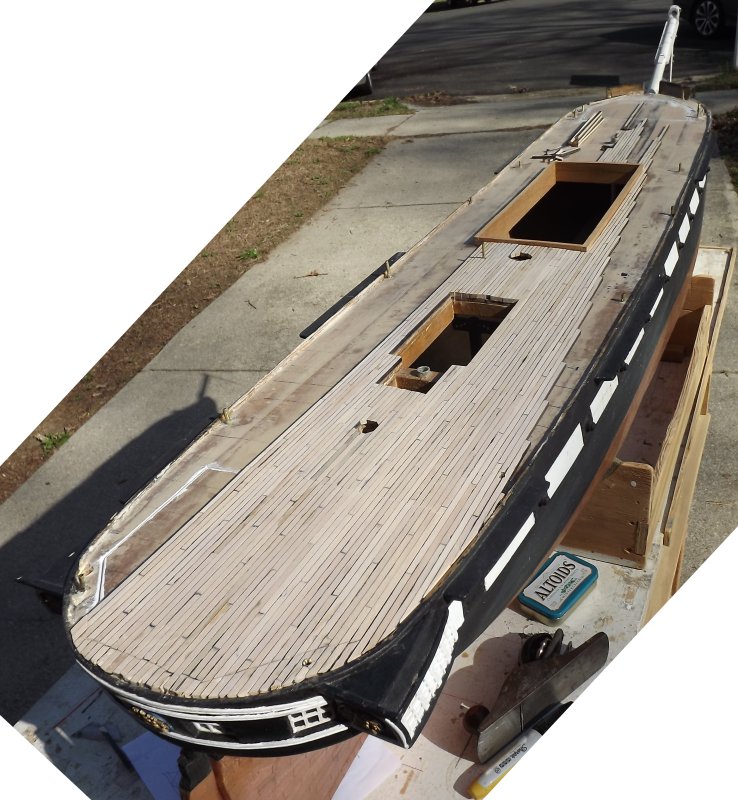
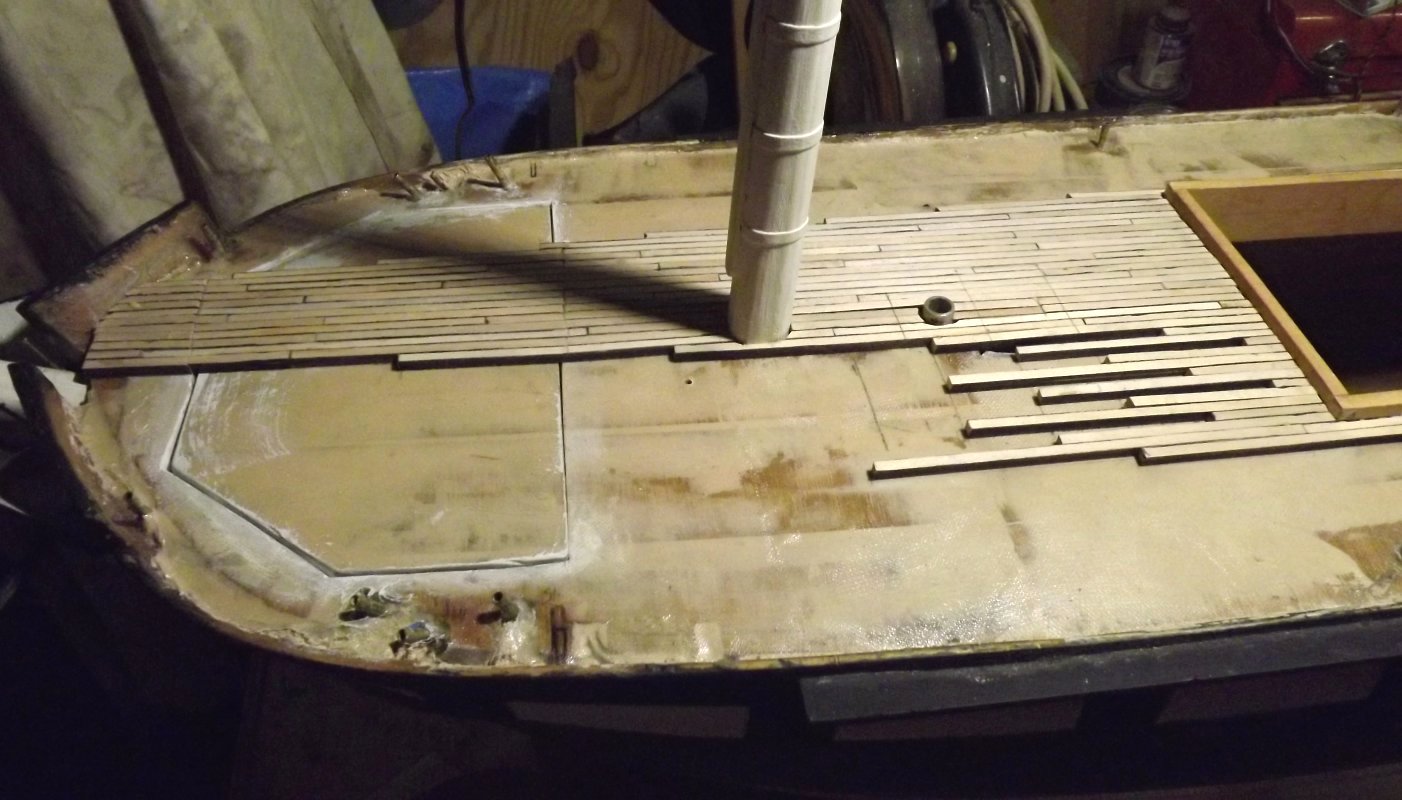
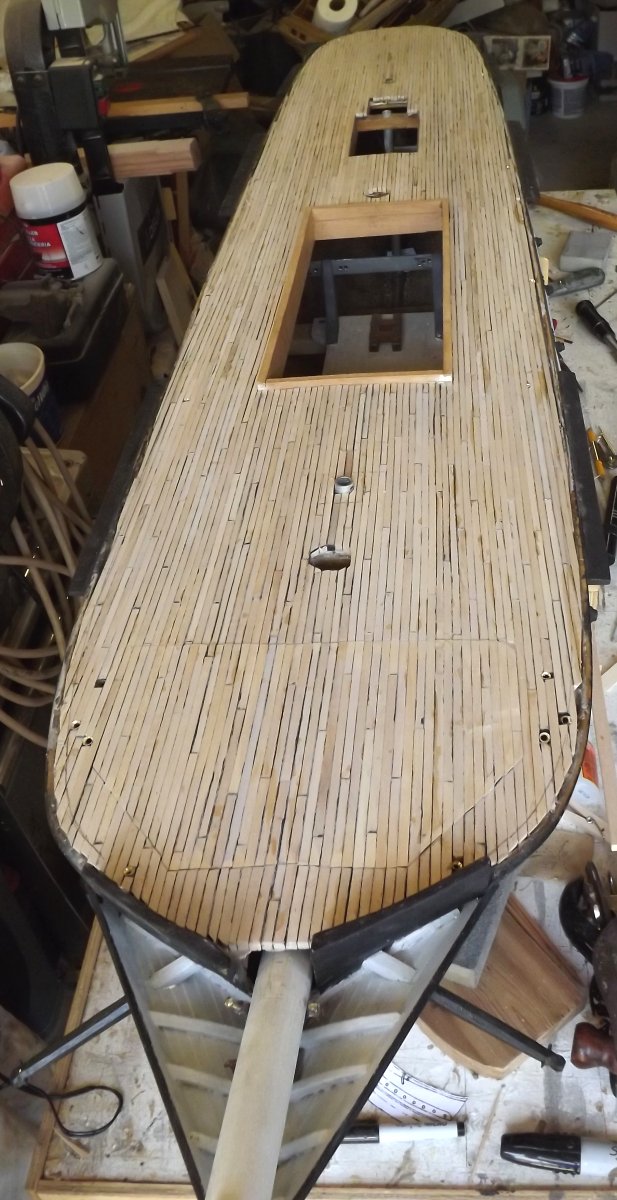
Laying the Deck 4/5/2015: Happy new year! Winter's finally ended, really, it snowed as late as a week ago. This wasn't the first day in the 60's, but it was the first such day I could get into the shop and get something done. Besides doing some work for other folks, I started laying the deck at last. I'm using CA to glue the deck down. The seam sides of the planks are blackened with permanent marker.
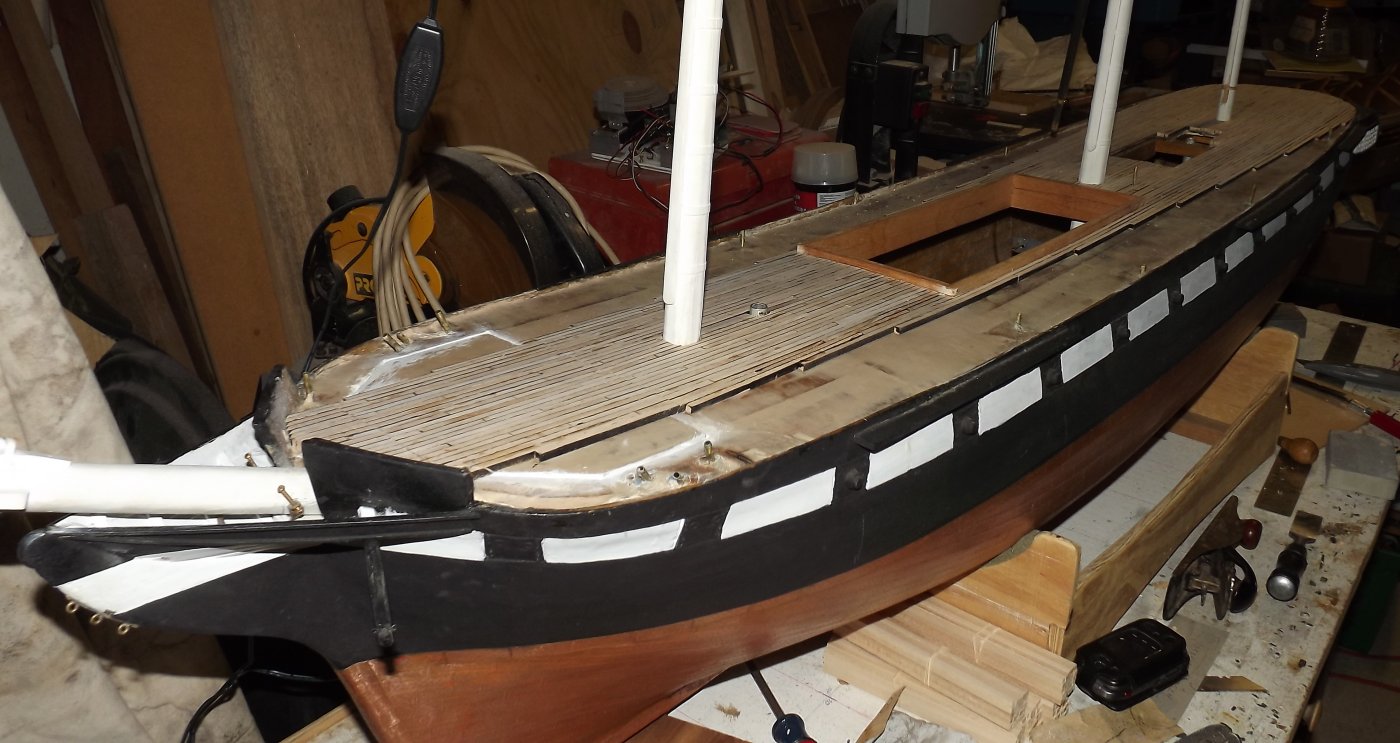
4/10: Doing other things is keeping this job slow, but now there's over 60 pieces laid, and I painted the underside of the access hatches and inside the hatchwells.
4/12: A beautiful day in the high 60's, so I rolled the model outside and tanned my bald head. I also laid deck until I ran out of glue.
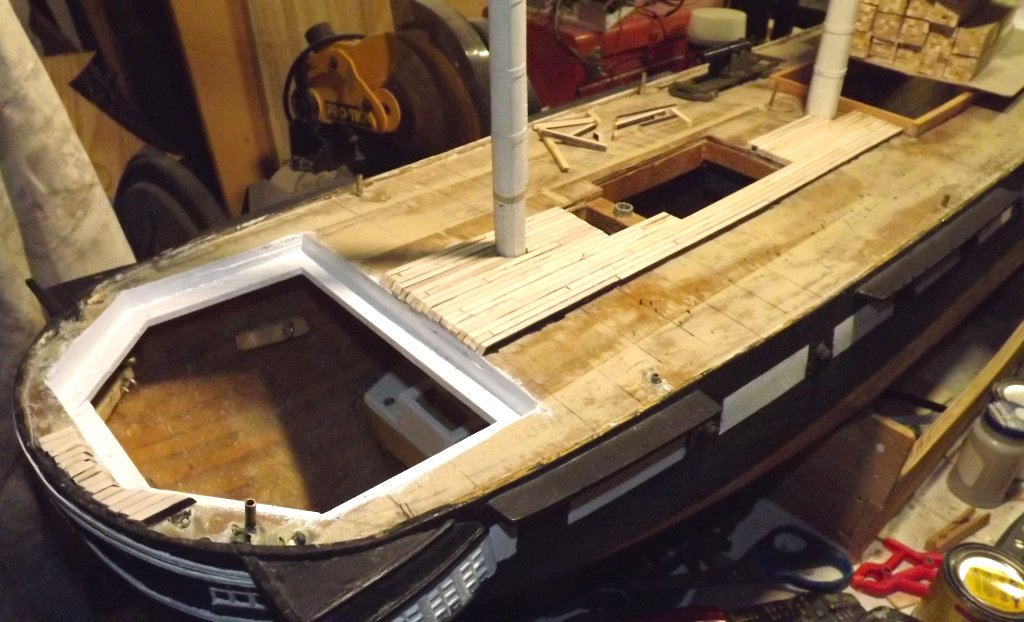
4/13: Got two bottles of gel CA and got into the fiddly bits up forward. I also made a "sleeve" for the battery hatch cover.
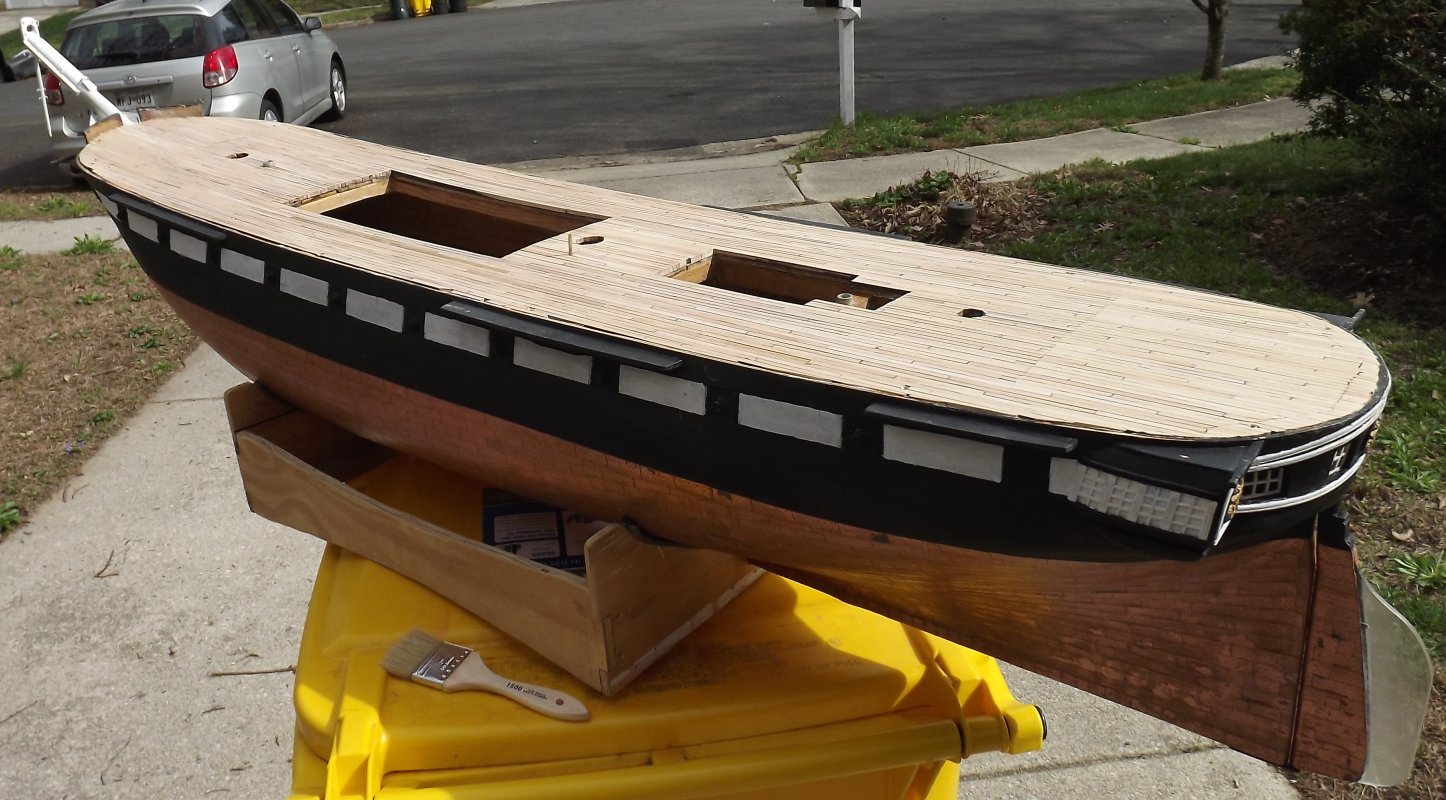
4/16: Didn't get the deck done on the 15th as I'd hoped, but I got about half of what was left down and completed the rest today.
|
||
 |
 |