8/25/2016

 |
 |
|
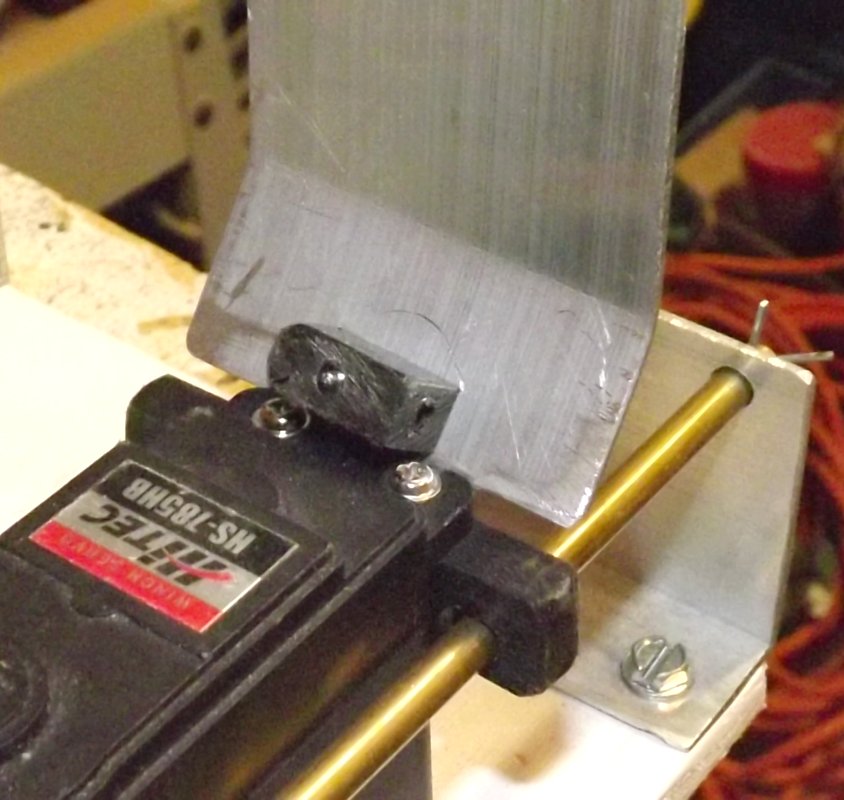
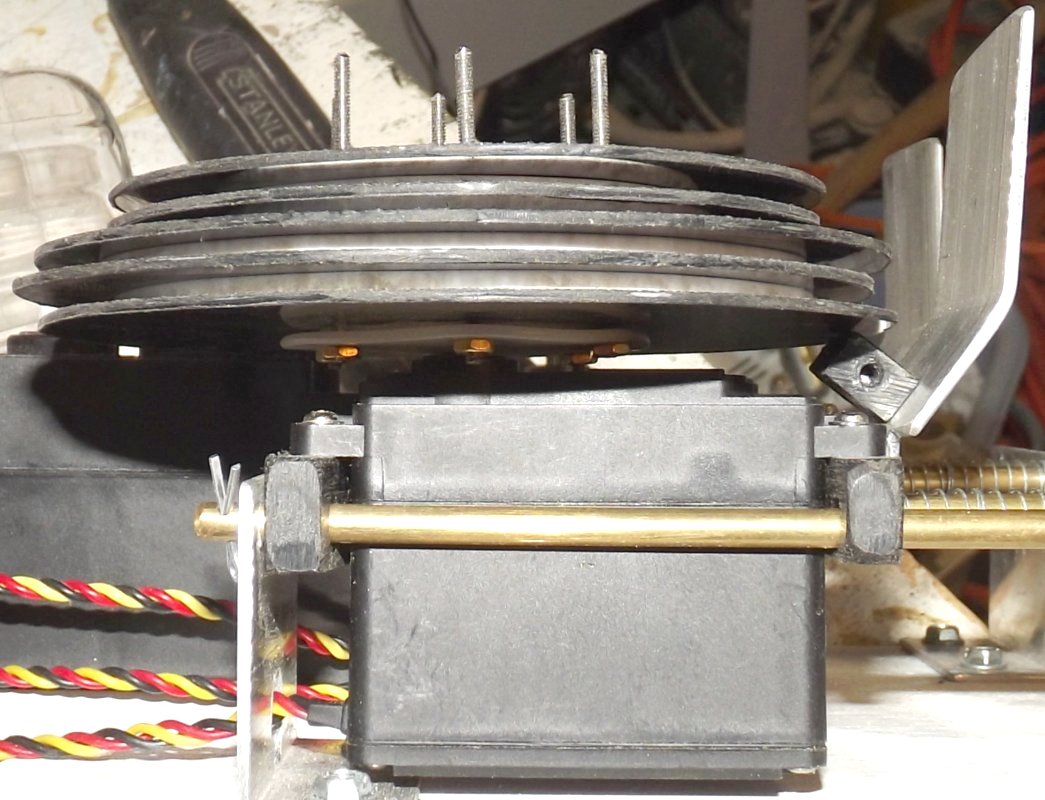
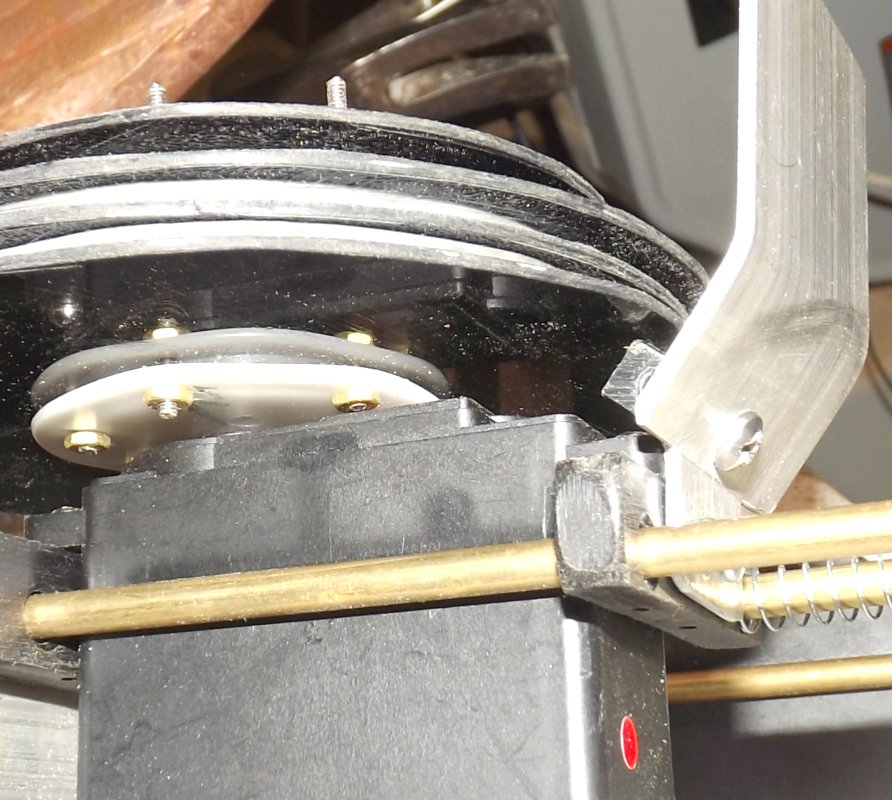
Previous Page | Next Page | Table of Contents click pictures for a larger version Winch Drum Bearing Block 5/23/2015: With new disks for the tacks added to the stacks, there'll be even more pressure on the winch drums to topple over with all the braces pulling to one side, and the tension springs pushing the other way. After giving some thought to various ways of dealing with it I came up with a simple bearing block mounted on the fairlead plate. This little scrap of Delrin plastic gives the bottom of the drums something to lean on when all the braces are trying to pull down the christmas tree.
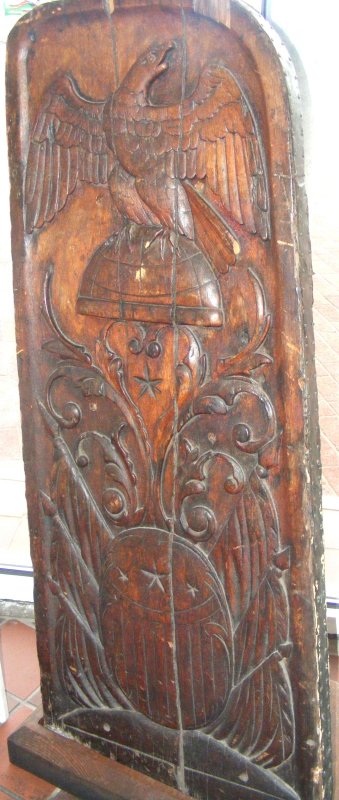
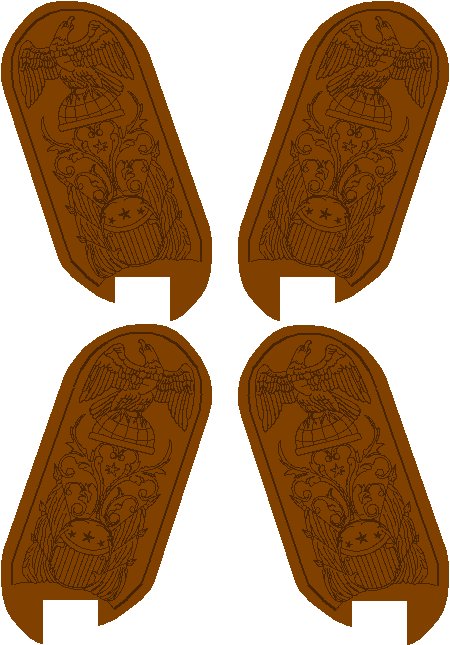
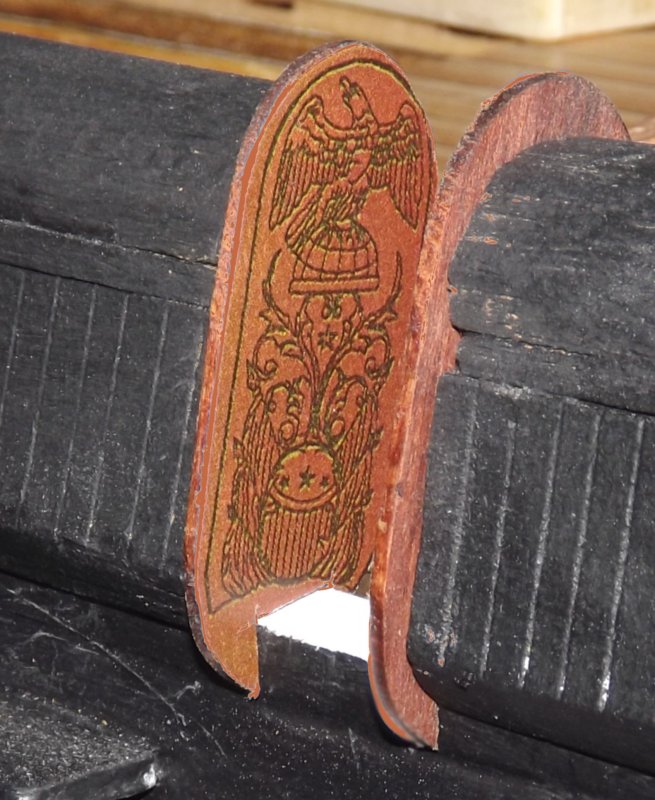
Entry Port Boards 5/24: I traced a photo of the ship's original entry-port boards in Paint Shop Pro, scanned one of the basswood boards I made for the model and resized the tracing to fit the scan of the board. Copying and mirroring it to make the two facing pairs I needed, I printed them on a color laser, and cut and glued them onto the basswood pieces. A couple of coats of poly should keep them in good shape.
Opening Bulwarks 9/25: Began making the forwward port-side set. I'm sticking to making these as one piece, for now at least.
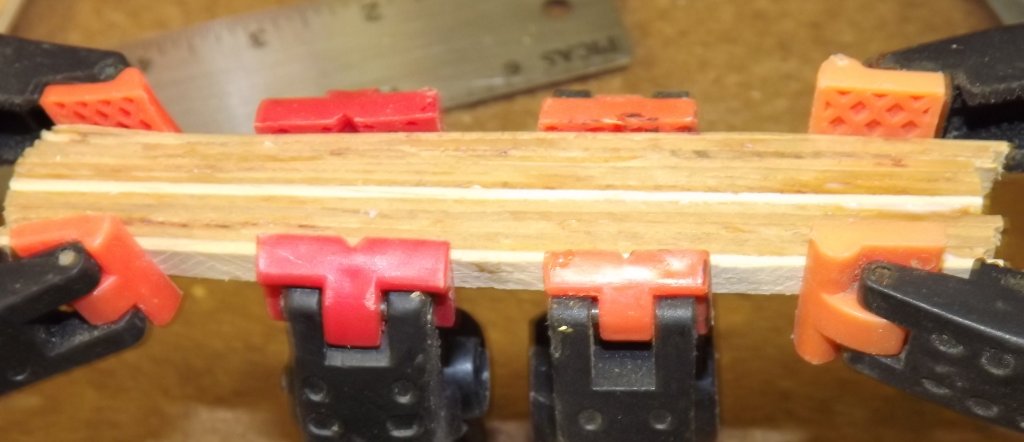
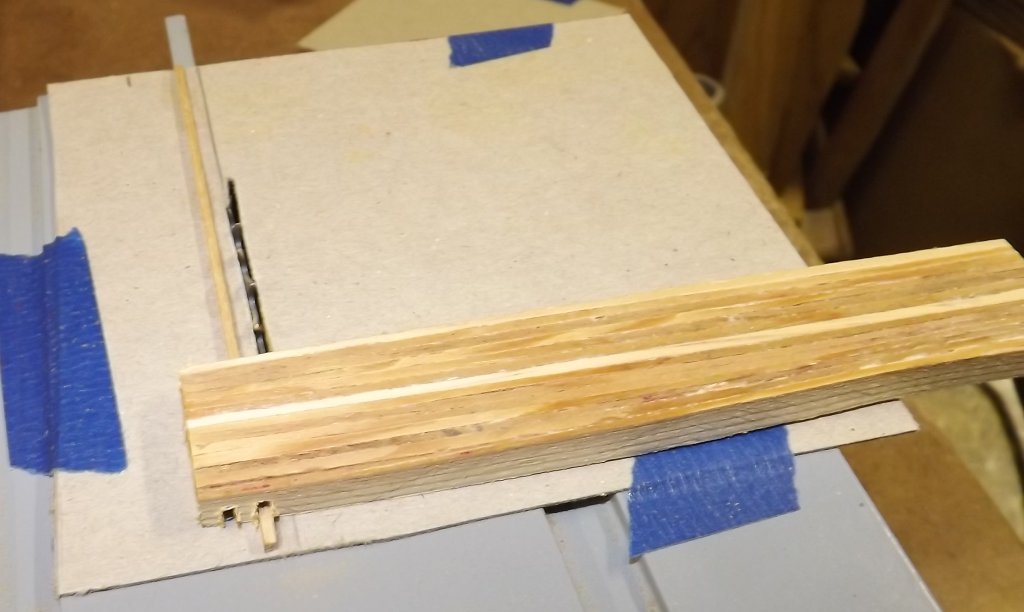
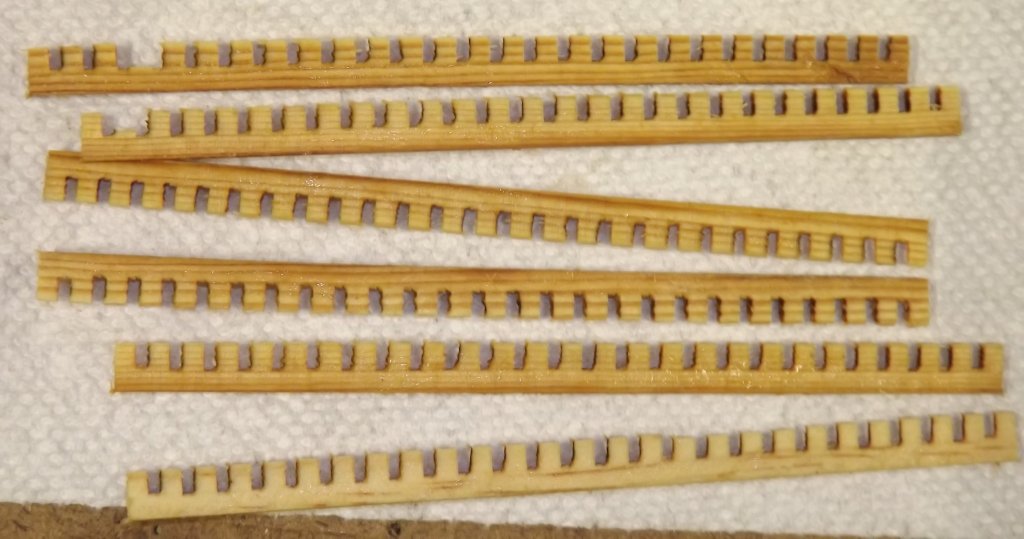
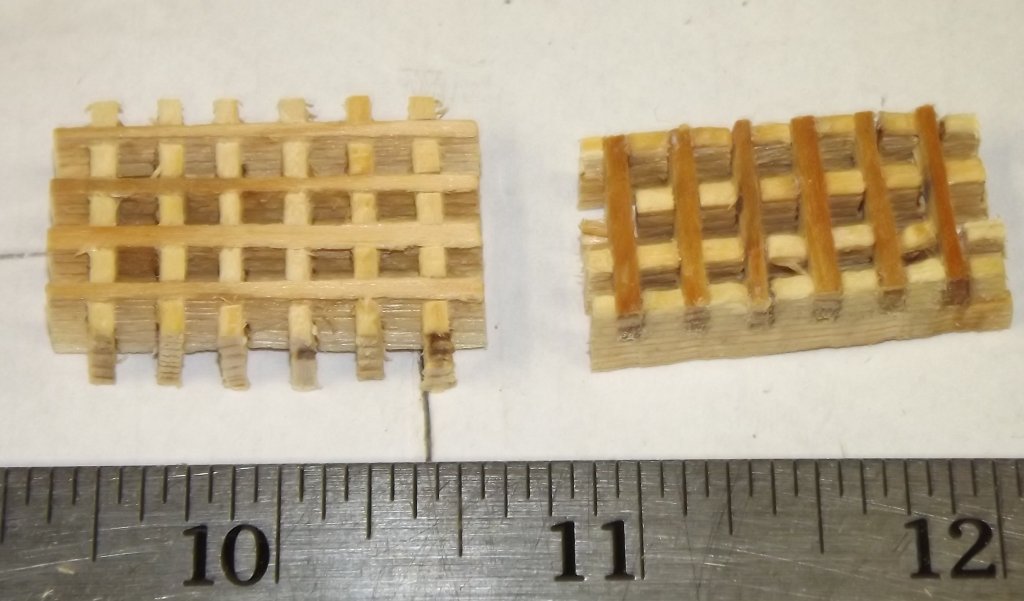
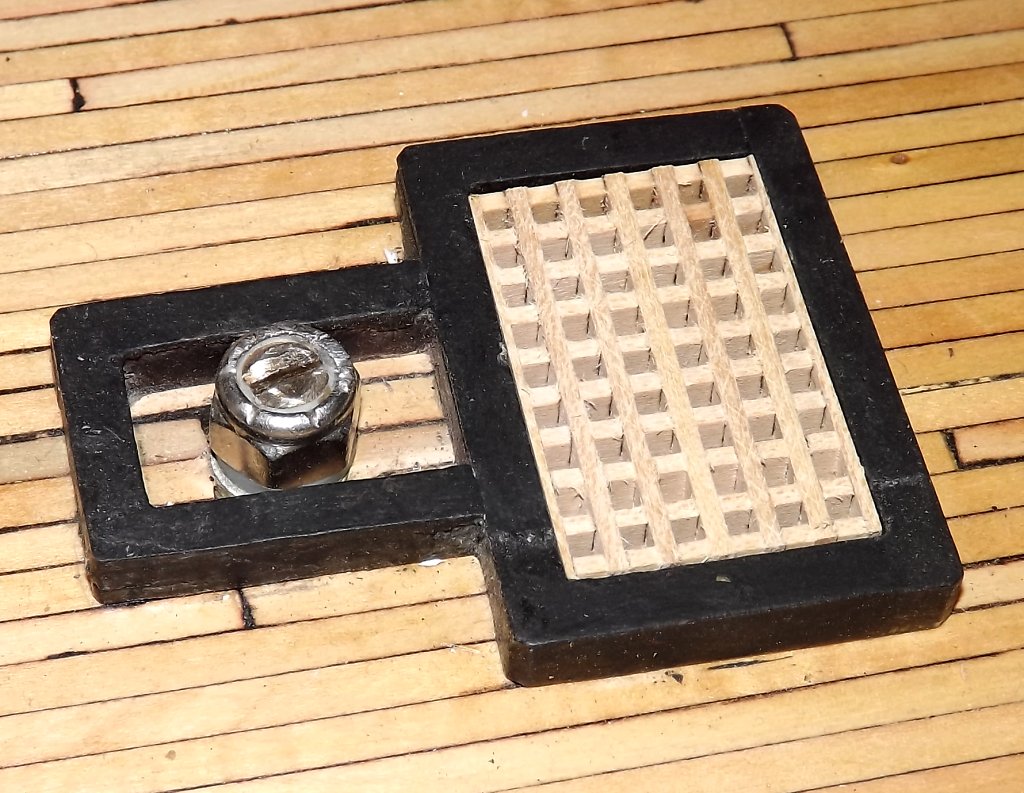
Hatch Gratings 8/23/2016: There's several hatches that need gratings on Constellation and Pride of Baltimore too. The main hatch need 28 of them, each about 2" x 1-1/2". So I started trying to figure out how I can make these things. A grating is made from strips of wood with notches cut into it so it looks like a comb. Each notch is spaced about the thickness of the wood apart from eachother. The pieces interlock, like the cardboard dividers in a box making the grid that is the grating. The trick is cutting those notches. Most folks that do this have some expensive miniature tablesaw that cuts things nice and clean. The best I can manage is cheap-o Harbor Frieght mini "tablesaw" with a 4" sheet metal blade that binds while cutting balsa. It starts with making strips 1/16" thick and 1/4" wide. These happen to be about 5" long. These are glued together with PVA (white glue) to form a block. This block is sanded so it's flat on all 8 sides. A jig is set up on the mini-tablesaw with a 1/6" square guide strip is glued to some card and fixed 1/6" to one side of the blade. The blade is set to saw 1/8" deep.
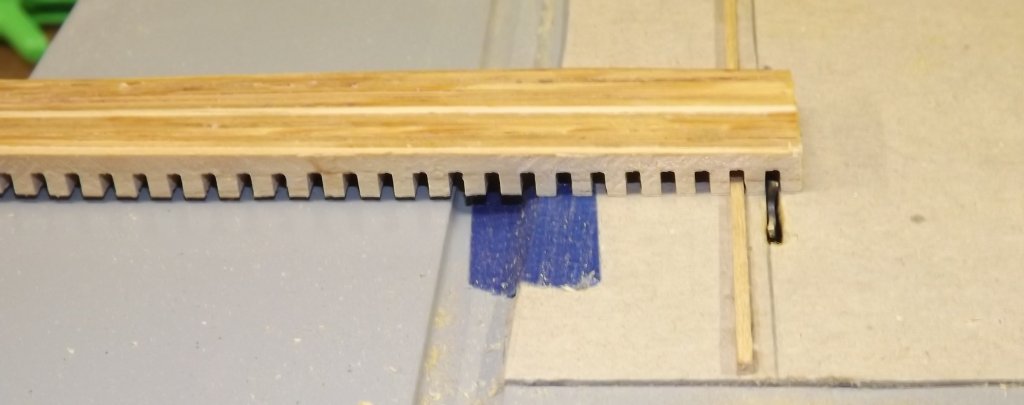
The glued up block of strips gets a kerf cut across it butted up to the guide strip. The block is then placed with this cut riding on the guide strip to make the second cut. This kerf gets moved to the strip for the third cut and so on until there's a seried of cross cuts on the whole block.
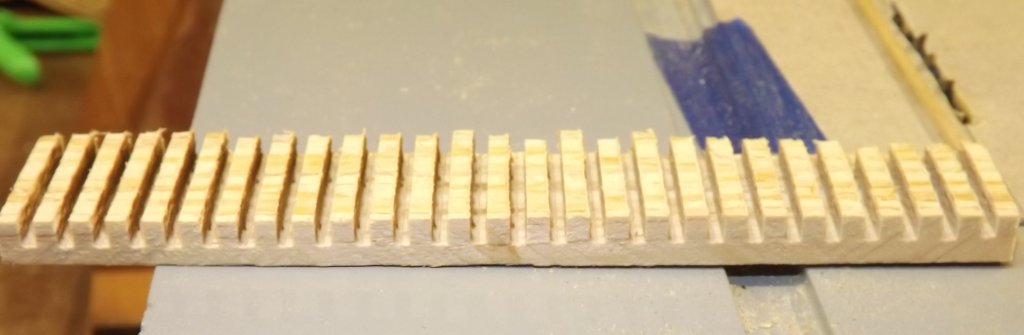
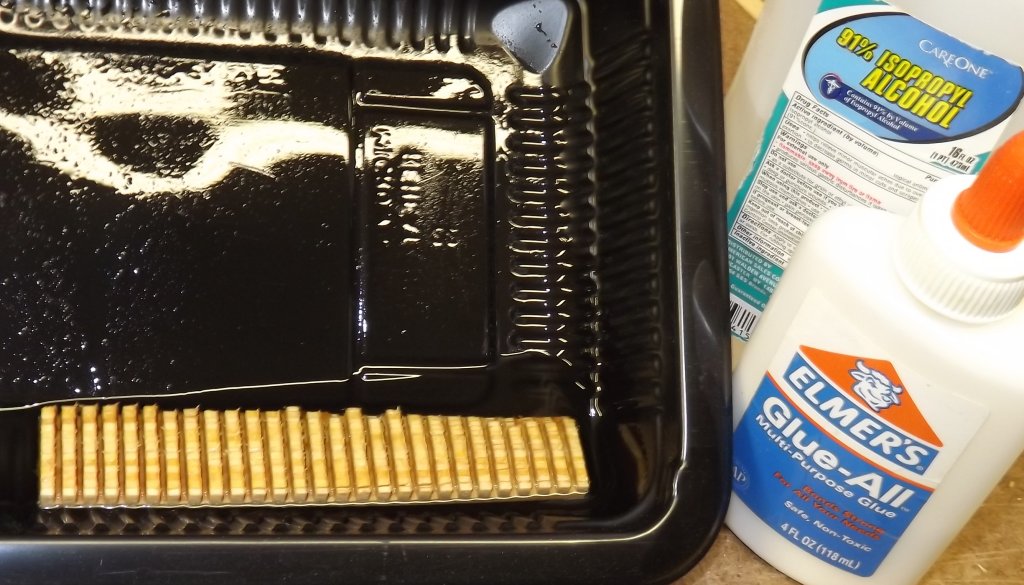
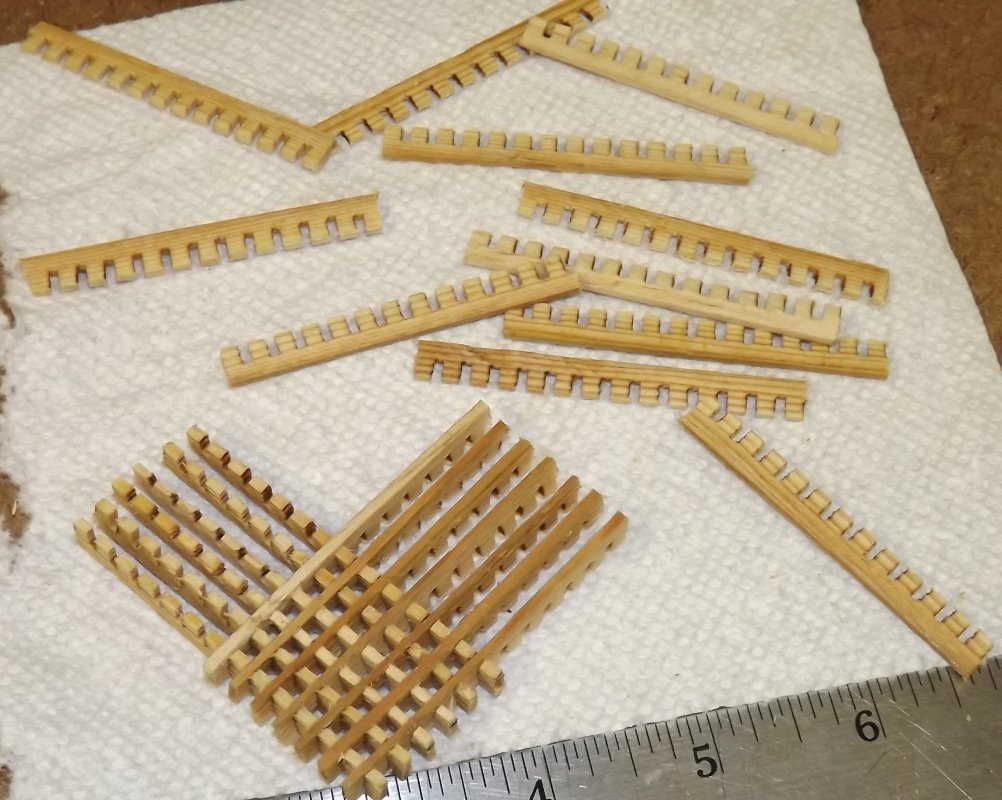
The block is then soaked in alcohol to disolve the PVA and separate the combs. I cut the combs in half and you can see, it takes 25 of them to make one hatch grating about 2-1/4" square.
This was the second experiment using pine strips. The first try used basswood and while it worked, more combs lost teeth than with the pines, so there was more waste. The usable portion of the first try will be used on the Pride of Baltimore's lazerette hatch.
|
||
 |
 |