10/1/2016

 |
 |
|
Previous Page | Next Page | Table of Contents click pictures for a larger version More Gratings
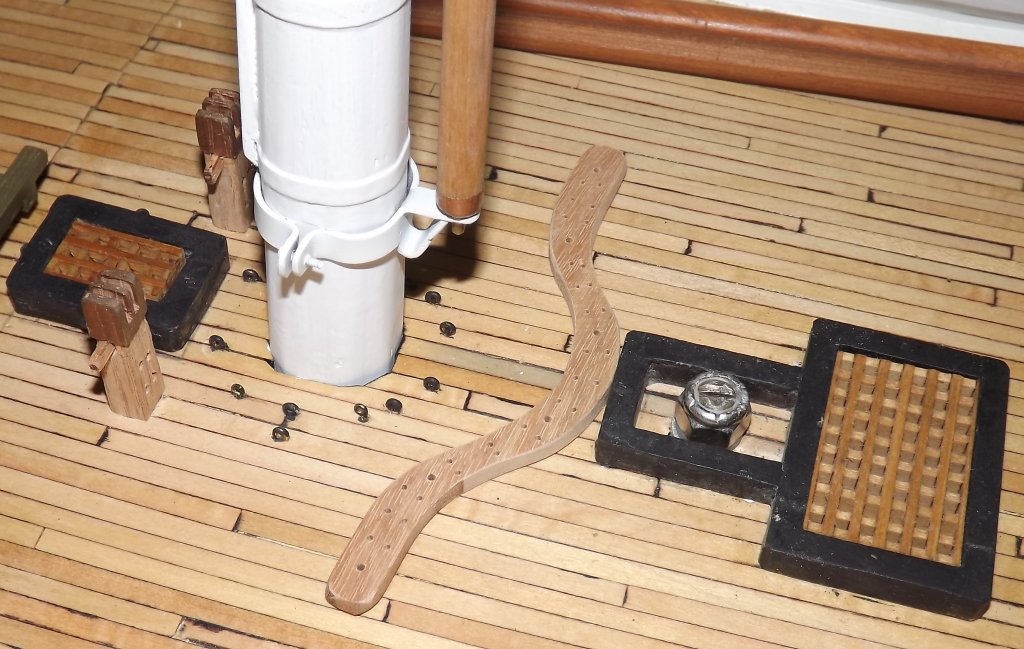
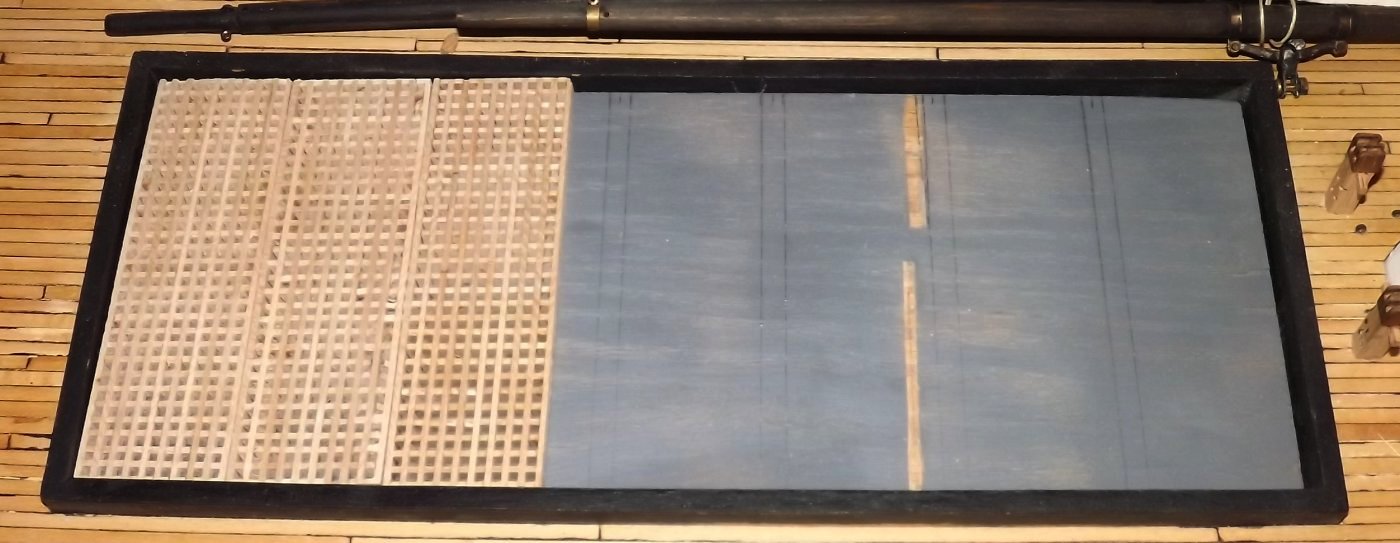
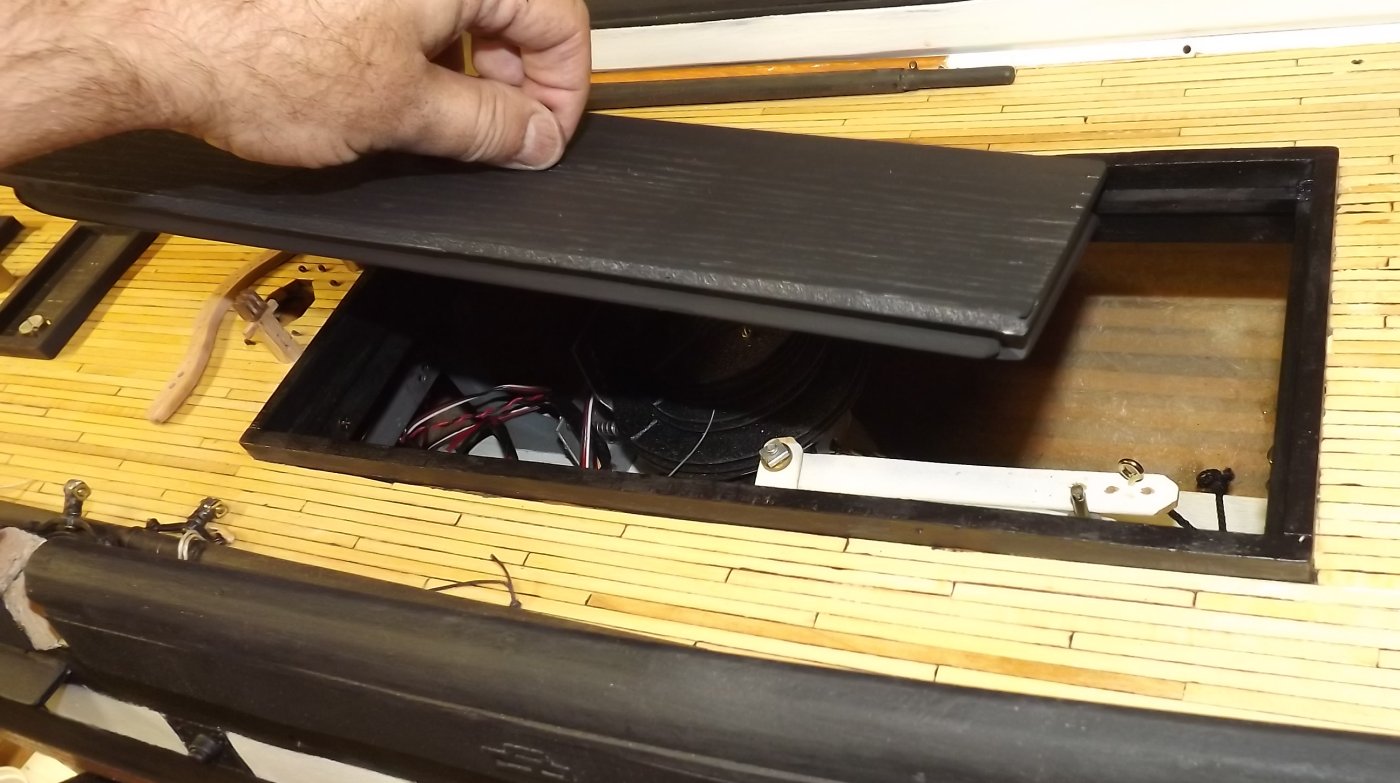
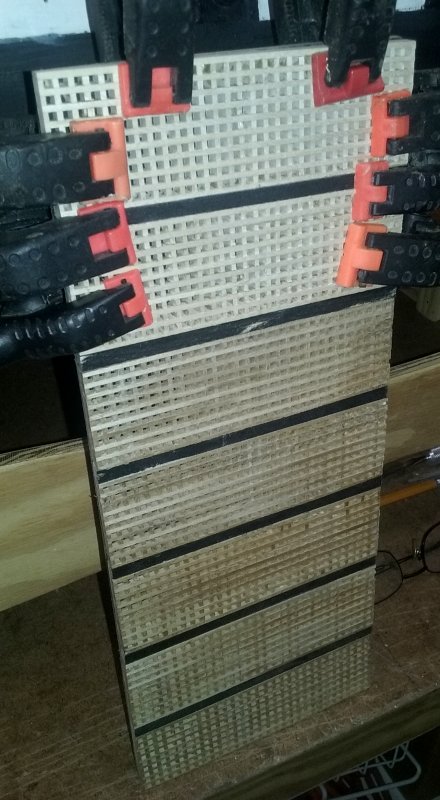
The main hatch had four grates across, butted against each other. There were 7 rows of four each separated by a removeable beams across the hatch. I'm going to model each group of 4 gratings as a single grate. Here's the first of 7, still rough sized. Instead of making all the pieces notched, only the perimeter pieces and the short pieces are notched. The long pieces running across the gratings are half as tall as the notched parts, so only fill the notch. This reqires less material and work to make a grating.
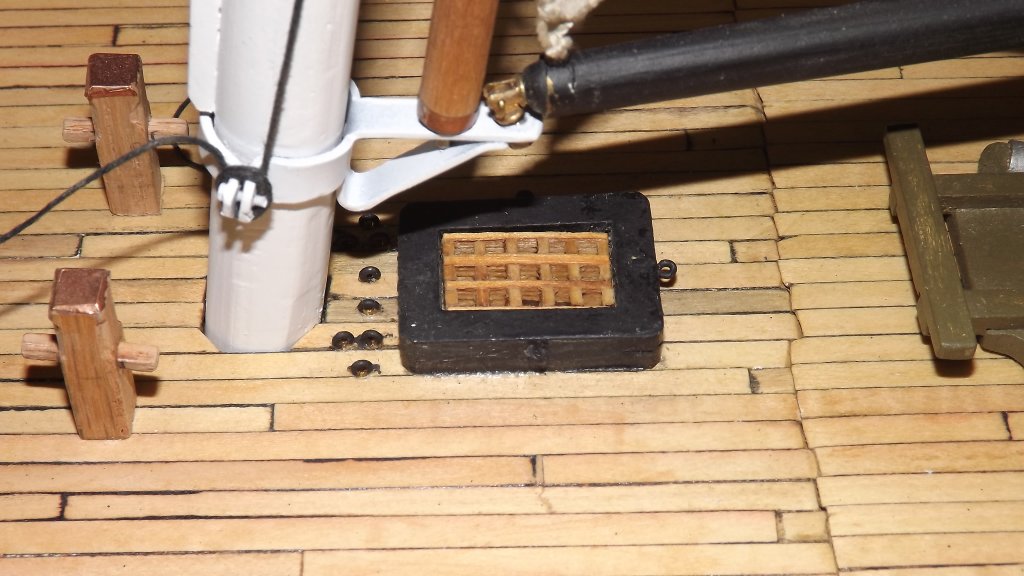
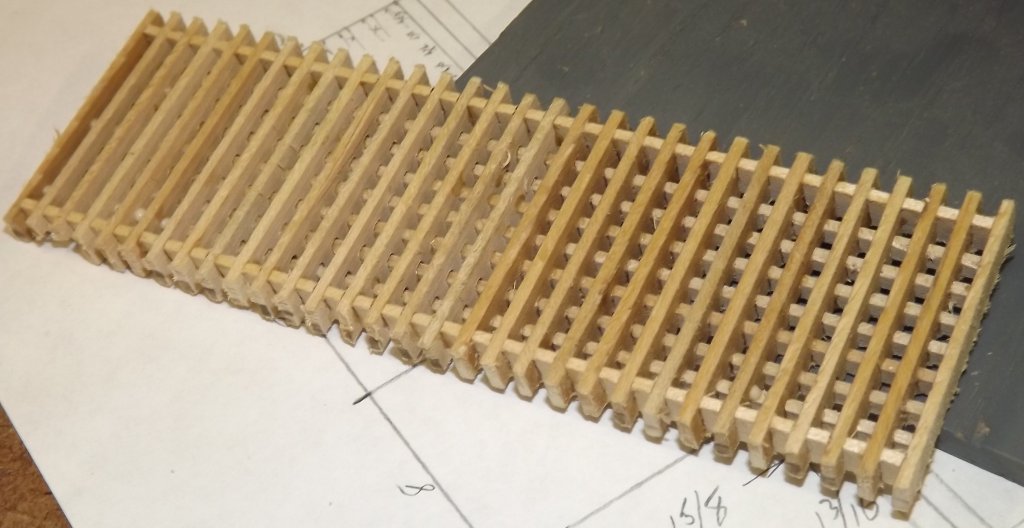
8/31: Both ammo hatch gratings and the gally hatch gratings are glued in place. I decided to leave them oak-stained cause I like the look and I have more evidense on unpaited gratings than I've found for painted ones. In fact, the only place I've found painted gratings is on the restoration, and if you've read this far, you know I've found reason before to not agree with some of their decisions. Anyway, I made two more gratings for the main hatch, and have trimmed them to size. Four more to go.
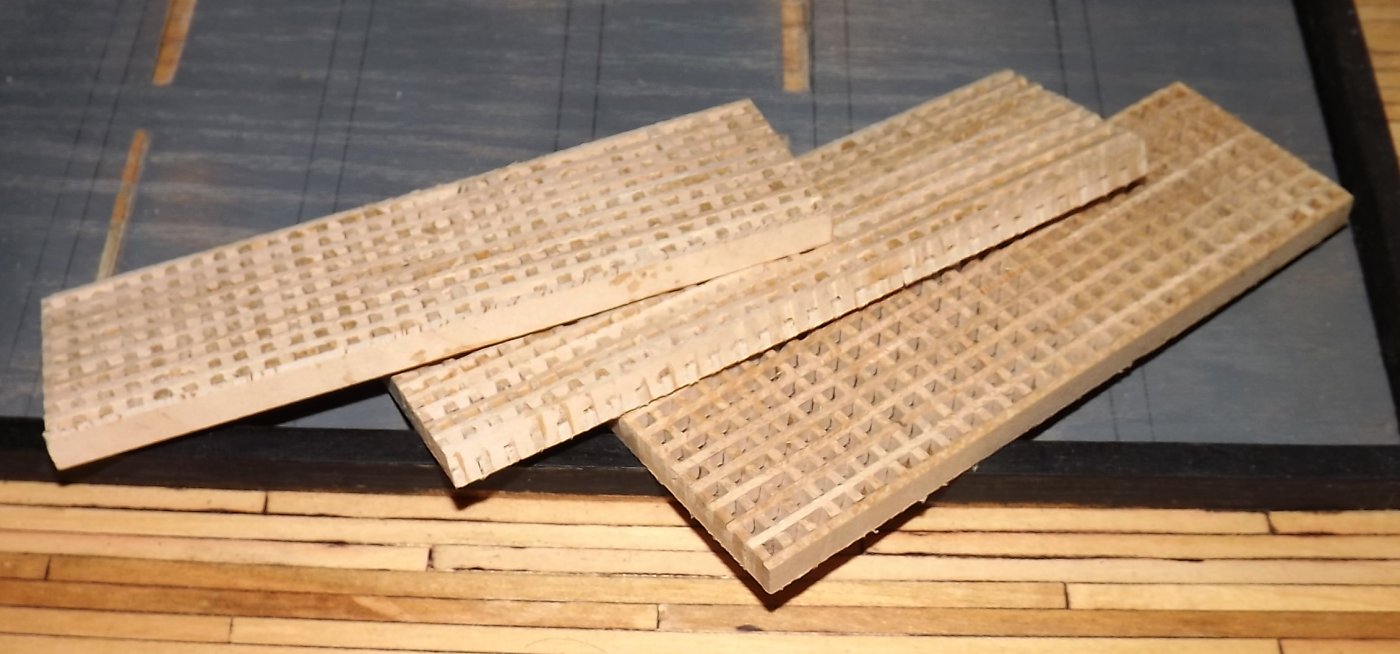
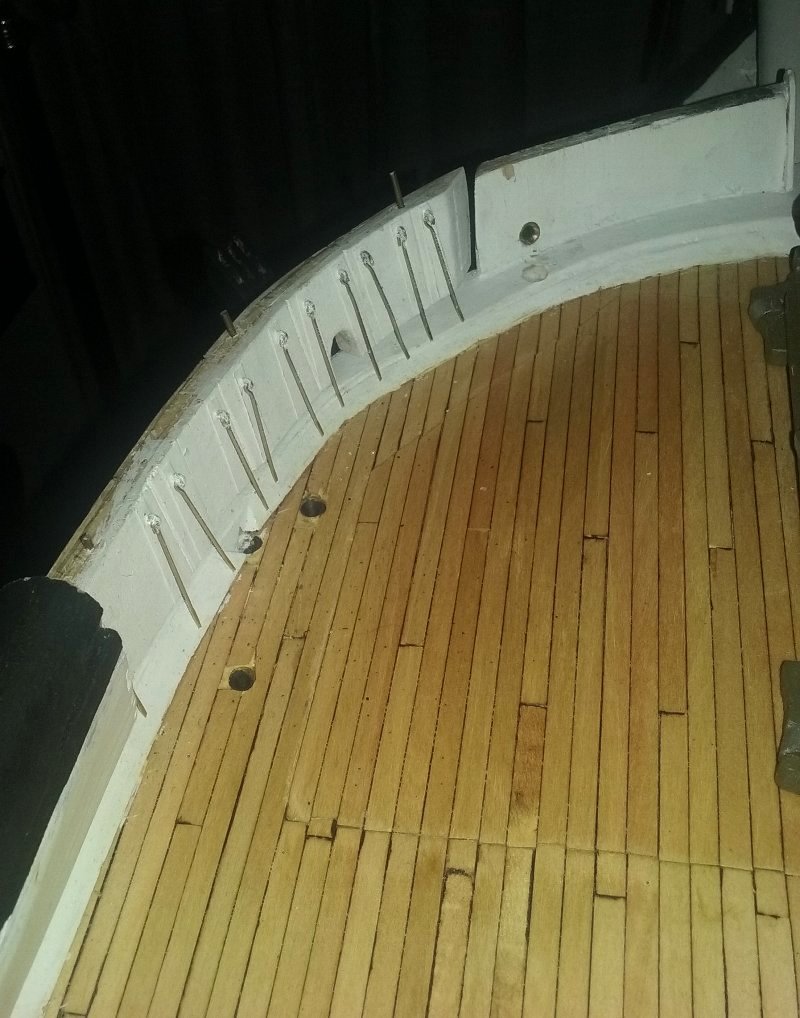
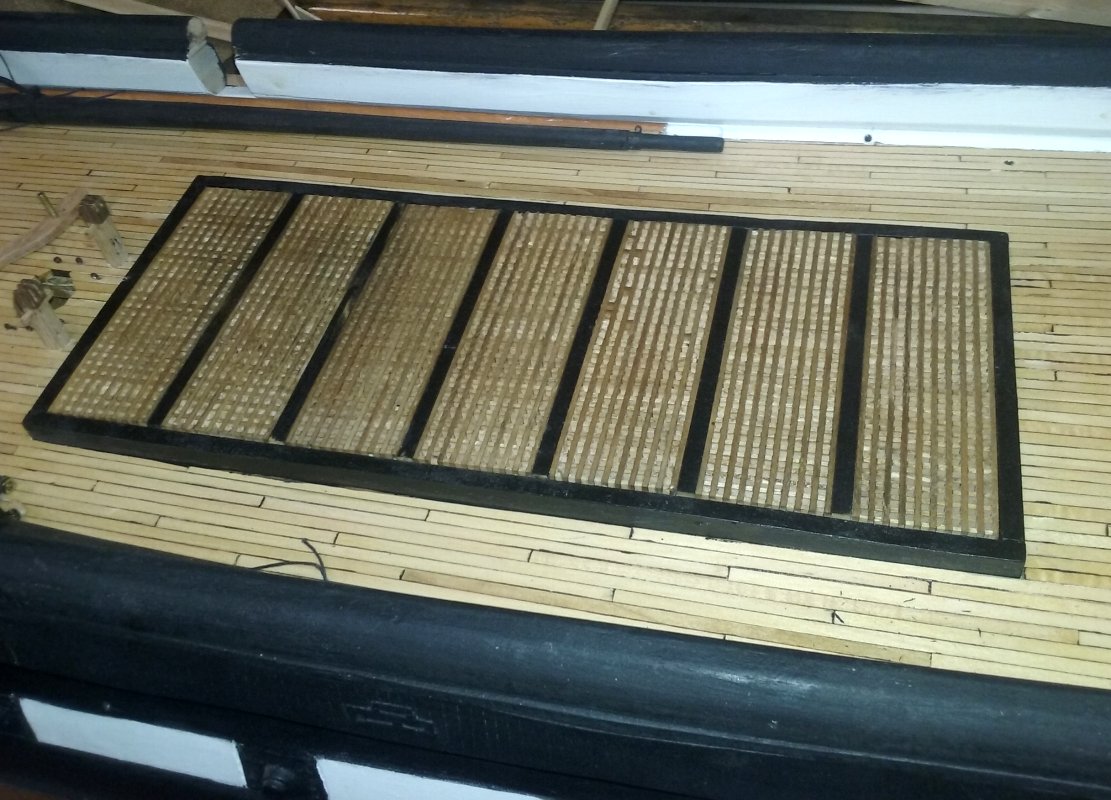
9/5: Applied the faux hinges and paint on the portside bow bulwarks, and installed the rods that hold them up. None of this is fixed in place yet, as I think installing the pivot gun tracks will be easier if I can remove them for now. Main Hatch Cover 9/6: Made two more main hatch gratings, thats 5 now, two more to go. Installed a ledge for the cover to sit on, a pair of fore-and-aft beams under the cover put some sheer into it, and a lipped piece locks onto the ledge forward.
9/7: The above got painted and the first grating got glued onto the hatch cover.
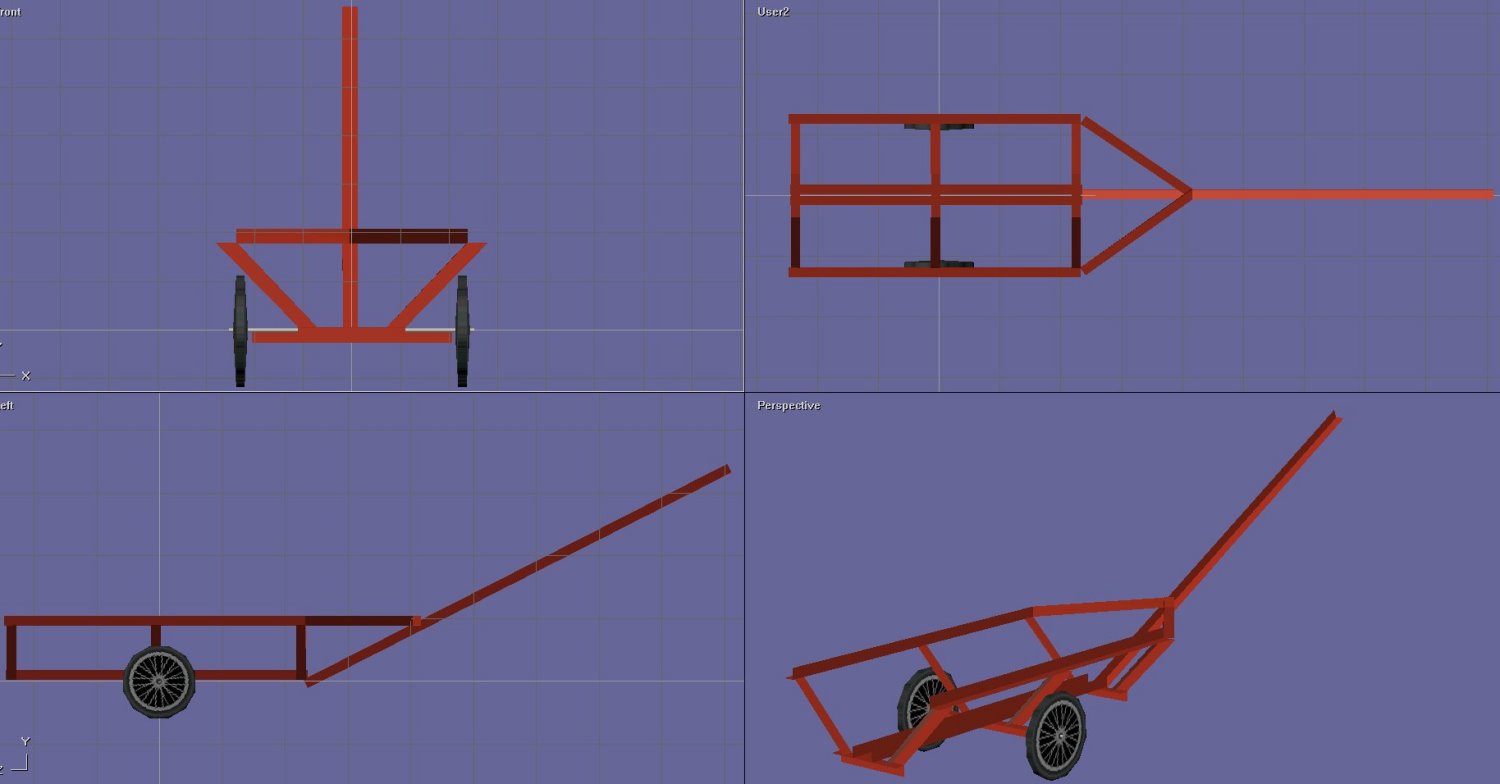
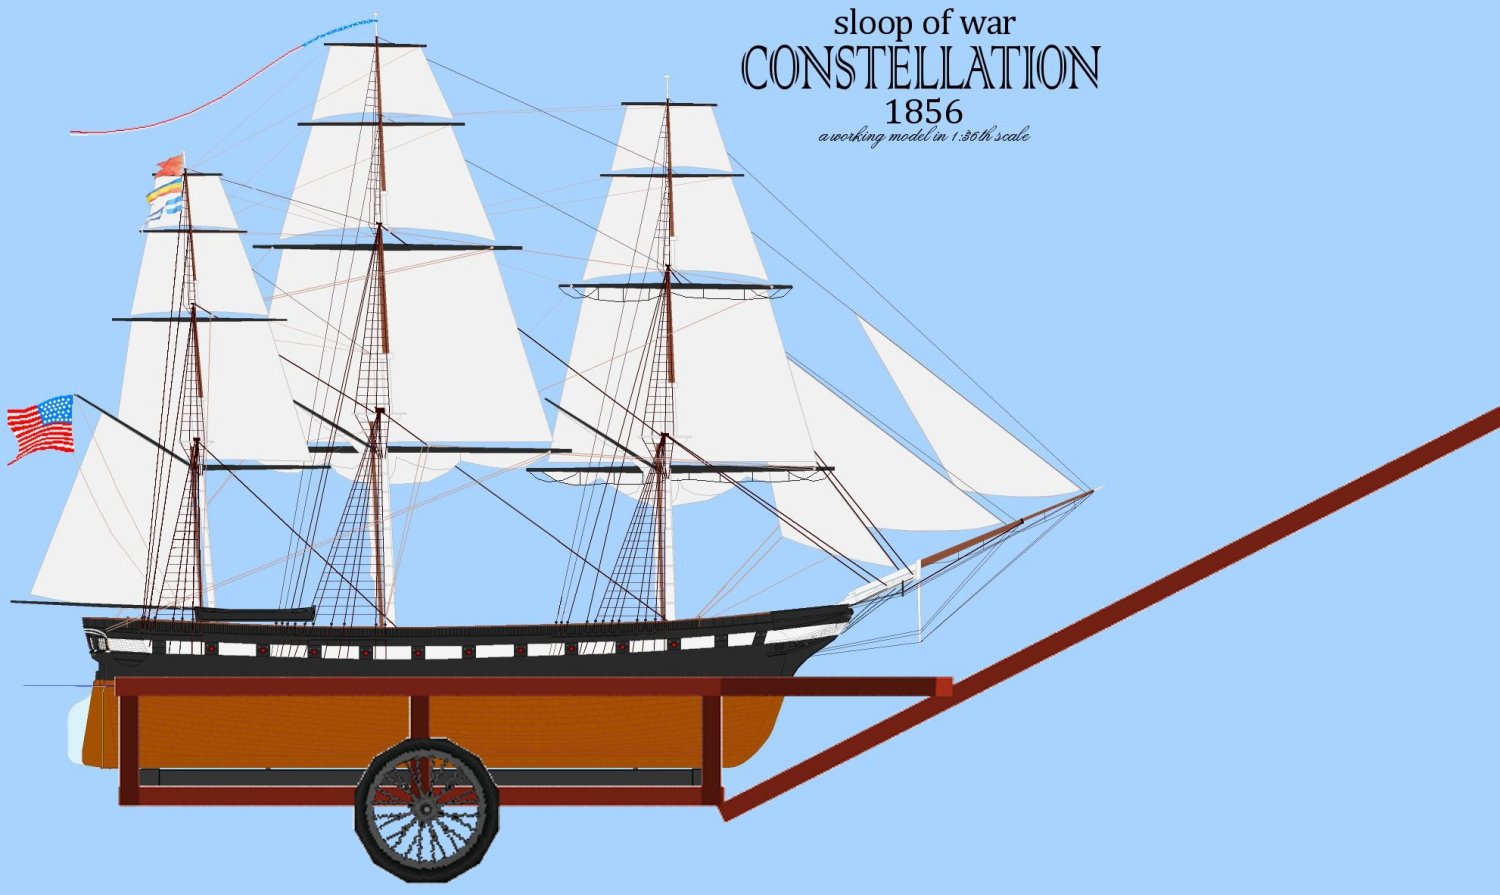
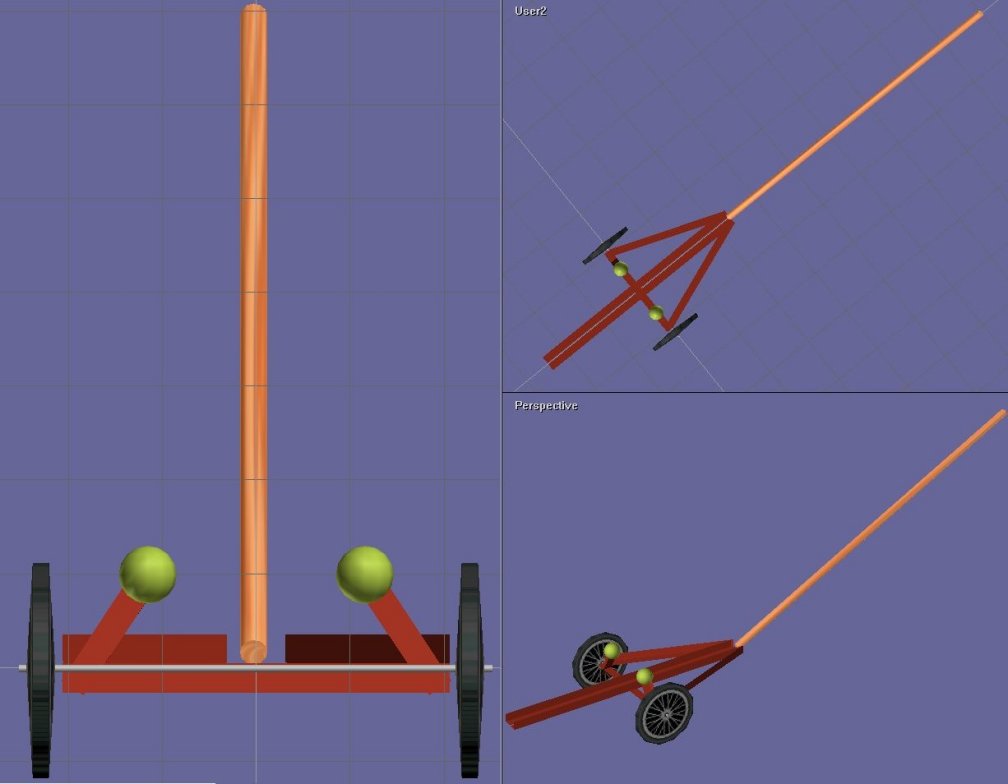
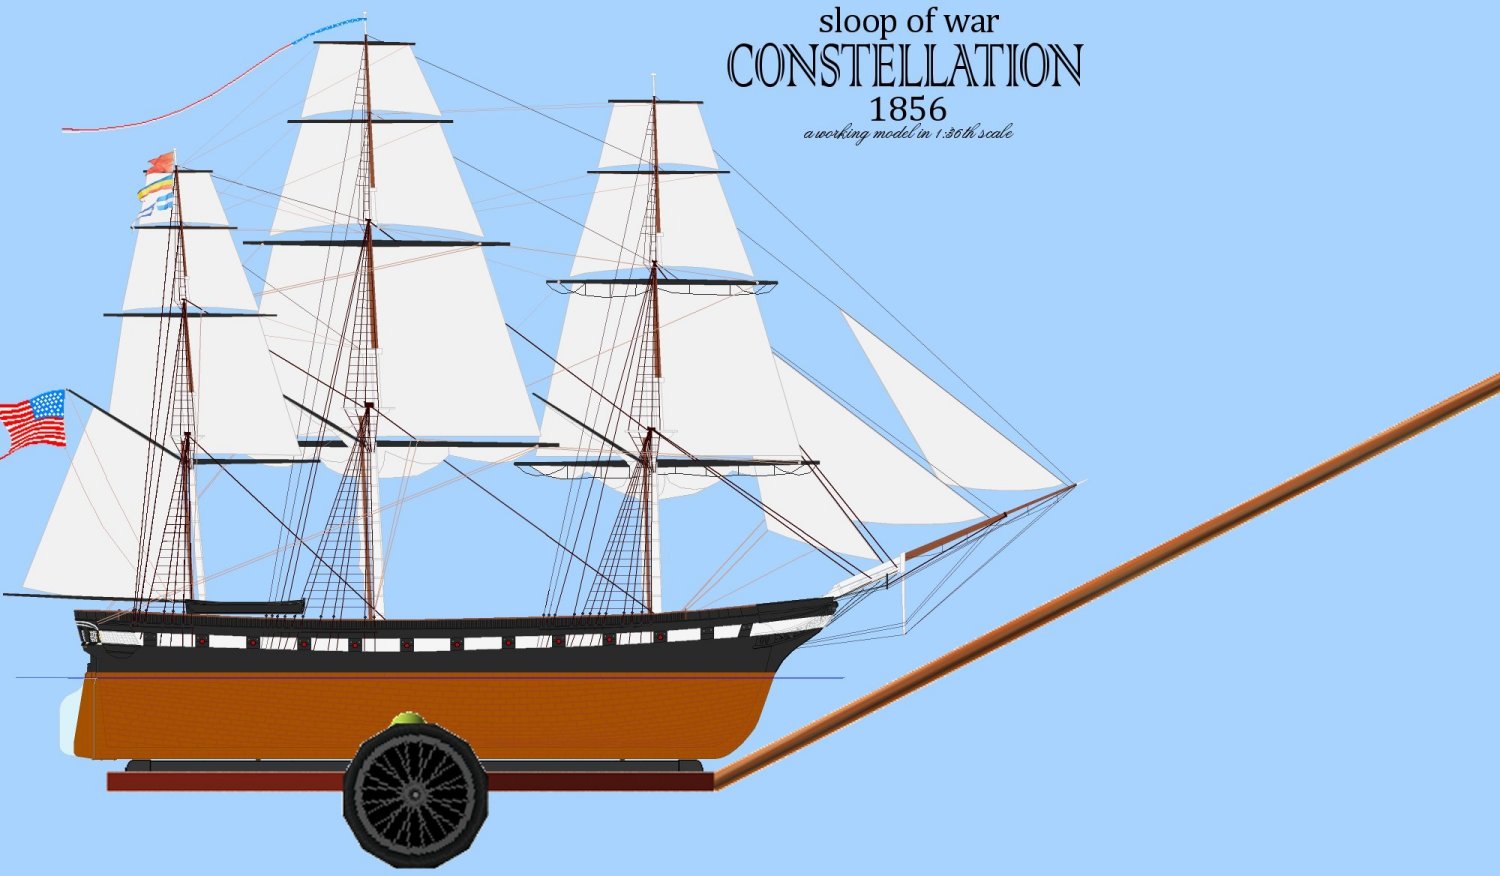
For the moment, I reattached the boat chocks that had been on the hatch-cover so I could place the boats on it for the time being. A Cart to Move and Launch the Model. 9/29: I was going to take the model to the Chesapeake Bay Maritime Museum this weekend, but the transmitter battery won't stay charged, I need a back-up main battery as the current one is over 5 years old, and another problem; launching the model. The pool they provide is big enough I suppose, but it's hardly deep enough for the model to sail more than a few feet before running agound. So, I figured to sail her in the creek, where she's meant to sail. At the last expo in Baltimore trying to launch her in the pool with ballast on board, and spars and rigging to break was impossible by myself. Launching her in open water meant moving her to the water and putting her in. While it wouldn't do much for the pool problem, a cart would make moving the loaded model and launching it on a ramp or shoreline much simpler. My first thought was a channel at the bottom to cradle the detachable ballast tube and bear nearly all of the model's weight. A channel would keep the model from turning or twisting on the cart, so the only other support It would need was to keep it from falling over. I though of making the cart of wood and/or PVC pipe, but I don't think either was up to the task of carrying a 100+ pound model around. A Wood cart would tend to float as well, which would be a pain when trying to launch and retrieve the model. Metal was really the only practical option. Money was also something to consider, as I don't have any. I do have some old bed frame metal that's angle iron about 1/8" thick and 1-1/2" on each side. Not having access to welding equipment, this stuff I could cut, drill, and bolt together. I figured I could use the wheels for a folding grocery cart or an old tricycle. So, to come up with a design... I figured a sort-of boat trailer was the best way to go and sketched up an idea that had a rail that would channel the model onto it. The more I looked at it the more it looked like too much, so I threw together a 3D model so I could play with it a bit. It would be heavy, I guessed 20 to 30 pounds by itself, even with the long handle replaced with a wood closet pole.
Since I only needed supports to keep the model upright, I redesigned the cart to that end. A couple of diagonal braces to keep the axle from twisting, and this was getting to look like a good idea! The bed frame has threaded feet with about 2" of adjustment that I think I can use on the ends of the supports so I can adjust their angle and their height and be able to use the one cart for Constellation and Macedonian.
|
||
 |
 |