10/23/2016

 |
 |
|
Previous Page | Next Page | Table of Contents click pictures for a larger version Launch Cart
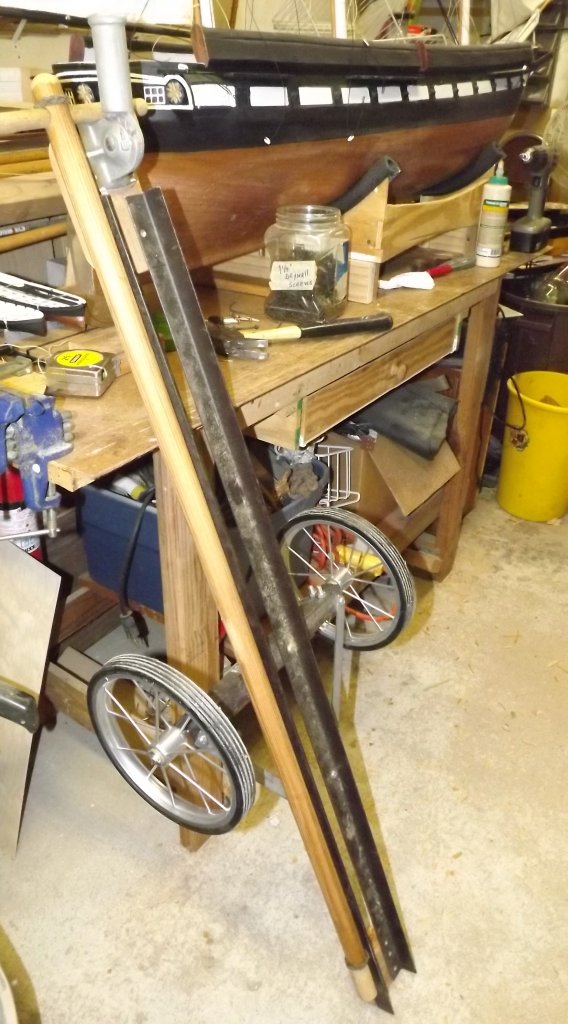
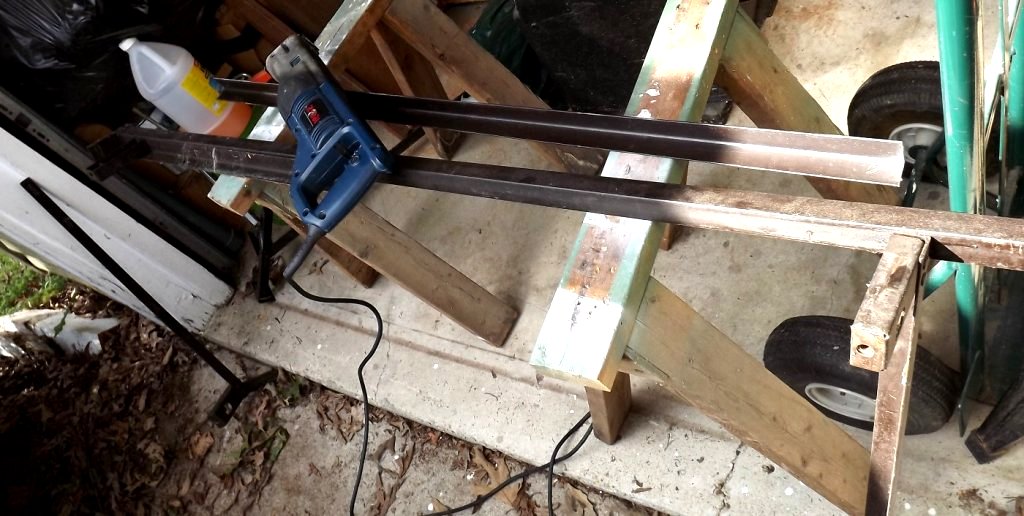
So today I started cutting the bed-frame into the component parts of the cart. Two pieces, 50" long, will form a channel for the ballast tube to sit in, and is the back-bone of the cart. A 14" piece will mount 90° to the channel pieces and support the 18" axle. This will be braced by two pieces attached from the end of the axle support to the front of the channel. Cutting this stuff ate both of my already well-used saws-all metal cutting blades, so I have to get more blades before I can continue.
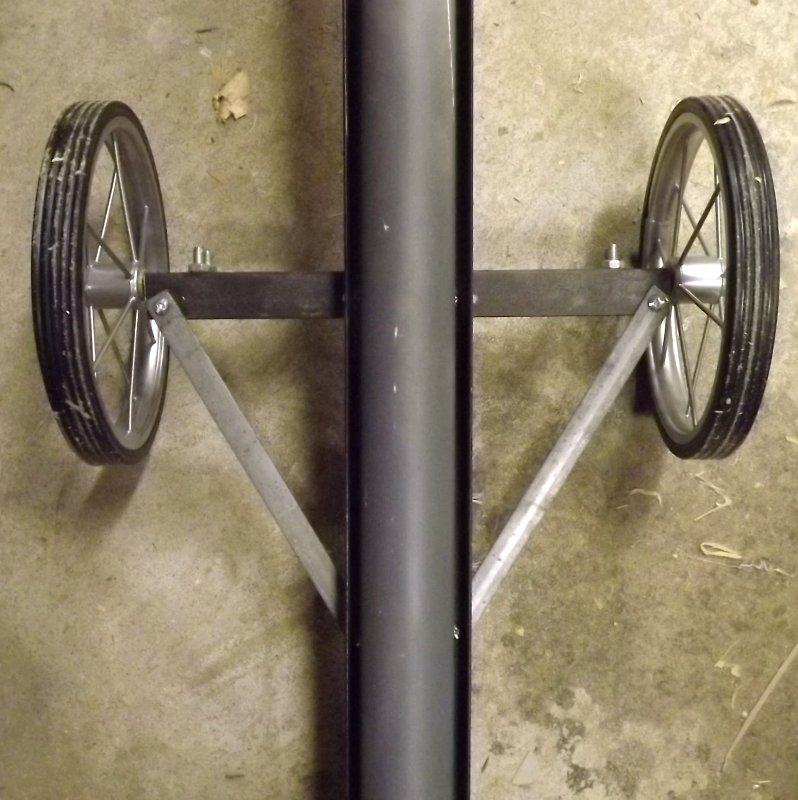
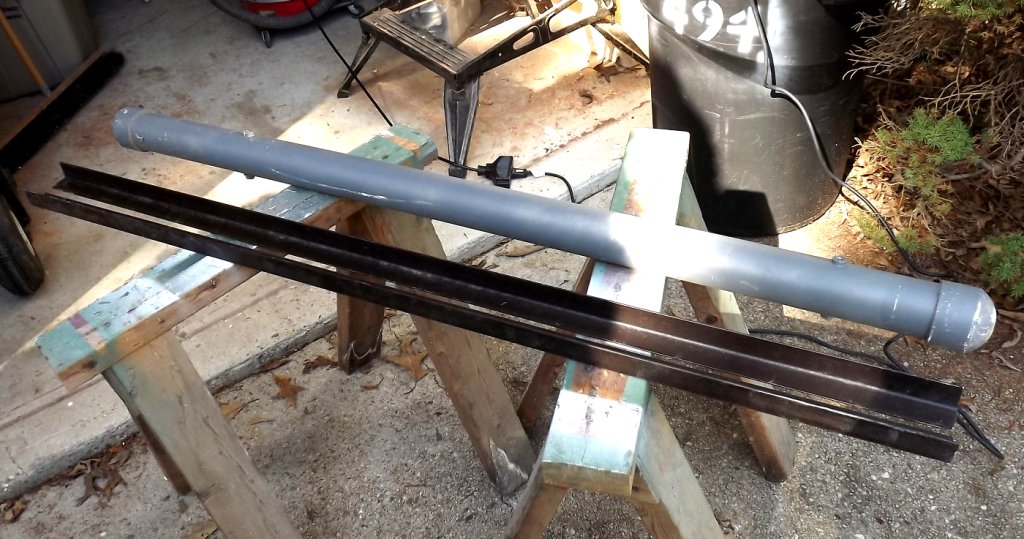
10/7: I could only afford one metal cutting blade for the saws-all, and despite it's claim to cut through steel up to 5/16" thick, this 1/8" thick steel made quick work of it. I managed to cut the cross-bar before the blade gave up the ghost. Then I drilled the bolt-holes and found some cable clamps to use as u-bolts for the axle. Drilled the axle for cotter pins, and slapped together what I've got so far. I was going to mount short pieces of angle at either end to tie together the channel and maintain it's spacing, but I may just use some wood blocks instead of angle-iron. I also have some galvanized flat-bar that's much easier to cut that I'll use for the diagonal bracing of the cross-bar. In the picture, the end on the ground is the back/stern end. I set the axle a little forward to make it a touch stern heavy so I'll need to push down on the handle to move the cart, instead of lifting it.
I have a wood closet pole for the handle, but haven't determined yet how I'll attach it to the cart. I want it removable. I'm thinking a wood block with a hole for the handle, and one for a pin to go through to hold that handle in place. That seems simple enough.
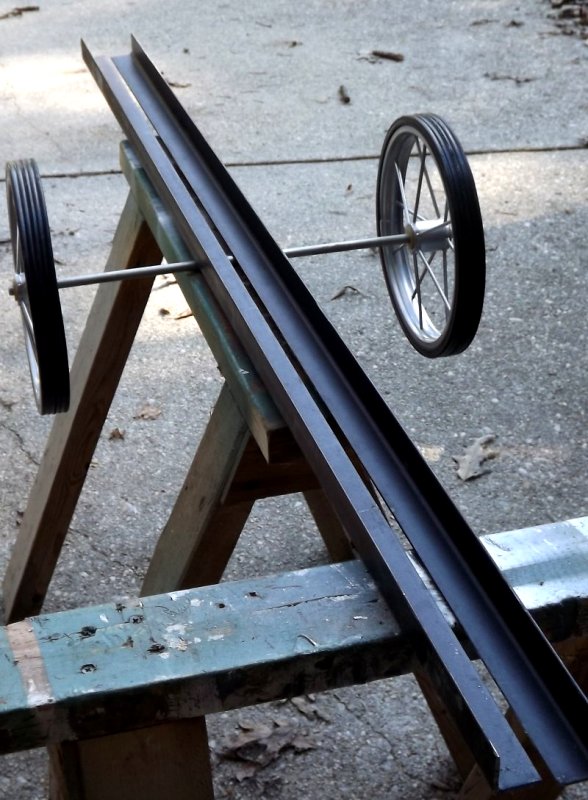
10/8: I braced the axle with some 3/4" steel bar and used wood blocks at either end to tie the channel pieces together and act as a tail-skid as well. I bored a hole in a couple of pieces of 2x4 to hold the handle, but updating the 3D model to be more accurate showed they'd be in the way, and there's no way to fix it without making new ones.
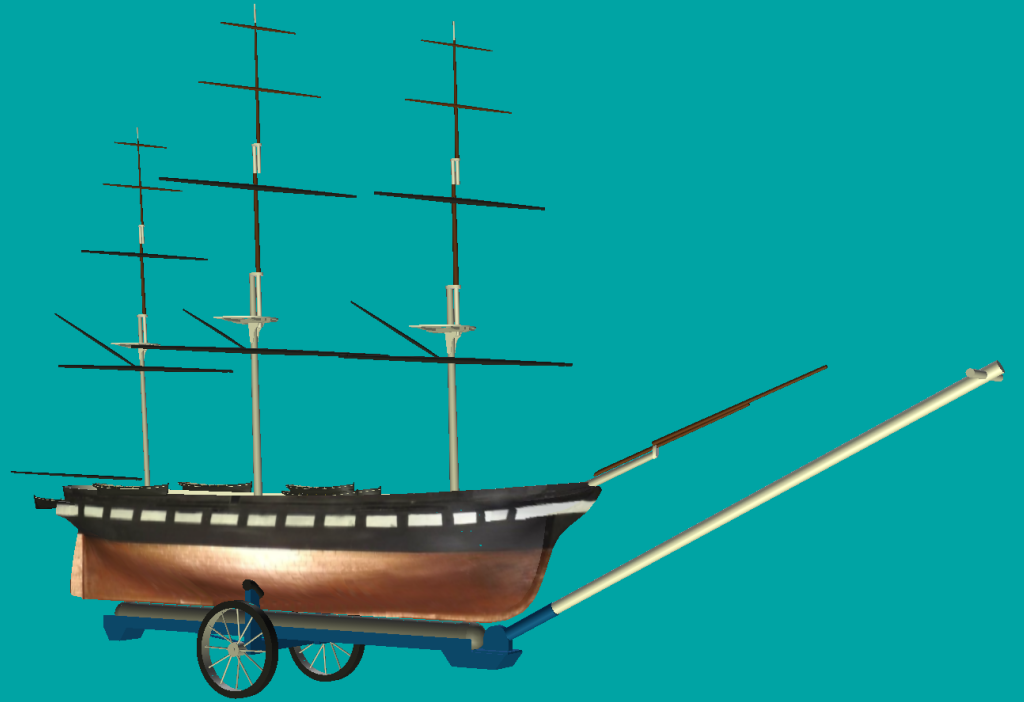
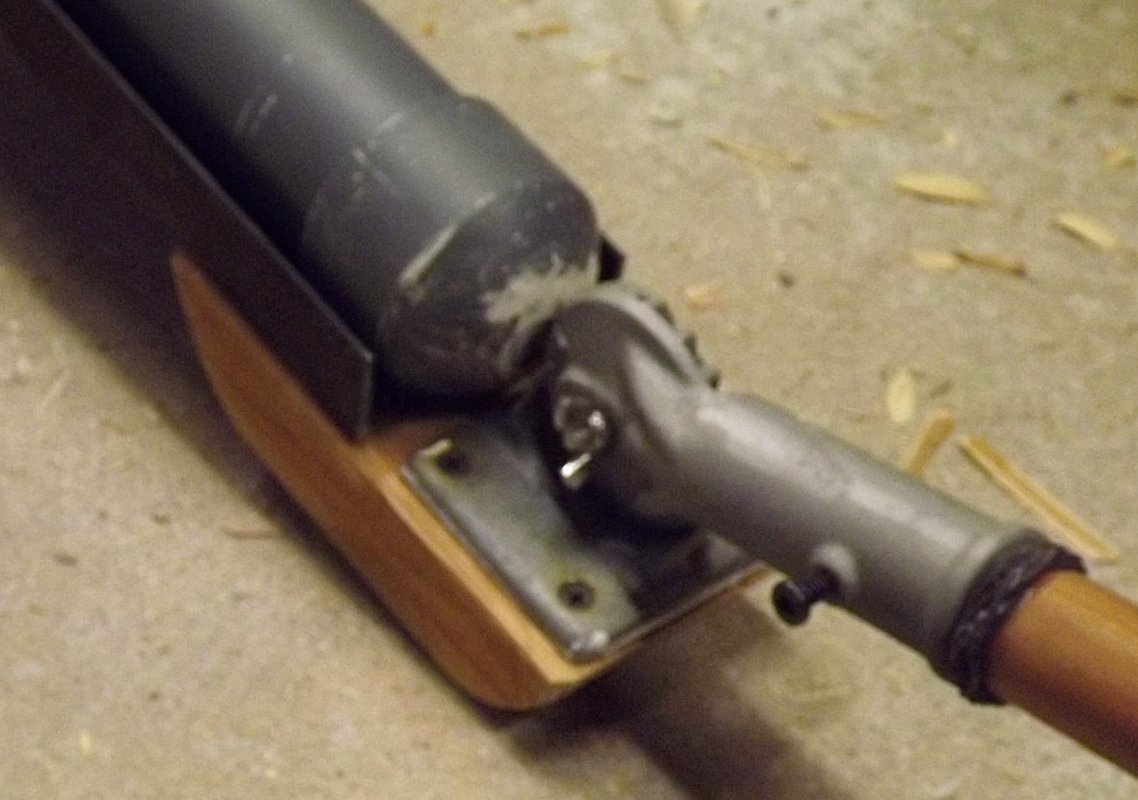
Trying to figure out how to deal with this I got the idea of using an adjustable flag-pole bracket. I took measurements off the cart to make the 3D model more accurately to scale mainly so I could use it to figure out the side supports. Her's the model with concept #1 of the supports and the pole-bracket in place.
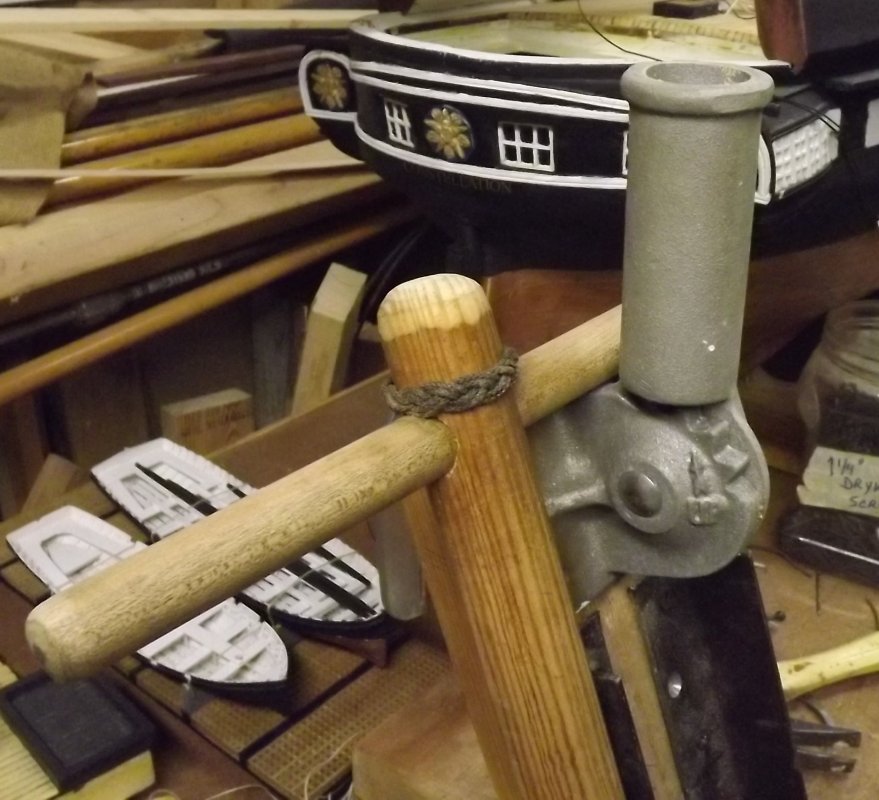
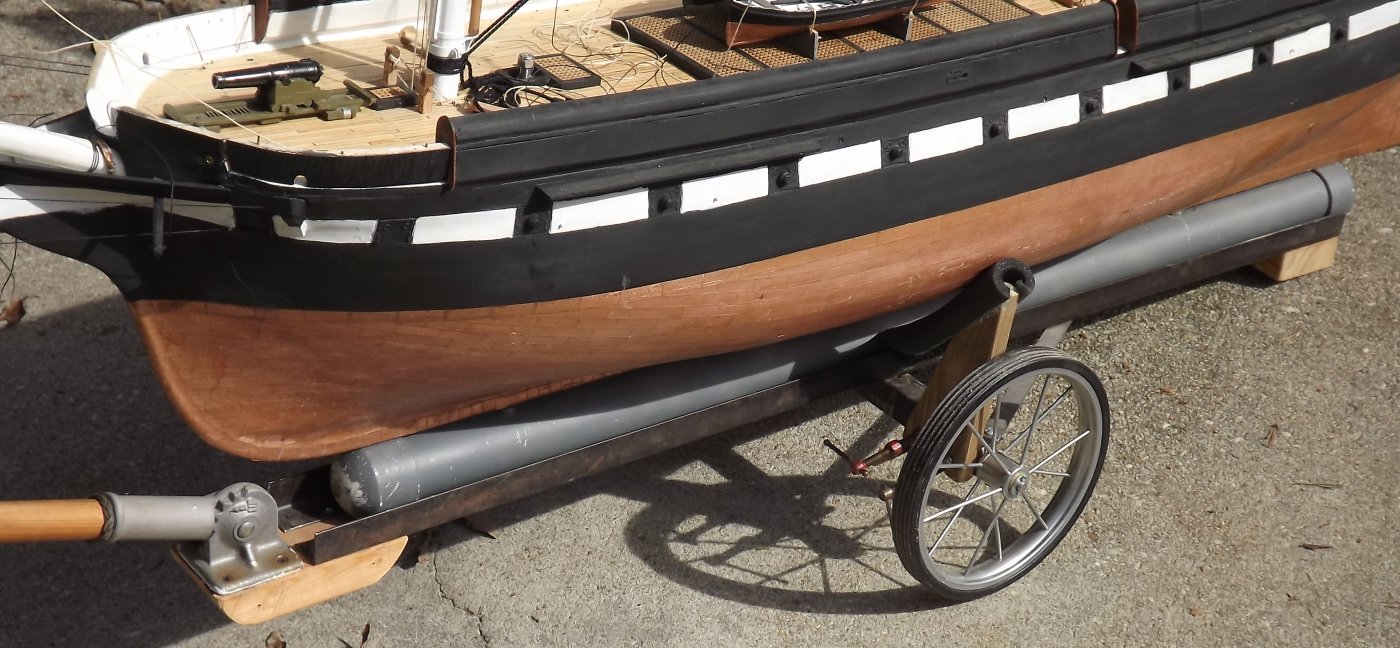
10/11: I already had a flag-pole bracket I removed from the porch post I repaired last spring. That came in handy, and works just as I hoped it would. I had to shave down the 1-1/4" pole to 1" to fit the socket, and I put on a couple of turks-heads to keep it from splitting. With the handle and wheels removed, the cart get's pretty small for transport or storage.
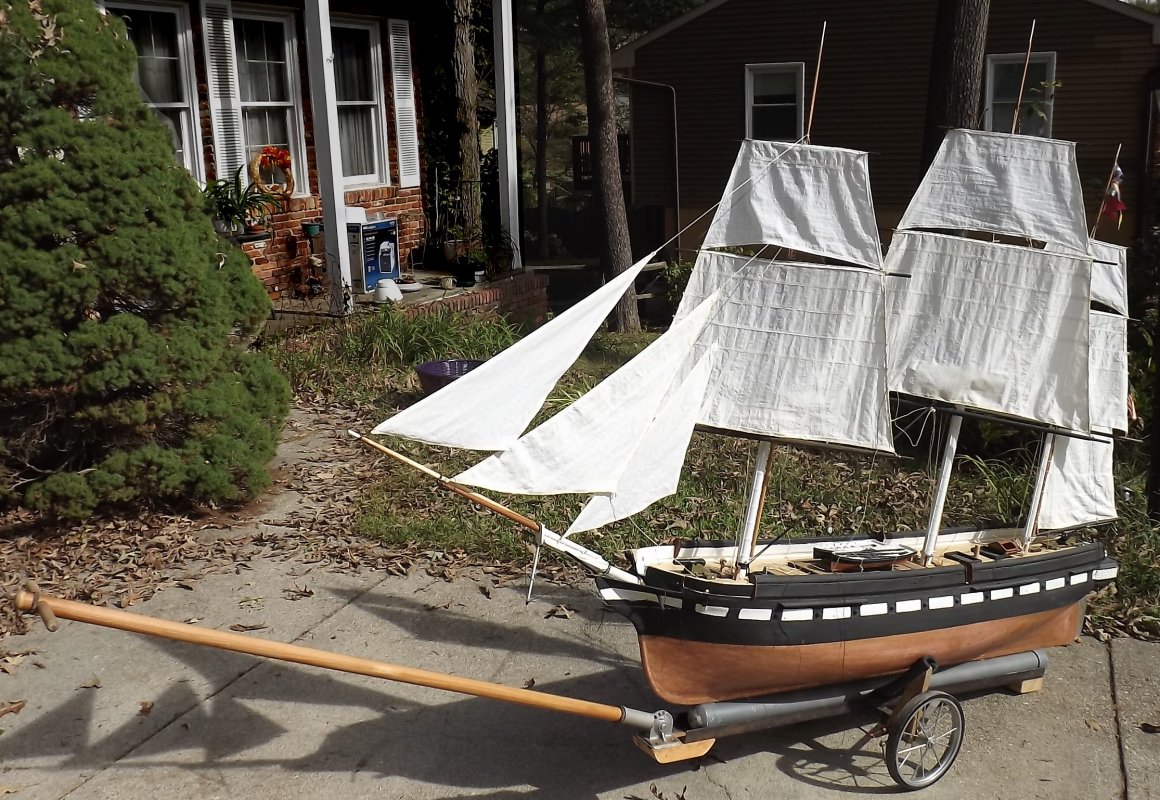
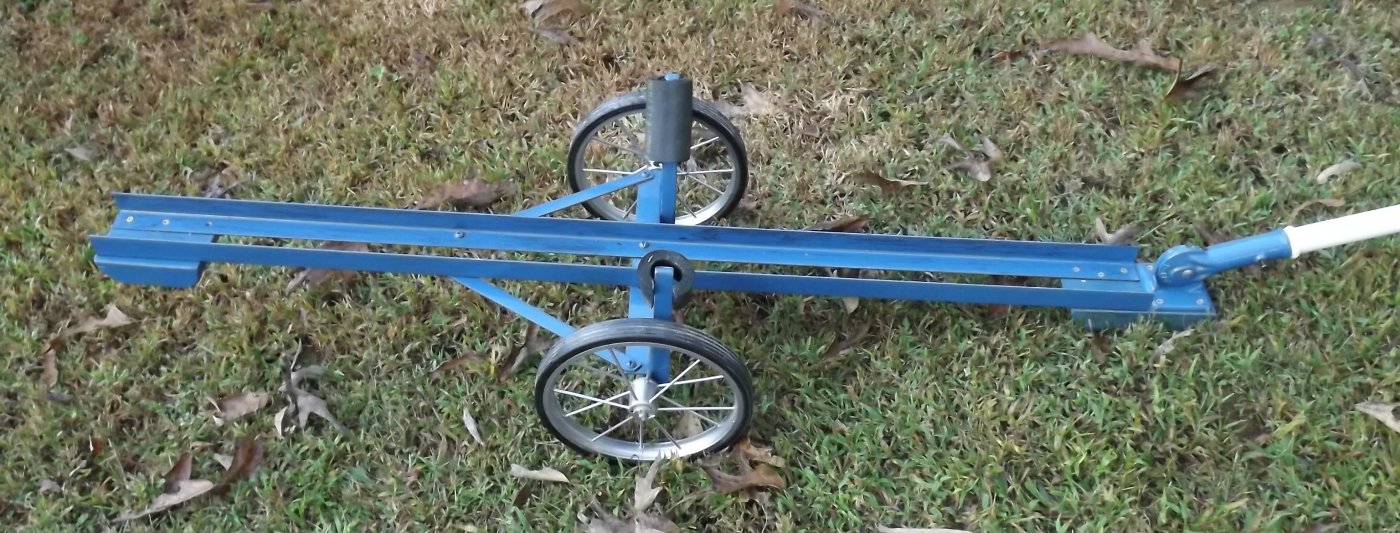
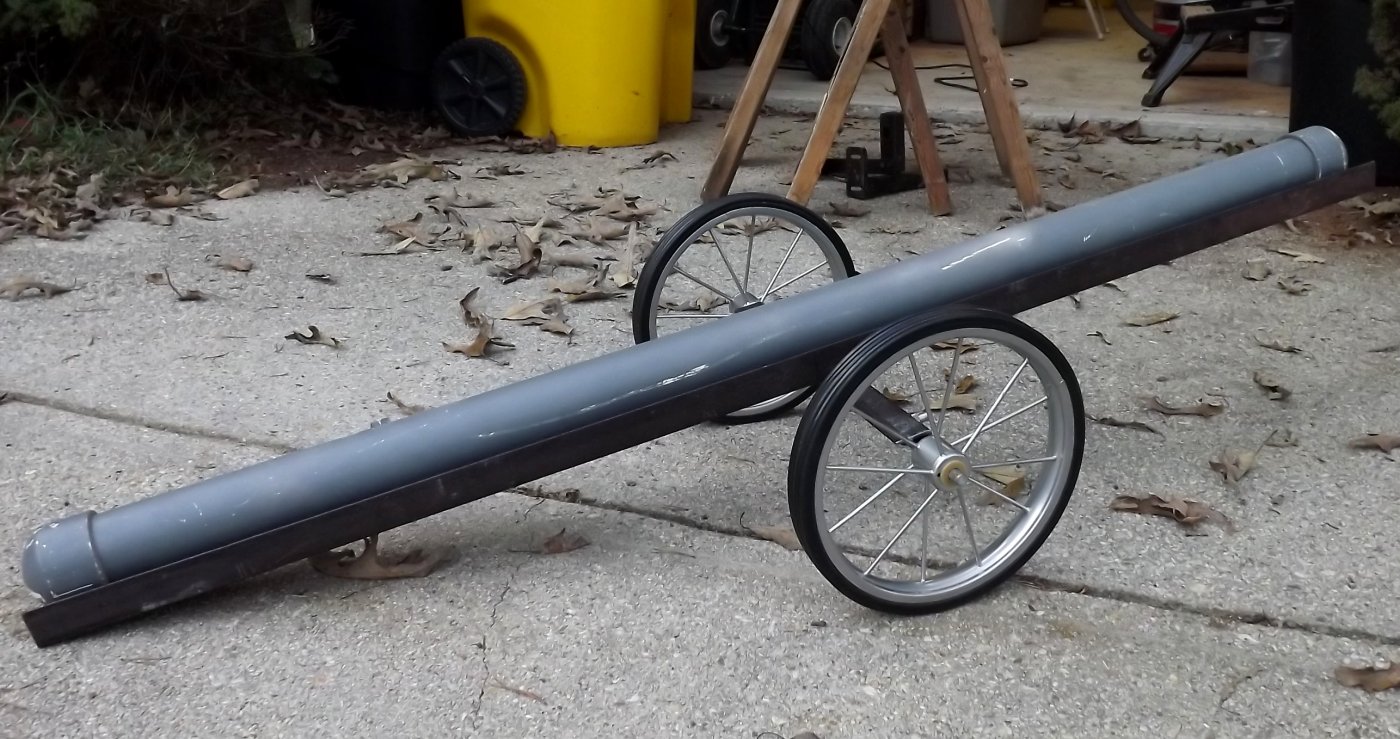
10/12: Took the thing outside to get a decent photo of it. The side supports are temporary and c-clamped to the axle bar. Moving it around, going over the lip at the end of the garage, moving it in the grass (this is just before I mowed it), all worked really well. Now to finalize the side supports and then paint the $#!+ out of this thing. I'm thinking light blue?
10/19: Put the model back on the cart and bent the royals to their yards and set them.
|
||
 |
 |


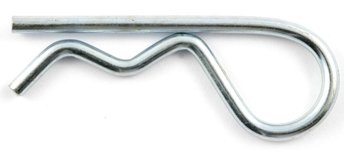 On the wheels I think I'll go with hitch pins instead of cotter pins, then I can pop off the wheels easily without tools and it'll take up less space in the car.