

7/30/2011

 |
 |
|
Previous Page | Next Page | Table of Contents click pictures for a larger version
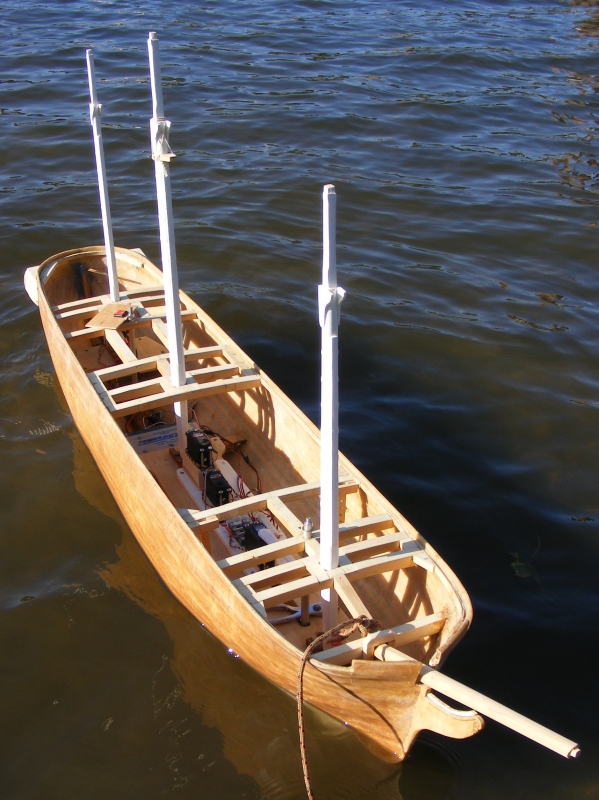
Take Two: Three days later I tried again - remembering the rods this time, and even stuck the lower masts in her.
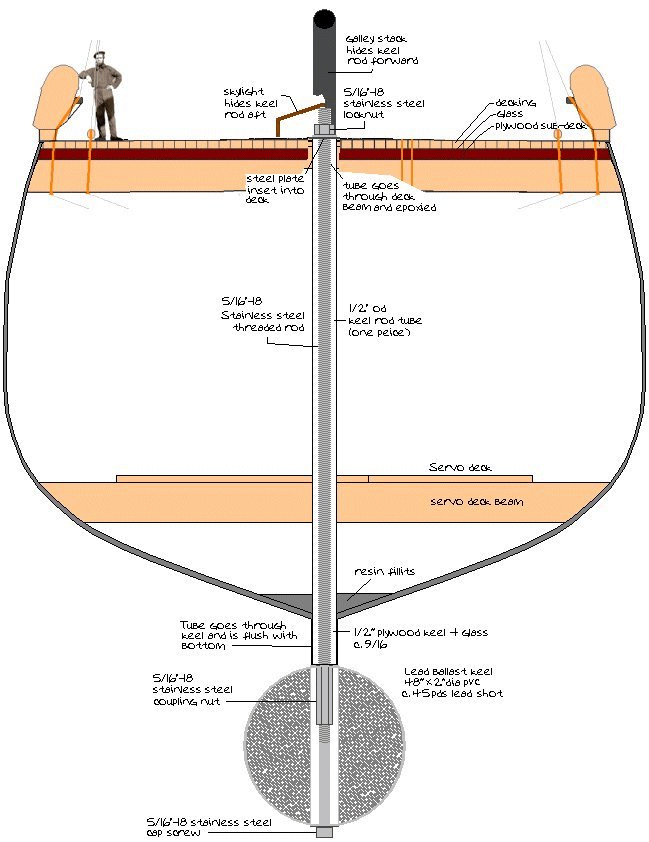
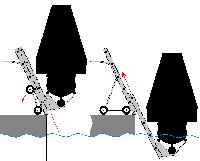
The rods have a nylon lined nut at their top, and a slot cut into the top end so a screw-driver can be used on them. The forward one will be hidden by the galley stack and the aft one is inside the skylight in front of the wheel. The torpedo itself will be painted either black, dark gray, or dark green - I haven't decided yet. The great thing about this set-up is that the rods can be loosened, and the model lifted away leaving 42 pounds of ballast on the cart.
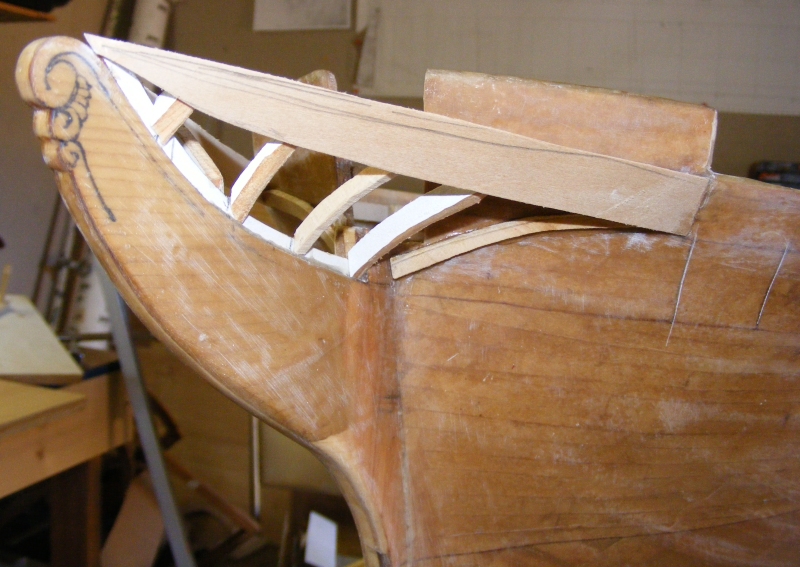
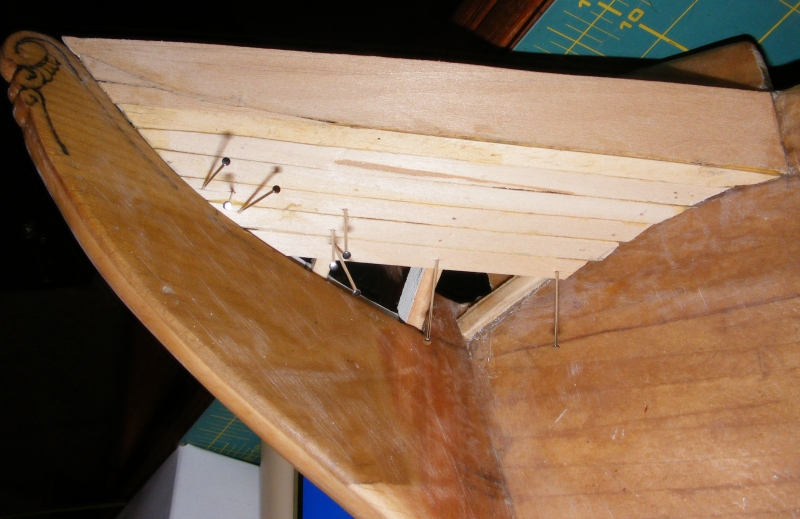
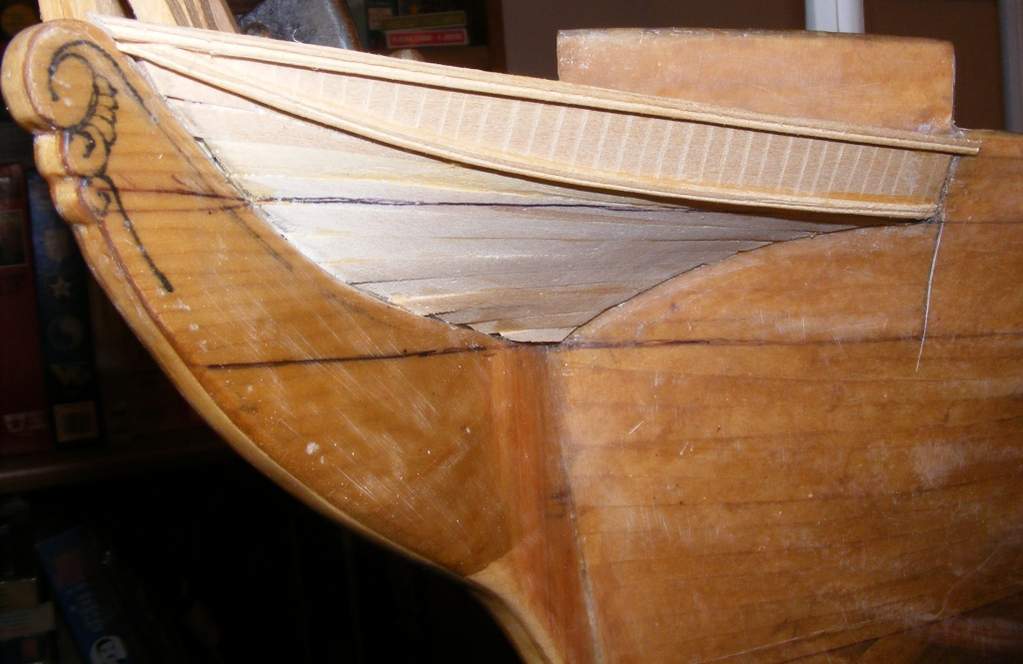
like this maybe? Probably not. January 2010 Trimmings and Gunports Constellation had an enclosed head, typical of ships of her era. This was framed with some wood from a broken window shutter, and planked in basswood. There were heads up here, and I imagine some grating, but my information on what to put in here isn't complete. I do know there was a pipe that ran down where the planking meets the stem to the waterline to guide the effluent to it's destination. The stern moldings were different in 1856 than what the ship carries today. The stripe didn't carry around the transom then. Constellation drydocked at Boston ~ 1859
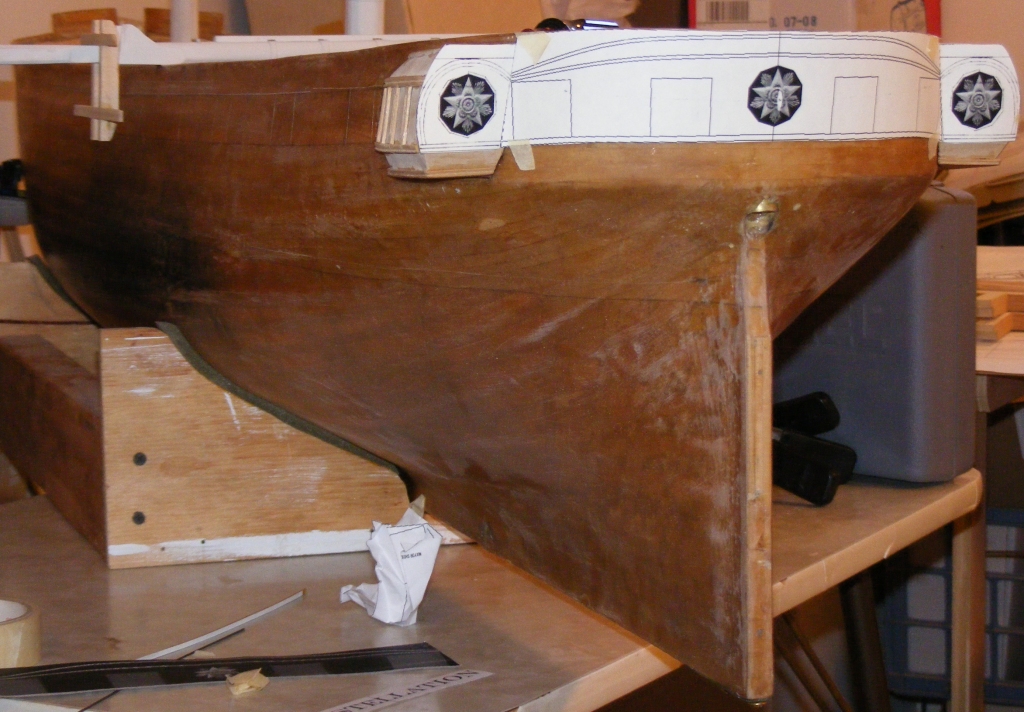
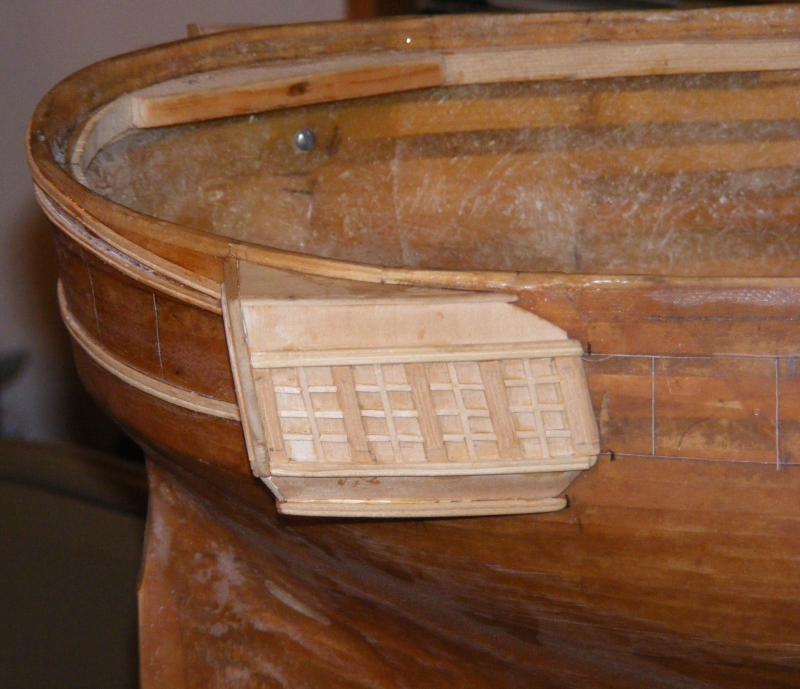
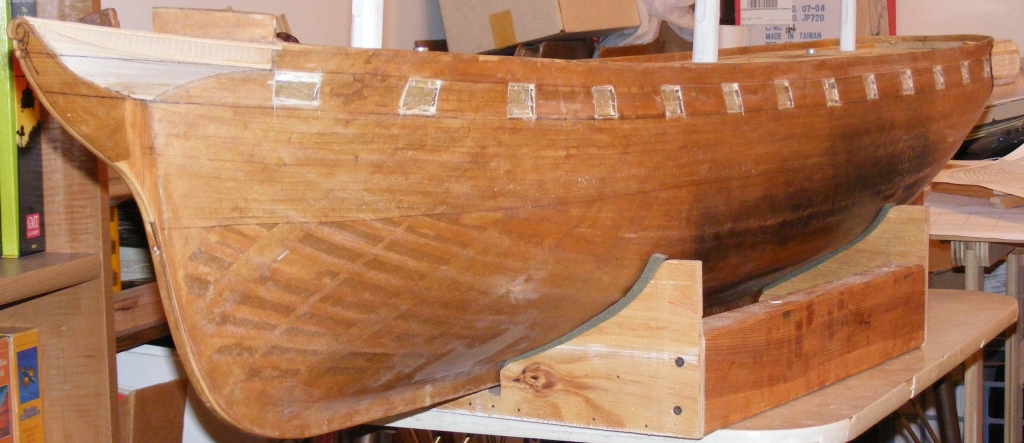
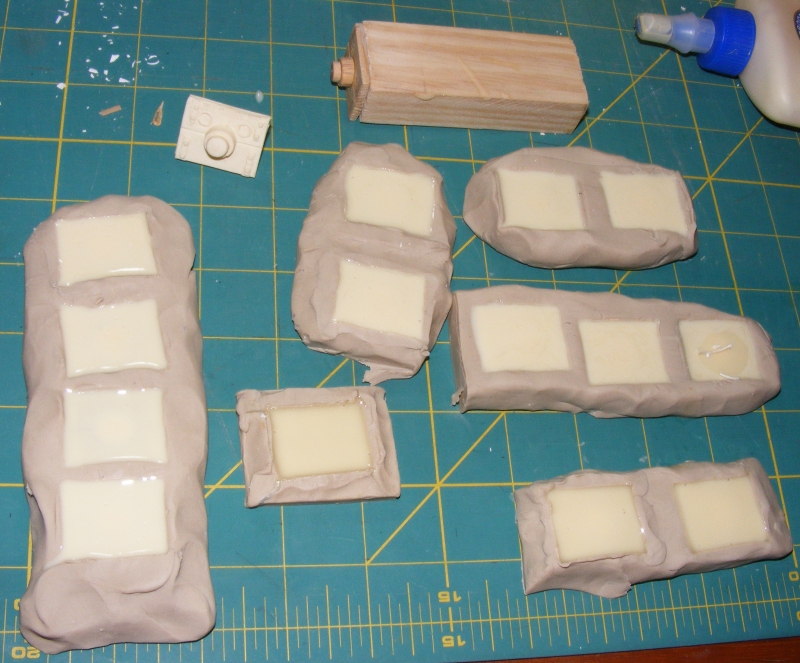
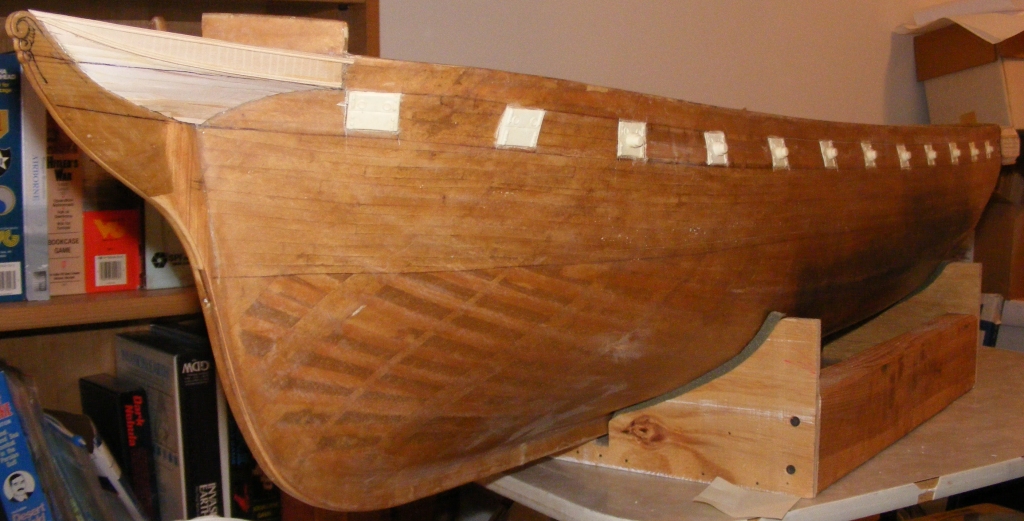
Tracing the stern off the model onto paper, I then scanned the tracing and created a template to get the moldings on right. and further detailed the quarter galleries.. The model is meant not only to actually sail, but to do so in the Chesapeake Bay as opposed to some nice placid lake or pond. That why she was made to this scale and why I though it better to not model the gundeck and interior - it's that much less water access to worry about. The real ship had split gunports that closed around the muzzle of the gun with a tampion in the muzzle. I opted to mold the whole thing in resin. I made a simple stamp of wood with bits of dowel to represent the gun muzzle and a smaller bit for the tampion. This I pressed into clay, then pressed in other details like port lights with a tube, hinge straps were thin wood glued to the stamp, bolt heads using an allen wrench, etc. On the hull, each gun port was cut out through the outer glass layer and the wood battens, leaving the glass mat inner layer intact. The resin gunports where then glued into each hole with plenty of slow cure epoxy to fill any gaps or voids. The ports in the transom were cut out, but they'll get windows placed there with open gunport lids. |
||
 |
 |

