7/30/2011

 |
 |
|
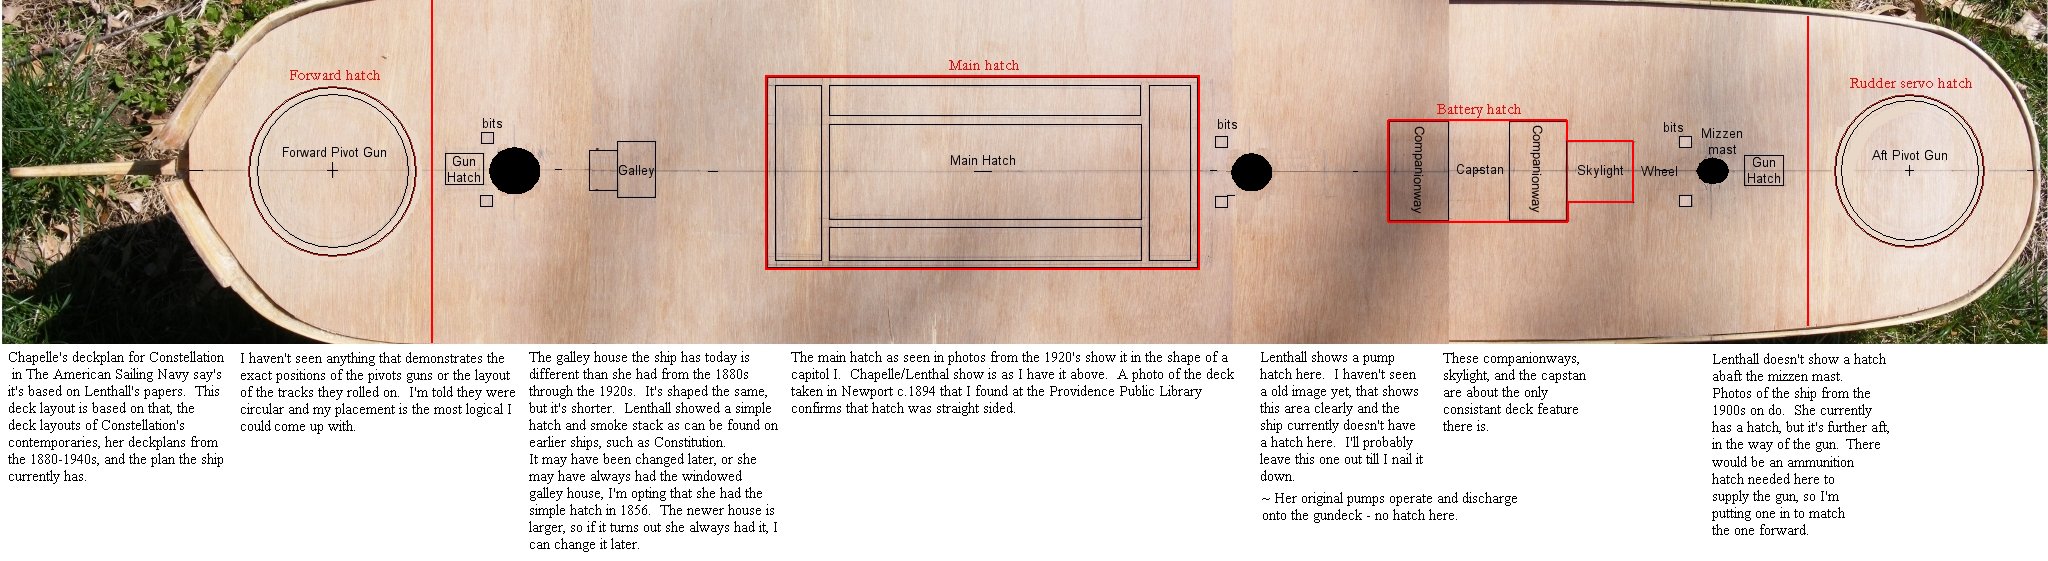
Previous Page | Next Page | Table of Contents click pictures for a larger version I wish it had all happened as smoothly as it appears. There haven't been any catastrophic screw-ups, just some bumbling and back-tracking. In my teens and twenties I worked on traditional sailing craft from sloops to barkentines, a marina full of yachts, and helped construct, repair, and maintain many boats from a Baltimore Clipper to skiffs. At 50 I find I still have a lot to learn. Building a large scale square-rigger that's a working sailing model is not the same as building and working the real thing. Experience doesn't scale, not completely. The ship itself isn't the help I hoped it would be. They're doing some things that don't apply to the ship as she appeared in 1856, or even the 1860's they say they're restoring her to. For instance, the main hatch didn't take on it's 'I' shape until the 1920s - it was rectangular until then. Every item I start on this model turns into a research project unto itself. Many books on ship modeling cite items as being "naval" or "merchant" but Constellation carries many details seen on the clipper ships of the day; iron yard trusses, the shape of her tops, iron truss and band topyard parrels, etc, many details that are allegedly "merchant." She was the last pure sailing warship the Navy built and would represent the latest technology of that time. The plans and drawings leave out a lot too. No drawings before 1871 show quarter galleries. The 1854 spar deck plan has gone missing, the next earliest is 1888, so nothing shows the arrangement for the spar deck pivot guns. It's a sentence in a diary that refers to a "circle" for the pivot gun that has everyone assuming they were simply a round track. Chapelle shows the galley hatch as just that, a simple grated hatch in front of the galley stack - just as the Constitution has. All the images and drawings I can find show a horseshoe shaped house about 3 feet tall with barred windows all around it. The same sort of thing is seen on many Civil War and later era vessels. The restoration has a galley house about half the height - based on what, I don't know. I don't know yet whether she had the house or the hatch in 1856. I'm going with the hatch as I can always add the house later if that's the case.
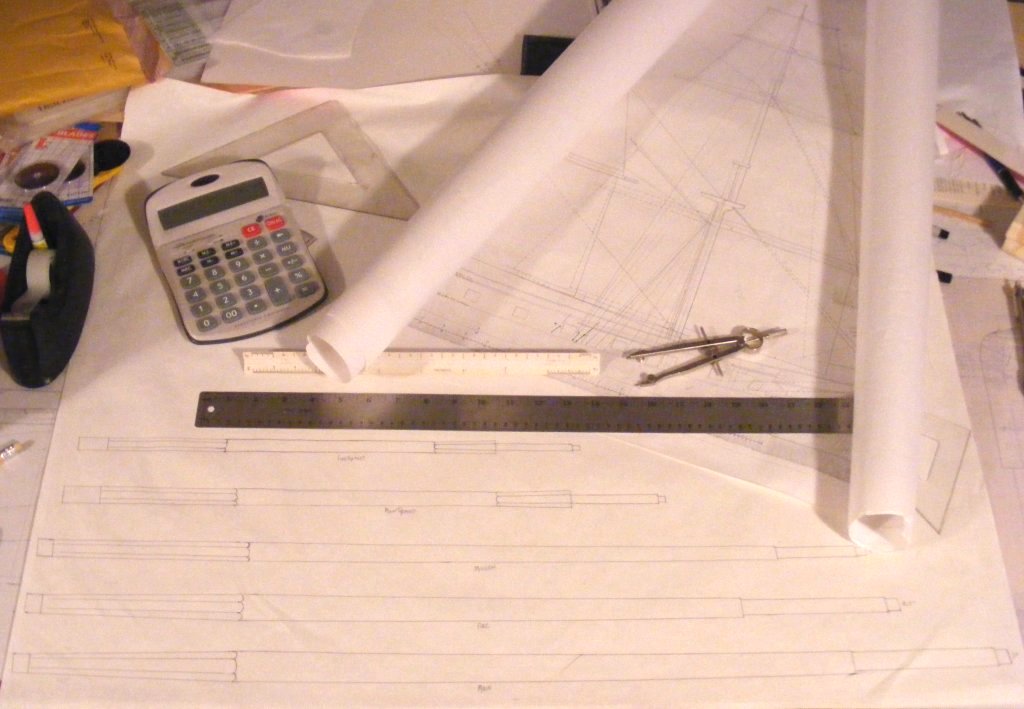
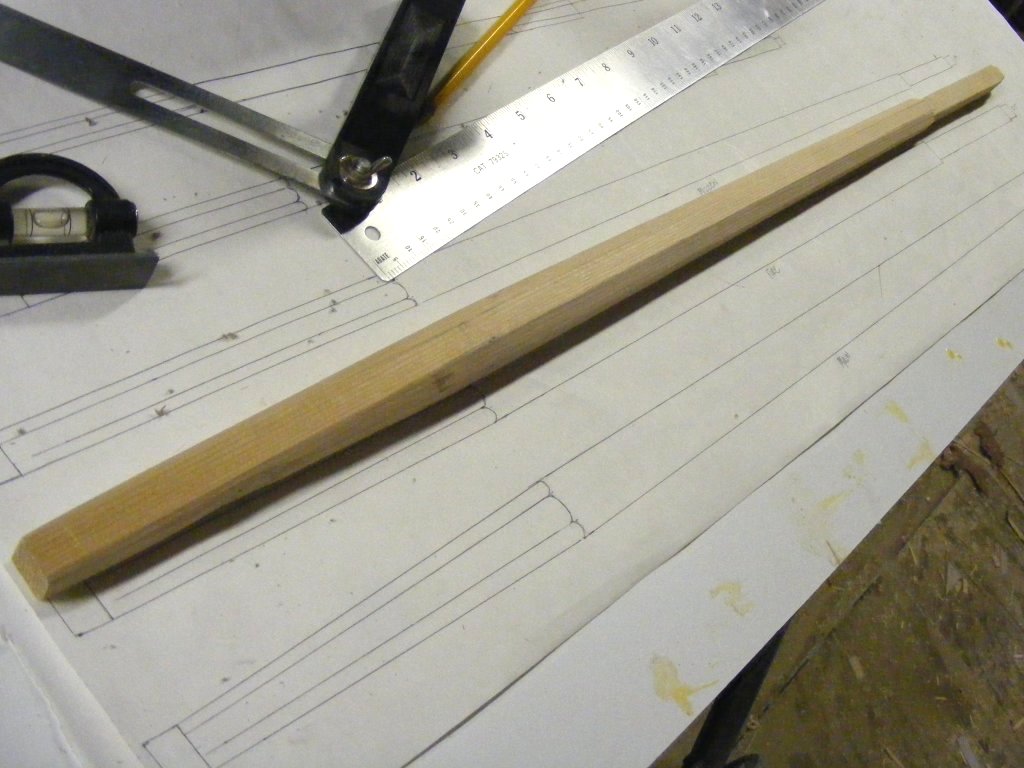
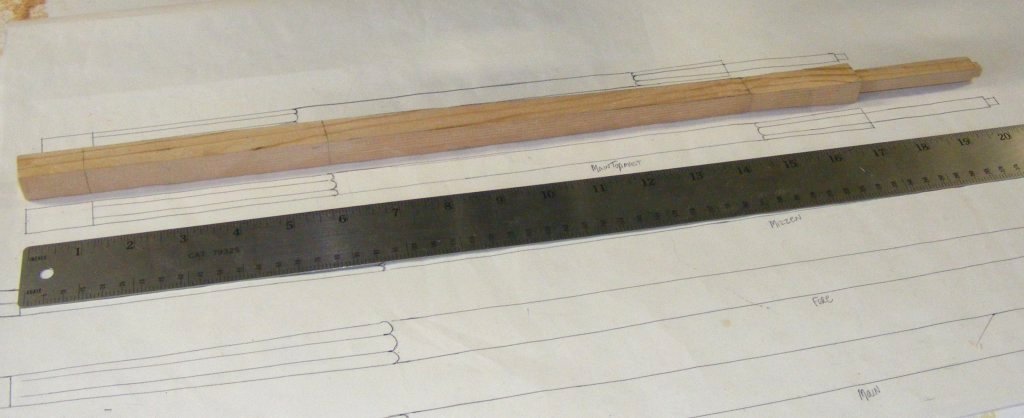
This whole project has been more digging than building, but I want an accurate model that will stand being viewed close-up, not just sailing 20 yards away. At the same time, everything, especially the rigging, has to function and stand up to actual use moving a 100 pound model under sail. Sparring 2/7-3/29/2009: While poking about a lumber yard for something I happened across some nice clear 3 x 2 x 6 cedar boards and grabbed two to make my spars. After drawing the spars full size,
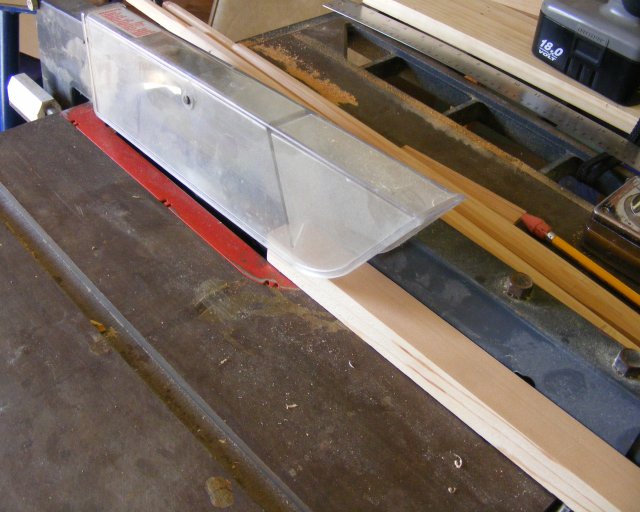
I rough cut the cedar on the table saw to square stock to start with.
Marked them for tapering, which was done with a block plane.
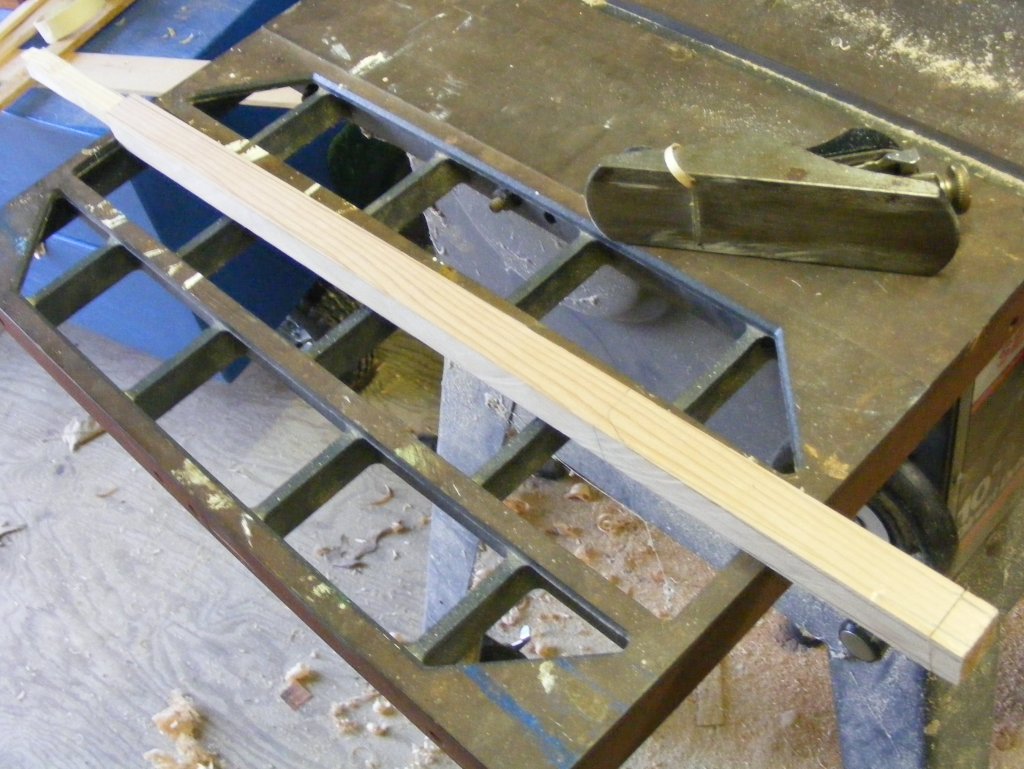
Then marked and planed 8 sided
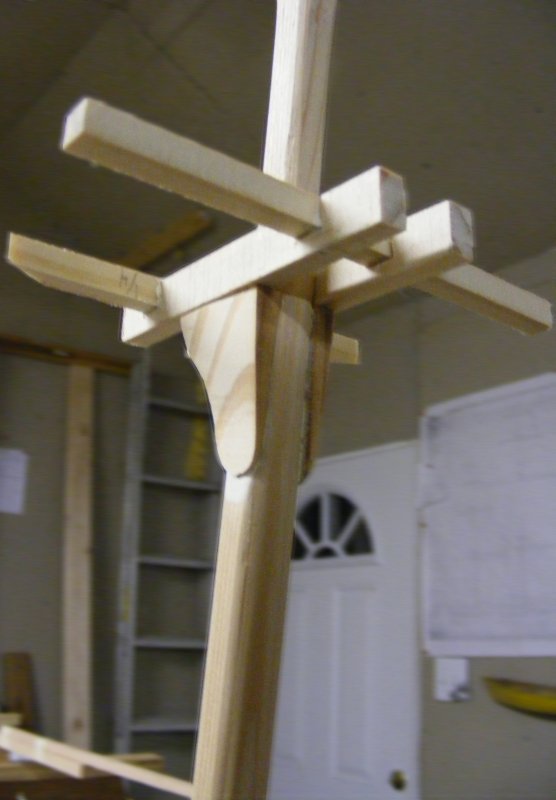
After 8-siding the masts, it was made 16 sided by eye, then planed and sanded round. The doubling was cut down and made square, while the bury was left 8-sided The hounds were fitted and the same brown paper tape used to cover the "plug" was used to make the mast bands.
Again, the drawings don't show the tops in any useful detail. I looked at what was on the ship, checked the proportions of them in paintings and photos, and checked the rule-of-thumb used in various books of the period. The AJ Fisher plans were nowhere near what's on the ship now, or any measurements I arrived at from photos or the rule-of-thumb (main top is 1/2 the beam, 3/5th it's width in length, etc). Satisfied with my dimensions, I made the lower cross-trees and trestle trees. I made mast caps of red oak, but didn't care for them, they were remade later.
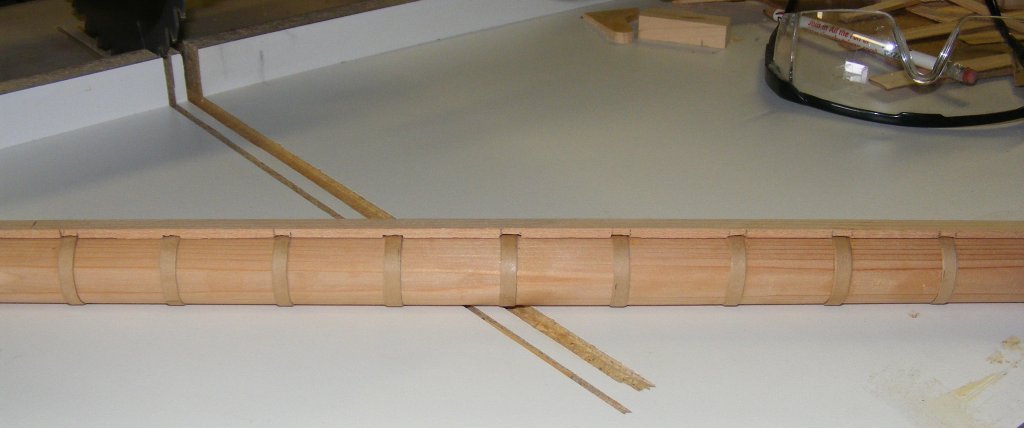
The front fish on the masts gives the topmasts something to slide on when they're lowered. These were cut from the same cedar; marked for the mast bands, and gently notched with a radial arm saw!
These were glued to the masts and clamped with string.
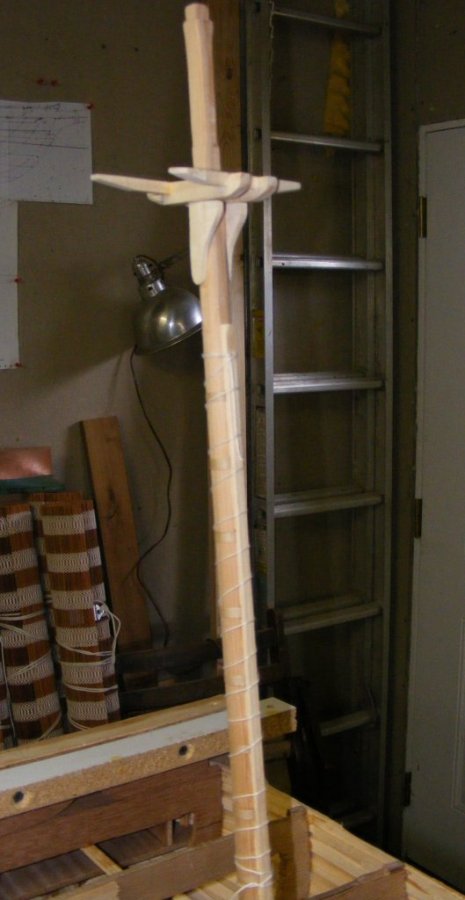
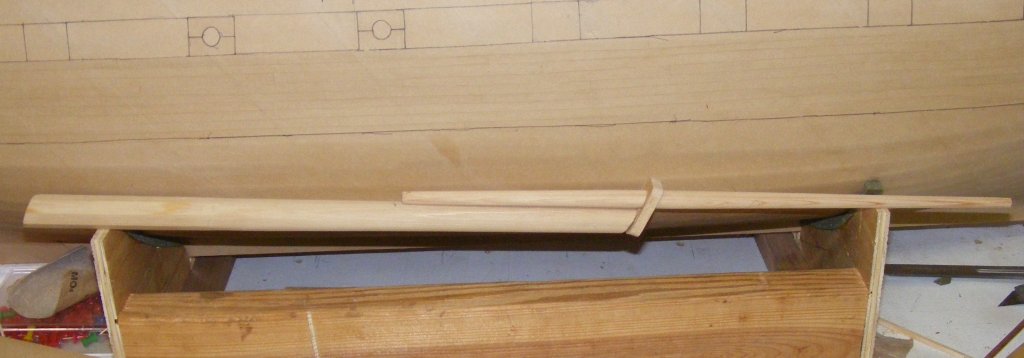
The topmasts were made using the same general procedure as the masts.
A bowsprit and jib-boom were roughed out. By this time the lower masts had been painted and "plug" had become a fiberglassed hull.
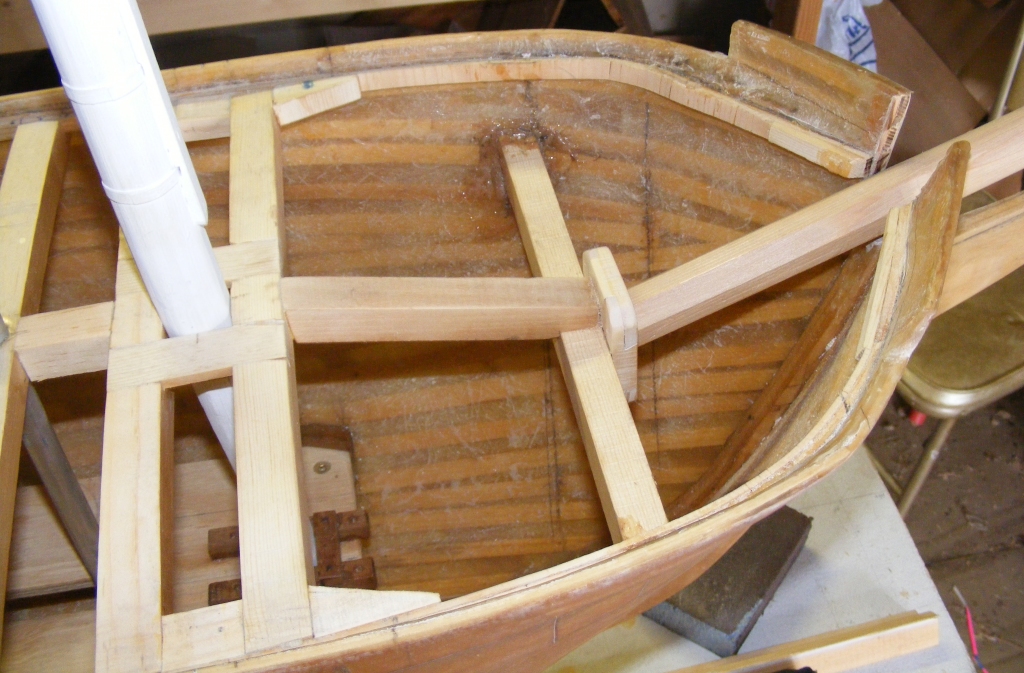
6/28: Deck framing was mostly in place, but a step for the bowsprit was needed. A beam was installed for this purpose, and concerned about it's strength in a collision, I braced it to the next beam after it. It's probably not a real issue, and the brace is likely to come out so I can put an access hatch on the foredeck to deal with the heads'l sheets under the deck.
|
||
 |
 |