9/2/2011

 |
 |
|
Previous Page | Next Page | Table of Contents click pictures for a larger version
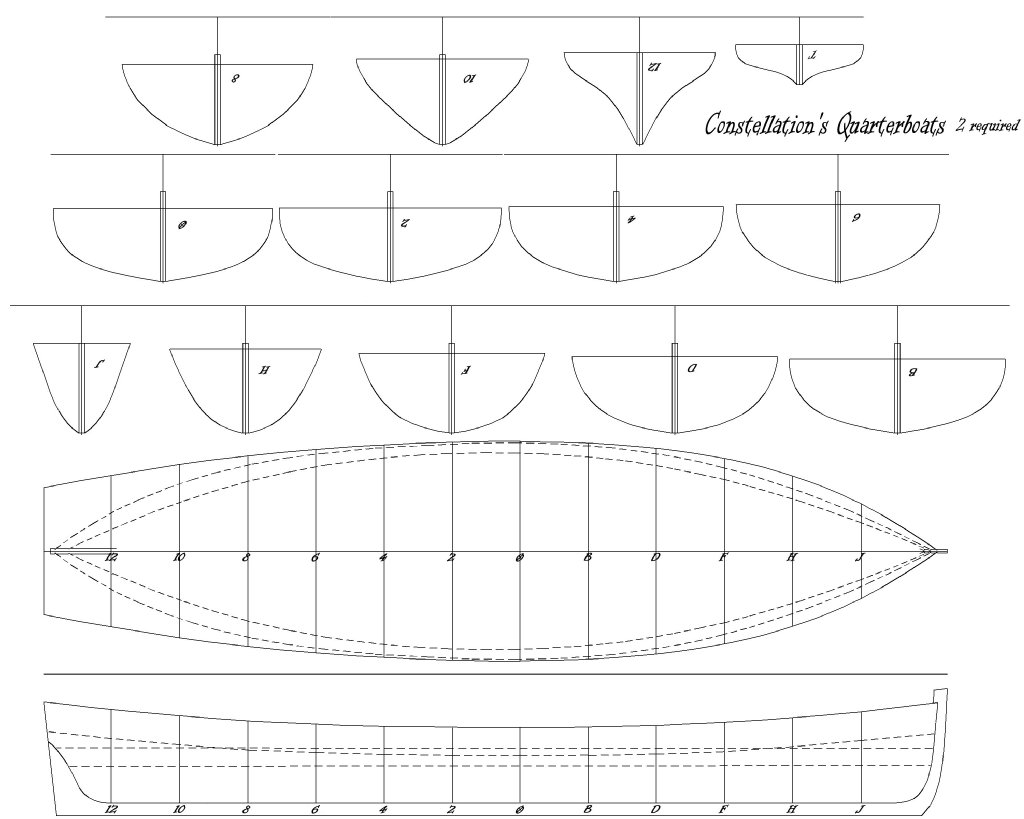
In 1856 Constellation carried six boats; A 31' 10" launch, a 28' 7" first cutter, a 25' 10" second cutter, 2 26' 6" quarter boats, and a 28' 2" whale boat on the stern. Two of these boats, probably the quarter boats, are pictured in de Simone's painting of the ship in 1856 (above).
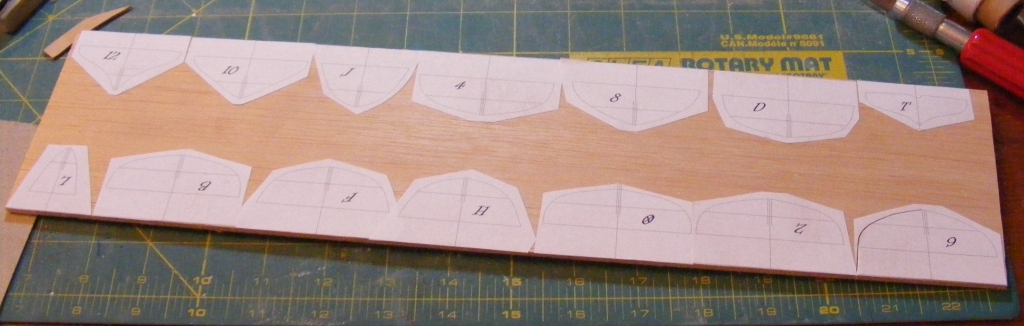
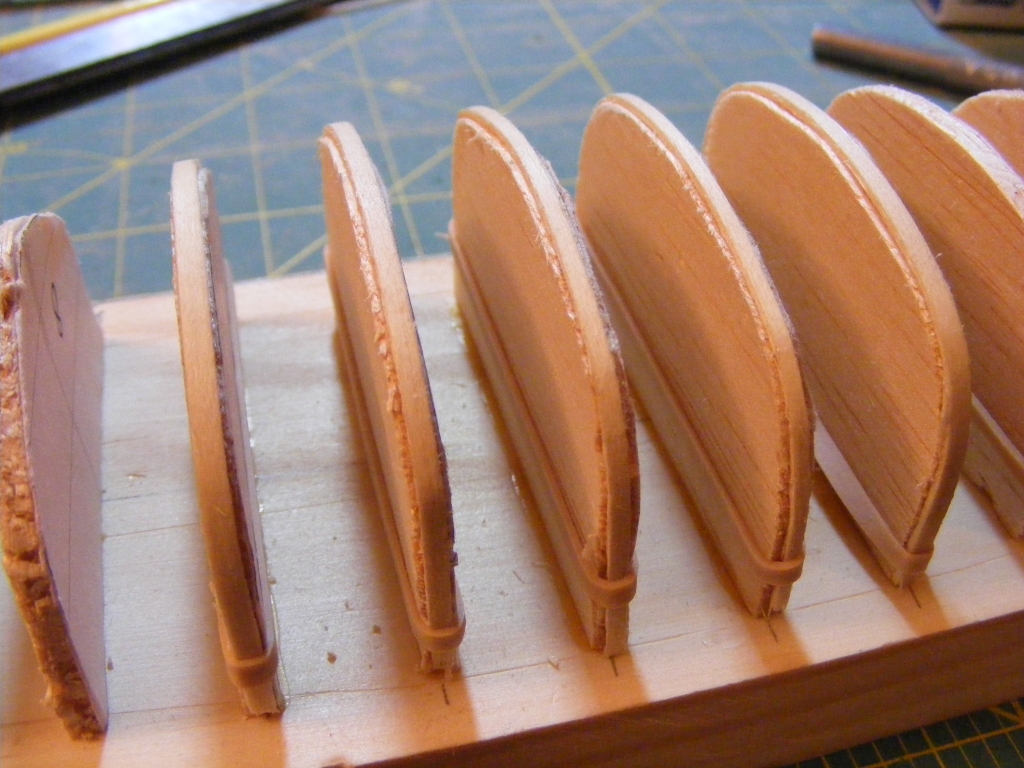
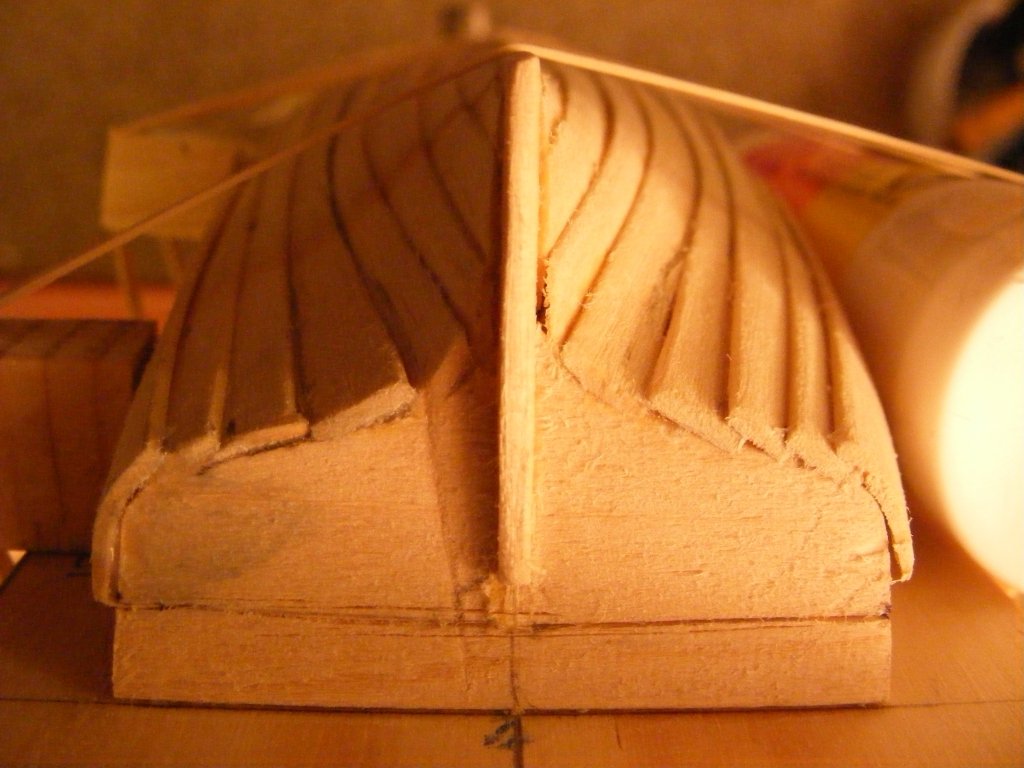
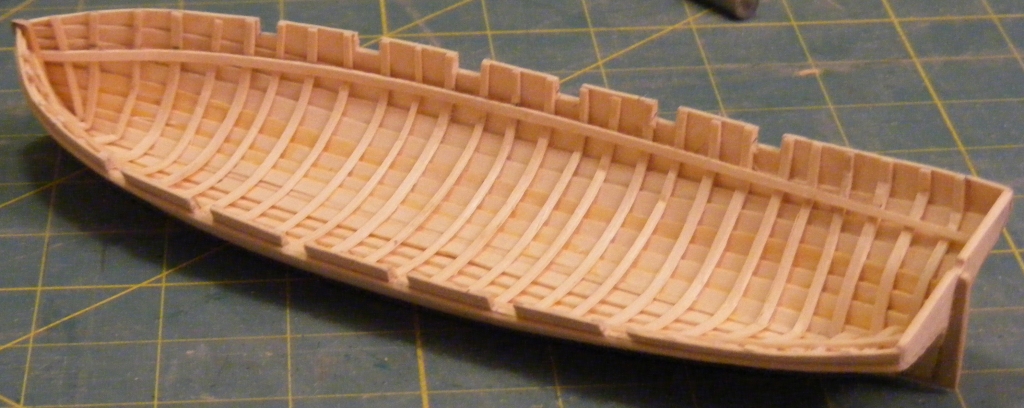
Building the First Cutter In the middle of September 2010, I pasted the patterns for the first cutter's forms to a sheet of 1/8" balsa and cut them out. They are designed to be glued to a baseboard, much the way some actual boats are built on a strong-back. The ribs were cut from 1/32" basswood, wetted, bent over the forms, and held in place by rubber bands. Using balsa for the forms made them very easy to shape and fair, and also, if some glue should happen to stick a rib to a form, the form will give way when the hull's removed instead of the rib.
With the forms and ribs in place, the keel, stem, sternpost, and transom were all glued to the ribs and baseboard.
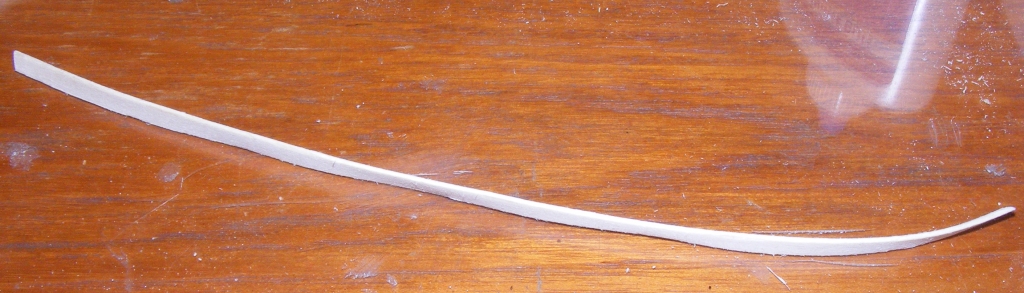
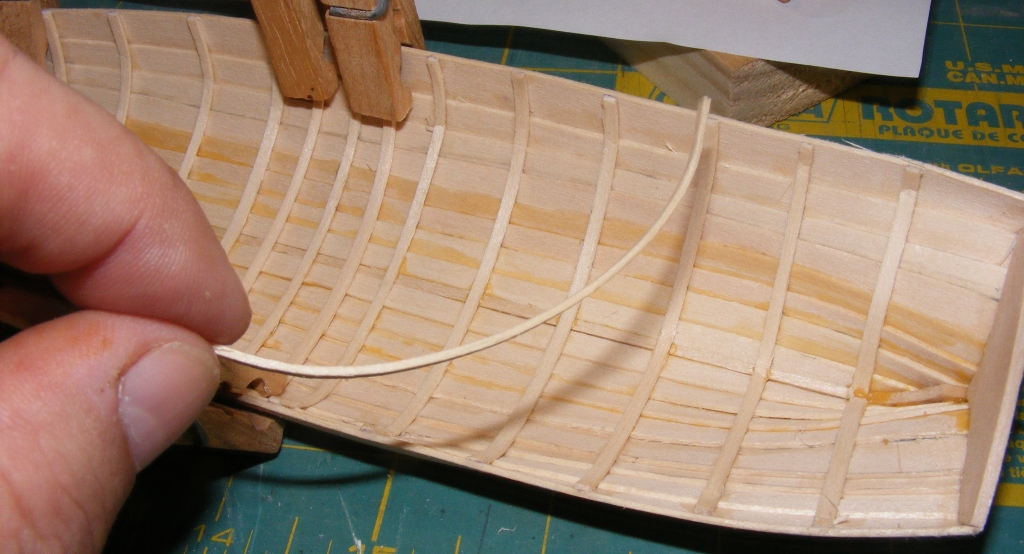
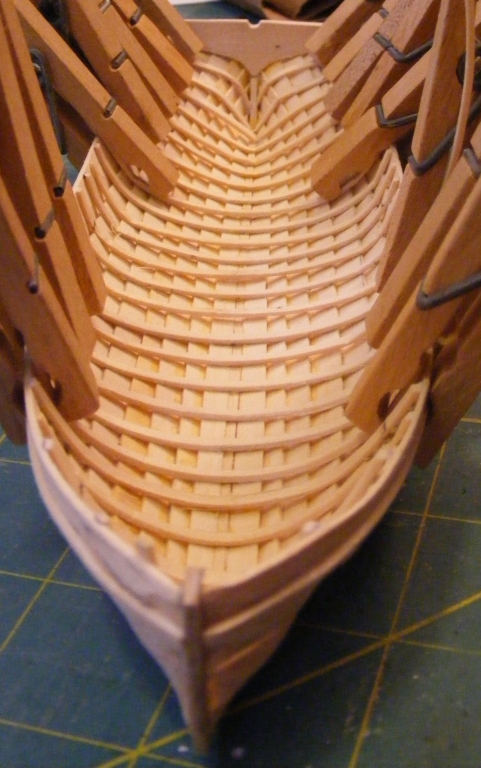
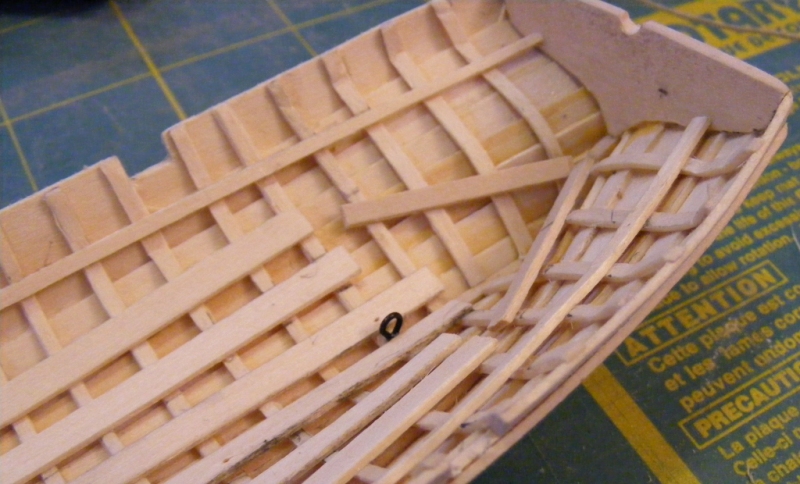
Then planking began with the garboard planks applied first and working toward the gunwale. I started spiling the garboards and first planks; (Spiling is the process of tracing the shape of one plank to fit the underside of the one above), but found on a hull this size, I only had to taper from the widest point to the ends, and there was enough give in the plank for this to suffice. Each plank was dipped in warm water and placed on the hull to dry for a couple of hours.
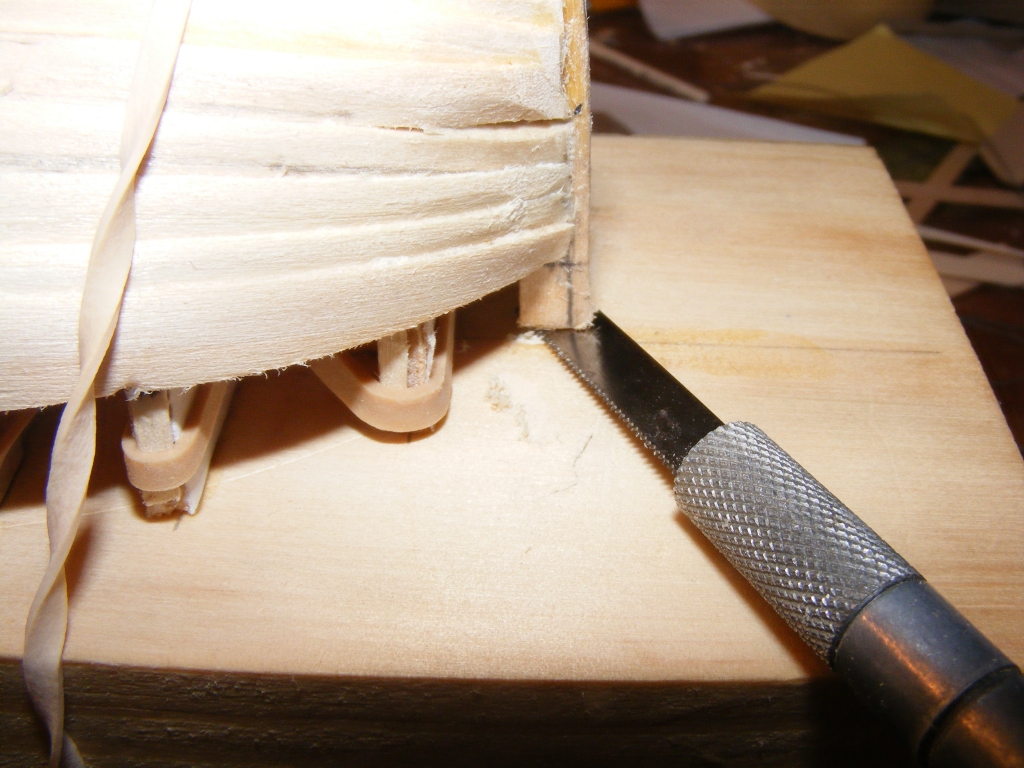
The boat sat through November before planking was completed on the 4th of January, 2011. Then it was time for the moment of truth - removing the hull from the forms. The stem was cut to length, then the top of the transom cut; freeing them from the base-board. The ribs were snipped with wire-cutters above the gunwale. It finally came down to summoning the courage to lift the hull off the forms, hoping it wouldn't be pulled apart and destroyed.
The hull lifted-off without a hitch! A couple of ribs came loose in a couple of spots, but the hull stayed intact and kept it's shape.
The ribs were trimmed, loose spots reglued, and then I started adding additional ribs between those that were on the forms - one approximately every scale foot. A rub strake was also added to the outside of the hull and the skulling notch made in the top of the transom. Then the notches that serve as oar-locks were cut and the seat clamp installed.
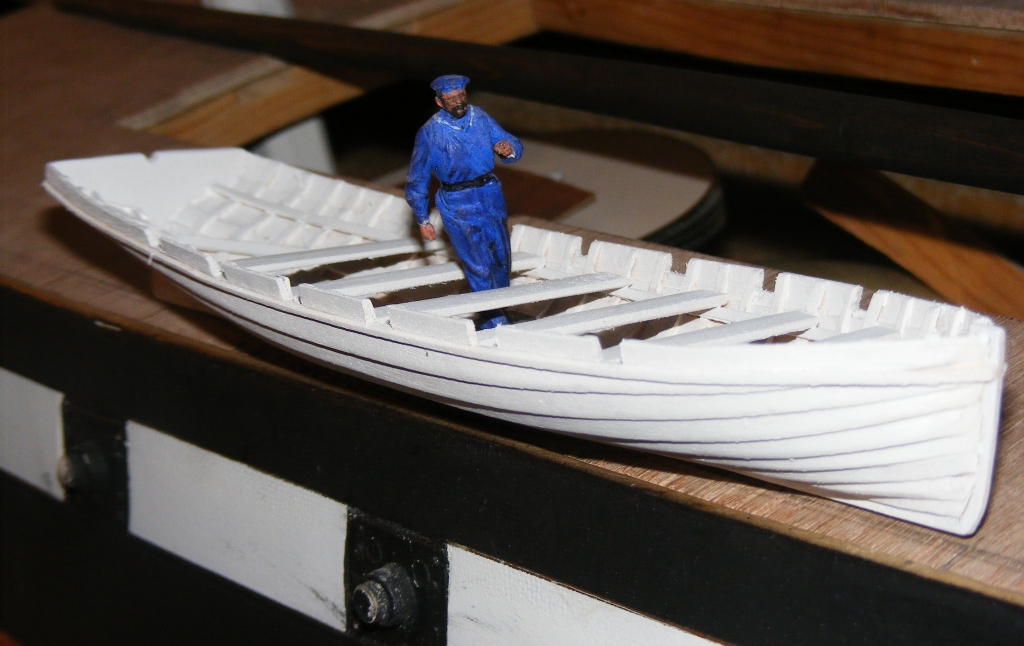
The lifting rings, made from dress-hooks, and floor boards were installed.
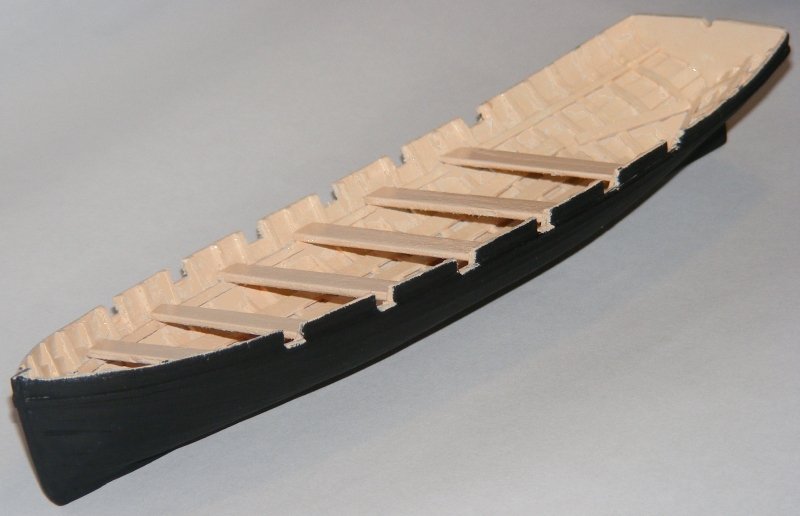
A set of thwarts and a coat of primer, then later painted black outside and creme inside.
There's still more to do; a stern seat and floorboards aft, knees on the thwarts, hardware for the mast, a rudder and it's hardware; and equipment; including masts, sails, water cask, etc. |
||
 |
 |