3/20/2012

 |
 |
|
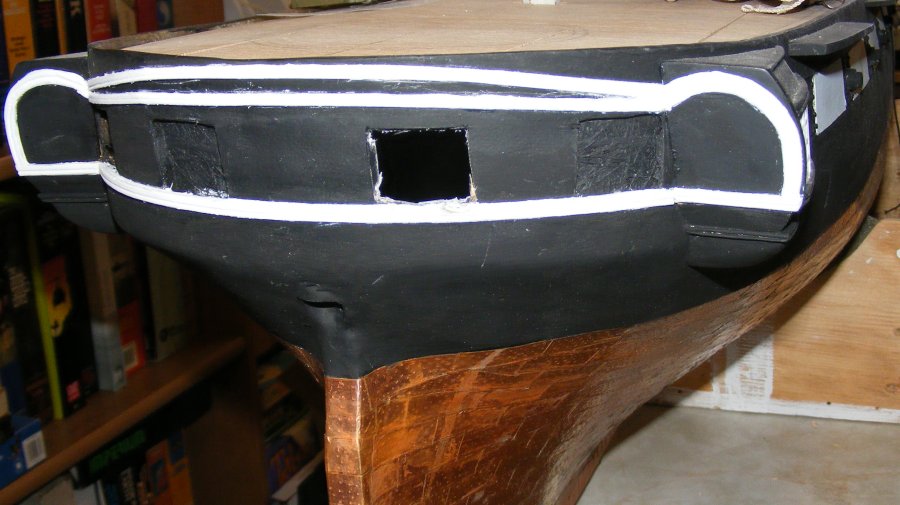
Previous Page | Next Page | Table of Contents click pictures for a larger version Stern ports/windows. 3/7/2012: I've been staring at the models stern for some time trying to decide how I was going to do the windows. Remember; the hull is a layer of 4oz glass, a layer of brown paper tape, a lattice of battens, and a layer of glass mat. All the gun ports, stern ports included, had been cut out leaving the mat layer in place. The gun ports got resin port-lids with muzzles sticking out, but the stern ports had nothing done beyond making recessed ports.
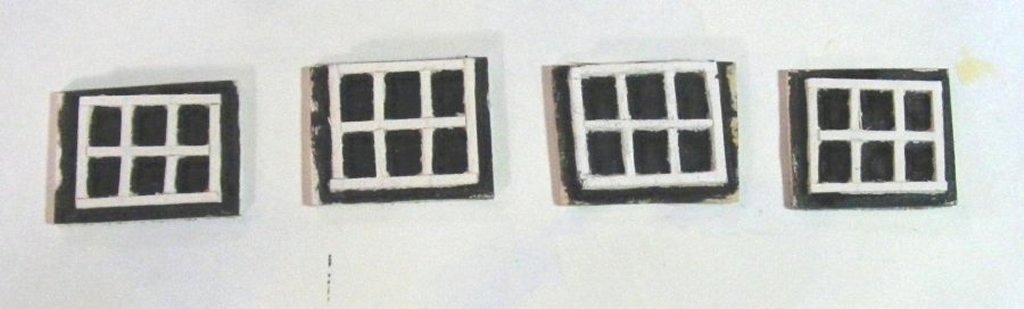
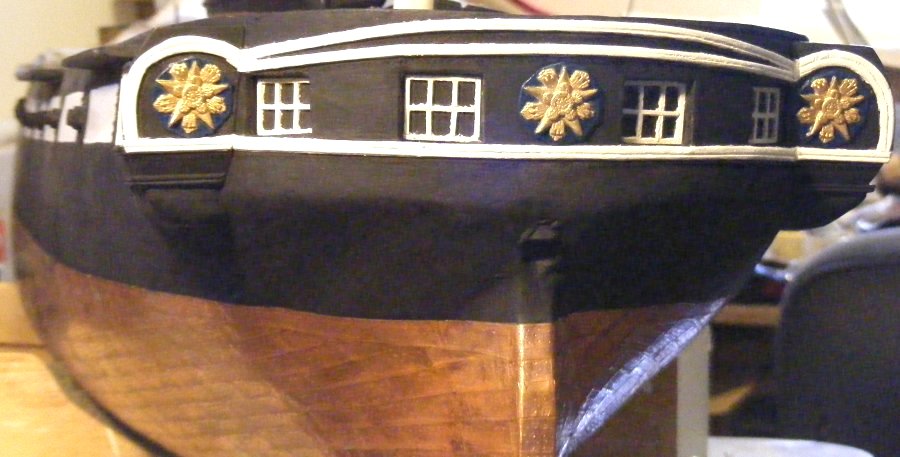
The windows are a slab of 1/16" bass sheet with 1/16" x 1/16" mullions glued onto it. They're painted black with the frame being painted white. I opted not to make them clear simply because there's nothing in the hull to be seen through them.
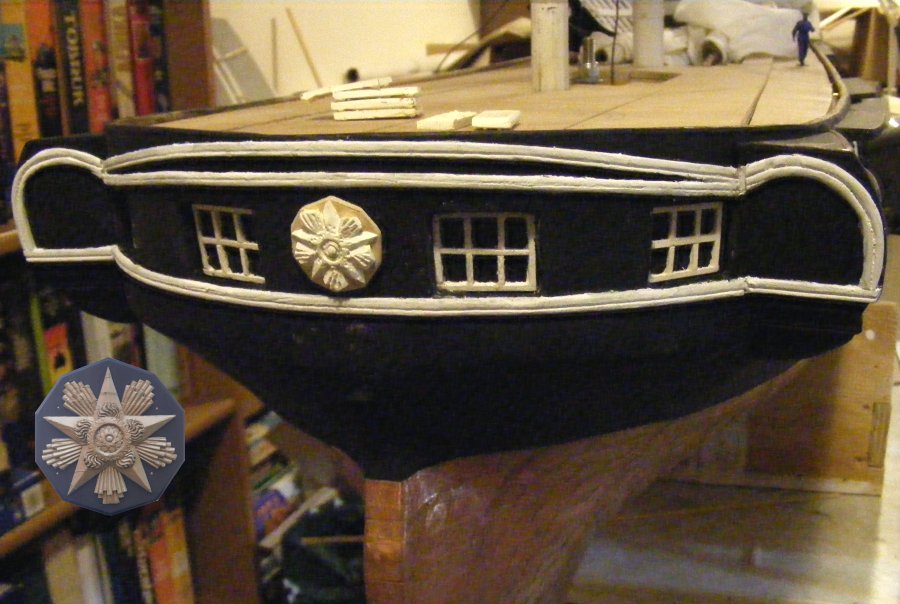
Stern Medallions. 3/8: So, with that minor milestone done, I decided to take a shot at carving one of the stern medallions. First I tried to carve the star in bass wood, but that wasn't working, I just couldn't get a clean edge anywhere; so I tried my hand at Sculpty. Sculpty is one brand of a clay you do your thing with then bake in the oven to set into stone, well, more like plastic. That try worked better, and at least implies what I want, but I'm not happy with it; it's much too thick and clumsy looking. The image of it on the hull shows my attempt, and also a photo inset of the real thing I'm trying to emulate.
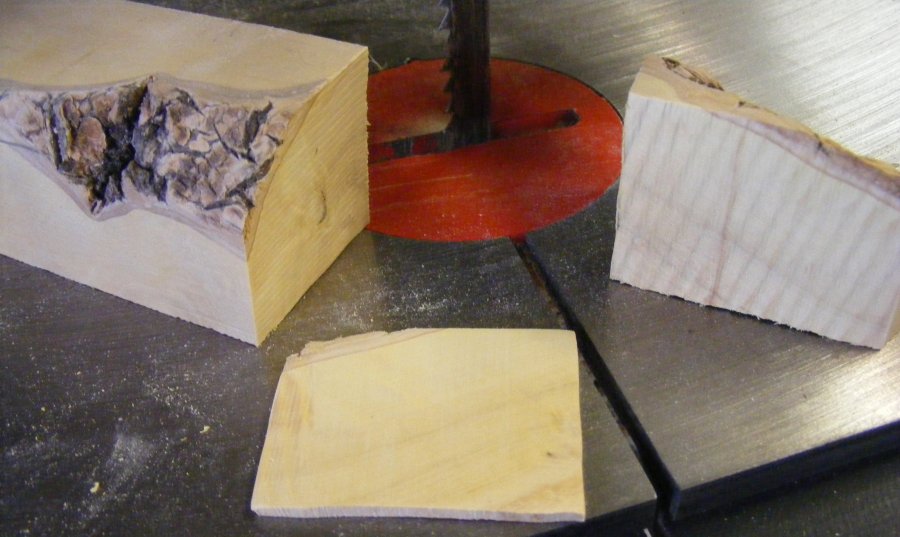
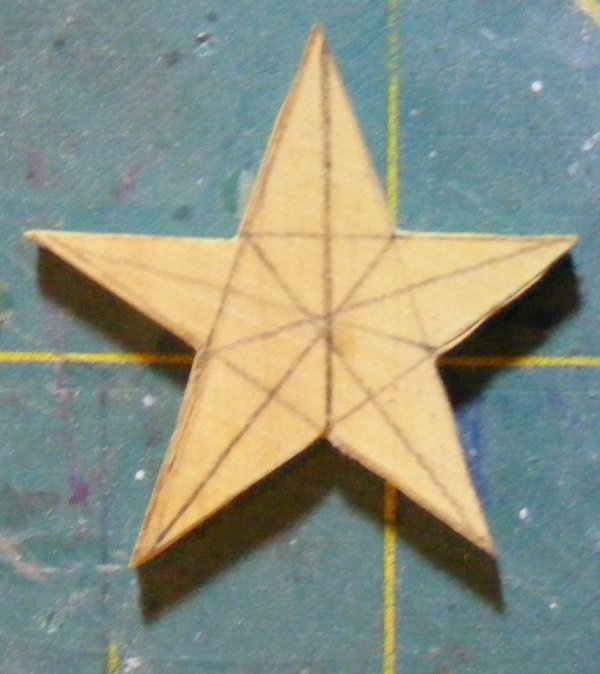
3/12: The road to happiness... ...begins with cutting a slab of box wood left over from a carronade I turned a while back. The slab was sanded to thickness, the star marked on it, and cut out with a jeweler's saw.
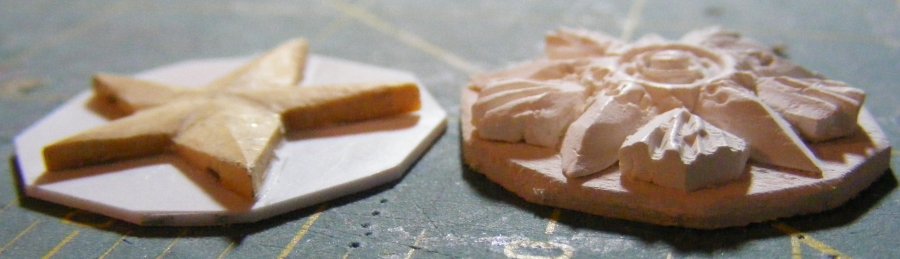
Box wood is wonderful stuff. The star was shaped in no time and glued to a styrene backer. Again, the basswood back panel was too thick and the styrene was more scale. Already it's an improvement over the first try which was much too thick for scale.
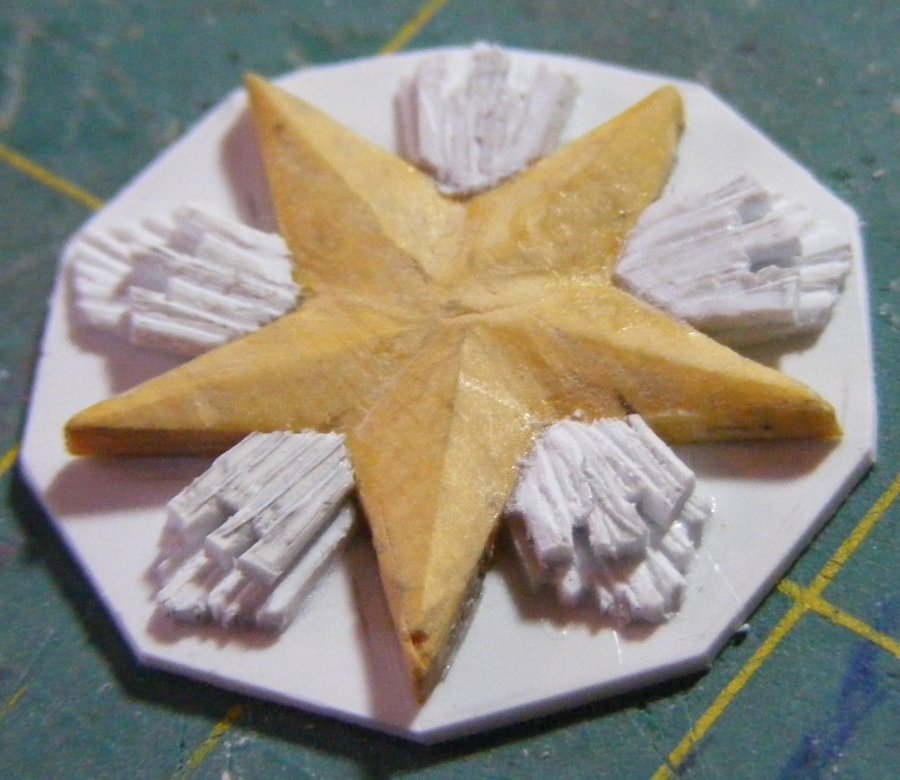
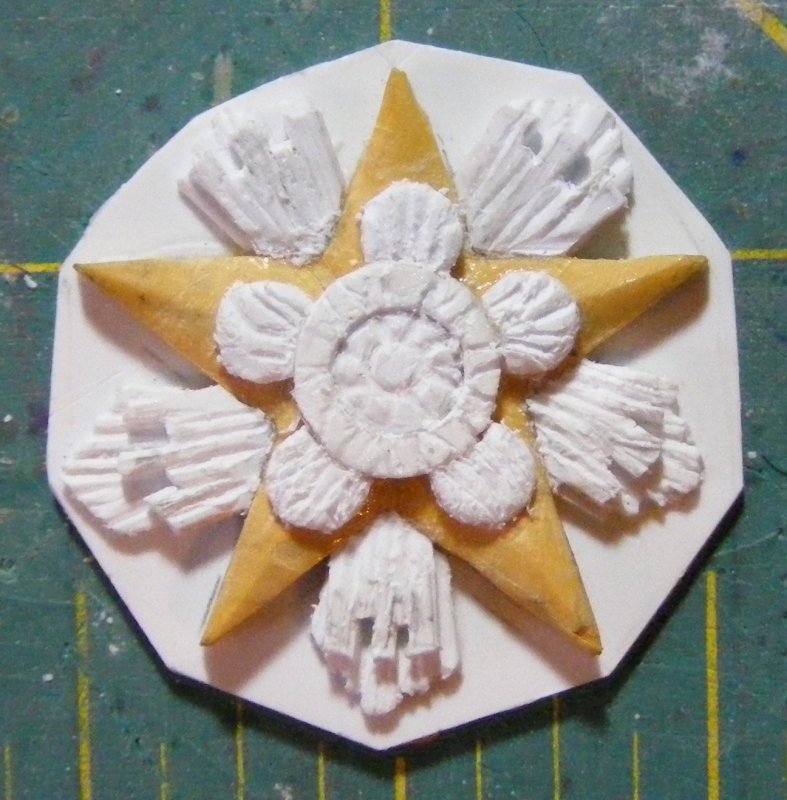
The rays that stick out between the points of the star, I tried a couple of methods to make. Sculpty rolled into thin worms deformed to easily for me to get anywhere. The same idea but after baking (hardening) the worms didn't make it easier. Slivers of wood, styrene, wire - none of it gave me the results I wanted so I finally settled on sheet styrene. The "french-fries" as I call them because of their appearance, aren't perfect but that was the best result I got. A second layer of "fries" go on then I cut the center circle from styrene with a sharpened brass tube, and punched the center with the leather punch's largest size. The dot in the center was also done with the punch, just not all the way through. A lot of the carving is done after gluing it to the star so I had a way to hold on to it. The "balls-o-fire" around the center circle were punched, and then a bite taken out with the brass tube so I knew it would fit just right against the circle. These were glued on, the rounded and the wavy lines carved into them.
The result wasn't August Crabtree's work, but I'm happy with it.
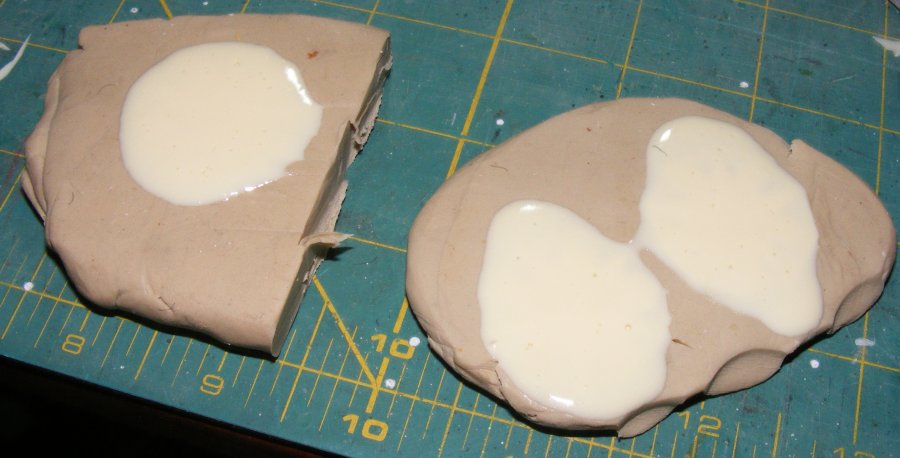
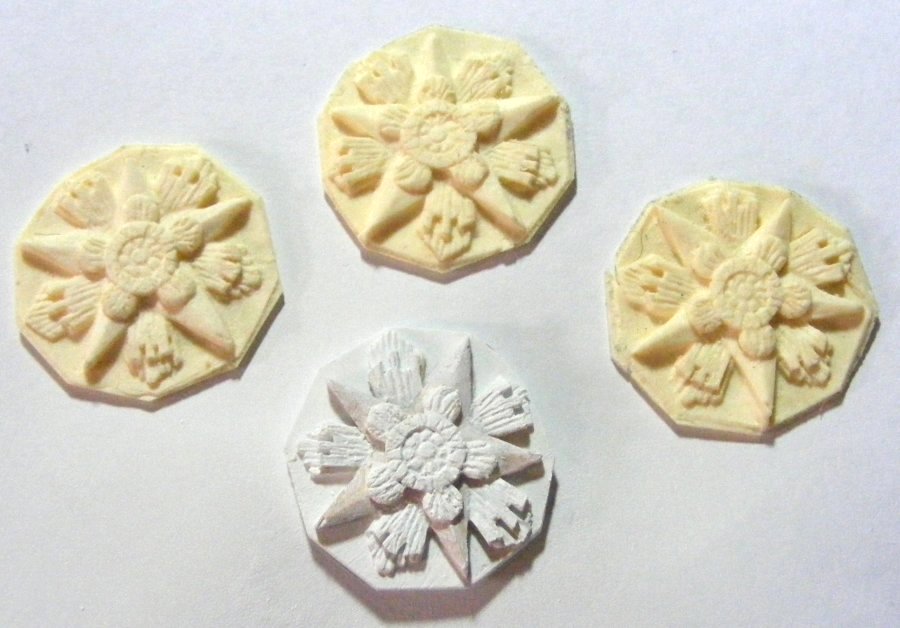
This master was primed, then pressed into clay three times and casting resin poured in.
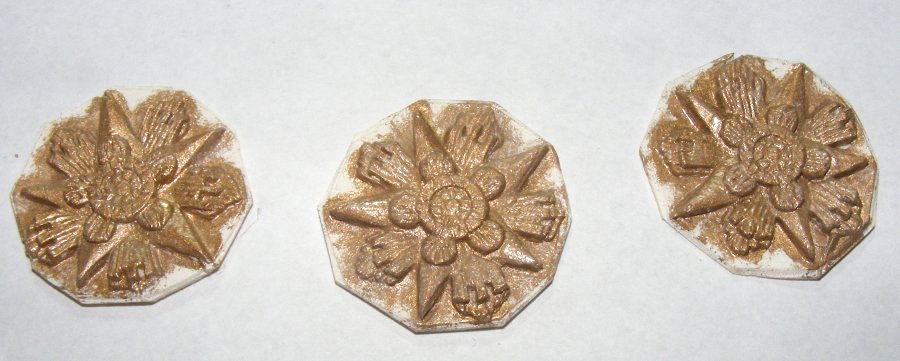
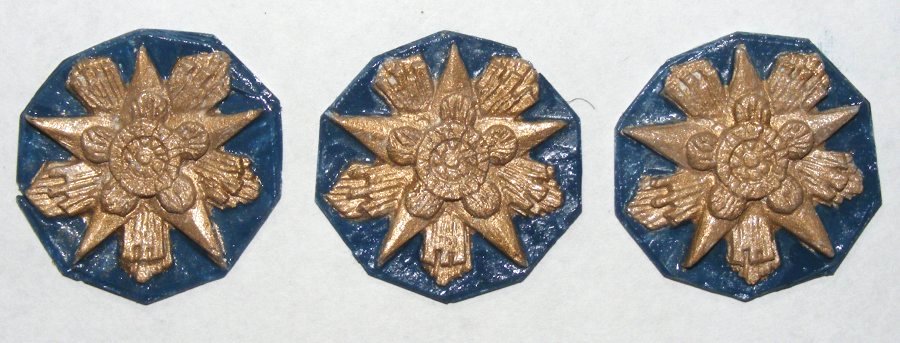
These casts were cleaned, primed, painted gold, then the background was painted dark blue. Another coat and some clear coat, and they'll be ready to mount on the hull.
3/14: Mounted on the hull.
|
||
 |
 |