5/8/2022

 |
 |
|
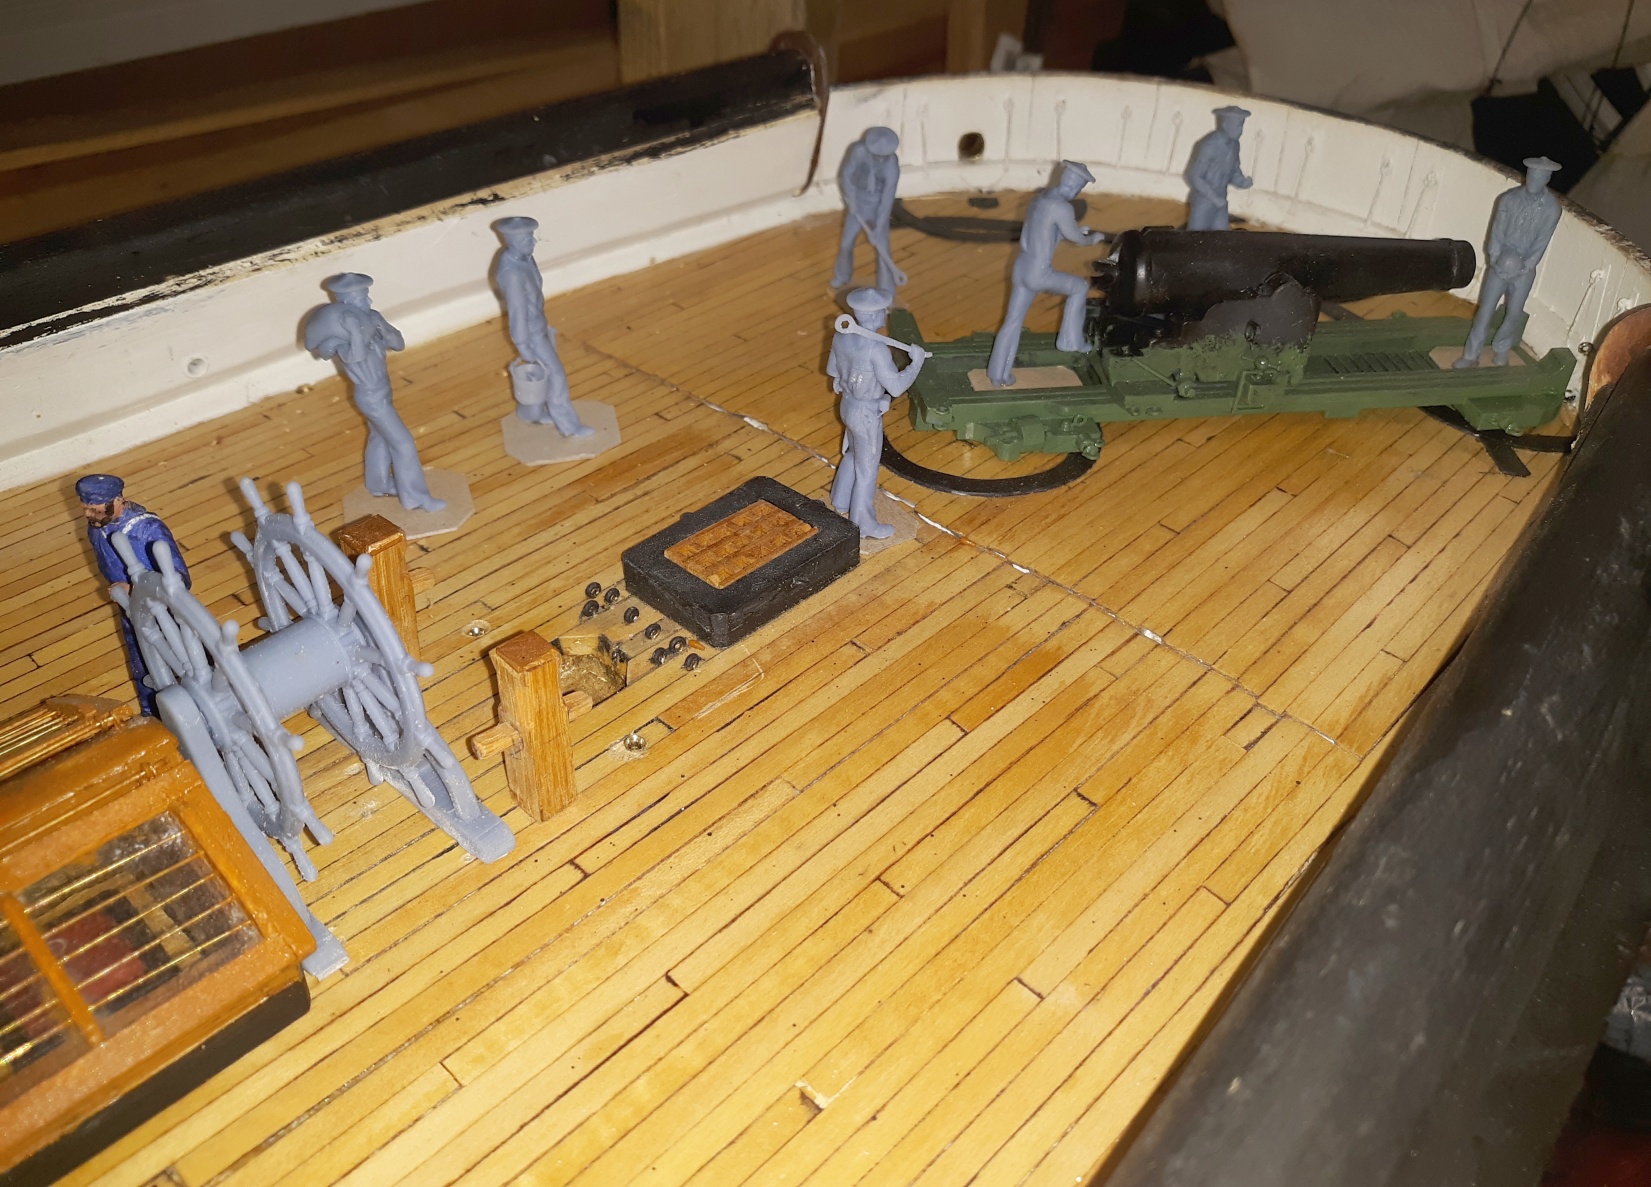
Previous Page | Next Page | Table of Contents click pictures for a larger version April 4 2022: Signed on Some Crew
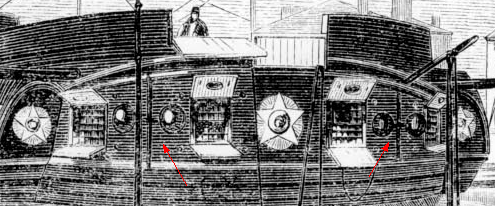
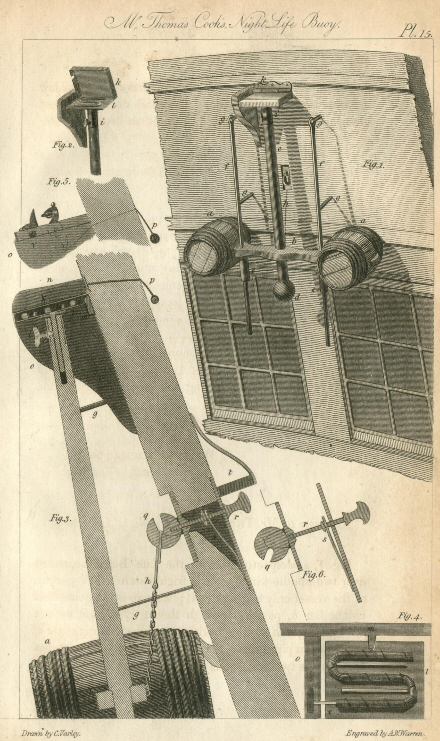
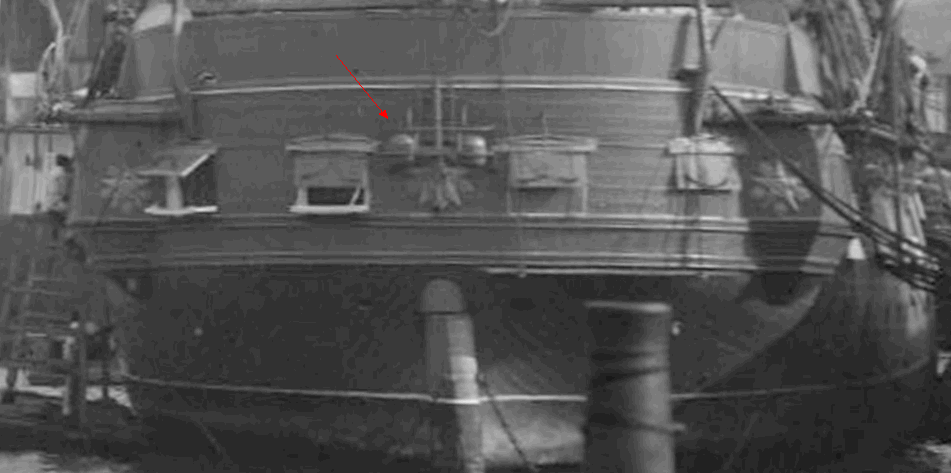
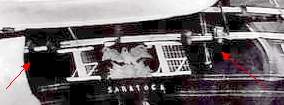
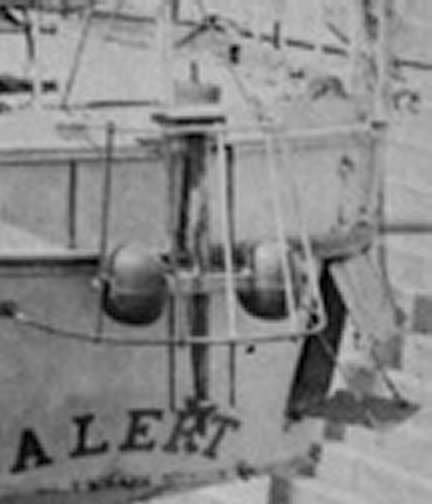
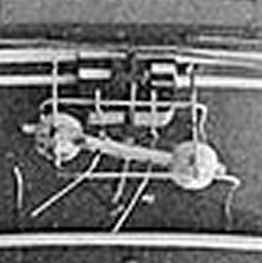
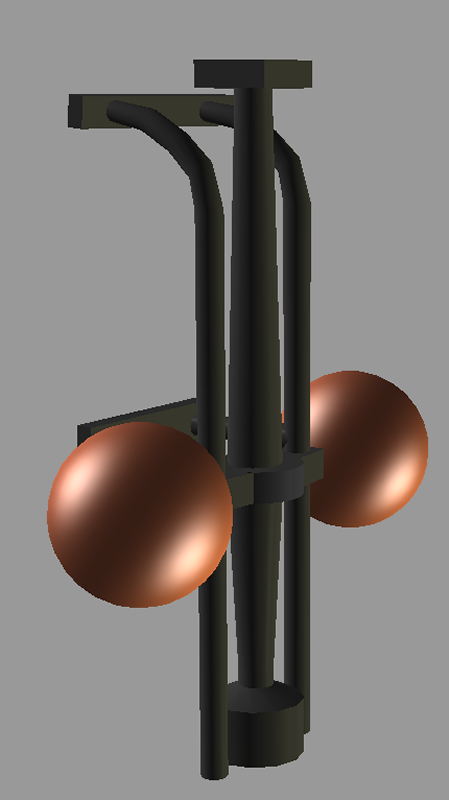
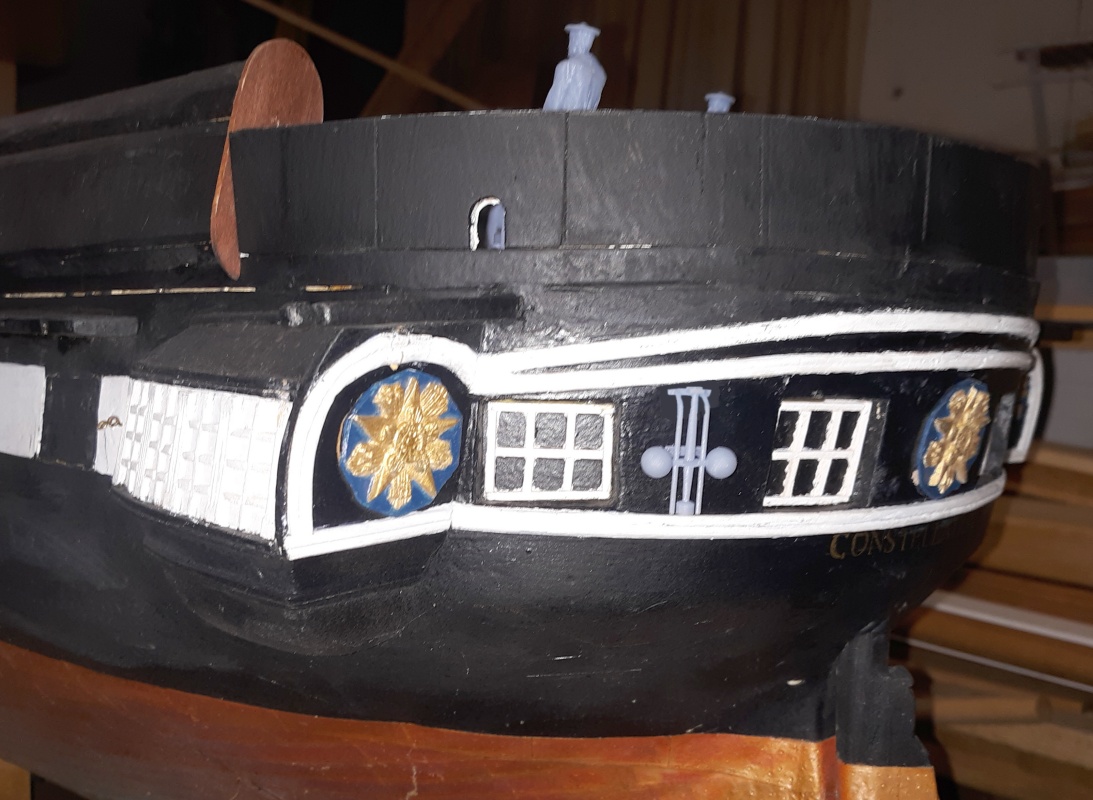
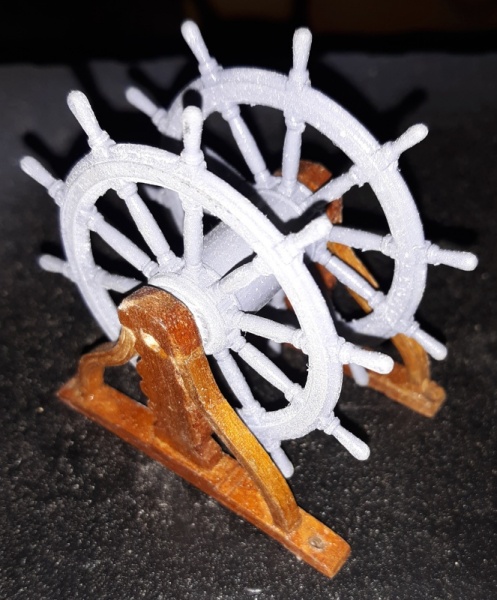
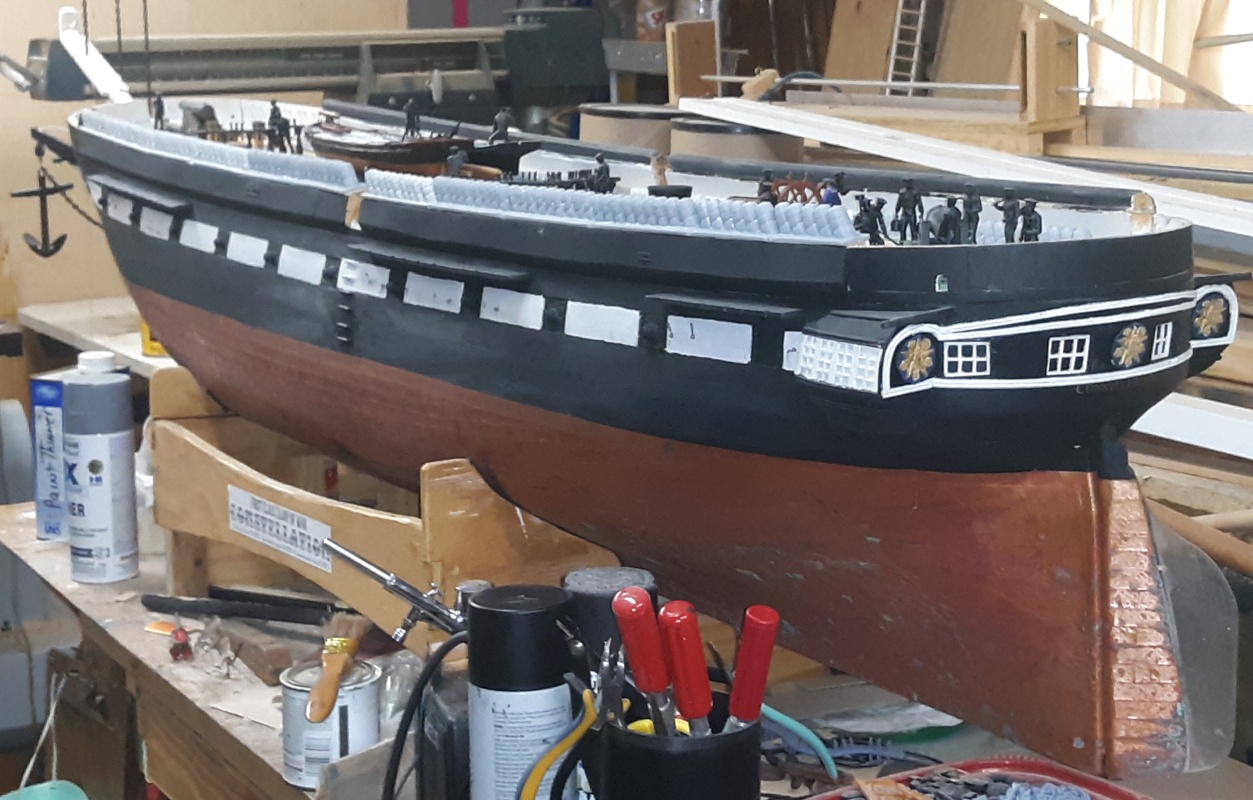
Those Things on the Stern
I haven't found any examples of these things in existance, or any drawings or photos of them to make a highly detailed model, so I made a simple model, printed it, and stuck it on the boat to see how it looked. It'll be painted black, so it'll hardly be noticable at all, especially with the stern boat hanging back there. The spheres are copper, and it's tempting to finish them that way, but after a couple of days at sea, they'd be bright green. It's hard to tell from the pictures of them, but they look to me like they were painted all over, including the shperes, so that's what I'm going to do.
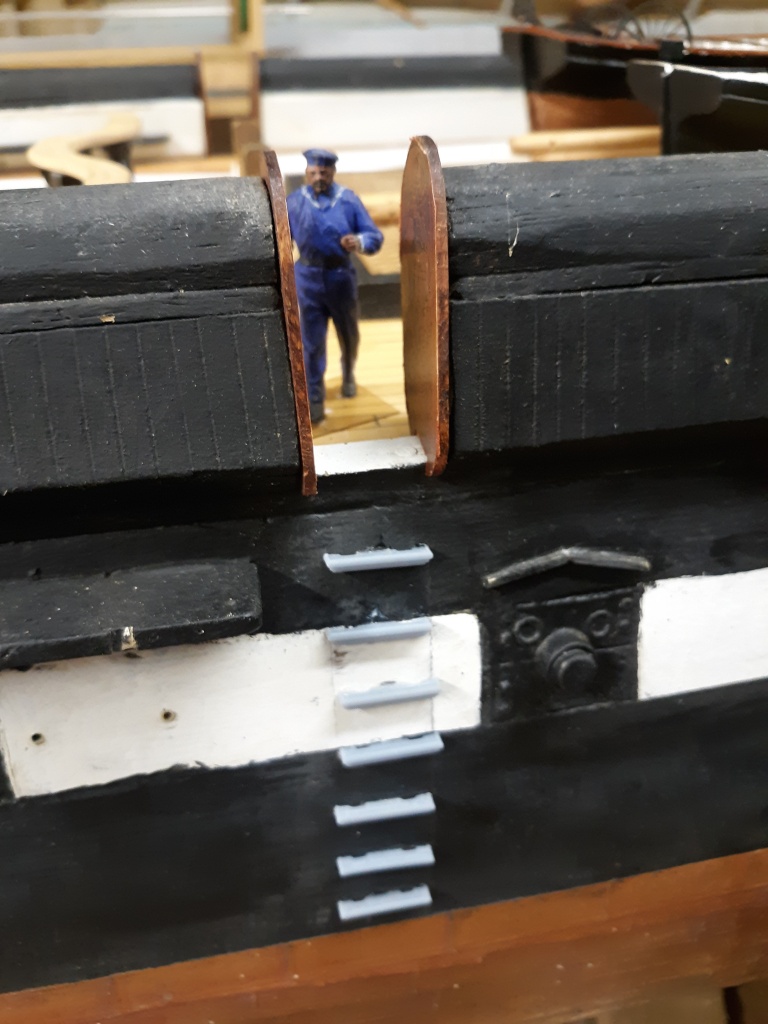
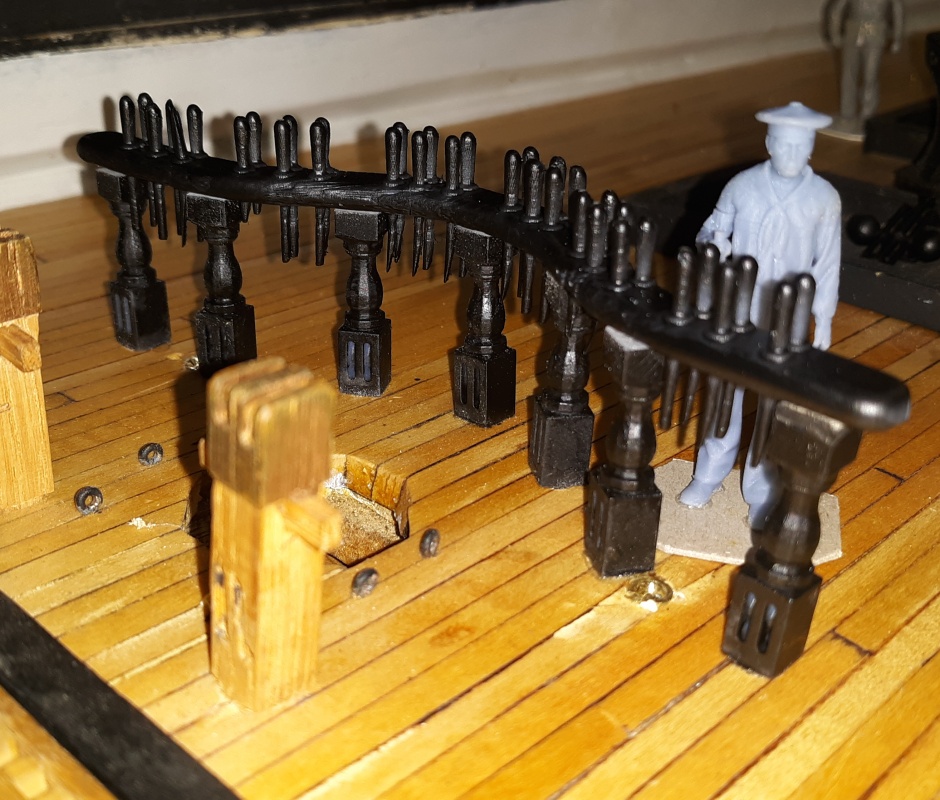
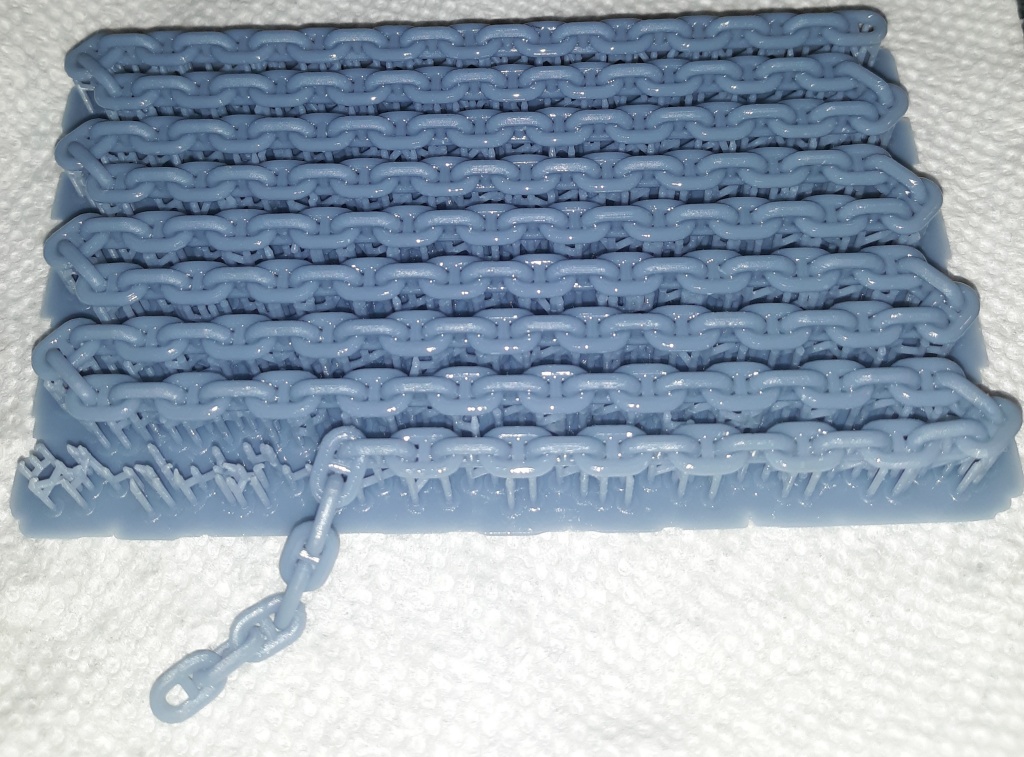
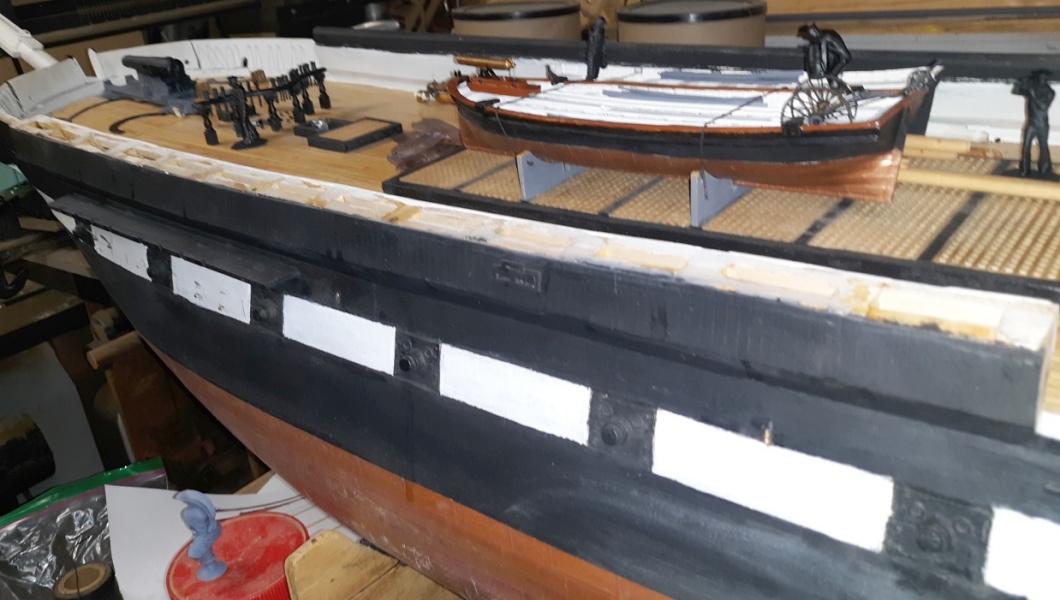
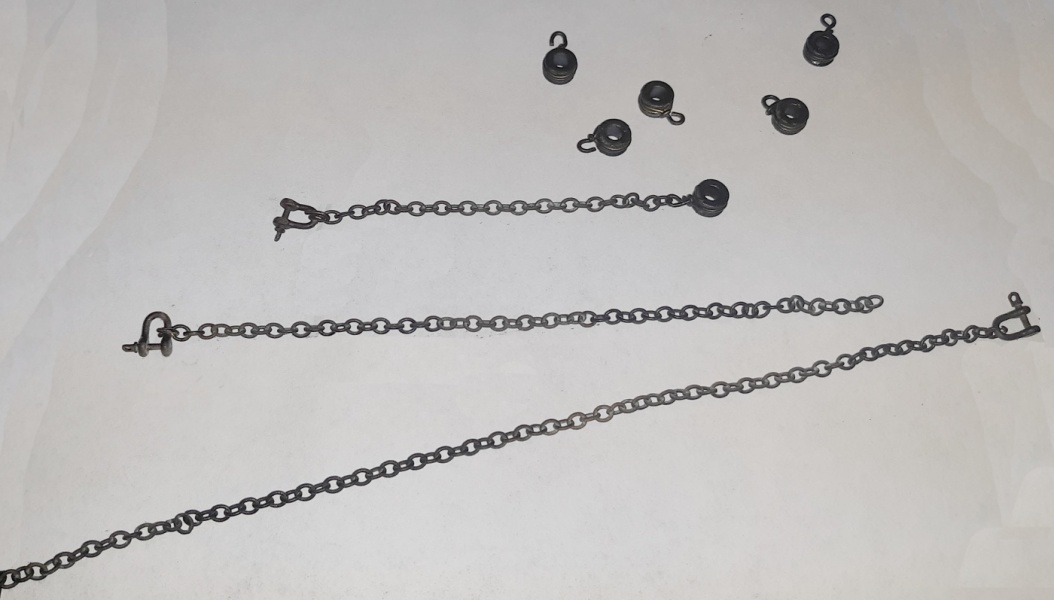
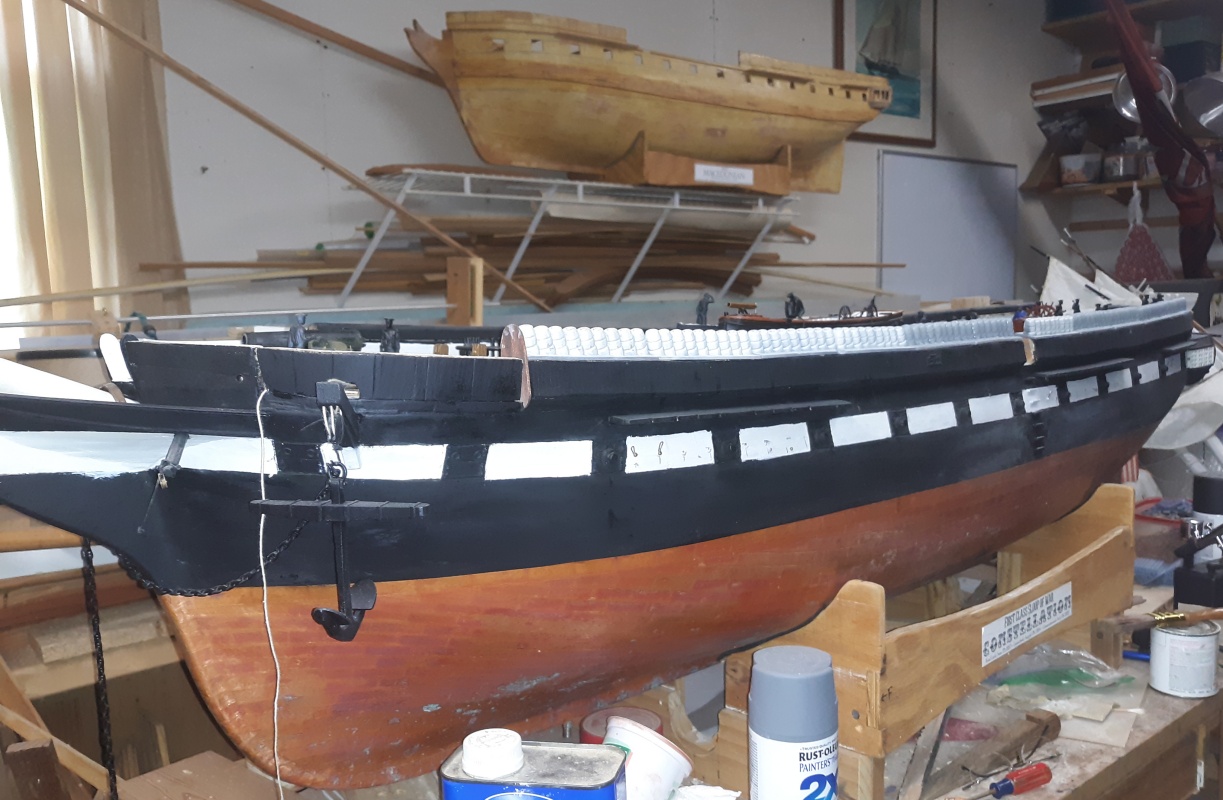
April 7: The boarding steps printed with the new resin were glued onto the hull. Both pinrails are made and painted, but not installed just yet. I experimented with printing studded anchor chain. A few links didn't print correctly, so the chain wasn't continuous, but I've made some adjustments, and added a shackle for the top of the anchors. I also modeled and printed new skylight panels with finer detail than the folk-art panels I had.
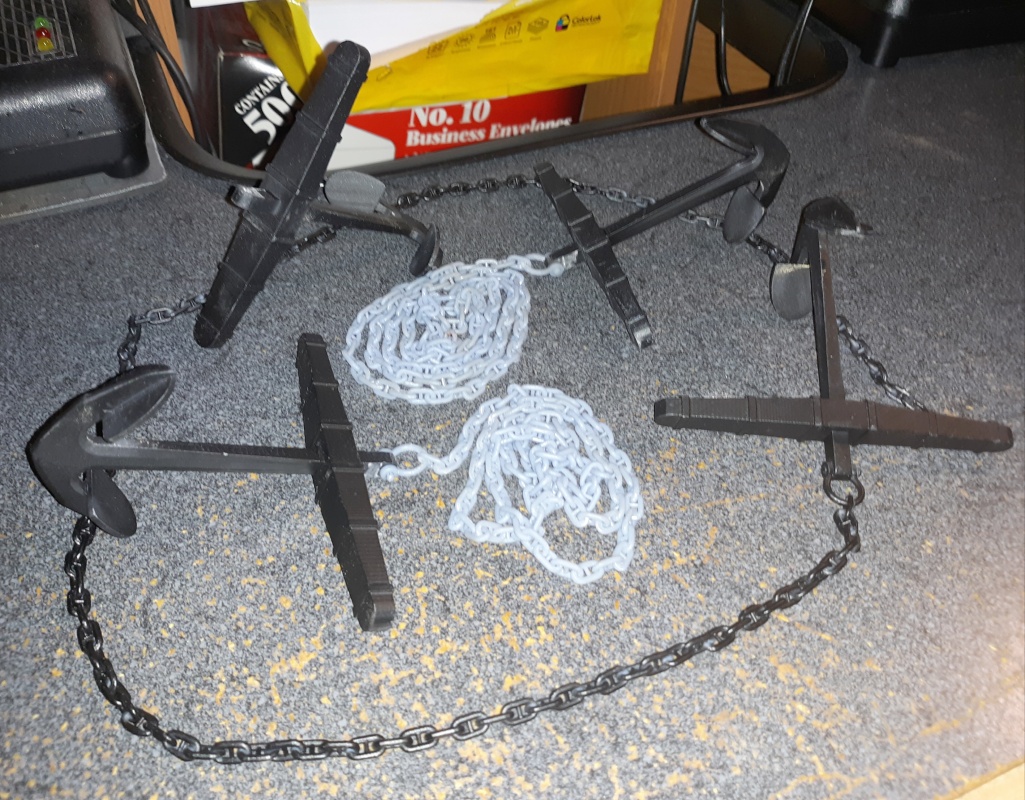
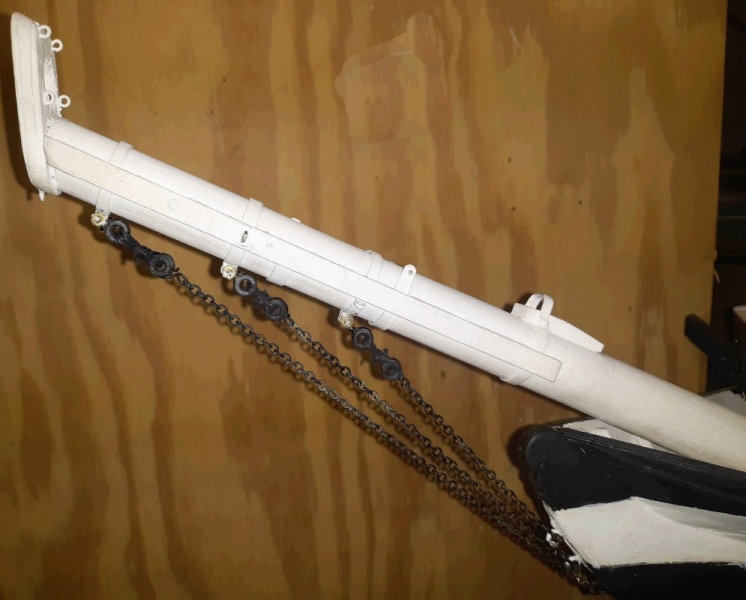
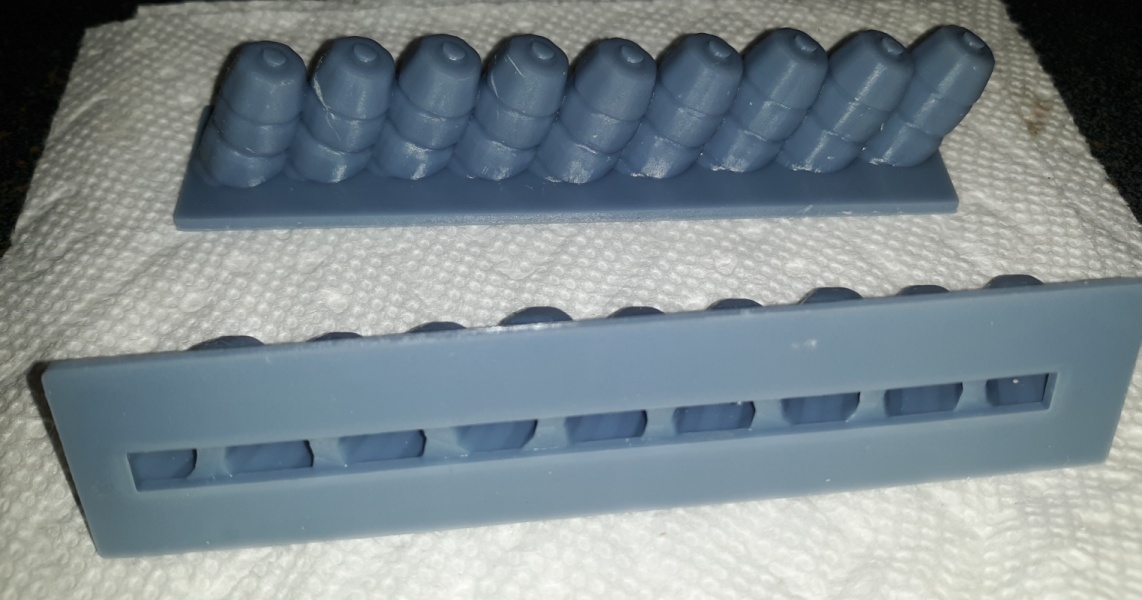
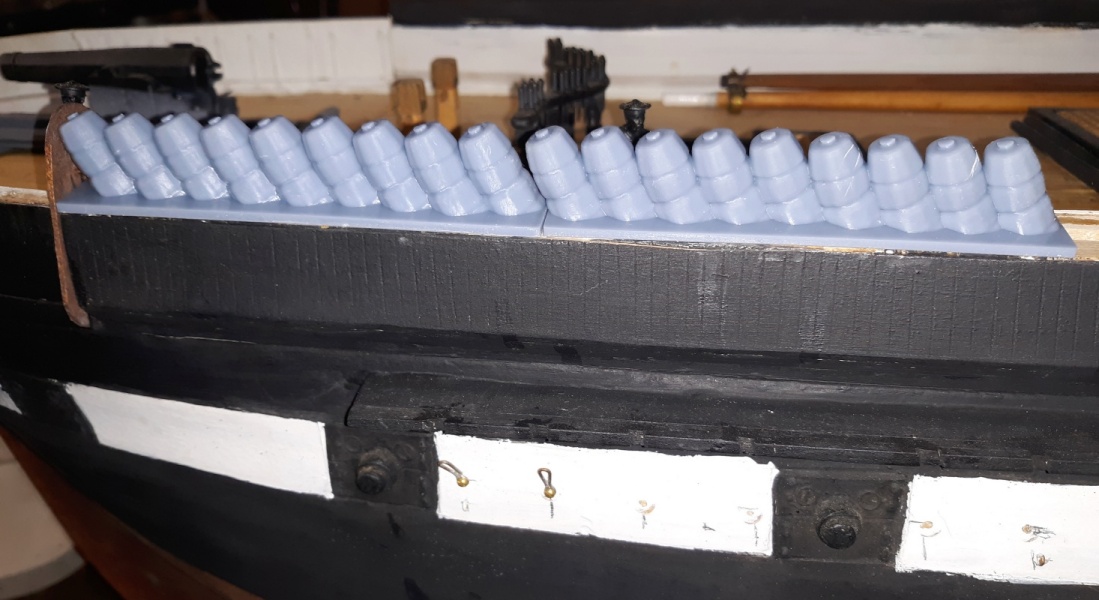
April 20: Chains were printed for all the anchors, painted, and attached. One got hung on the cathead just to see how it'll look. Then the LCD screen on the 3D printer went bad and I had to order a replacement. I ordered that Friday, installed it Monday evening, and was back in business. The rounded balsa covering on the bulwarks was removed on the port side in preparation for the 3D printed hammocks I'm designing. These will be printed in lengths of 11cm as that's what will fit in the printer. The trick has been making them hollow so it doesn't use up so much resin to print them, which means the raft they're mounted on has to have holes as well, to allow them to drain resin. Building them in Anim8or has been a bit of a challenge.
While waiting for the new screen, I used some of the printed bullseyes to rig up the bobstays.
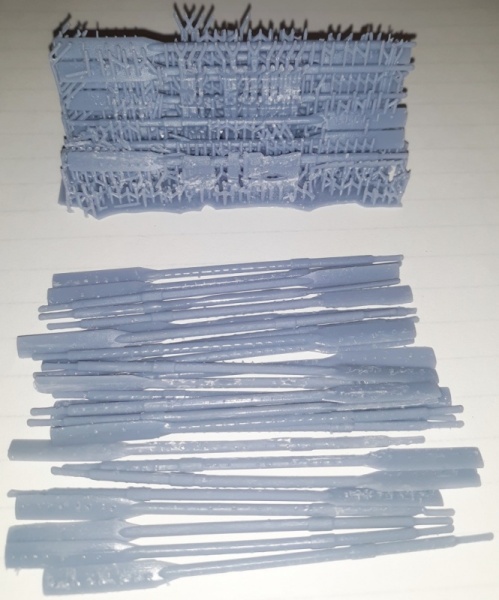
I fixed up the 3D model for the boat's oars and put 45 of them into one file. These turned out to be a little too close together and the supports bonded too much with many of the oars making them near impossible to extract without destroying them.
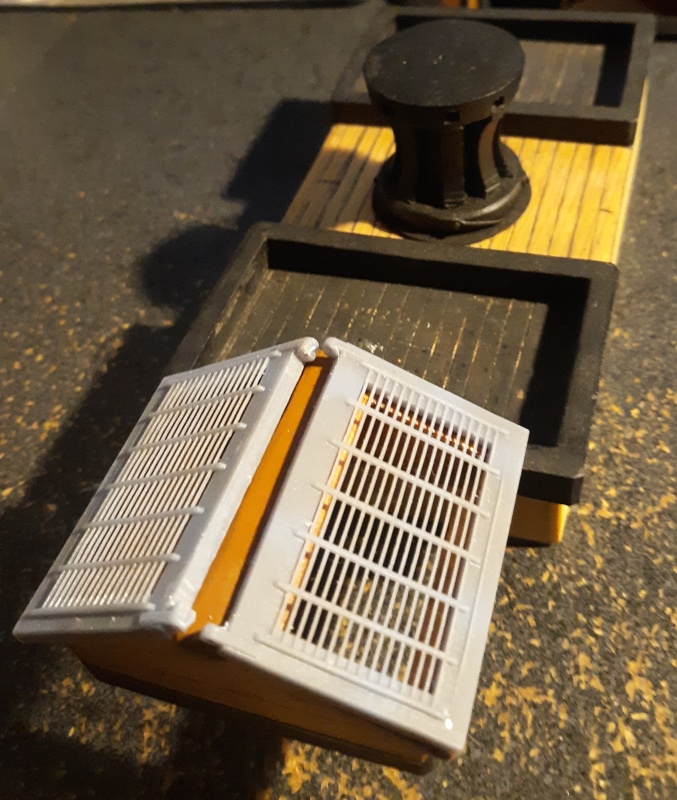
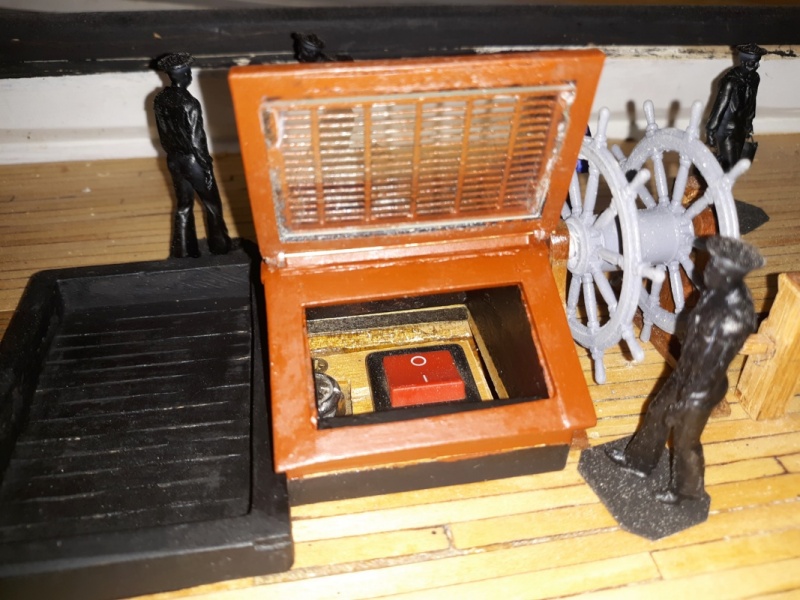
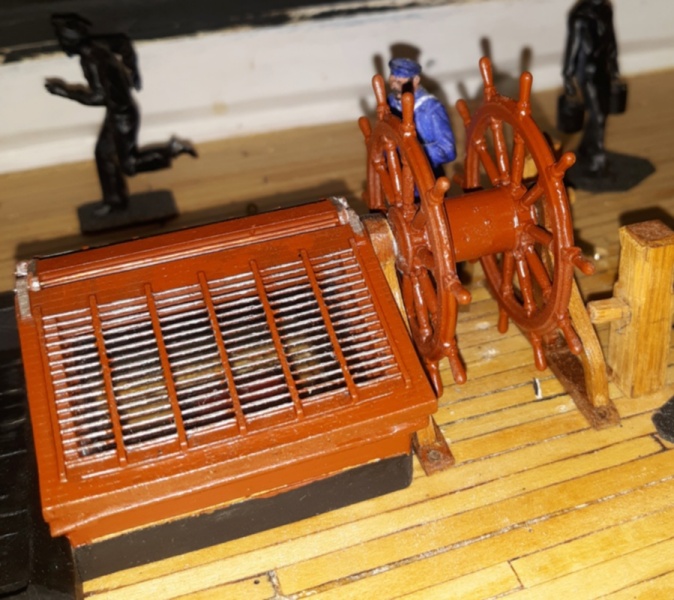
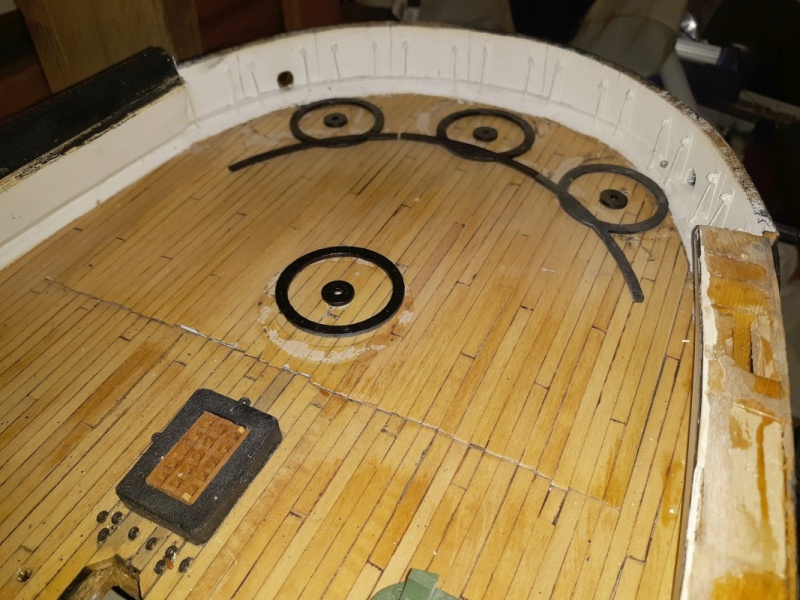
The skylight and other items on the "Battery Hatch" got painted, the glass was installed in the sashes, and except for some touch-up painting, everything is done. The two black rectangles fore and aft of the capstan are companionway hatches and will probably get railings, though I'll probably put gratings in the forward one.
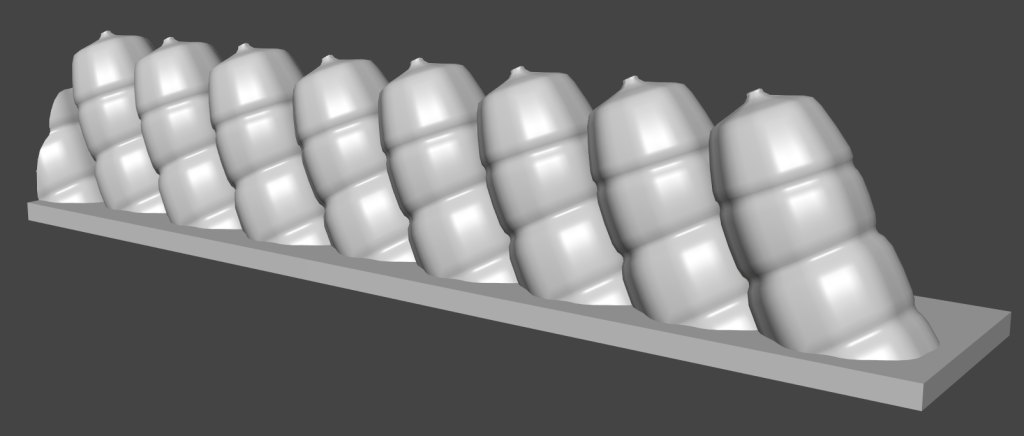
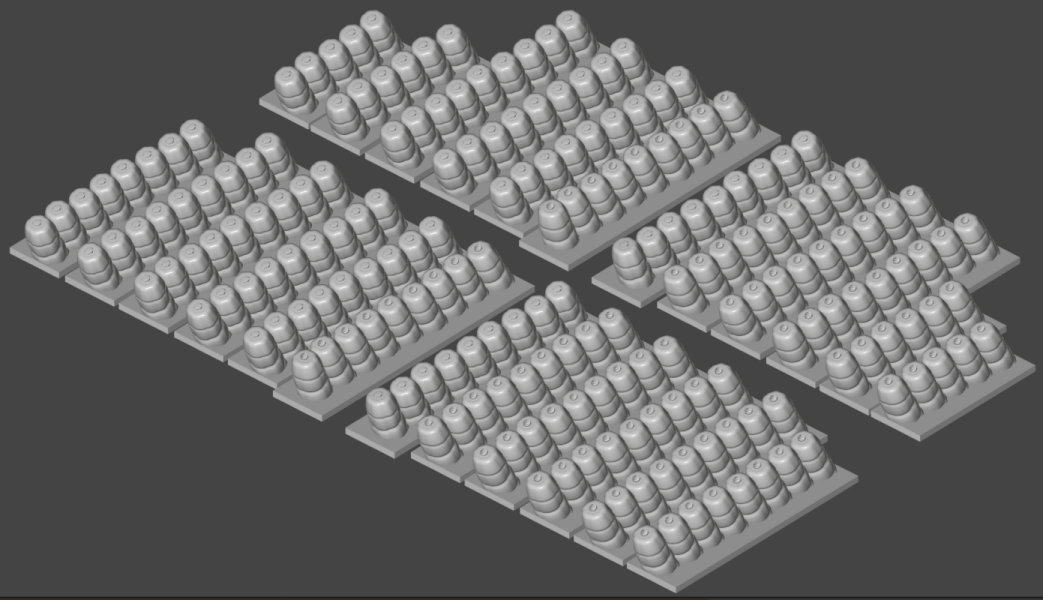
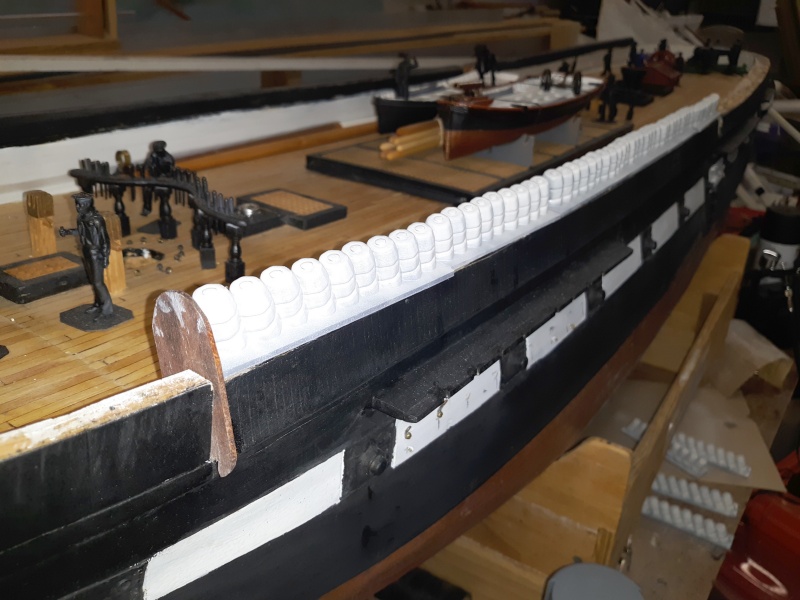
I'm pretty much settled on the design of the hammocks that will cap the bulwarks. I actually only modeled one hammock, and repeated it 9 times per section. I moved them side-to-side a little as I placed them so they weren't perfectly in line, and tilted them slightly all to add a little bit of irregularity. The starboard ones lean left (inboard), the port ones lean right. In all, there's 200 hammocks represented generally in sections of 9 hammocks each. Foreward of the entry port are 53 hammocks made up of a "starter" section of 9 hammocks, 4 9-hammock sections, and an 8-hammock section, both port and starboard. Aft of the entry port are 47 hammocks in 1 starter section, 3 9-hammock sections, a 6-hammock section, and a 5-hammock section. The two small sections are to accommodate the more pronounced curve in the bulwark at it's aft end. The starter sections have a slightly longer "tray" to butt the end board at it's front, the other sections are designed to butt against the section ahead of it as closely as it can. There's a little gap between sections, but I didn't correct that in order retain that bit of irregularity mentioned above. The "trays" are made a little wide, and have to be shaved back to fit flush with the bulwark inboard and outboard.
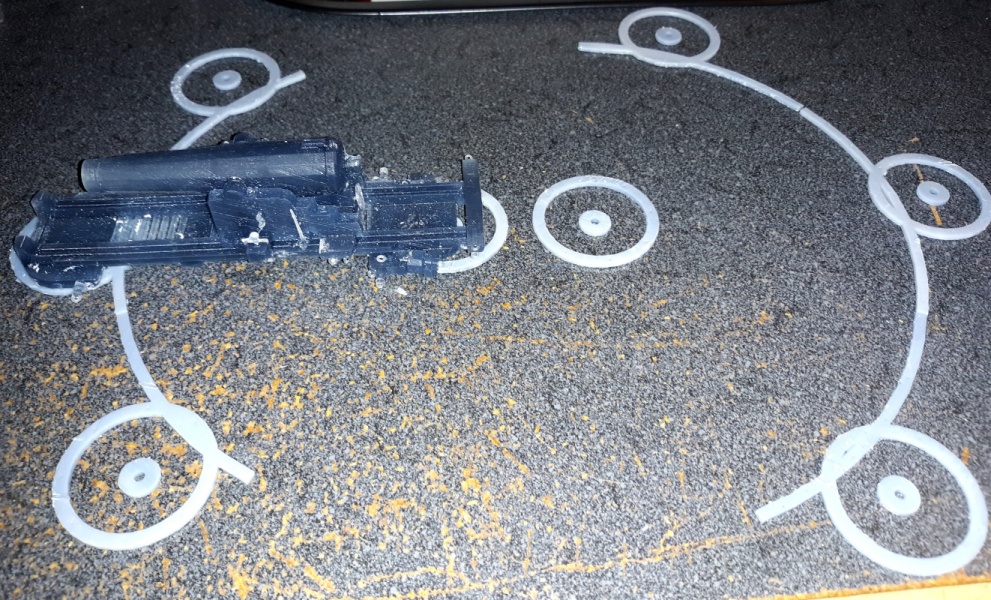
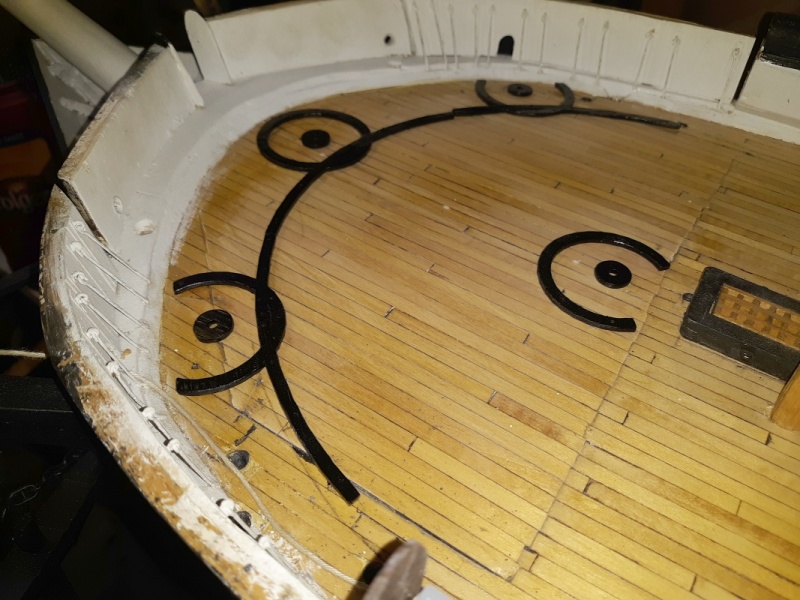
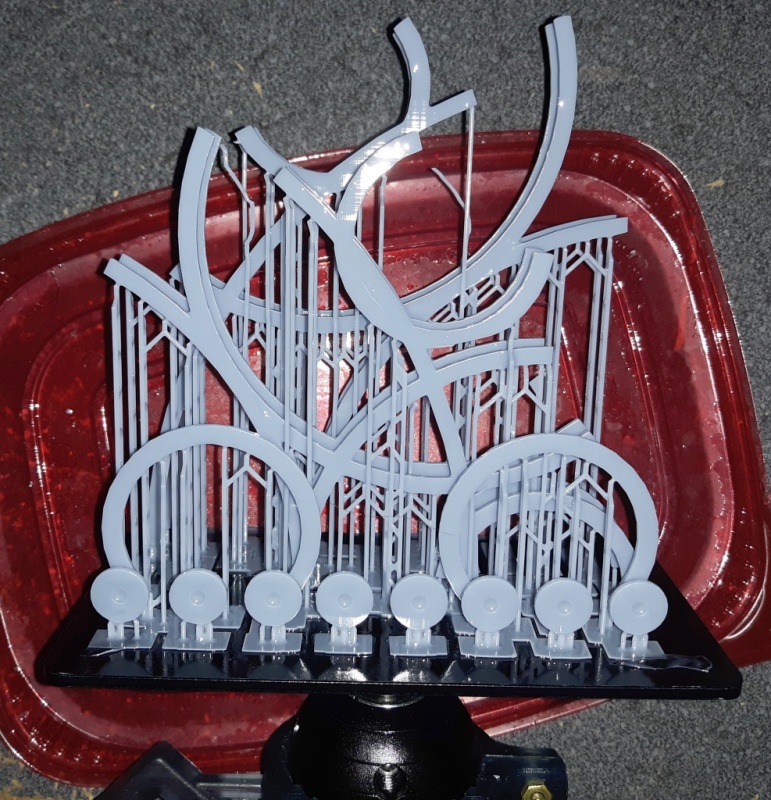
The gun new circles are done, I think. I wanted holes modeled in so I could pin them down, and adding them all was a bit tedious. I printed them all in one go using the last of the resin that came with the printer.
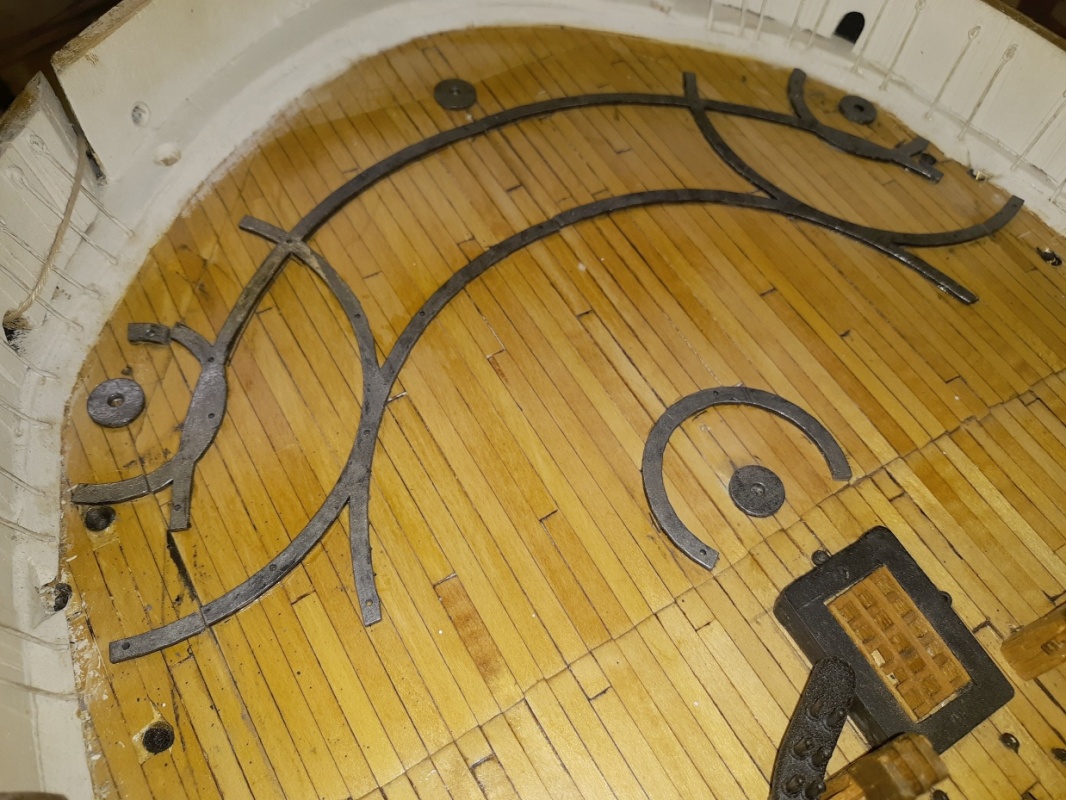
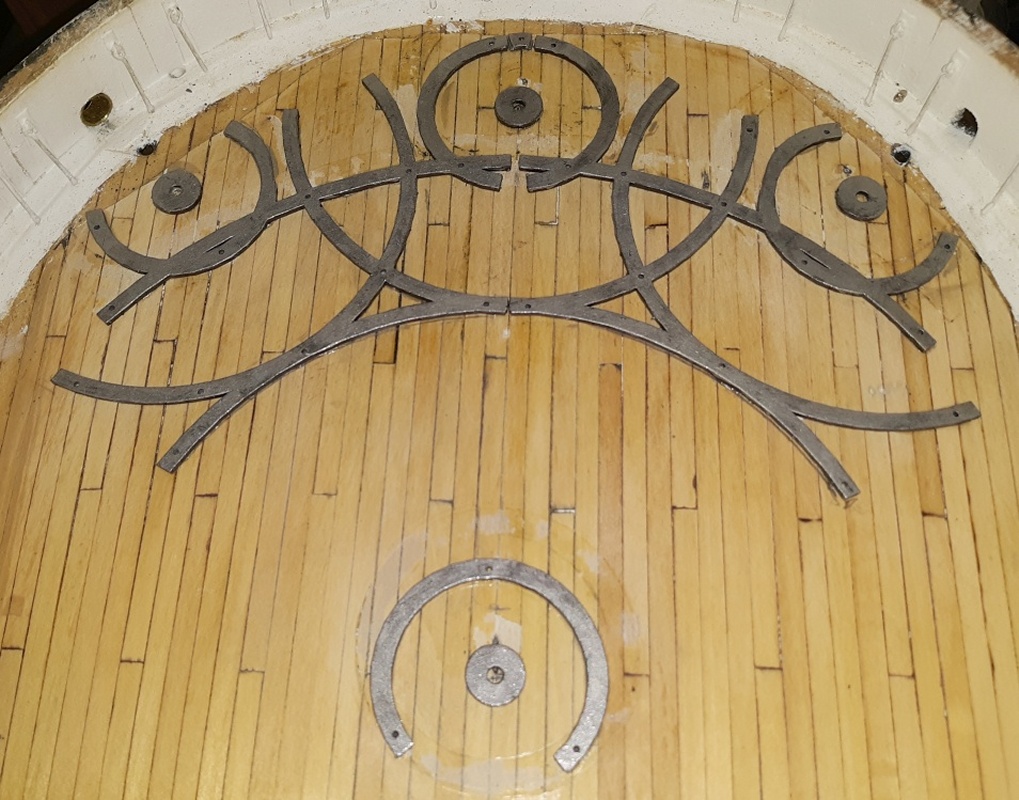
The gun circles got cleaned up, sanded, cured, drilled, and painted, then set on the deck for now. I have to clean up the decks from the old circles yet.
May 1: Going Nowhere Fast. While printing the hammocks two jobs failed (4 sections) and I noticed the tell tale sign of a leak in the vat's clear film at the bottom, which blocks the UV and creates a "hole." Removing the vat to fix things, the LCD stuck to it and before I relized it, pulled the just replaced LCD apart and tore it's ribbon cable. I had ordered an upgrade kit that's supposed to enlarge the printing surface slightly, and speed up print times back on the 19th, so I waited for it to arrive. It would have arrived on the 29th (10 days from when it was said to have shipped from California) but tracking said it was "returned to sender - no such number." Digging around I found the had shipped to 464 instead of 494. I paid with PayPal and it took the shipping address from them, which is correct, so I have no idea how the number was changed. I have no idea what's gonna happen next, but I assume it'll take 10 days to get back, and another 10 days to get here again. How long it'll take to actually get it reshipped again, I have no idea. I'll be very surprised if I'm printing again inside the month of May.
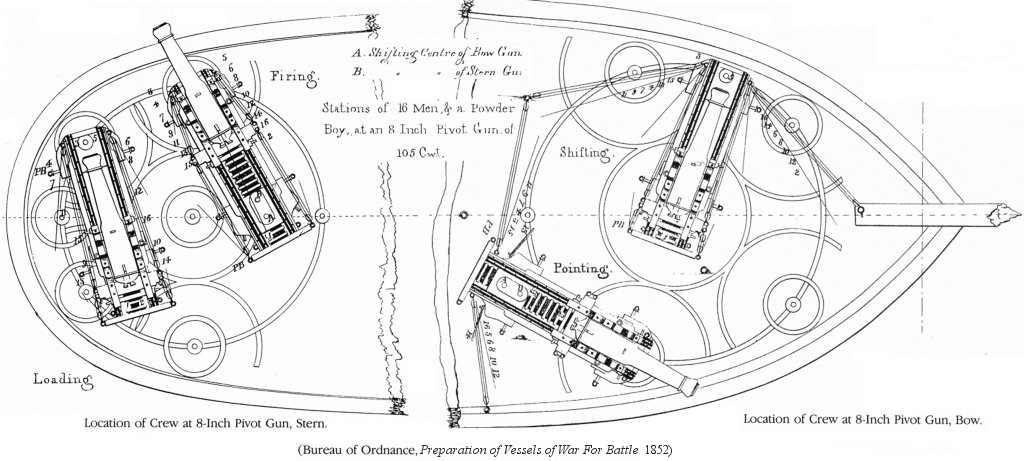
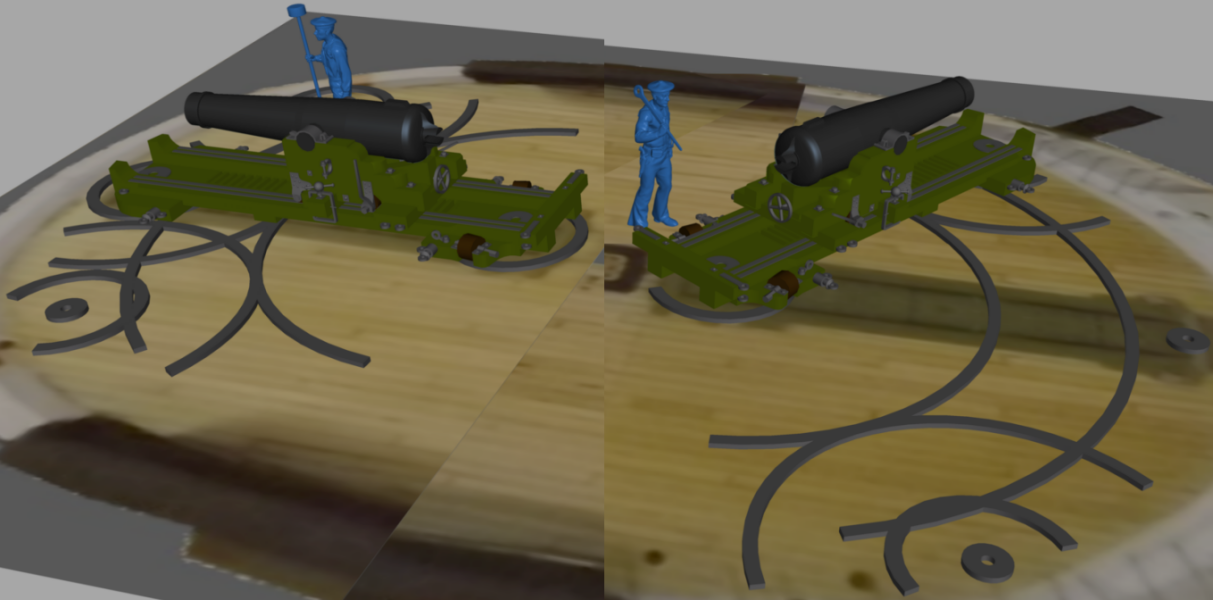
I reworked the gun-circles to make them, more complicated. The pivot gun diagram shows another set of circles near the center of the slide, so I added that to the 3D model, and reduced the the rails thickness to 1.5mm. They're all set to print when and if I ever get the printer working again.
May 8th: Printing Resumes! Our regular mail carrier was off for a few days and when she returned, she found my package at her sorting station. She thought the name looked familiar and redelivered it. Intelligent and thoughtful isn't a common trait among a people proud to be stupid, and I'm grateful that one such person delivers our mail. Anyway... I printed the new gun circles; drilled them, primed them, painted the with Testors' Steel, CAed them to the access hatches, bow and stern. The ones on the bow overlap the hatch a bit, so it was trimmed back and the cut-offs were glued to the deck.
Got back to printing the hammocks and the last section was done on Mother's Day. They need to be primed and painted yet, and I have to install hawse holes and some other items in the bulwarks before I glue the hammocks on.
|
||
 |
 |