6/15/2022

 |
 |
|
Previous Page | Next Page | Table of Contents click pictures for a larger version May 24 2022: I got the COVID! Being vacinated and boosted, I was over the fever pretty quickly, but some of the sinus and throat stuff still lingors. Obviously, not much happened for a couple of weeks, but with the symptoms subsiding I can focus again and started doing some modeling. The sky lights sashes wouldn't lay down, because the center beam they hinged on needed the hinge points further apart. The real ones also had the bars set into the sash, rather than sitting on top of it, so I adjusted the model and printed it. Everything is painted and installed now.
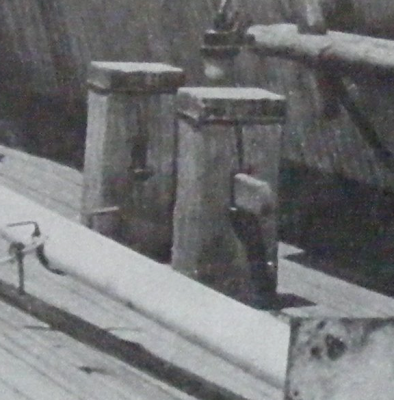
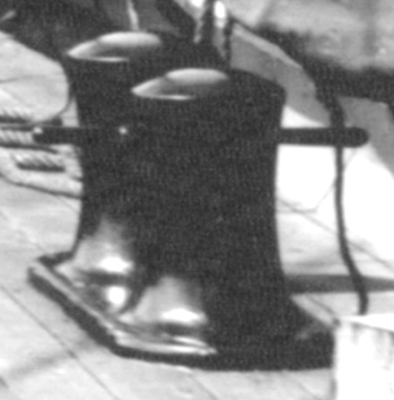
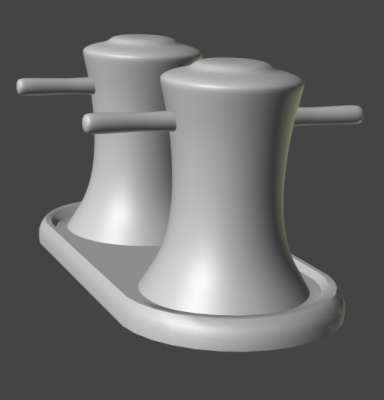
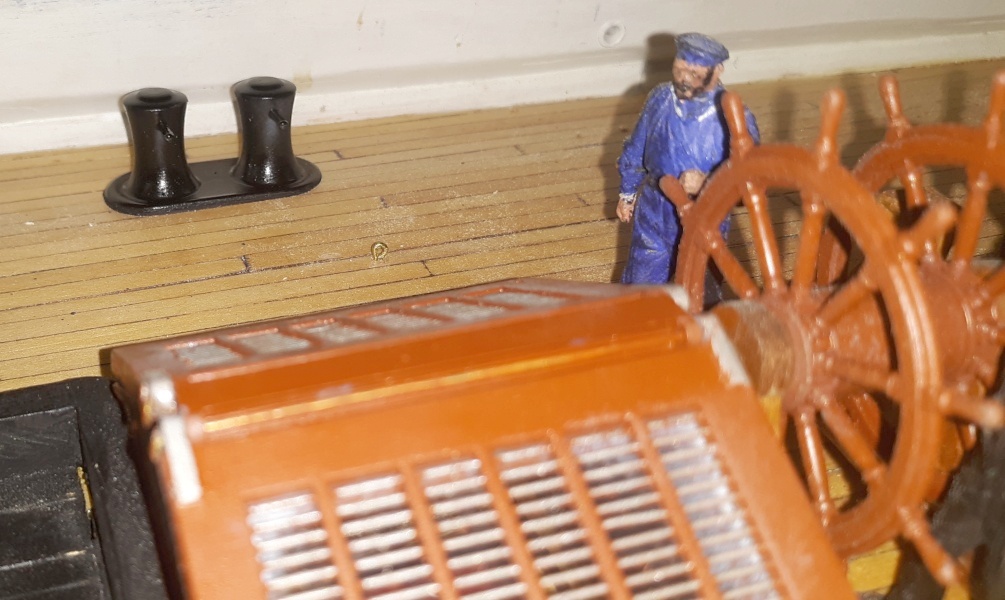
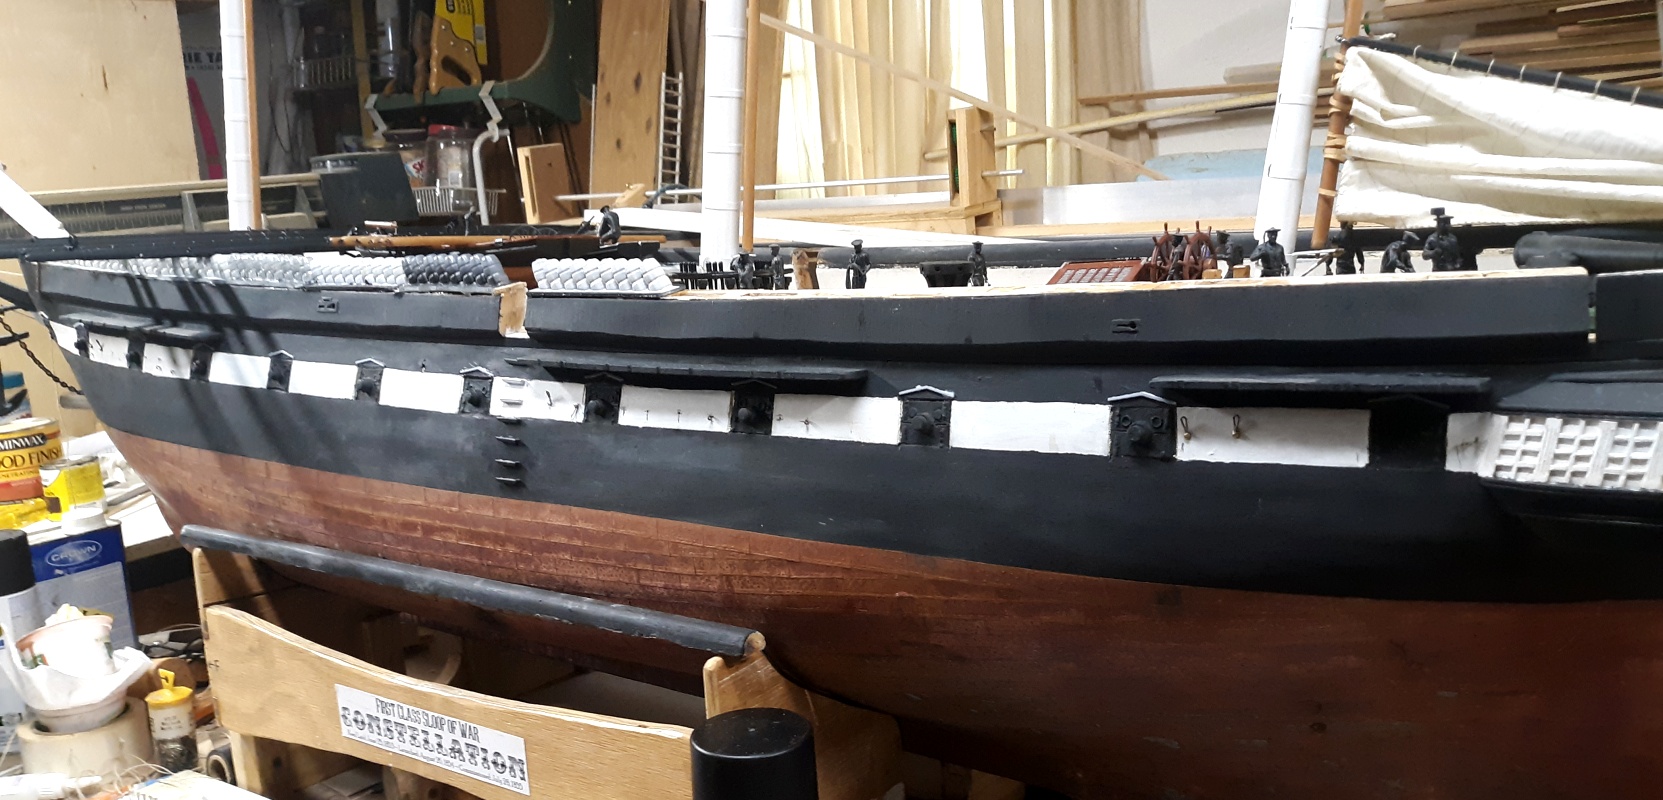
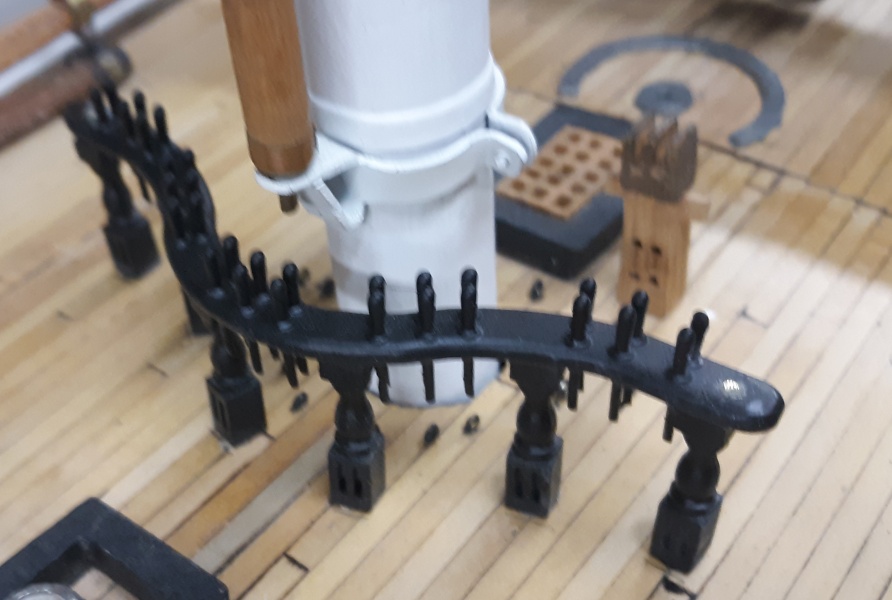
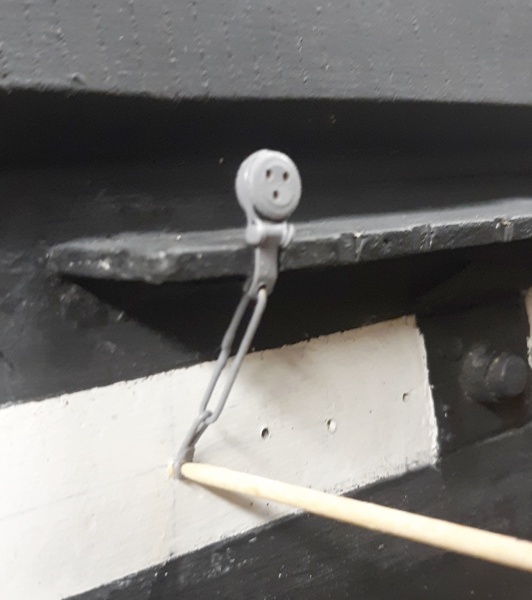
The ship had four pairs of bitts on the spar deck, and I thought I would need to put hawse pipes through the bulwarks to access them, but there apparently were no such things on the ship. Docklines and such went to the gundeck. So, don't know what was made off these things - every photo I have, there's nothing ever tied to them at all. These things may actually function as fairleads. At any rate, that means I can get started attaching the hammocks onto the bulwarks. There's two styles of bitts I can find in photos of the ship. The oldest photos show a cylindrical iron type, while it appeares when she was spiffed up for the anniversary of the War of 1812, they put square wooden bitts on her to look old-timey? I don't really know what the ship was fitted with originally, so I'm going with the iron bitts as that's what's visible in the oldest photos - now lets see if I can get them to print.
Printed!
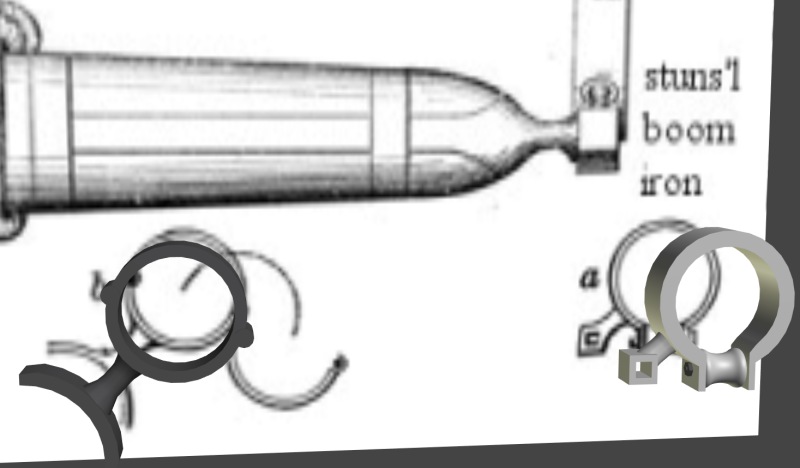
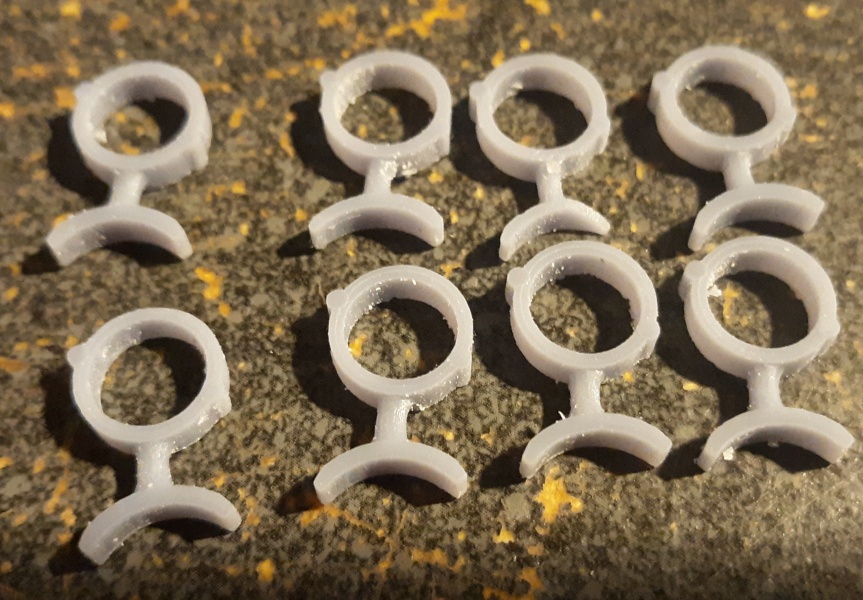
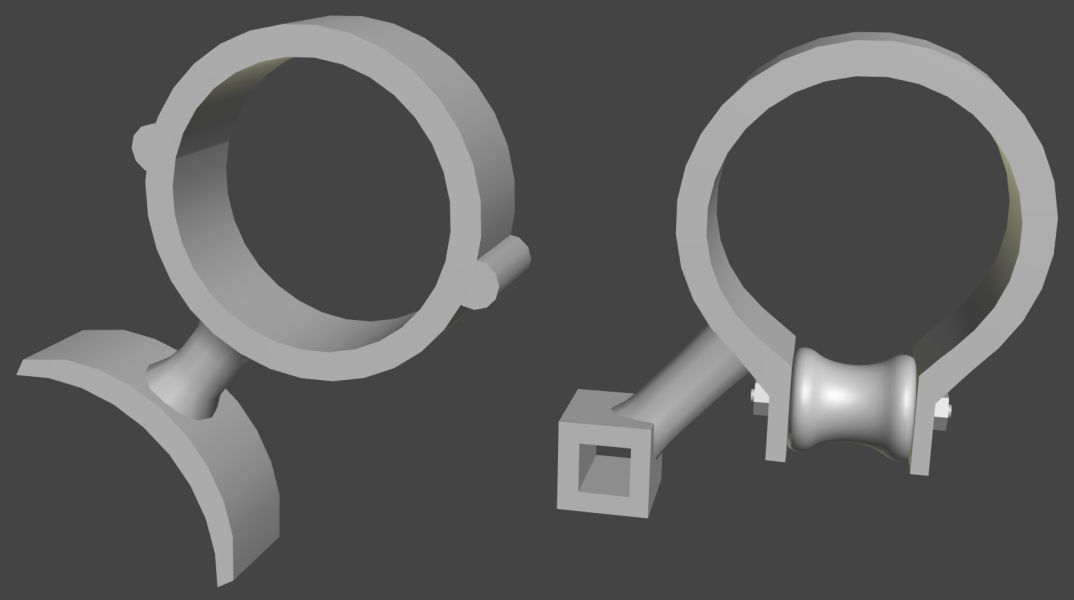
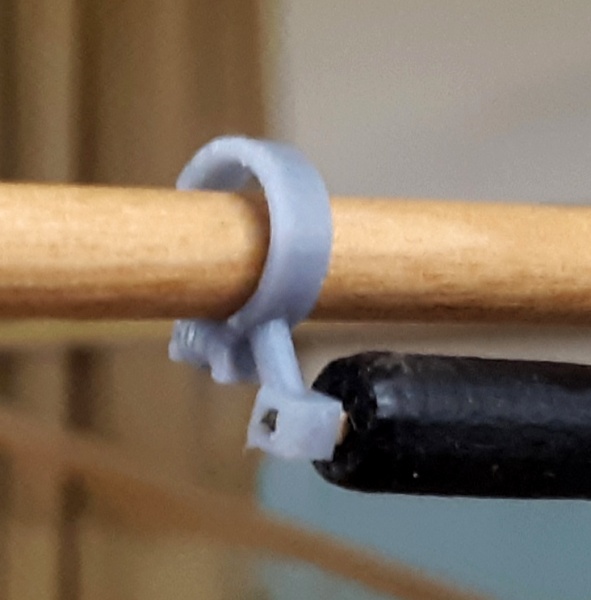
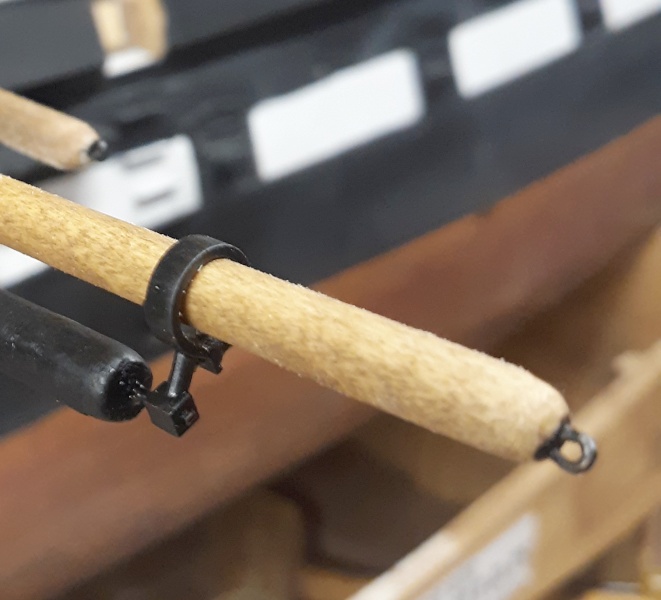
May 25: Stuns'l fittings I took a shot at making stuns'l boom fittings back on page 34 but they didn't turn out so good. Just for giggles, I thought I'd try printing them. They won't be as strong as soldiered ones, but I think they'll be strong enough. If something snags and one breaks, I can print another.
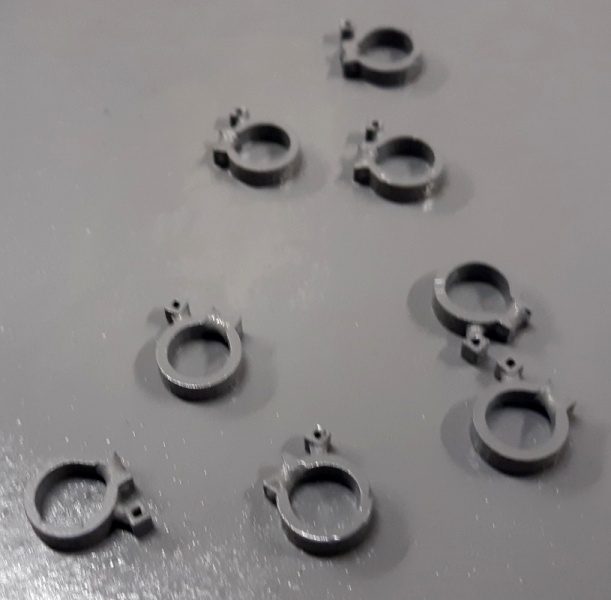
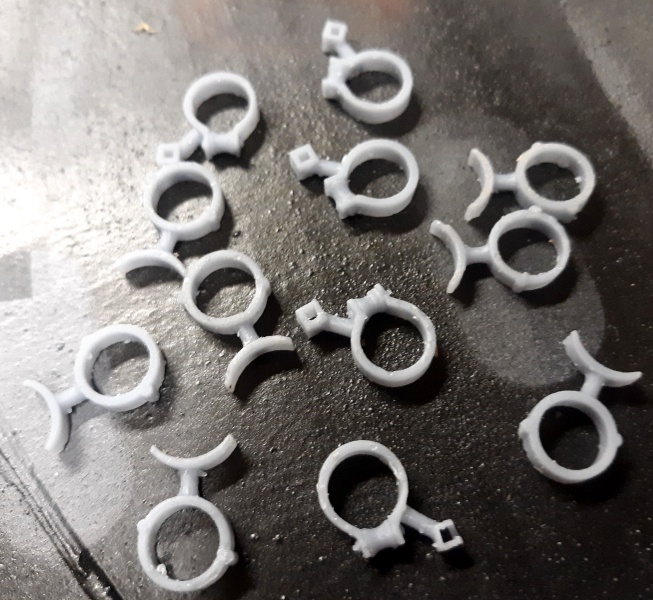
May 28: I shaved some bamboo square to make the pin for the yard end so I could test fit the printed fittings. It seemd the yard-end part was a little short, and the inboard part was a little long, so I tweaked the models in Anim8or and reprinted the full set.
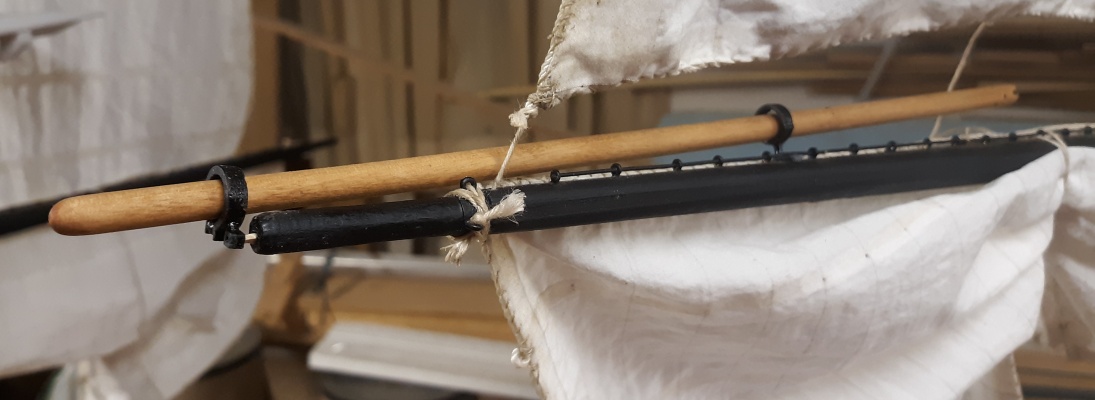
A couple of the outboard fittings didn't print, so I started another batch to replace the two I'm short, and it'll give me some spares if I need them. Set-up on the main yard, this looks better than the first try both in fit and appearance.
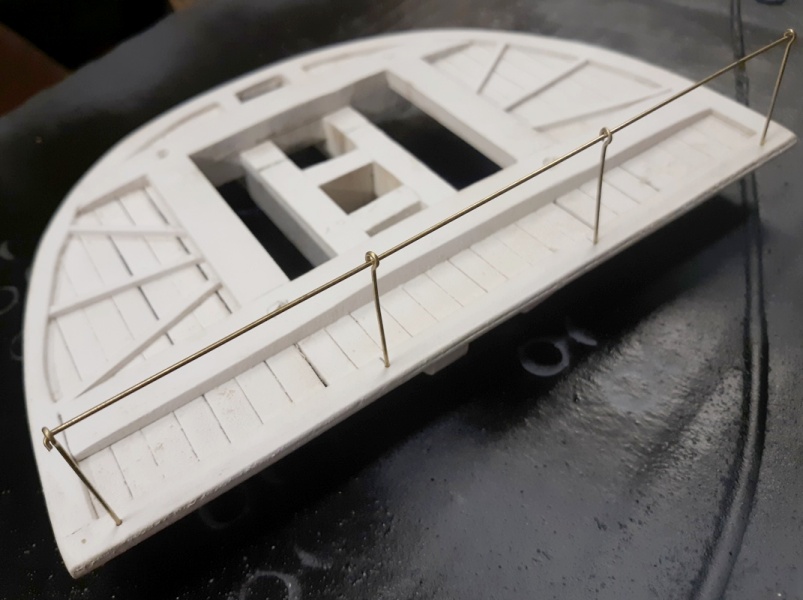
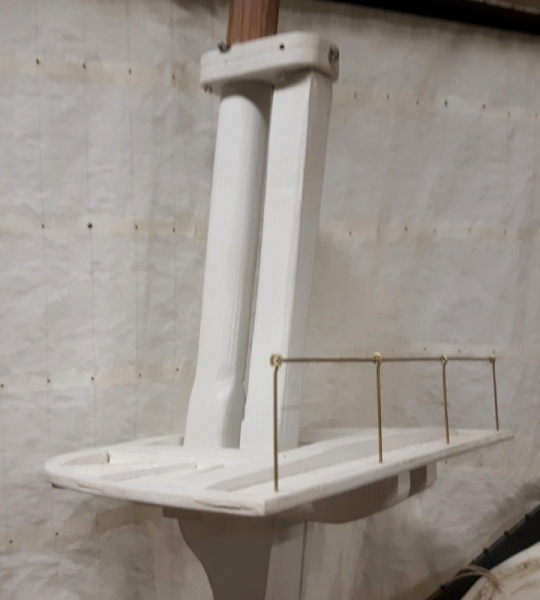
A non-3D printed part of the project, railings in the tops. Gotta make nettings for them.
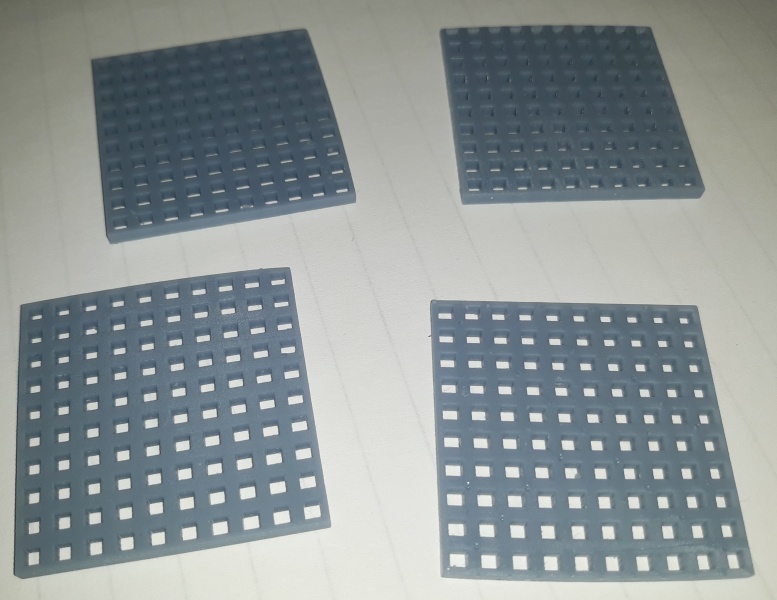
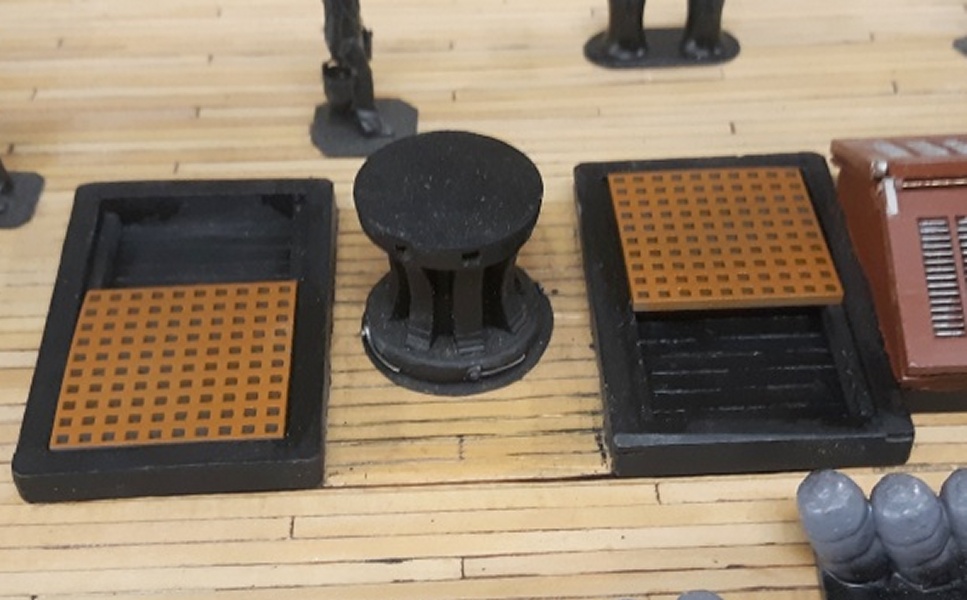
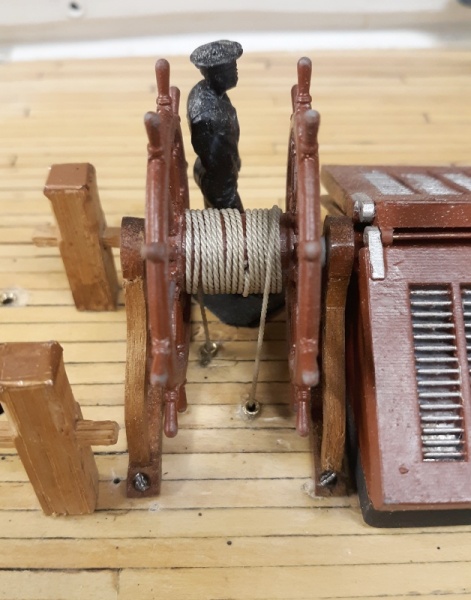
June 6: 3D printed some gratings for the companionway hatches at the capstan.
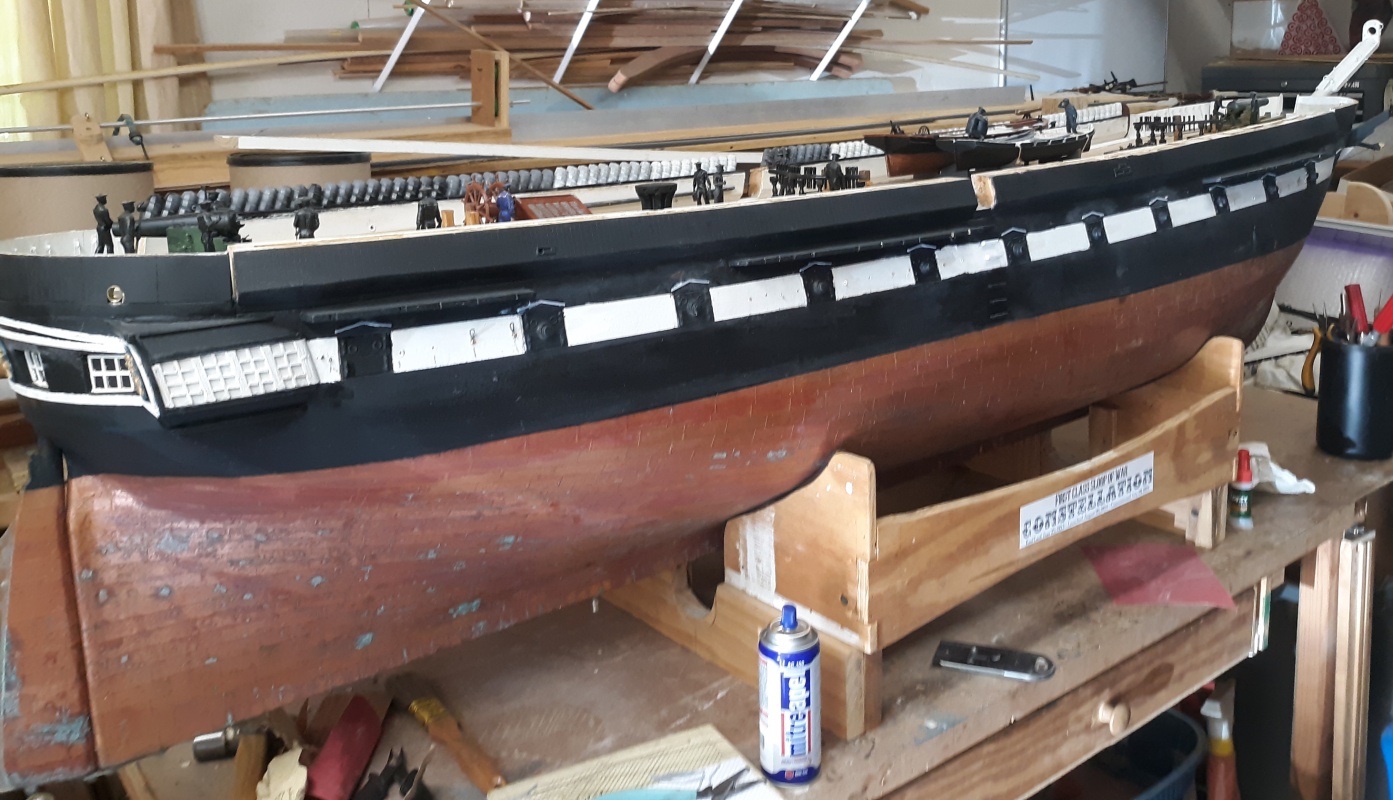
I also printed eyebrows for the gunports. Back in the fall of 2018 I installed some on the starboard side out of wood, but these printed ones are all nicely uniform. I did the entire port side including paint.
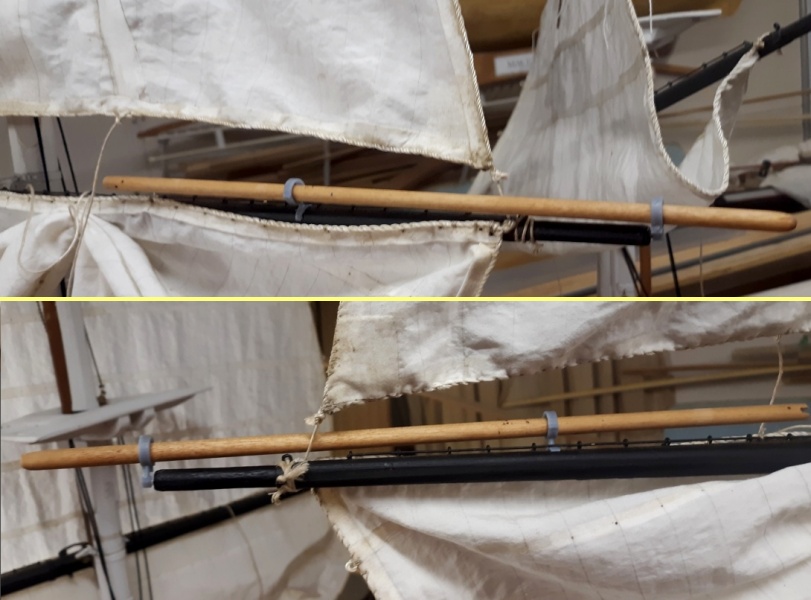
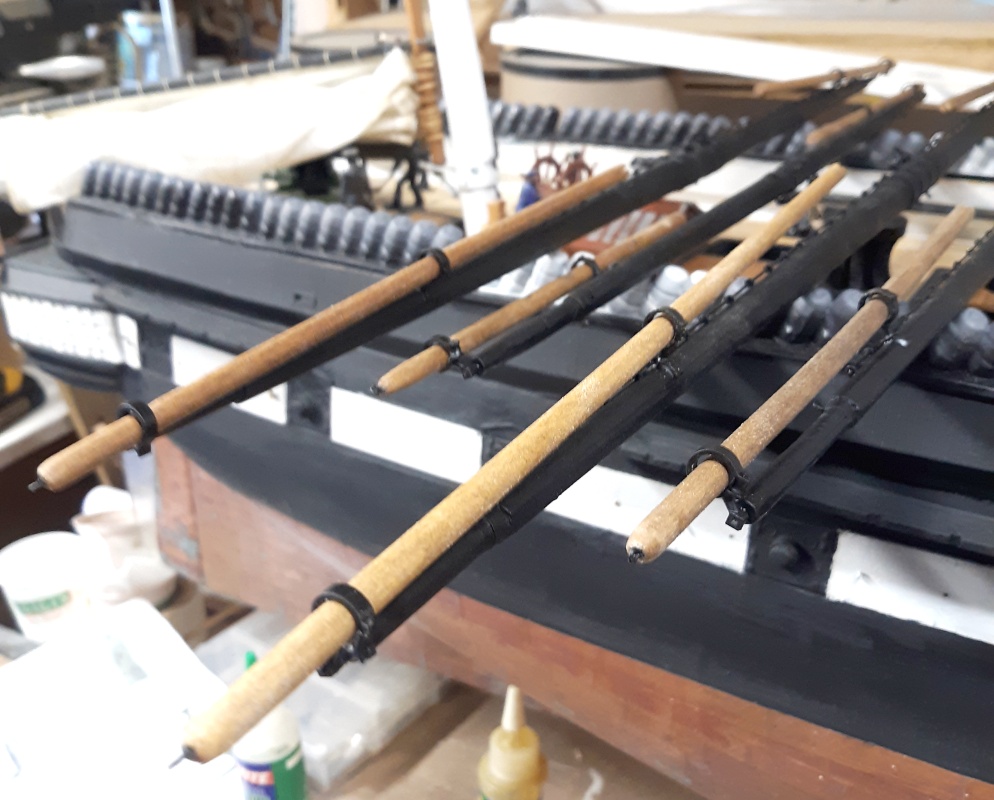
The brass 1mm square-bar-stock arrived and I epoxied on all the out-board stuns'l boom irons, and painted them, as well as putting an eye at the end of each stuns'l boom.
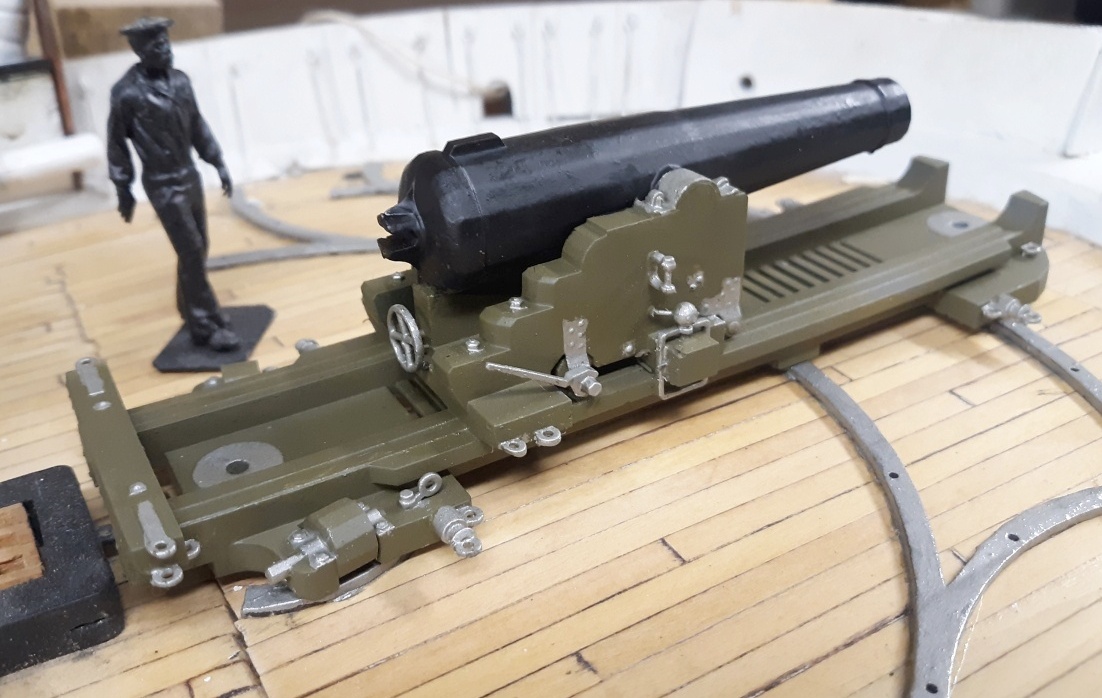
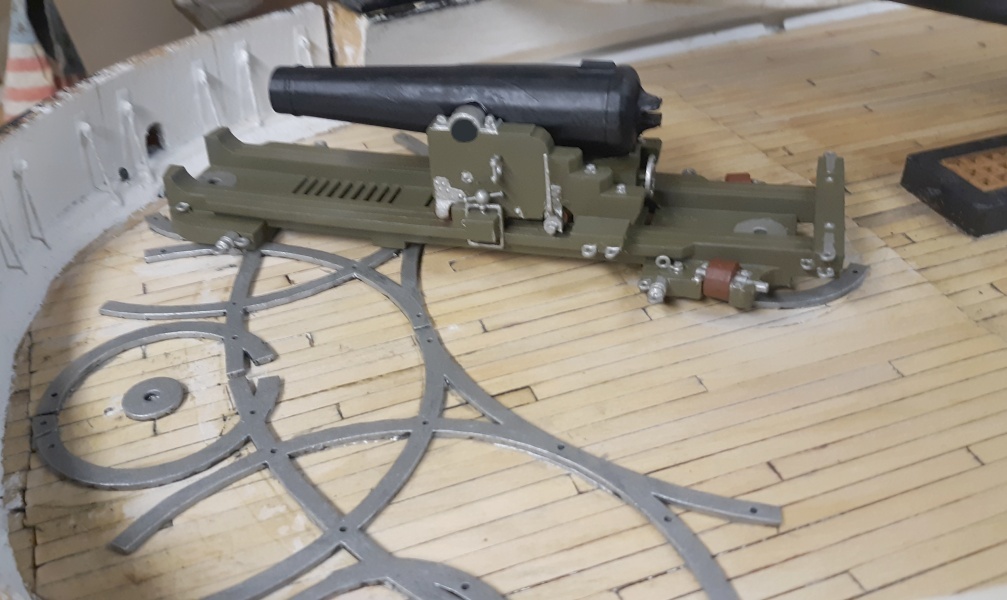
I finally found olive paint that wasn't $20 an ounce, and ordered some. It arrived today and I promptly loaded up the air-brush and got to work on the pivot guns. I'm loving my airbrush! I used flat-steel on the iron fitting of the gun's carriage, though there's more to touch-up. I need better light, and to remember to eat and not try to paint details on nothing but coffee. Just the little shown in the pictures was exhausting.
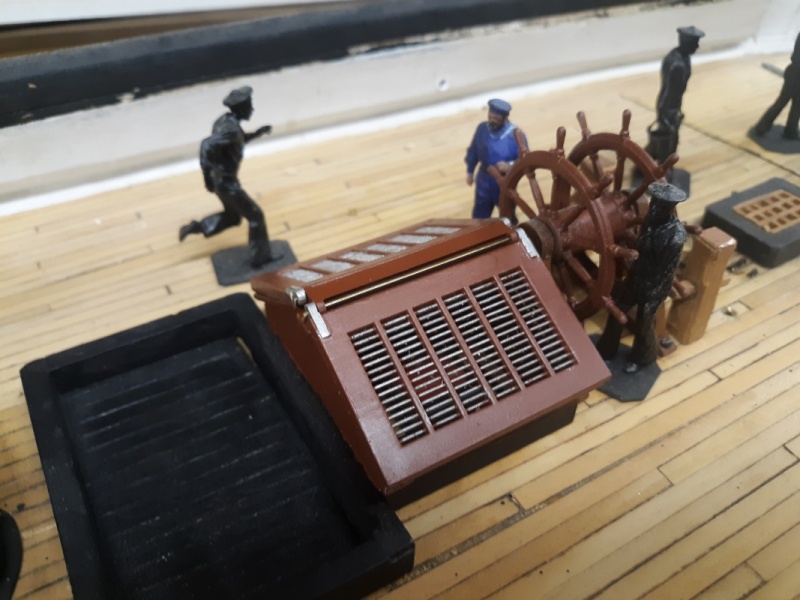
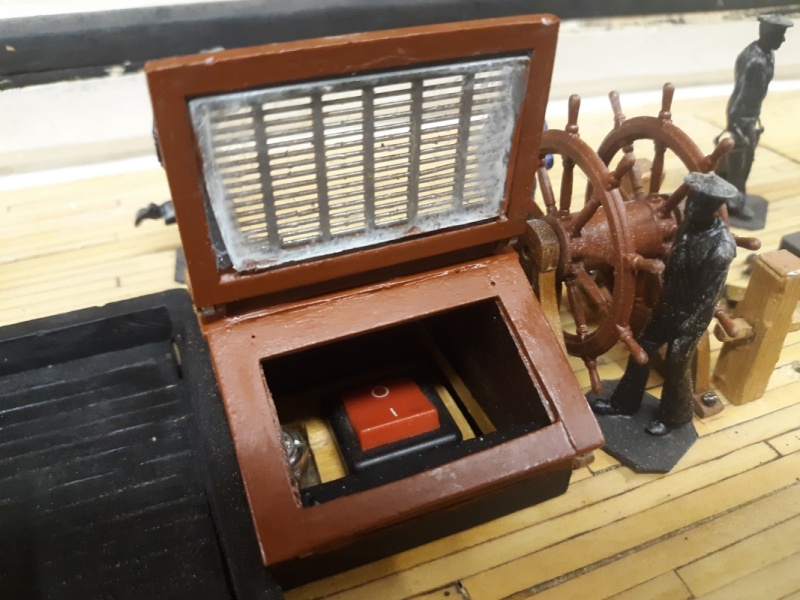
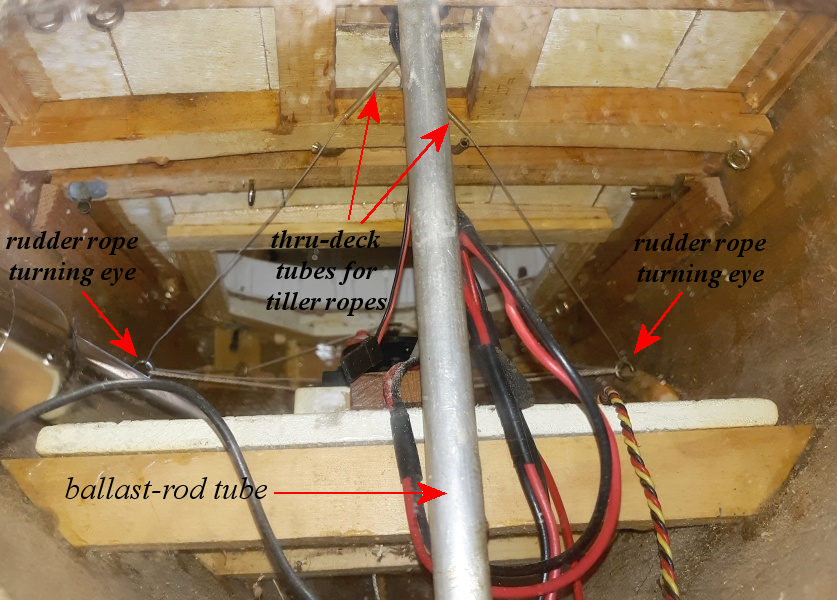
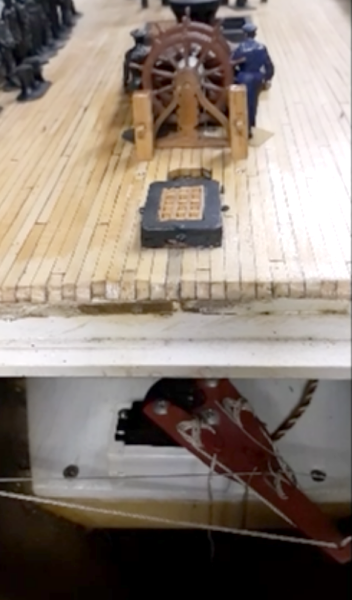
June 9: Today I became a contorsionist and rigged the wheel to the rudder servo. I planned on the wheel moving with the rudder from day one, but the 3D printed wheel I got for the model a while back was just too fragile, and a spoke seemed to break off just looking at it; so I gave up on that and just made the wheel stantionary. I eventually printed my own with better resin, and figured it was tough enough to go back to plan A. Except for a cleat on the servo horns for this purpose, I hadn't made any other preparations in the hull for it. I put two tubes through the deck at an angle across, and a little aft so the lines from the wheel would run pretty much directly toward a turning block (pulley) that would direct them to the servo horn. Those blocks need to be installed yet, but you can see in the video, the operation is sound.
June 9: The fore mast pin rail got permanently fastened down, and both pivot guns got painted, though there's still some touch-up to do.
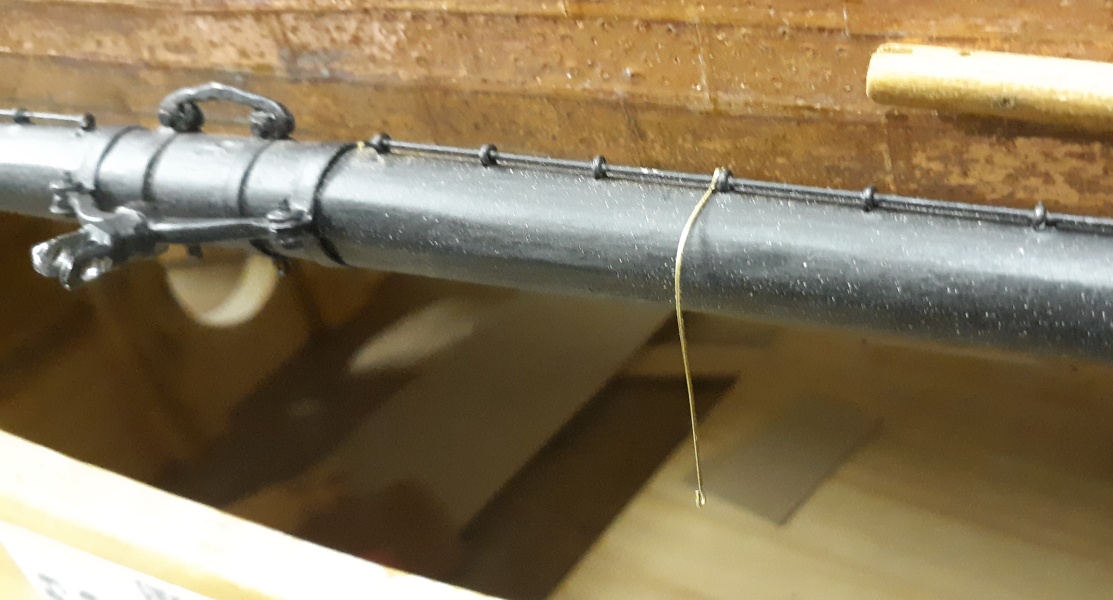
June 15: I have 56 stirrups to make for the footropes on the 12 yards, and I've decided to make them of brass wire, but the wire I was going to use I bought to make strops for the dead-eyes, so I started working on jigs and set-ups to produce 22 more pairs of chainplates, and another 26 strops for the upper deadeyes.
|
||
 |
 |