 June 18 2022: Did a little more touch-up to the pivot guns paint, and gave them a shot of clear coat. Then I screwed them to the deck hatches.
I started to install the main mast pinrail, but the holes for the foretops'l braces weren't in the right place for the line to pass through without excessive friction,
so I made some measurements, altered the 3D model and printed it all in one piece, with the pilasters attached, which meant filling the old holes in the deck and drilling new ones.
Since there were seven pilasters to line up, using CA seemed a bad idea, so I used one hour epoxy to set it in place.
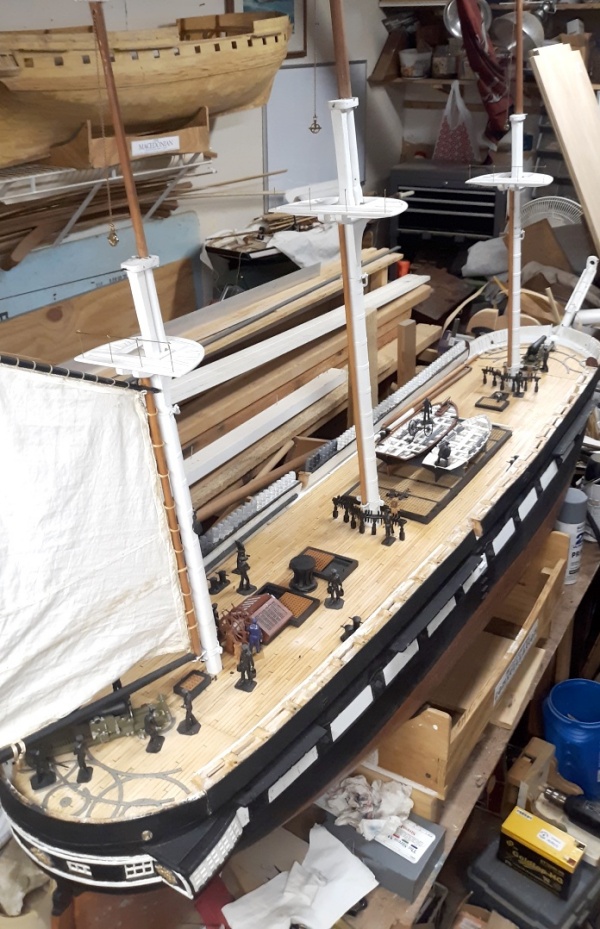
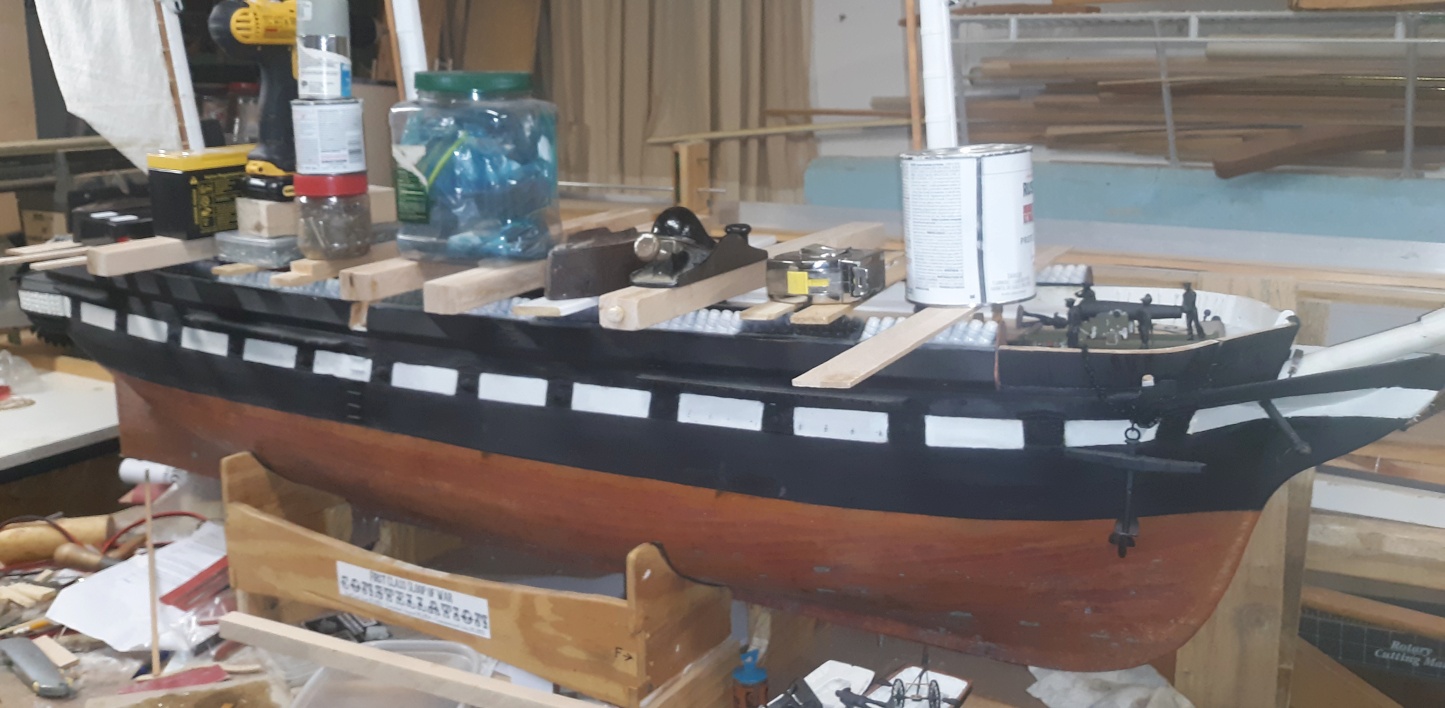
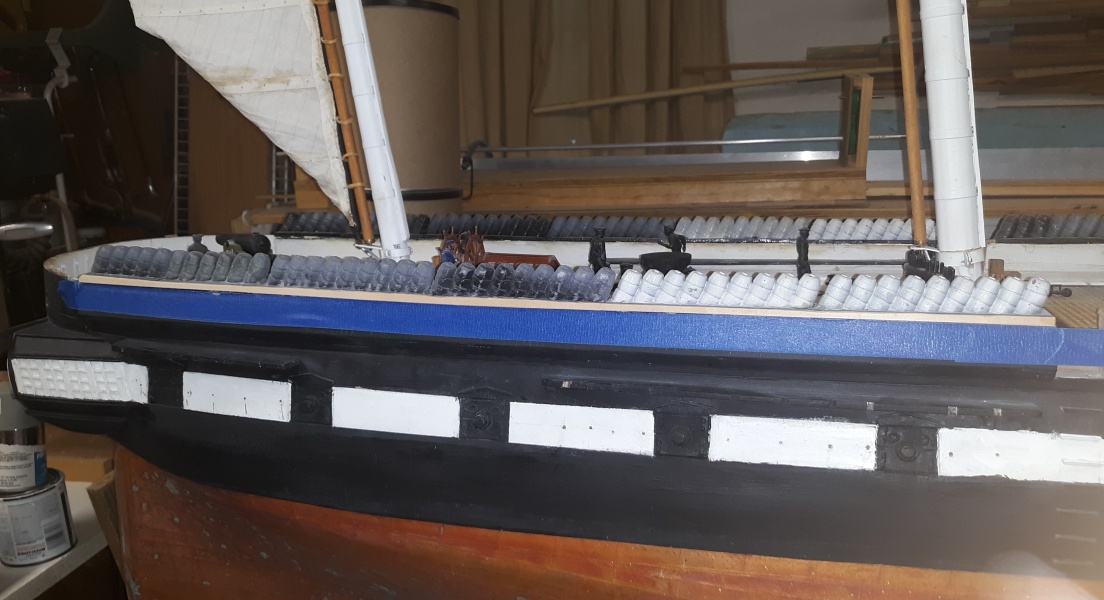
No real pics to post of all that, but here's a view of the model as of today.
June 20: Got a bottle of blackening and went around blackening everything I could, halyard chains, top rails, topmast fids, some yard fittings, and anything else that was brass or copper and wasn't already painted.
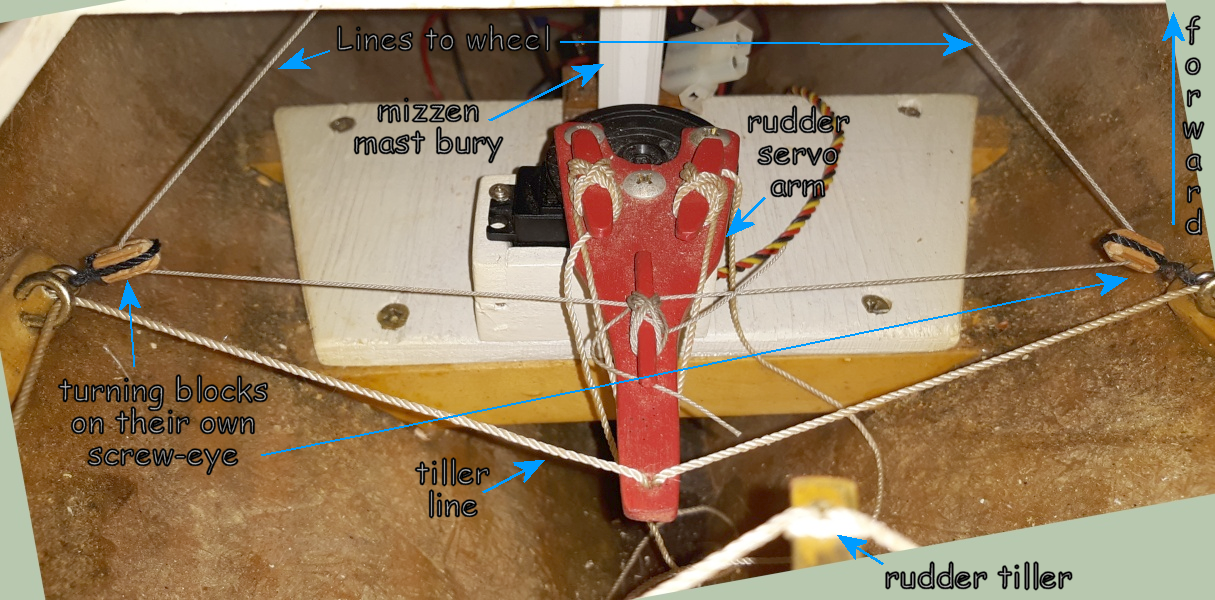
Then I went into contortionist mode and installed screw eyes and working blocks for the wheel lines. Back in 2016 I made some blocks with 6mm brass sheaves as brace blocks to get the model ready to sail.
Permenant brace blocks will be going on soon, so these went in the parts bin until I pulled two out for this job.

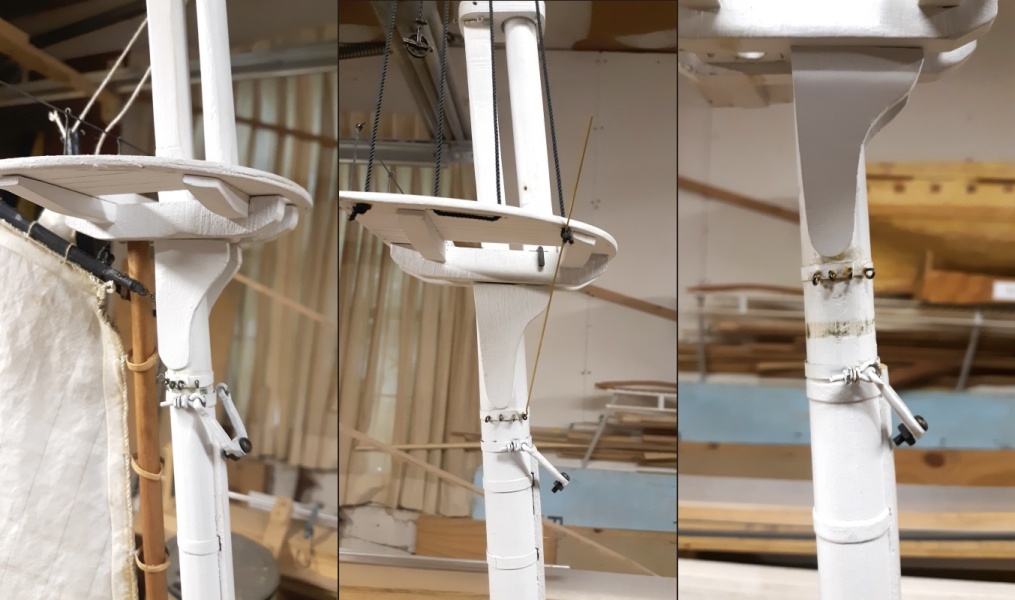 June 23: Installed the futtock bands on the masts. I thought of making these removable, with the eyes soldiered to a 2-part band, but they don't need to be, so I glued a strip of thin styrene around the mast, drilled, and inserted
eyes through it. The futtock shrouds will be rod. I can't find any evidence that they were anything else on Constellation, especially early on.
June 23: Installed the futtock bands on the masts. I thought of making these removable, with the eyes soldiered to a 2-part band, but they don't need to be, so I glued a strip of thin styrene around the mast, drilled, and inserted
eyes through it. The futtock shrouds will be rod. I can't find any evidence that they were anything else on Constellation, especially early on.
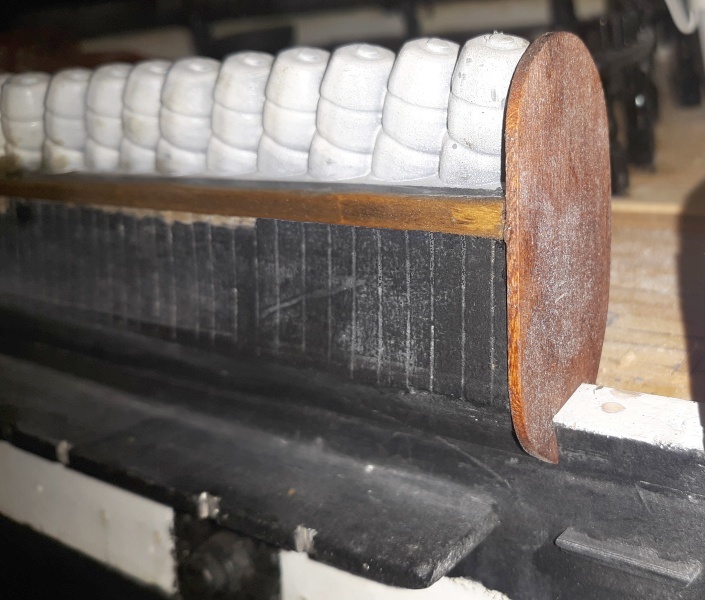
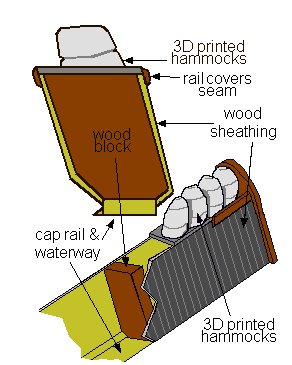
 August 28-31: The starboard hammocks got epoxied down using a menagerie of weights to hold them down; then I started grinding the outboard side of the trays to be flush with the bulwark.
I tried cutting some 1/16" x 1/4" bass strips down to 3/16" but it wasn't working out, so I ran blue tape 1/16"
below the seam to use as an edge guide and glued on the full strip, then trimmed it down to the tops of the hammocks trays.
August 28-31: The starboard hammocks got epoxied down using a menagerie of weights to hold them down; then I started grinding the outboard side of the trays to be flush with the bulwark.
I tried cutting some 1/16" x 1/4" bass strips down to 3/16" but it wasn't working out, so I ran blue tape 1/16"
below the seam to use as an edge guide and glued on the full strip, then trimmed it down to the tops of the hammocks trays.
Some sanding and some stain and I just have three more outboad, and four more inboard to do.
September 23 There were vertical rub rails on Constellation's hull, and I was trying to determine where and how many there were from the deSimone portraits when, as usual it seems, something else caught my attention...

Rigging Screws: I thought I had the chain-plates, dead-eyes and lanyards figured out way back on page 12 of this log, but now I'm not so sure. Looking at deSimone's several portraits of Constellation
I assumed he just left out some details now and then, like dead-eyes and lanyards; but looking at his paintings of other ships, this seems to be something paticular to Constellation.
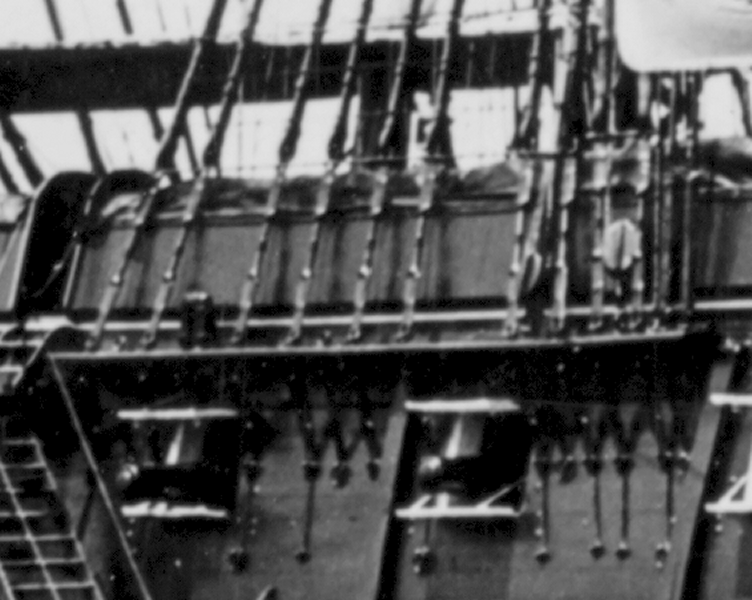
Looking closely, no attempt is made by deSimone at all to even approximate the appearance of dead-eyes and lanyards. The shrouds are straight lines to the channel with a knob on them just above the bulwark. Since the ship did have rigging screws in all the
photographs of her up until about 1900 after which she was rerigged with dead-eyes and lanyards as shown in the 1914 photos. It seems those "knobs" are where a round thimble is siezed into the end of the shroud.
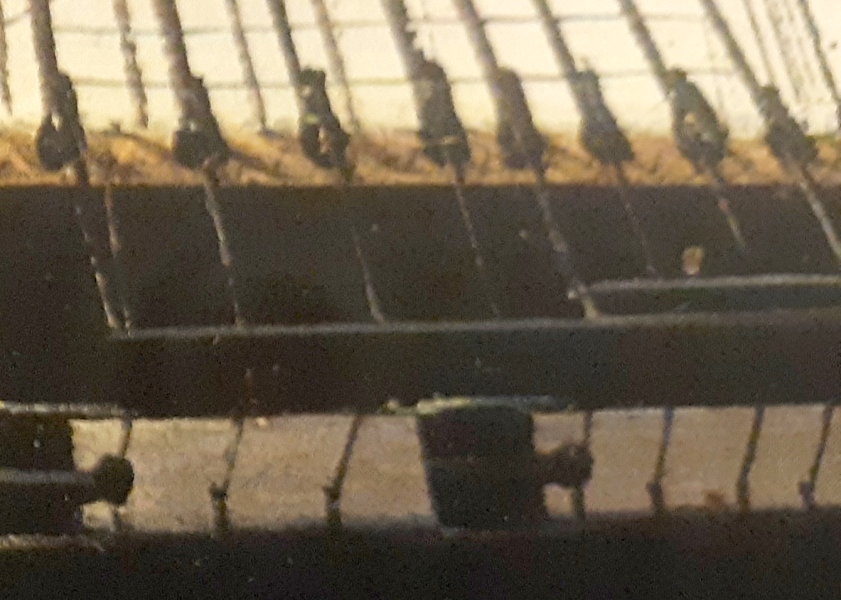


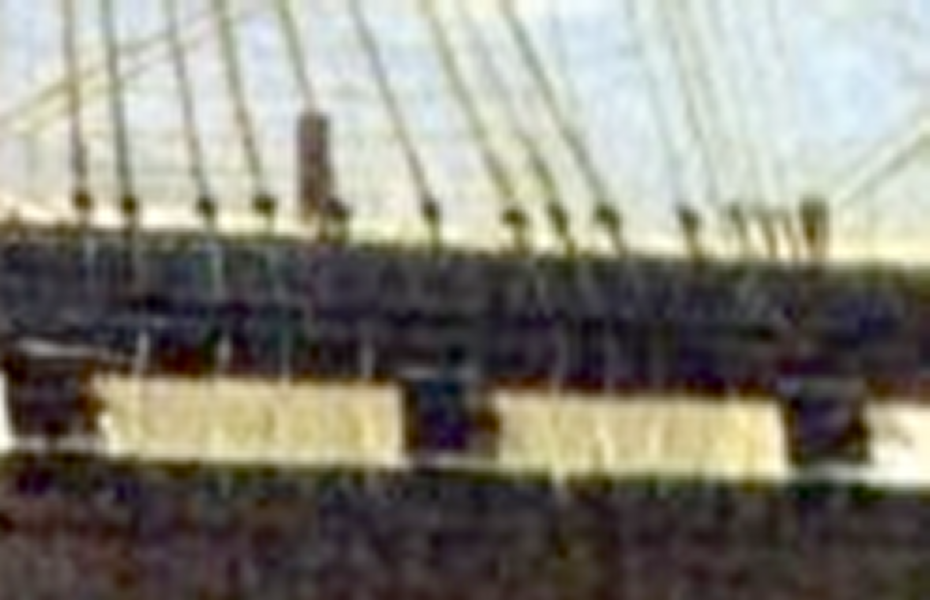
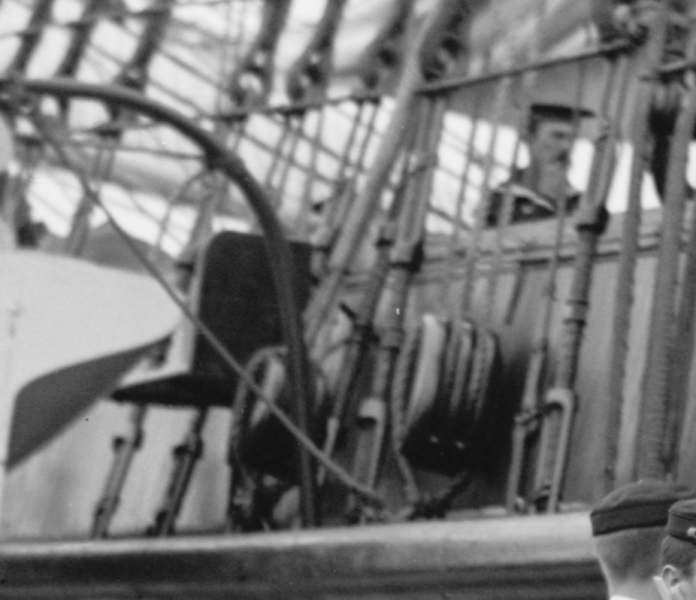
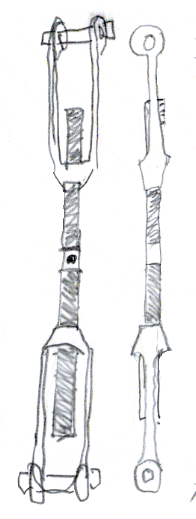
These are the clearest images of Constellation's rigging screws I've been able to find, my very rough sketch of one, and a drawing from the 1861 edition of Luce's Seamanship (page 608).

It also appears the topmast shrouds didn't use dead-eyes and lanyards either.


The rest of the chain-plates are the same as I've been making, the rigging-screw replaces the strop and lower dead-eye. Now, how to make the rigging screws, which I'd like to be functional.
 October 17 2023: I spent a lot of time trying to find better images and information on these rigging screws, without much luck. I also was unable to find the tools to make functional versions with, namely left-handed taps and dies for 1/8" rod.
I couldn't even find left handed screws and nuts to use to thread brass rod with. I've had good luck with functional 3D printed parts so far, and decided to make one in resin. The model's beed sailing without any lower shrouds because the lower masts are
strong enough on their own, so these don't have to be functional.
I did my best to approximate them using the images I have, and came up with a "rough draft" to test print and see if a 3D printed version was up to the job.
October 17 2023: I spent a lot of time trying to find better images and information on these rigging screws, without much luck. I also was unable to find the tools to make functional versions with, namely left-handed taps and dies for 1/8" rod.
I couldn't even find left handed screws and nuts to use to thread brass rod with. I've had good luck with functional 3D printed parts so far, and decided to make one in resin. The model's beed sailing without any lower shrouds because the lower masts are
strong enough on their own, so these don't have to be functional.
I did my best to approximate them using the images I have, and came up with a "rough draft" to test print and see if a 3D printed version was up to the job.
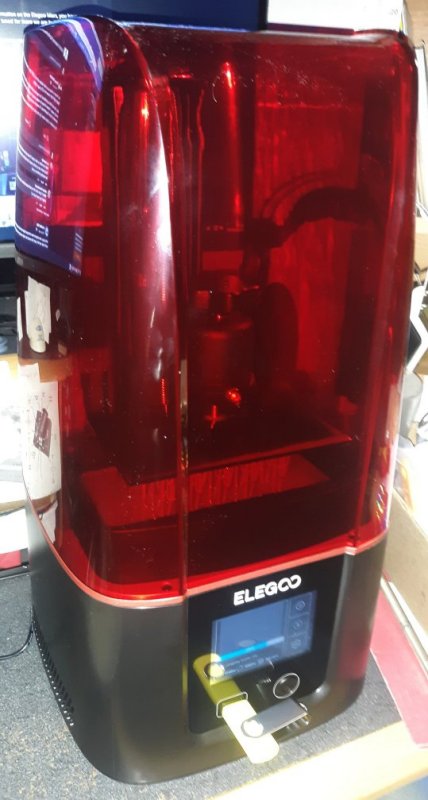 I just got a new Elegoo Mars 3, 3D printer on the 16th, that can print larger pieces with better detail, and actually cost less than I paid for the old printer. For it's very first job I printed a batch of 20 of my test rigging-screws.
I set them up almost standing upright, which made for a lot of layers and it taking 5 hours to print. Next set will be set up more horizontal to take less time. The print was perfect otherwise, and testing them on the model, they seem they might work.
The 3D model was adjusted; the thimble at the top was made larger, the eyes at the bottom were made smaller, and the screw was made thicker. The arms were also reshaped to look more like the originals. These will be made in sets for each mast
with each pair going aft set a little bit longer as the shrouds angle.
I just got a new Elegoo Mars 3, 3D printer on the 16th, that can print larger pieces with better detail, and actually cost less than I paid for the old printer. For it's very first job I printed a batch of 20 of my test rigging-screws.
I set them up almost standing upright, which made for a lot of layers and it taking 5 hours to print. Next set will be set up more horizontal to take less time. The print was perfect otherwise, and testing them on the model, they seem they might work.
The 3D model was adjusted; the thimble at the top was made larger, the eyes at the bottom were made smaller, and the screw was made thicker. The arms were also reshaped to look more like the originals. These will be made in sets for each mast
with each pair going aft set a little bit longer as the shrouds angle.
I fully expect these things to break from time-to-time. I'll likely hit the shrouds with my hand trying to reach into the model, or something like that, but, being 3D printed, I'll be able to replace any broken ones easily enough.
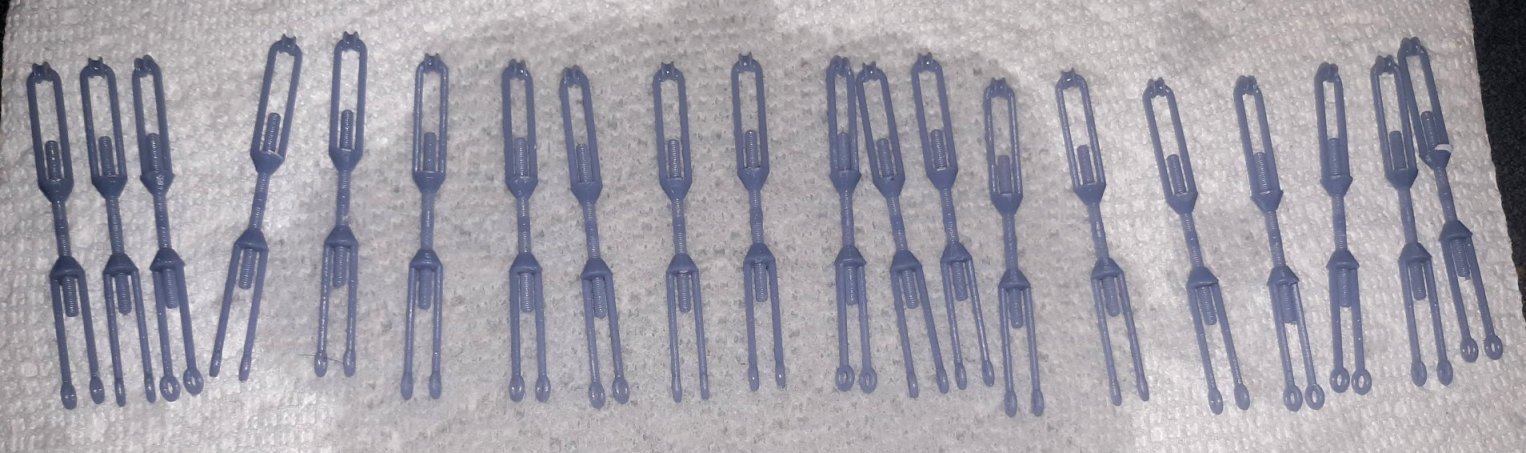
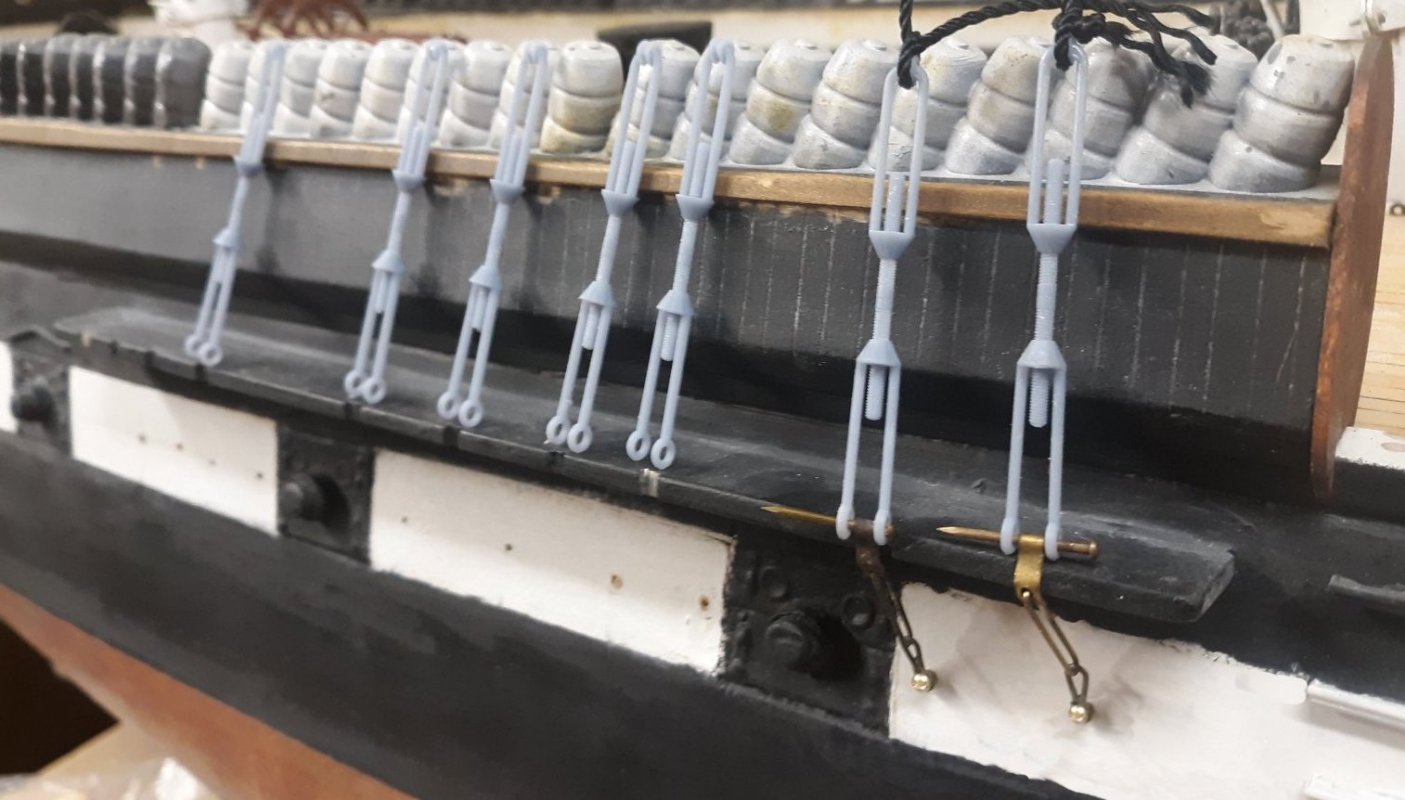
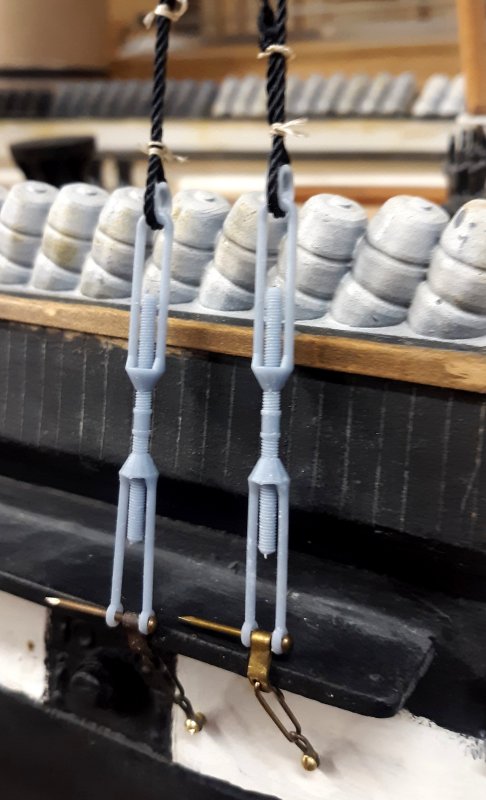 October 18: This pic is of two of the "final" version rigging-screws temporarily put in place on the model. I printed 30 of these in a 3 hour and 20 minute session. I'll need more, but their lenth will need adjusted longer as each moves aft on the channel.
I'm still concerned that these things will hold up to the handing the model will get, and seeing videos on Youtube about 3D printing and lost wax casting for jewelry, I'm looking into having the screws cast in brass. So far that's looking too expensive;
a quick estimate from a casting house in New York ran over $900 for 60 raw castings! I have a request for a quote from a place only a few miles from me, but I'm not holding my breath they'll be something I can afford either.


