6/12/2025

 |
 |
|
Previous Page | Next Page | Table of Contents click pictures for a larger version
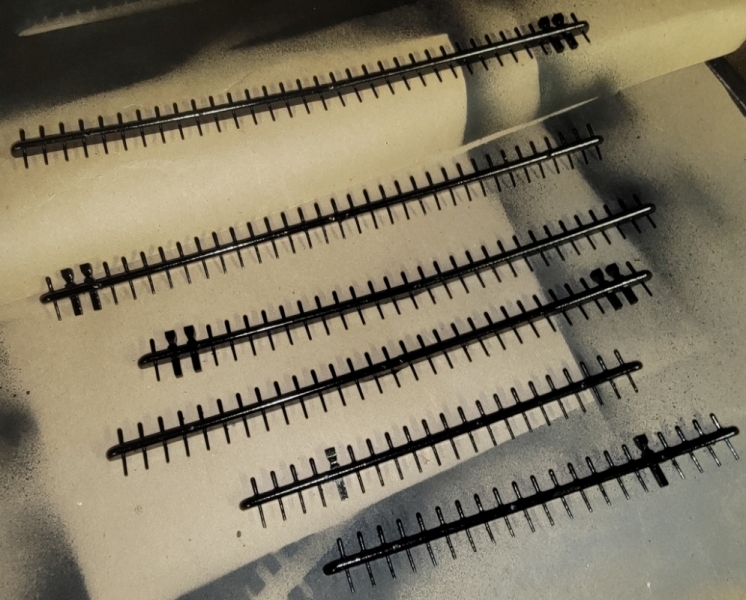
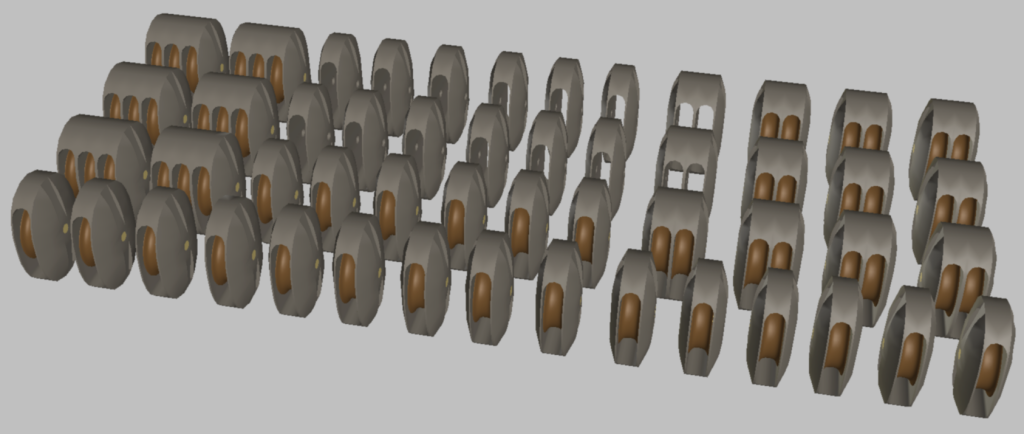
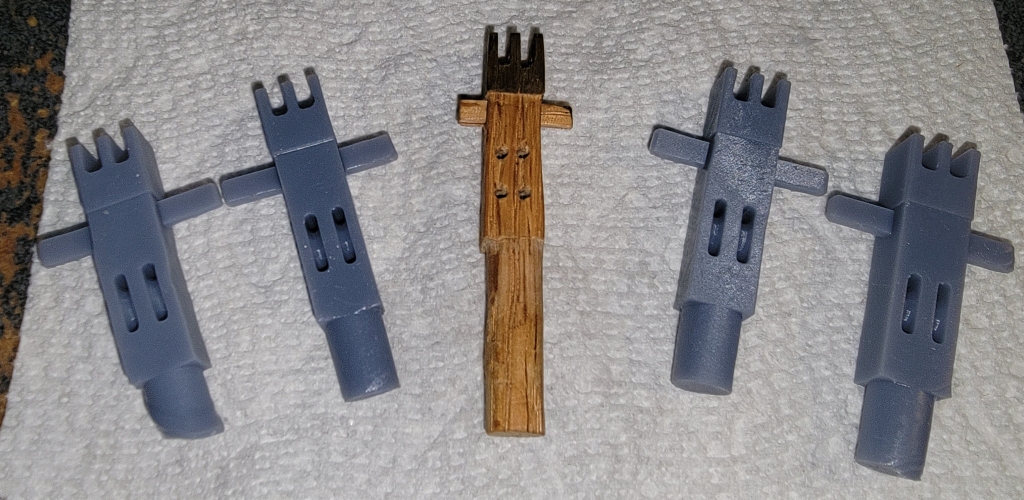
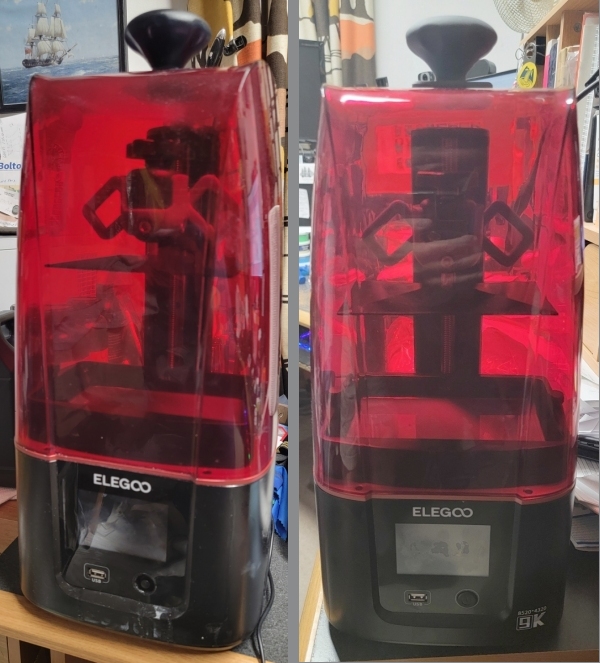
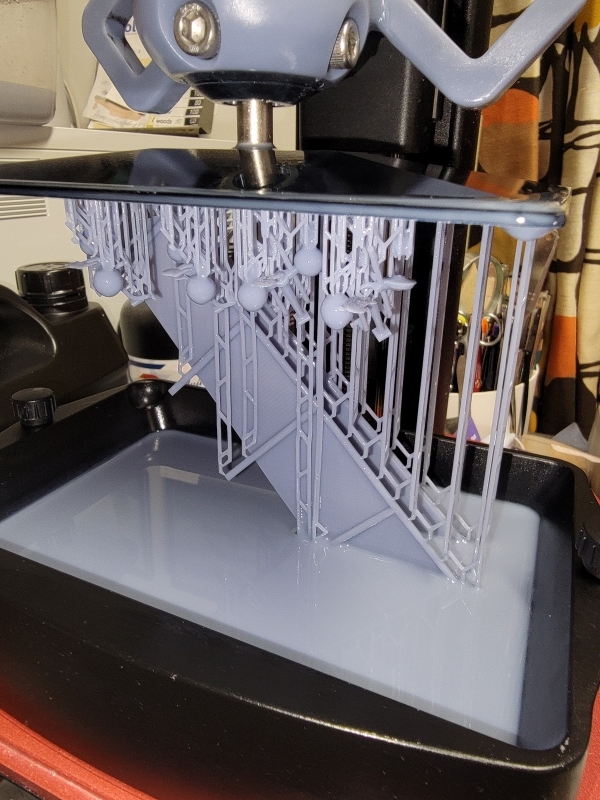
May 27 2025: Most of the winter and cold part of spring went into making 3D models to print for all three models, including Constellation. Cradles for the ship's boats; blocks, new crown-bitts; then, of course, the 3D printer sprung a leak.
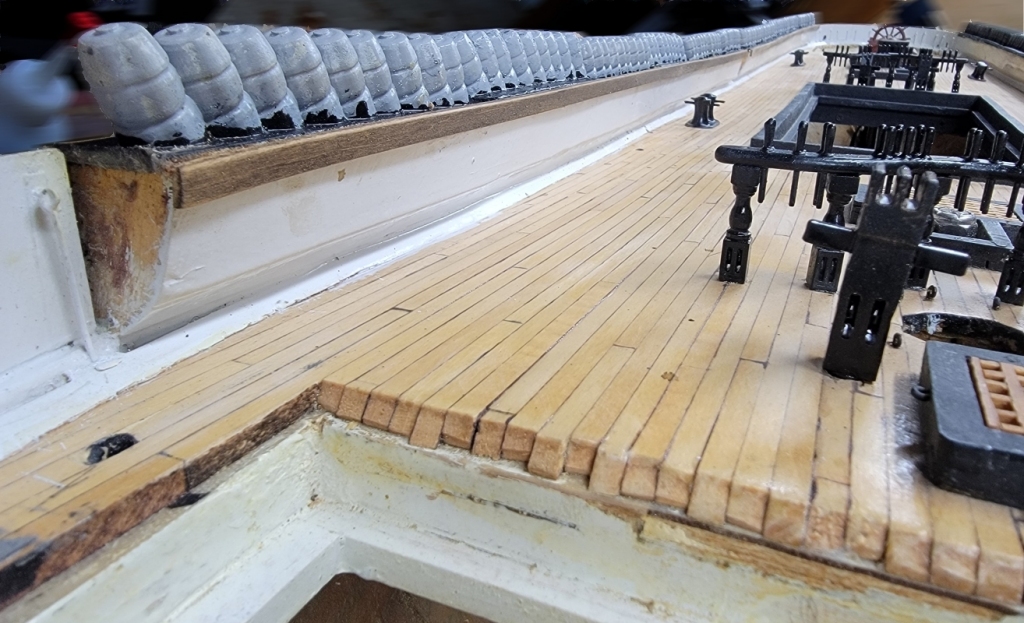
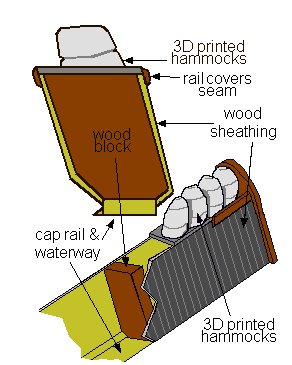
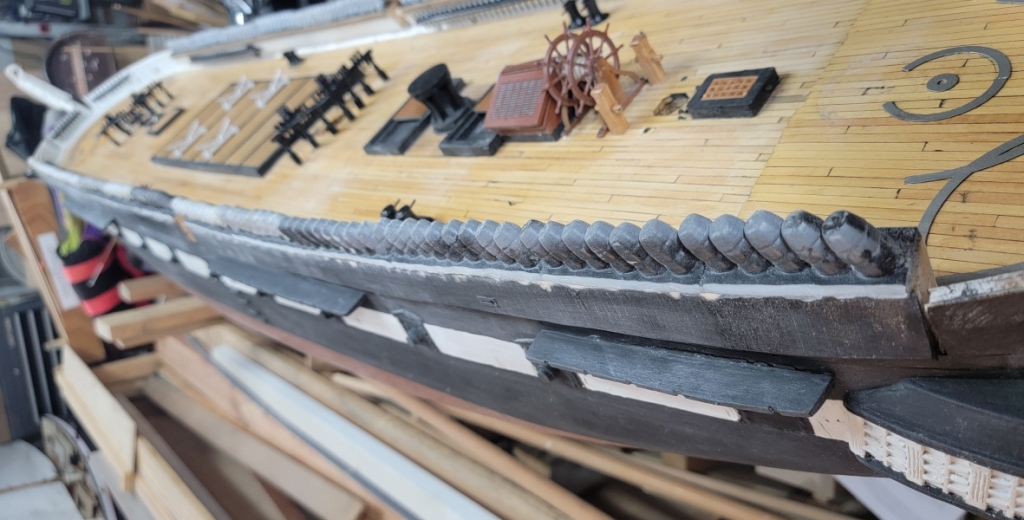
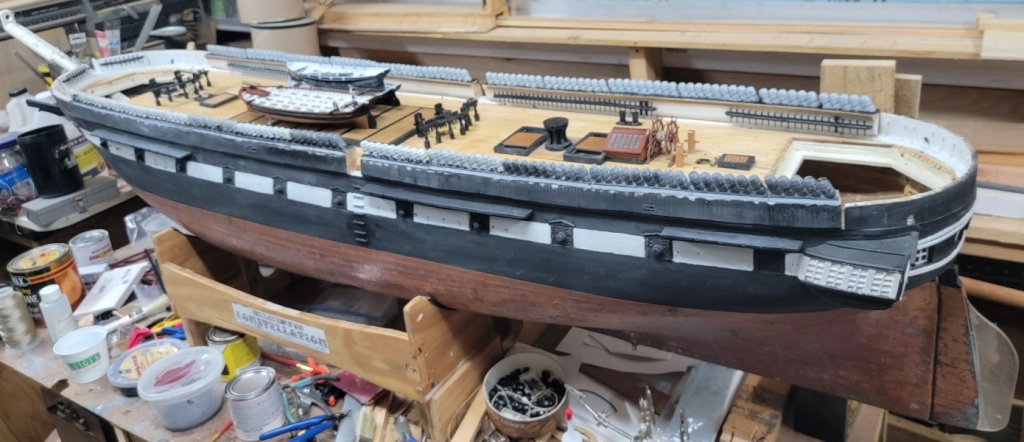
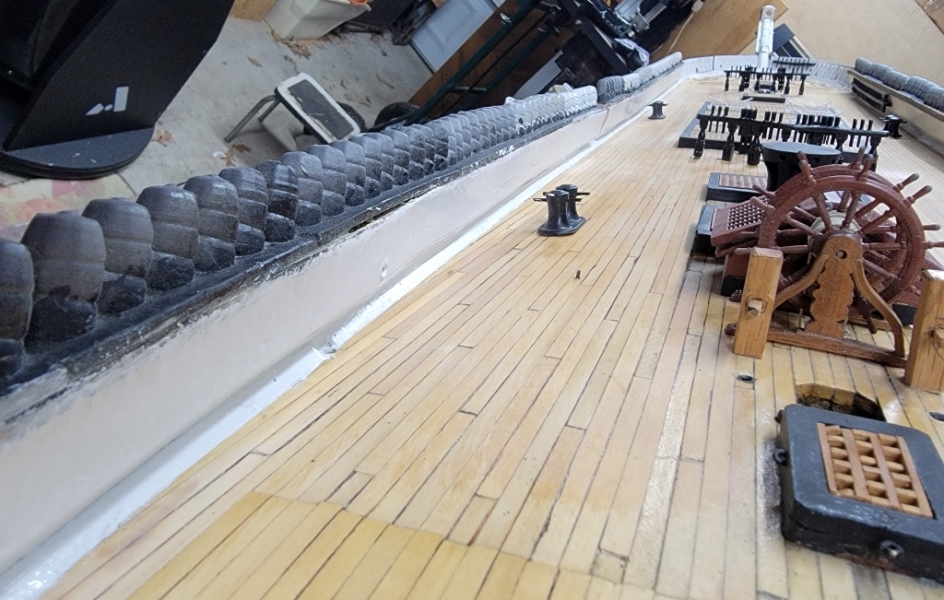
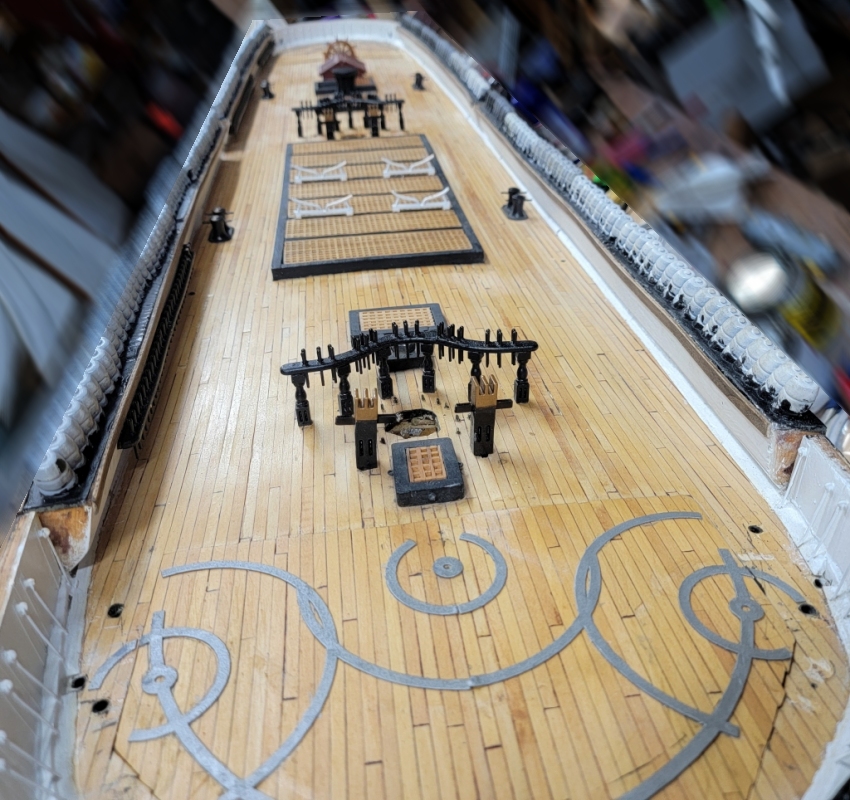
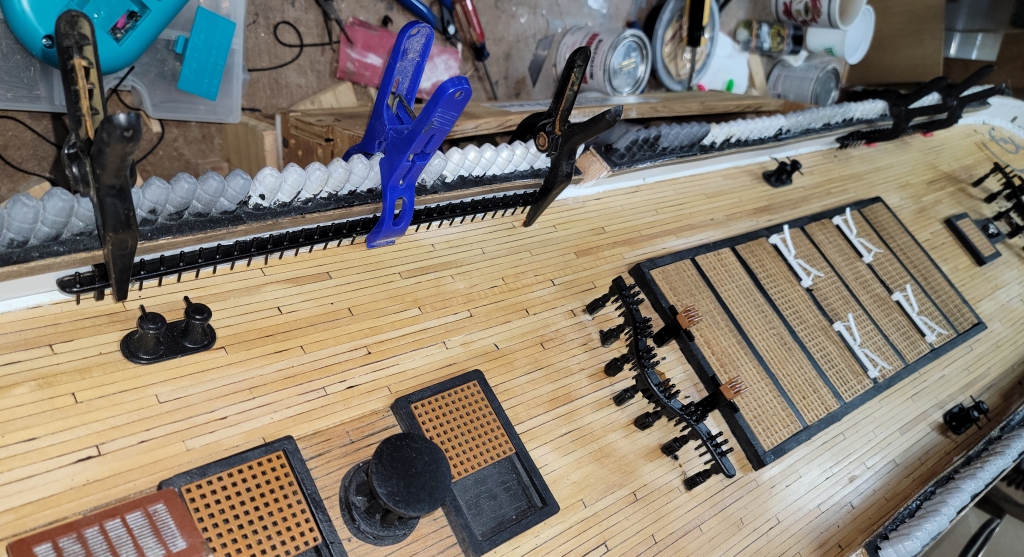
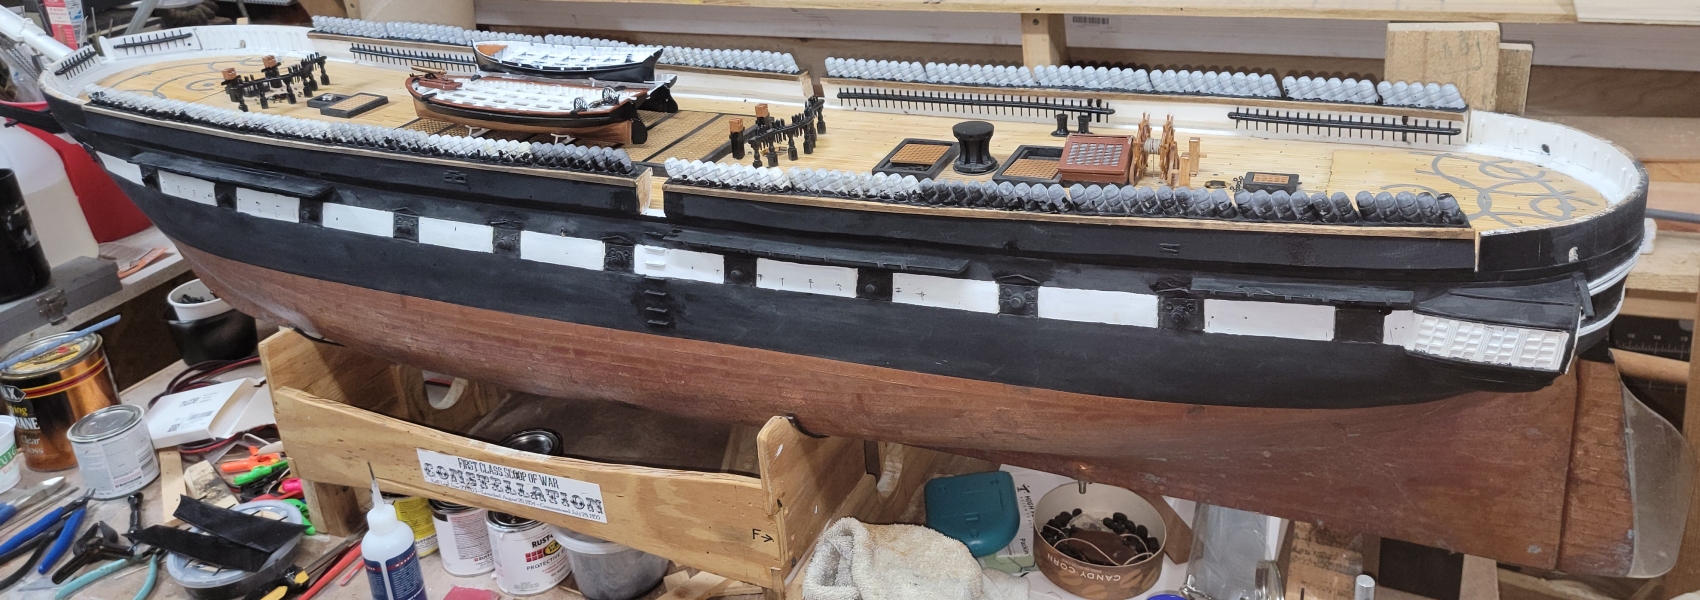
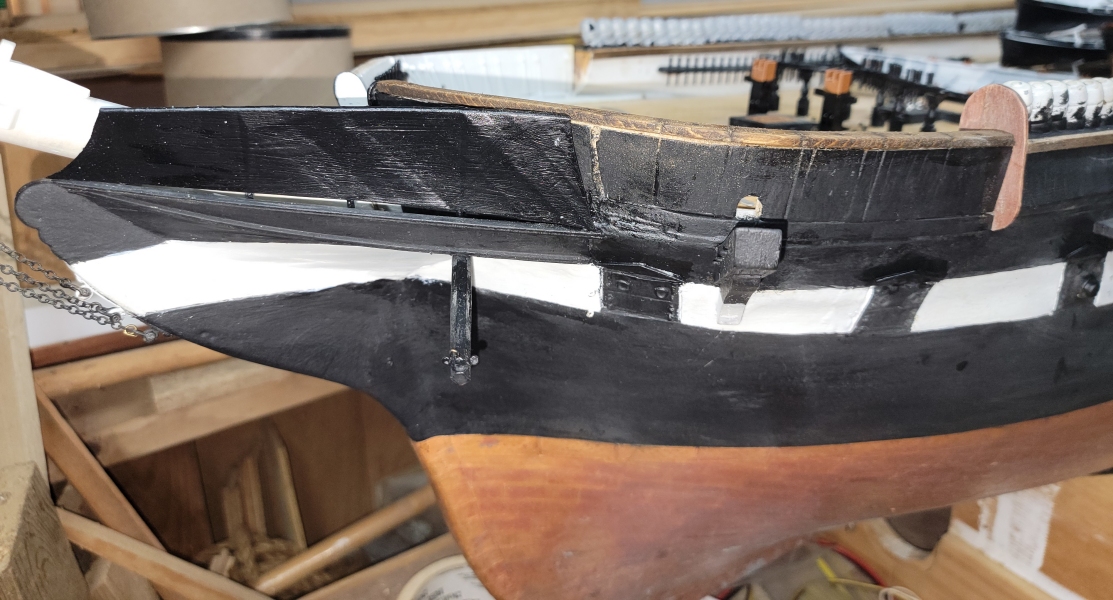
May 30th-June 2nd: The pin-rails got epoxied on and the extra epoxy got put on Pride's ballast bulb. I ground the outboard edge of the port-side hammock trays flush with the bulwark, cleaned up the dust, and painted the outboard side of the starboard hammocks. Then the hull was turned around on the workbench, and I ground the inboard edge of the port hammock trays flush.
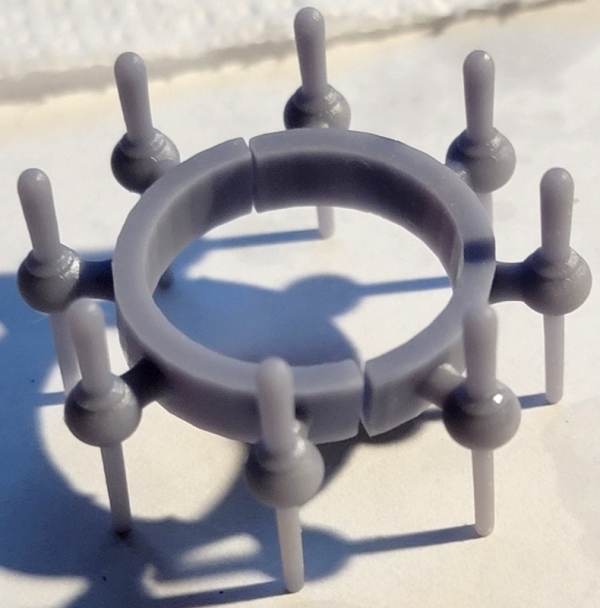
More dust to clean up, and the port hammock trays and outboard side of the bulwark were painted black, and the inboard side painted white. While that was going on a spider-band for the mizzen mast was printing.
June 3: The other bow pin-rail was epoxied and pinned on, and the port bulwark's inboard trim pice was attached.
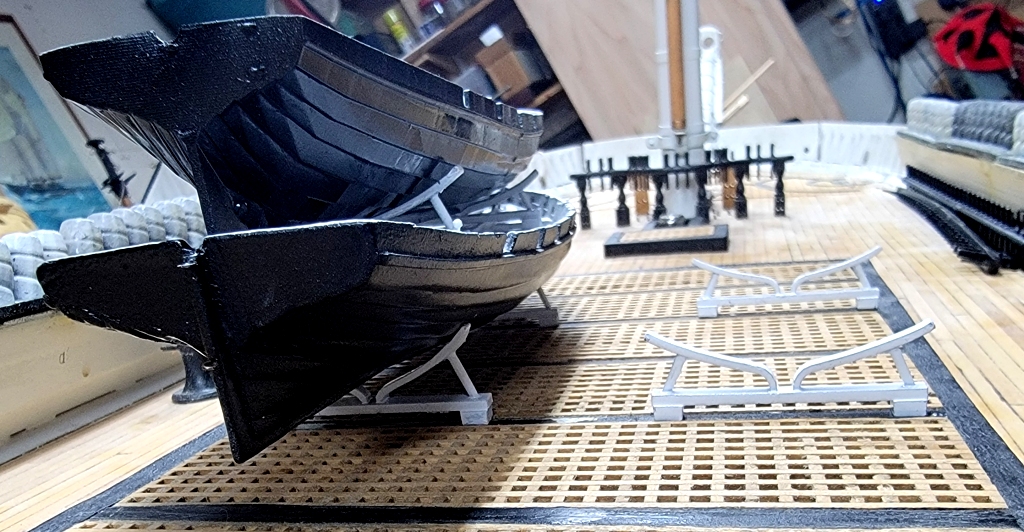
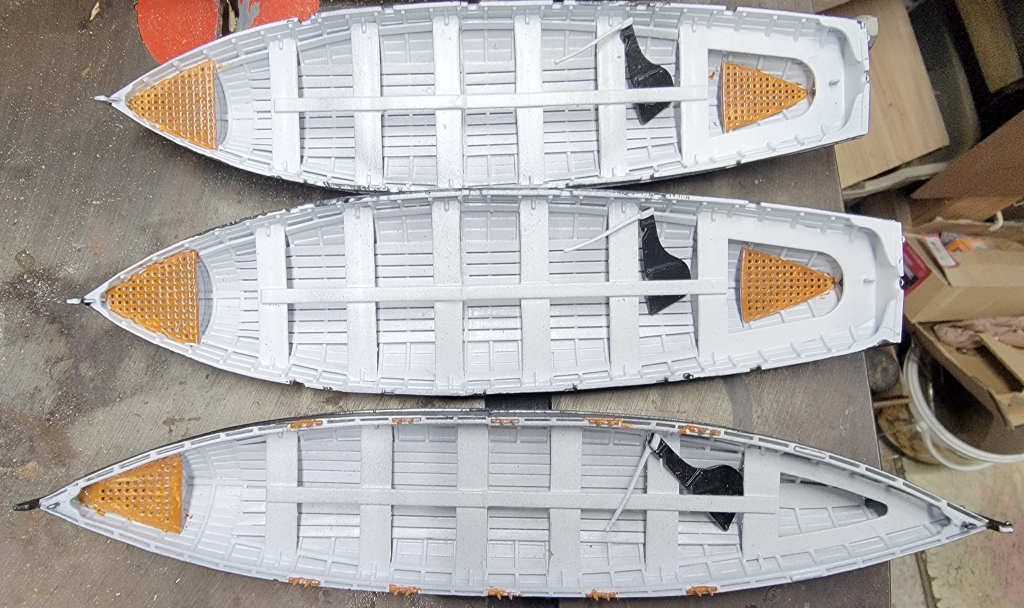
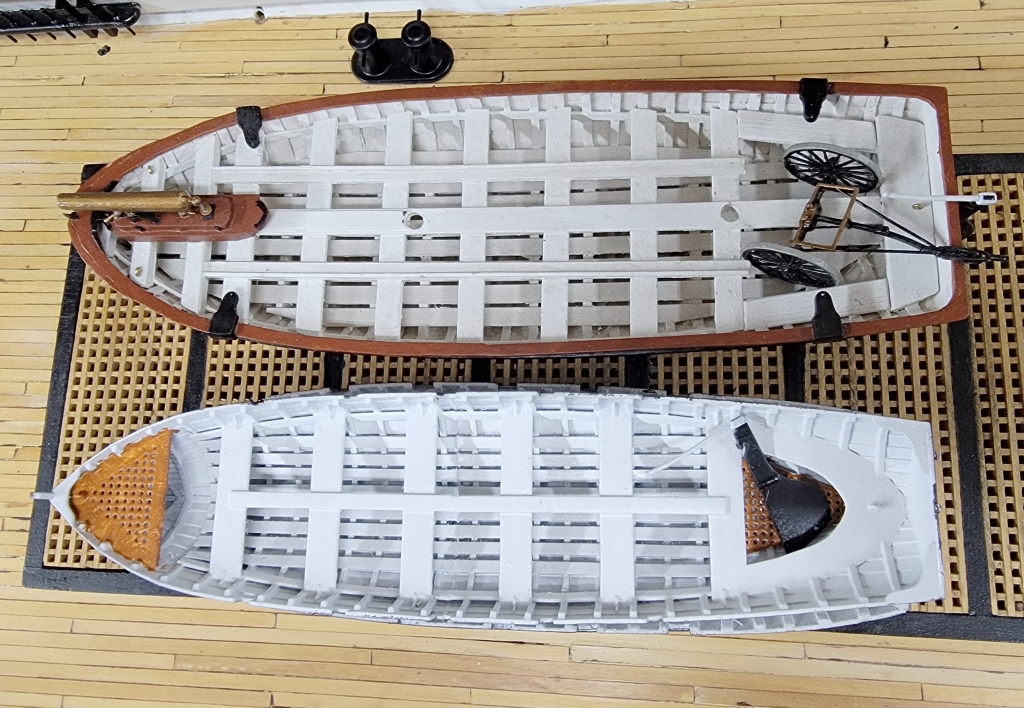
June 5-7: The gratings in the boats were painted.
I made a card template for the head spray-screens a while back, and started a 3D model. I printed a test copy of one to trail fit. I made some adjustments to the 3D model, and here it is printing, and test fitting. The two sides of the head aren't symetrical, so I had to adjust the model further to close the gap at the bottom. Hopefully this is the last one as they take 6+ hours to print.
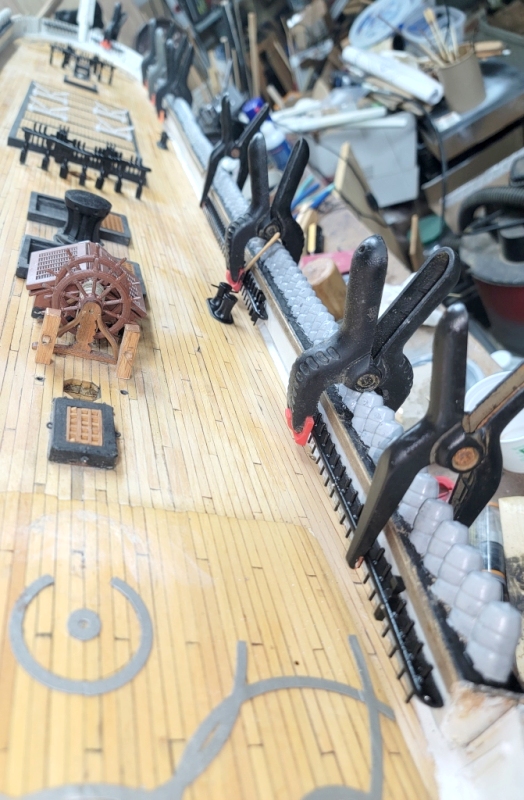
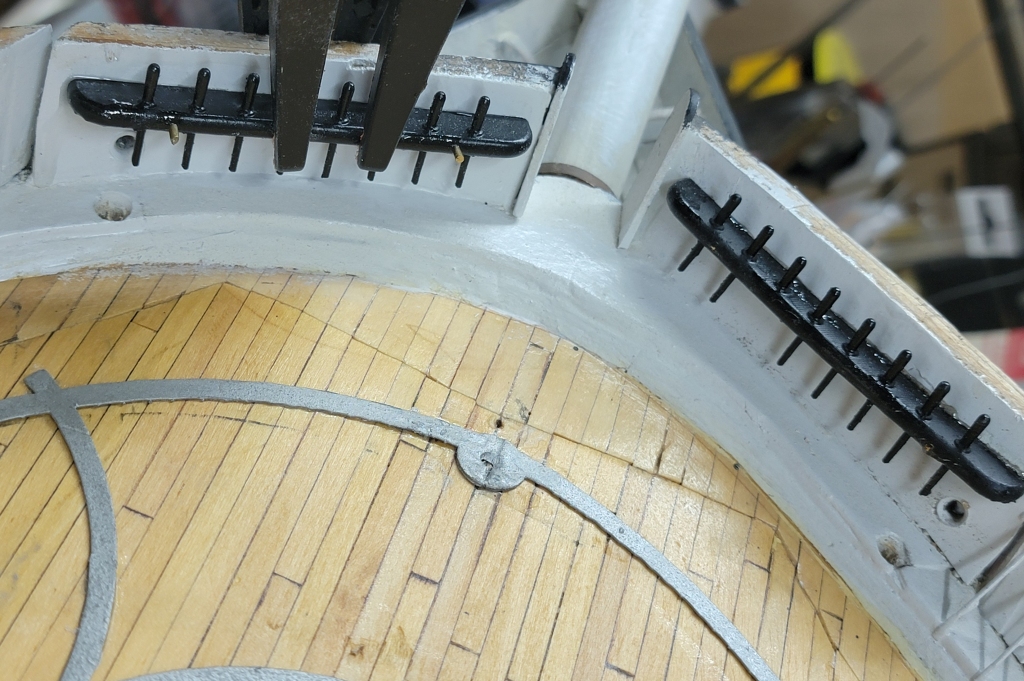
June 9-12: The port-side pin-rails were epoxied in.
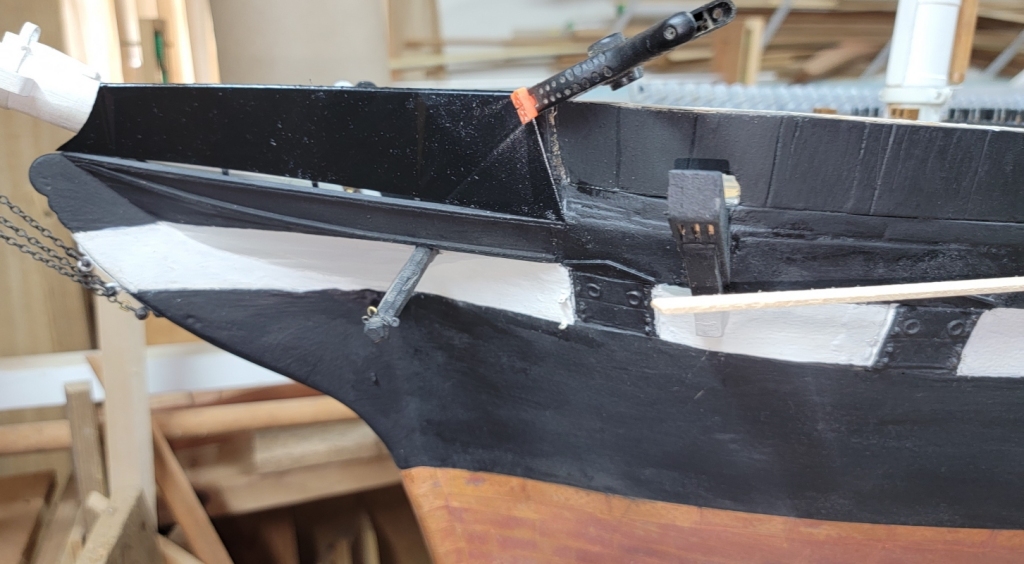
and then the outboard trim boards were installed. I made a card template of the shape of the rail forward where the panels are. Adjusted it, and cut the rail in one piece from a 3/16" sheet Mark left me from a musical instrument he made here a while back. The rail was glued on with Titebond II and drilled and pinned with round tooth-picks. It was scored where the panel break would be, but not cut through. The end=board in the pic is just sitting there, I need to make thicker ones. The spray-screen is also just sitting there.
|
||
 |
 |