8/6/2025

 |
 |
|
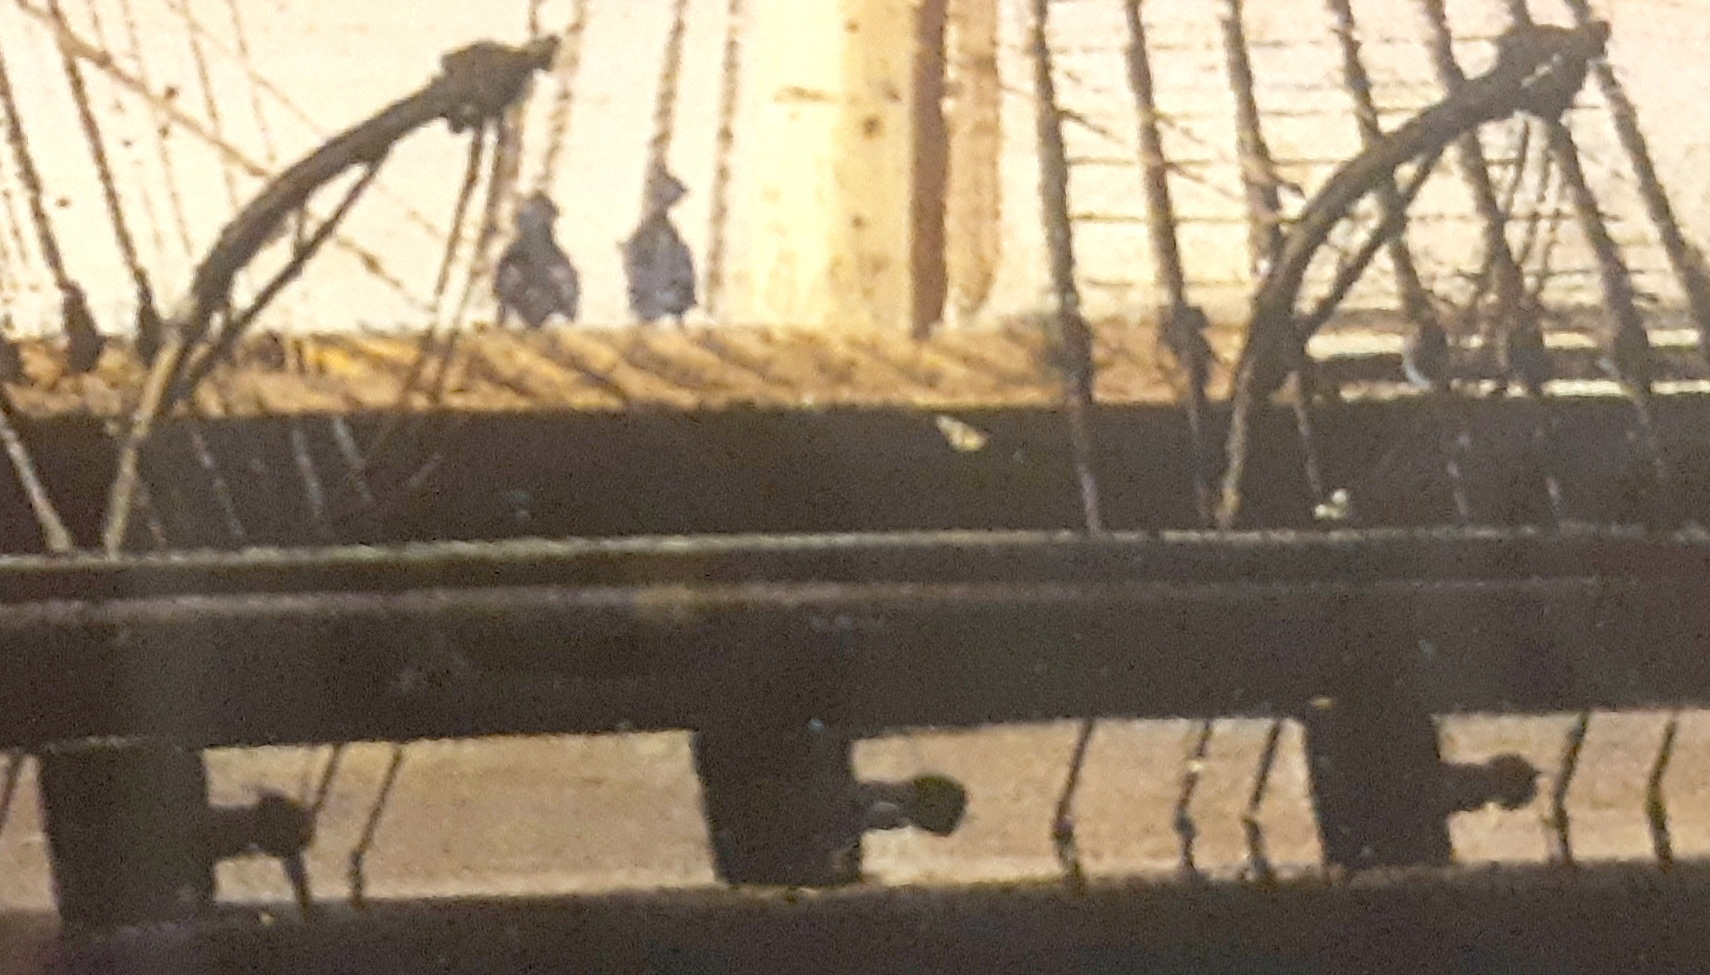
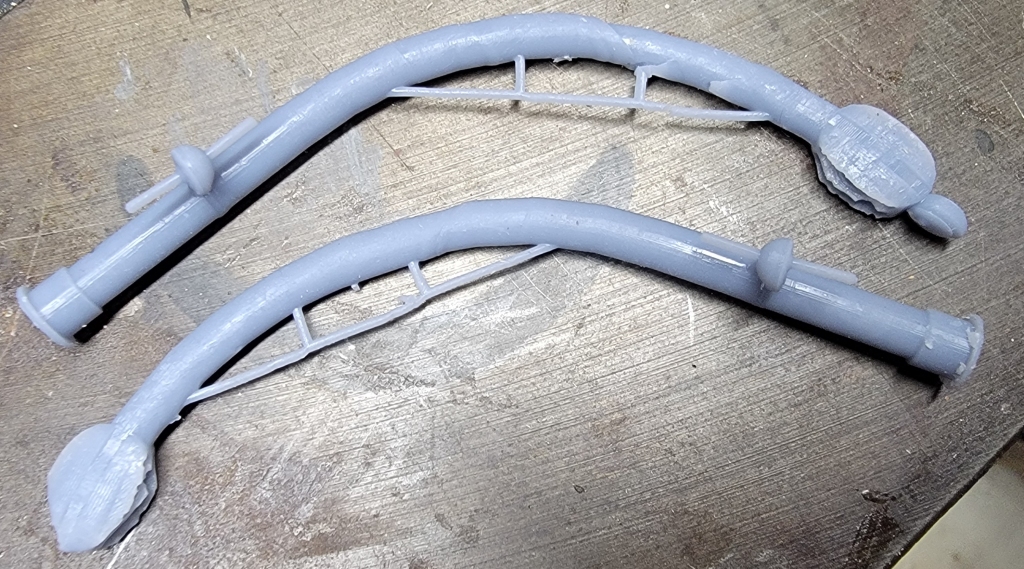
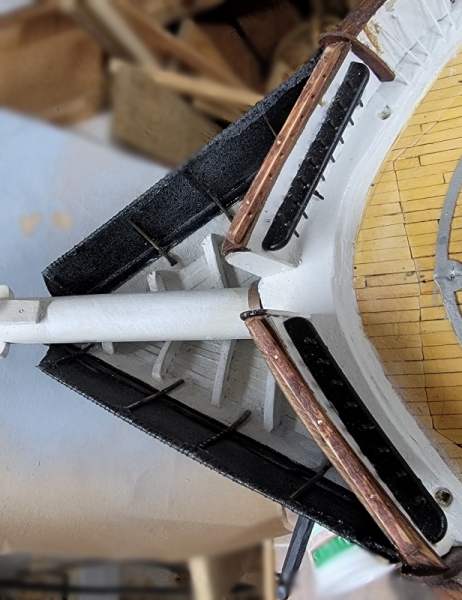
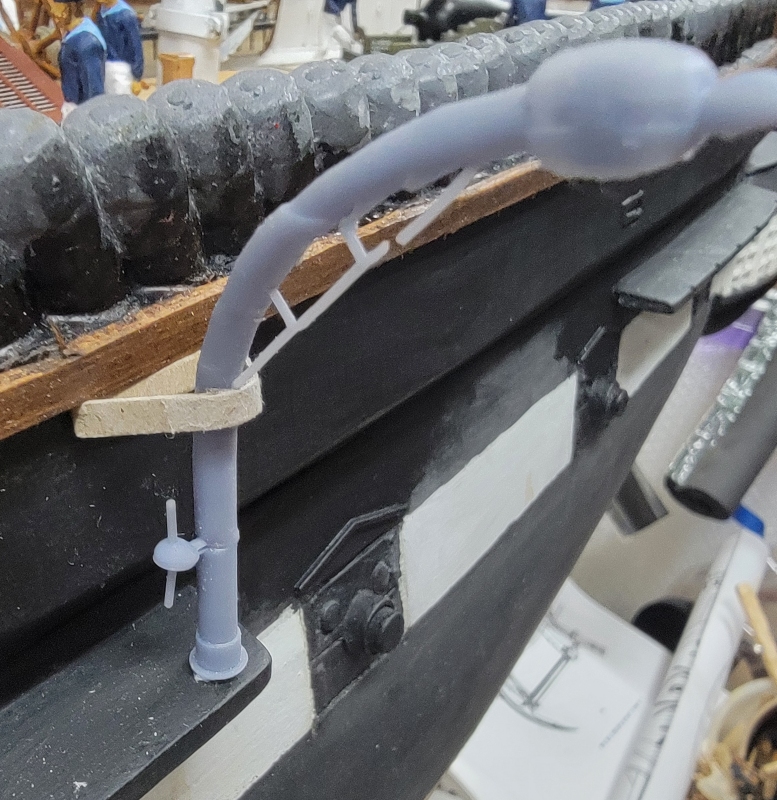
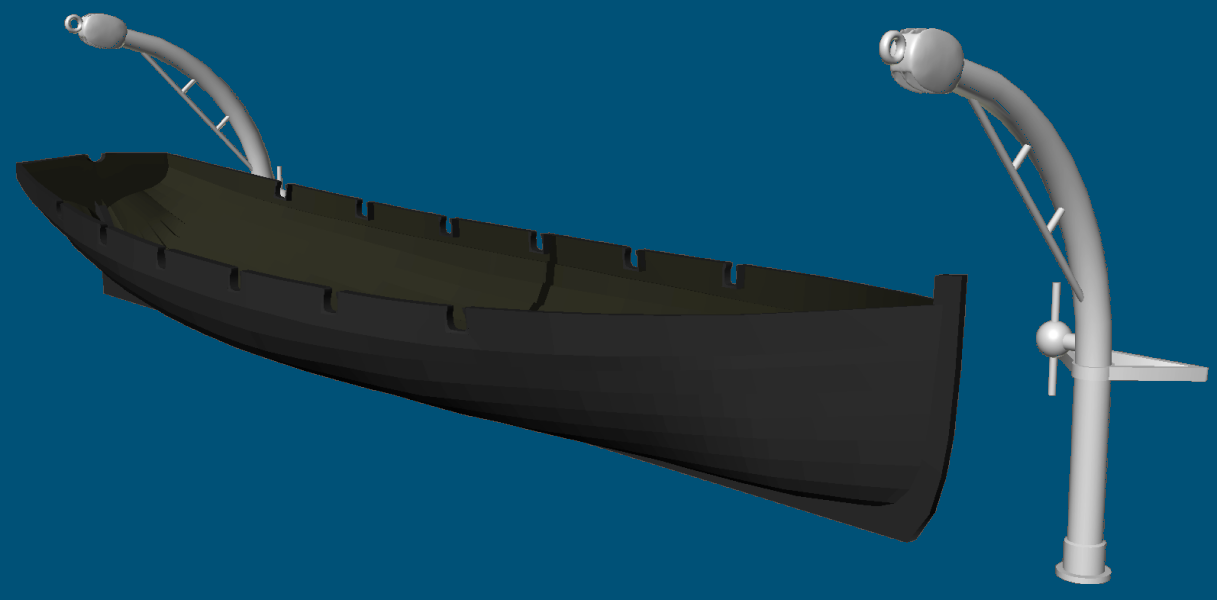
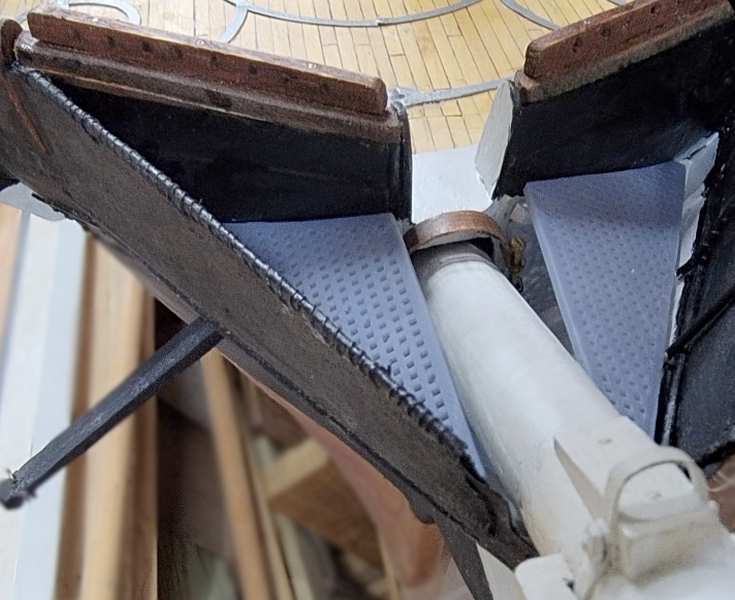
Previous Page | Next Page | Table of Contents click pictures for a larger version Friday, June 18th, 2025: Still trying to figure out the davits. In the 1856 painting of the ship by Tamoso de Simone, the quarter-boat davits are depicted without the boat in them. Still, it's not much more than a silhouette. They appear fully arched, or nearly so. There' no indication that they extend below the channel to bace against the hull, so I assume there must be some sort of brace to the bulwark that not depicted in the image. So I went purly with the silhouette, and printed it. It didn't print well. I print four and two failed completely. What I got was enough to see how it looked.
Relative to the painting, they look right; I just wish I could find a real example of this style, even on other ships. Constellation had very different styles of davits by the time photography came along.
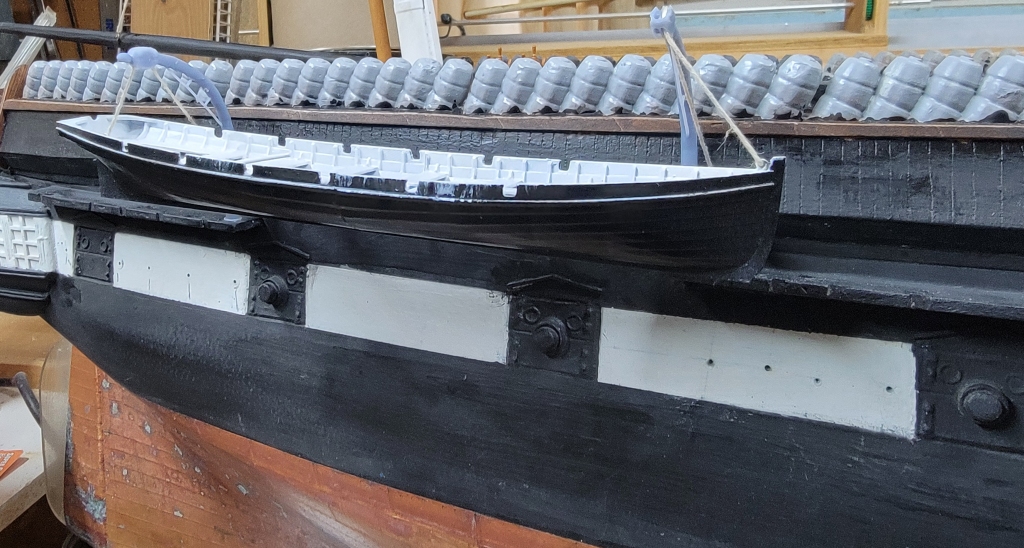
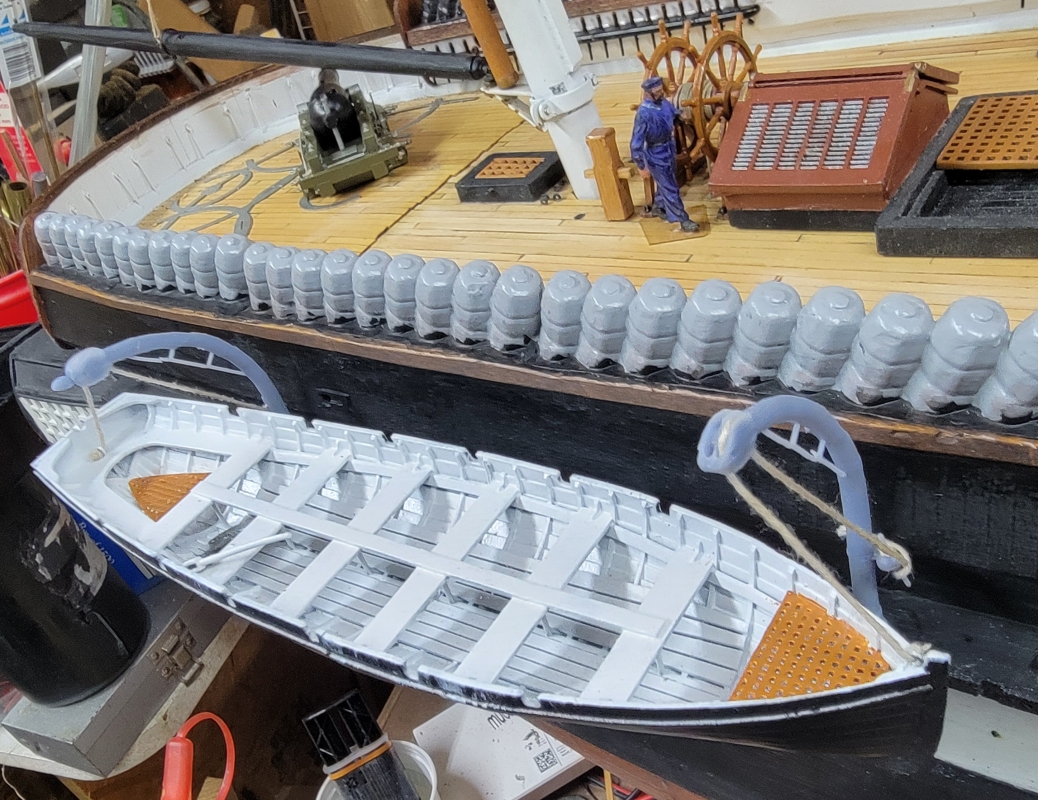
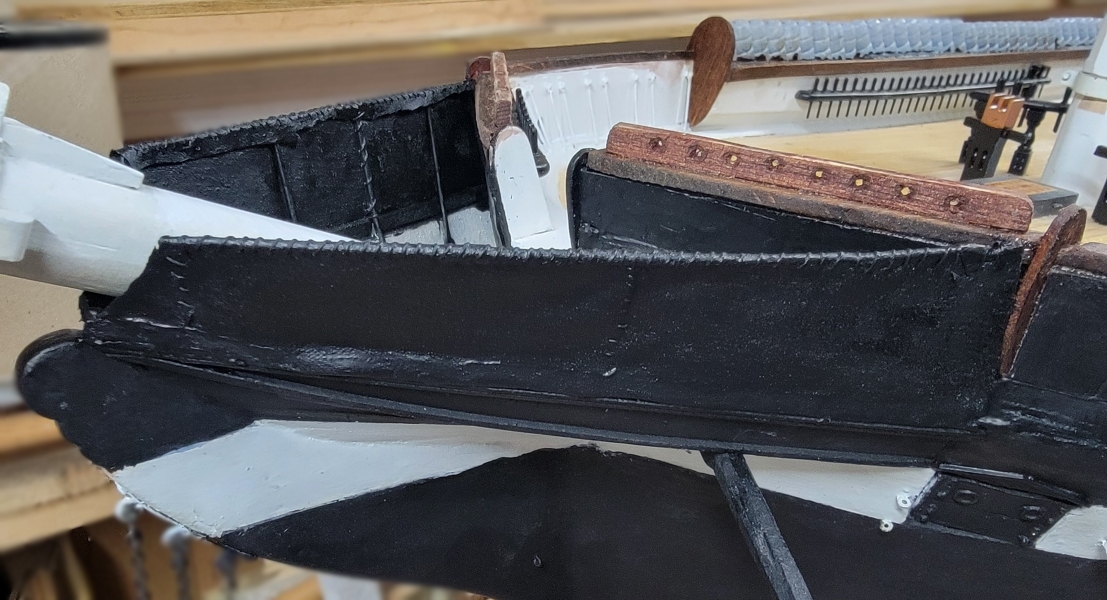
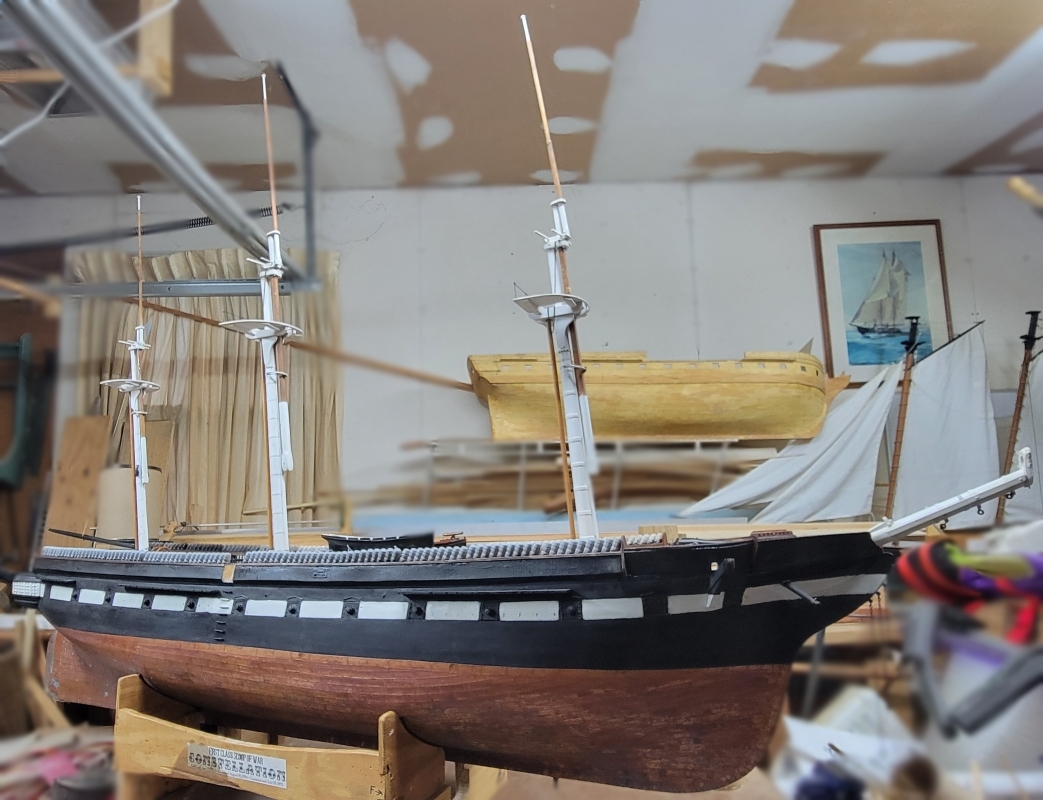
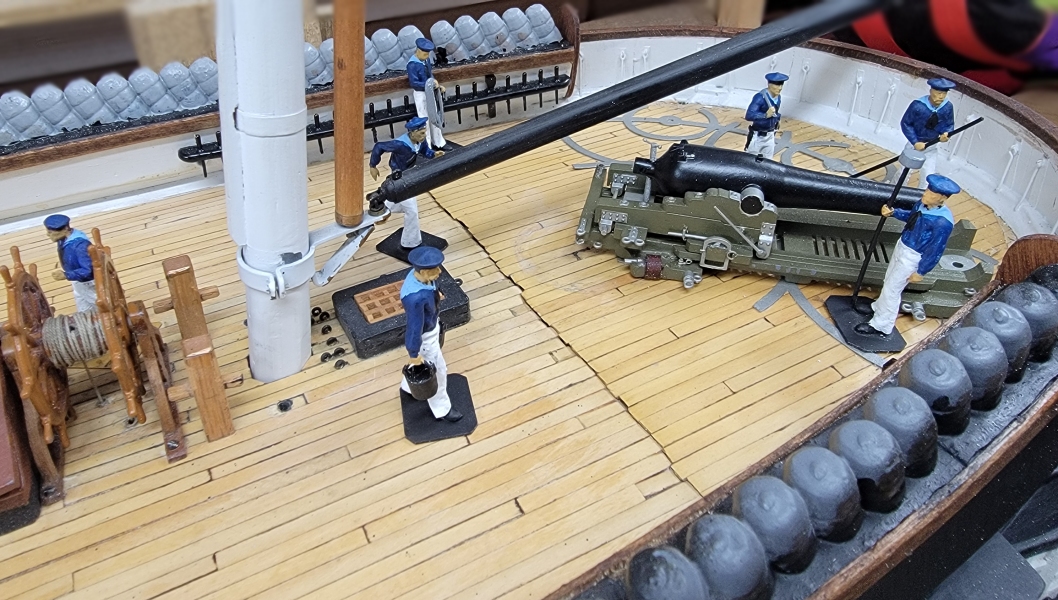
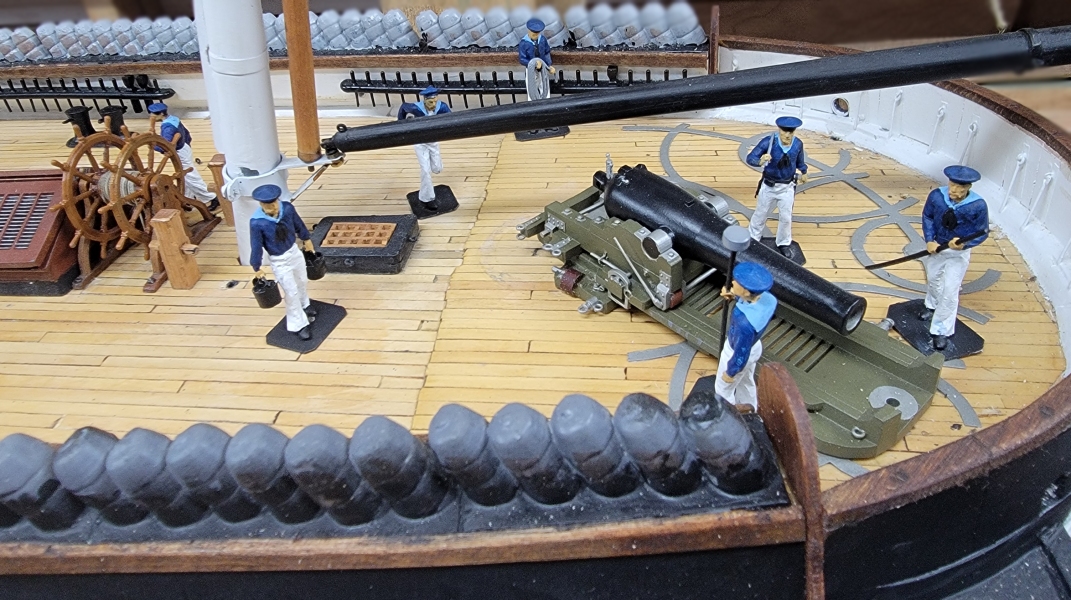
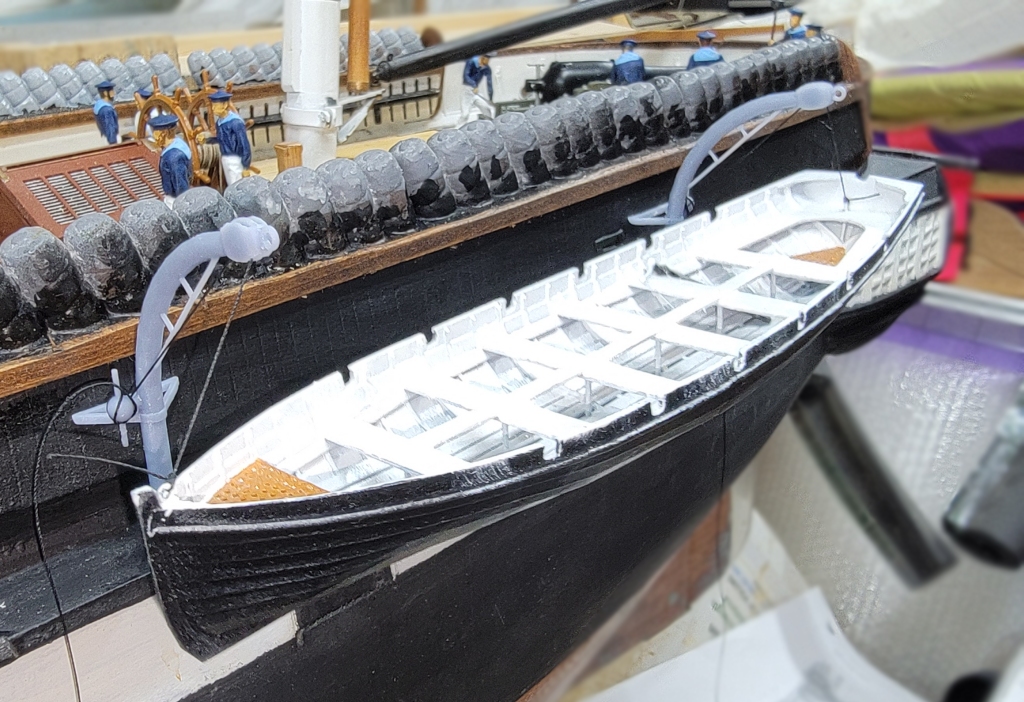
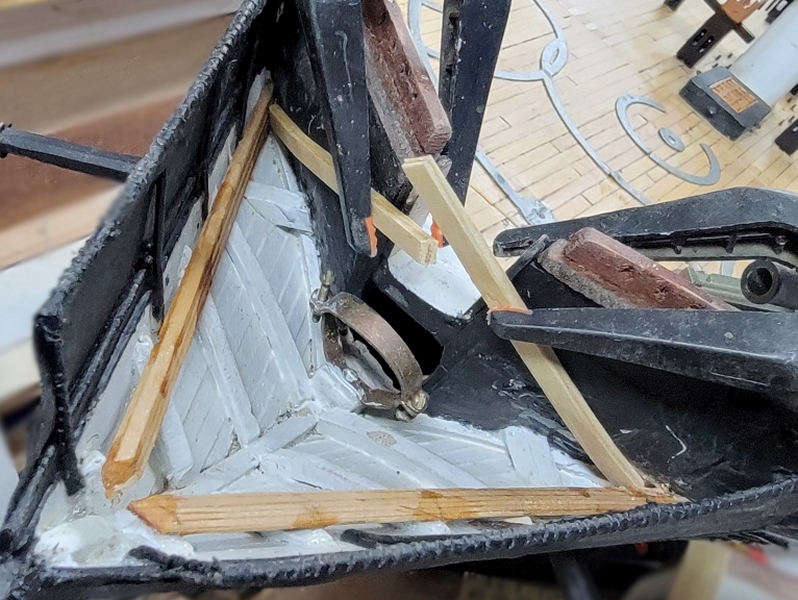
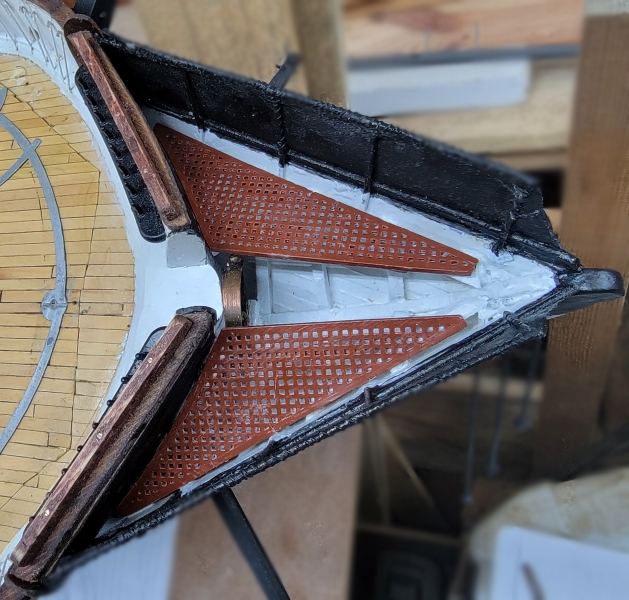
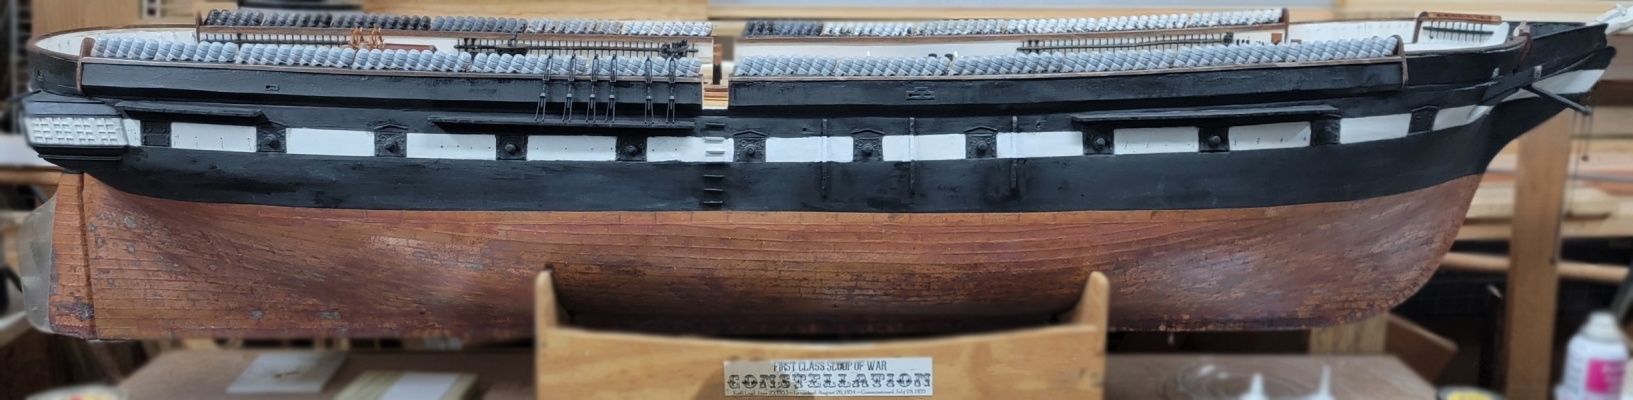
19th: Made and installed the portside spray-screen tarpaulin. Laced it up to the frame and gave both sides a coat of paint, inside and out. It's pretty much done now, except , of course, for touch-up painting every-where. The sheer runs the full length of the boat now.
The next thing is puting in the iron braces for the pin-rails, which will be brass strip. I tried doing one and putting it in place was maddening, and I didn't manage to do it. I'll have to make a tool of some sort to hold onto it while I CA them in.
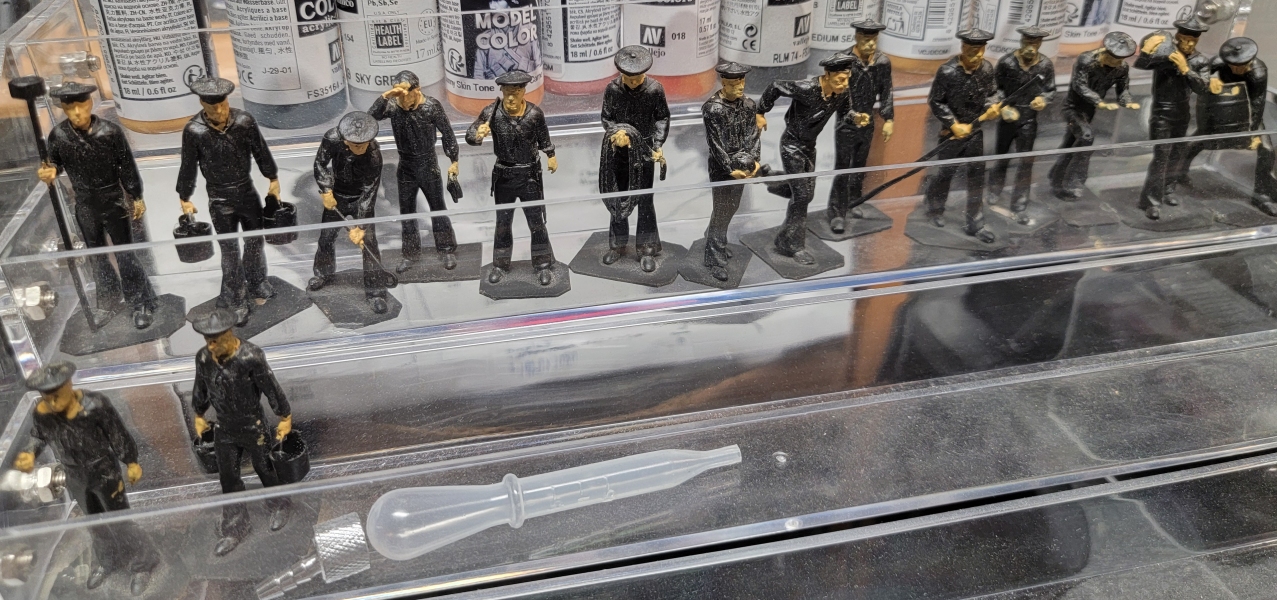
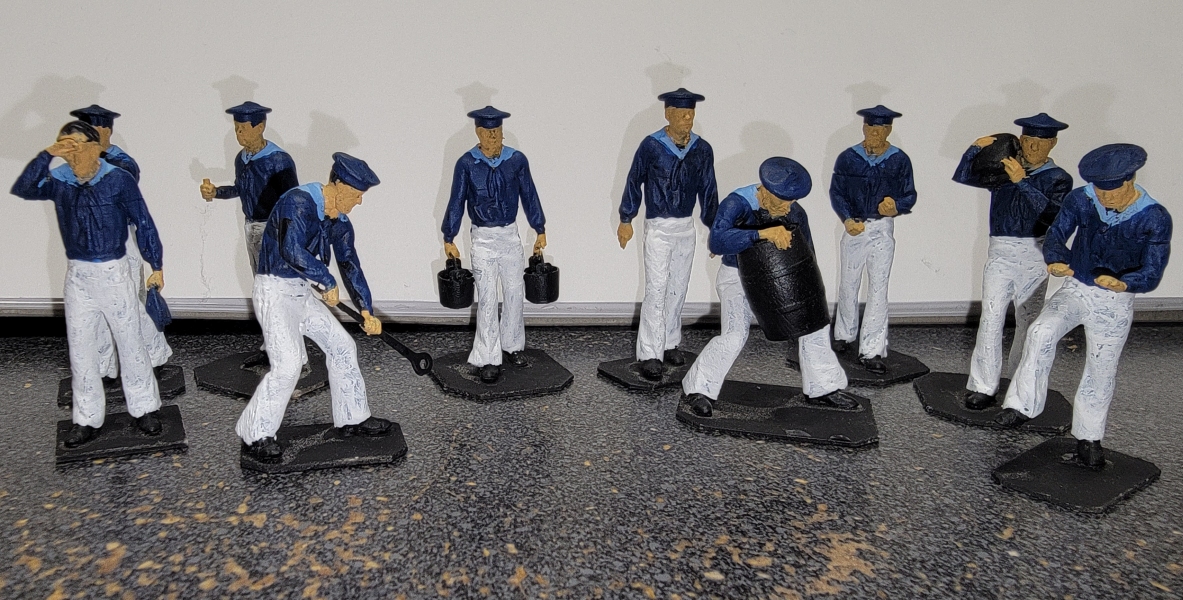
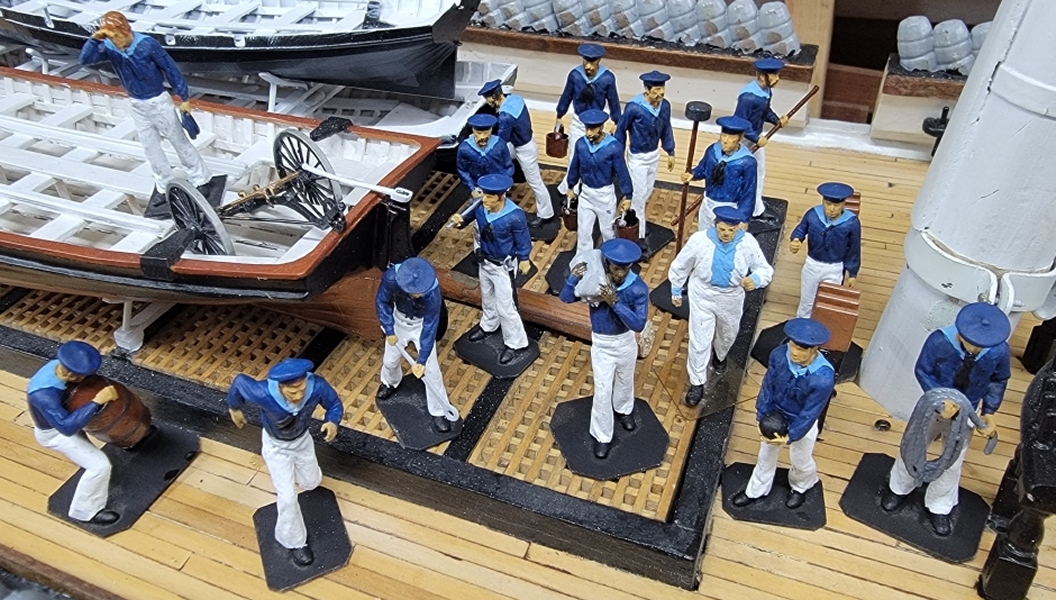
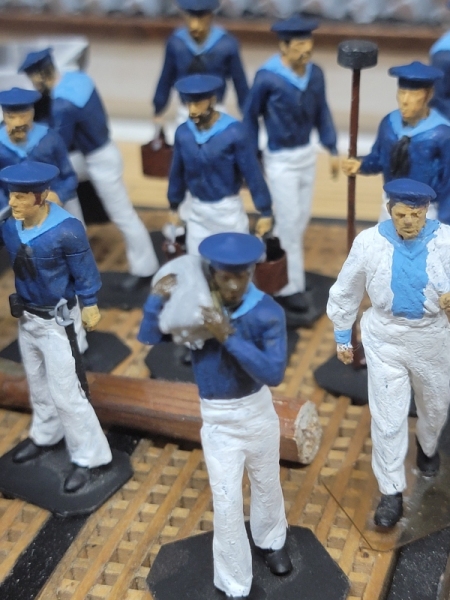
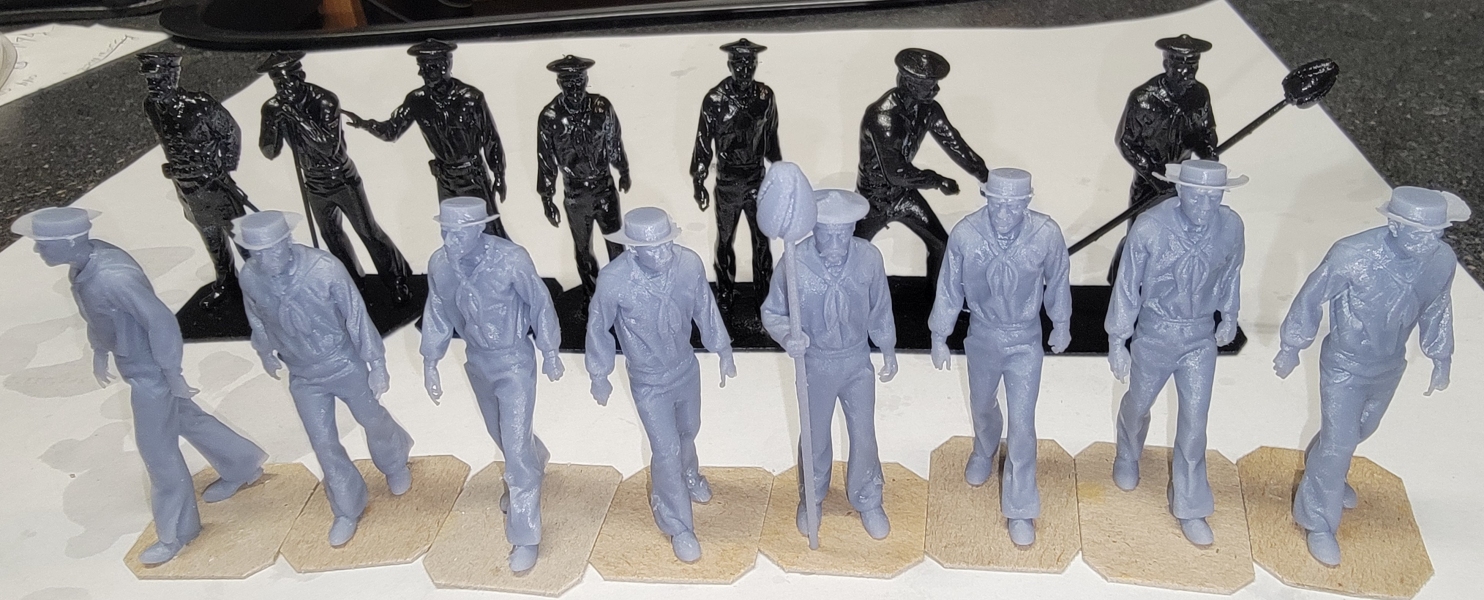
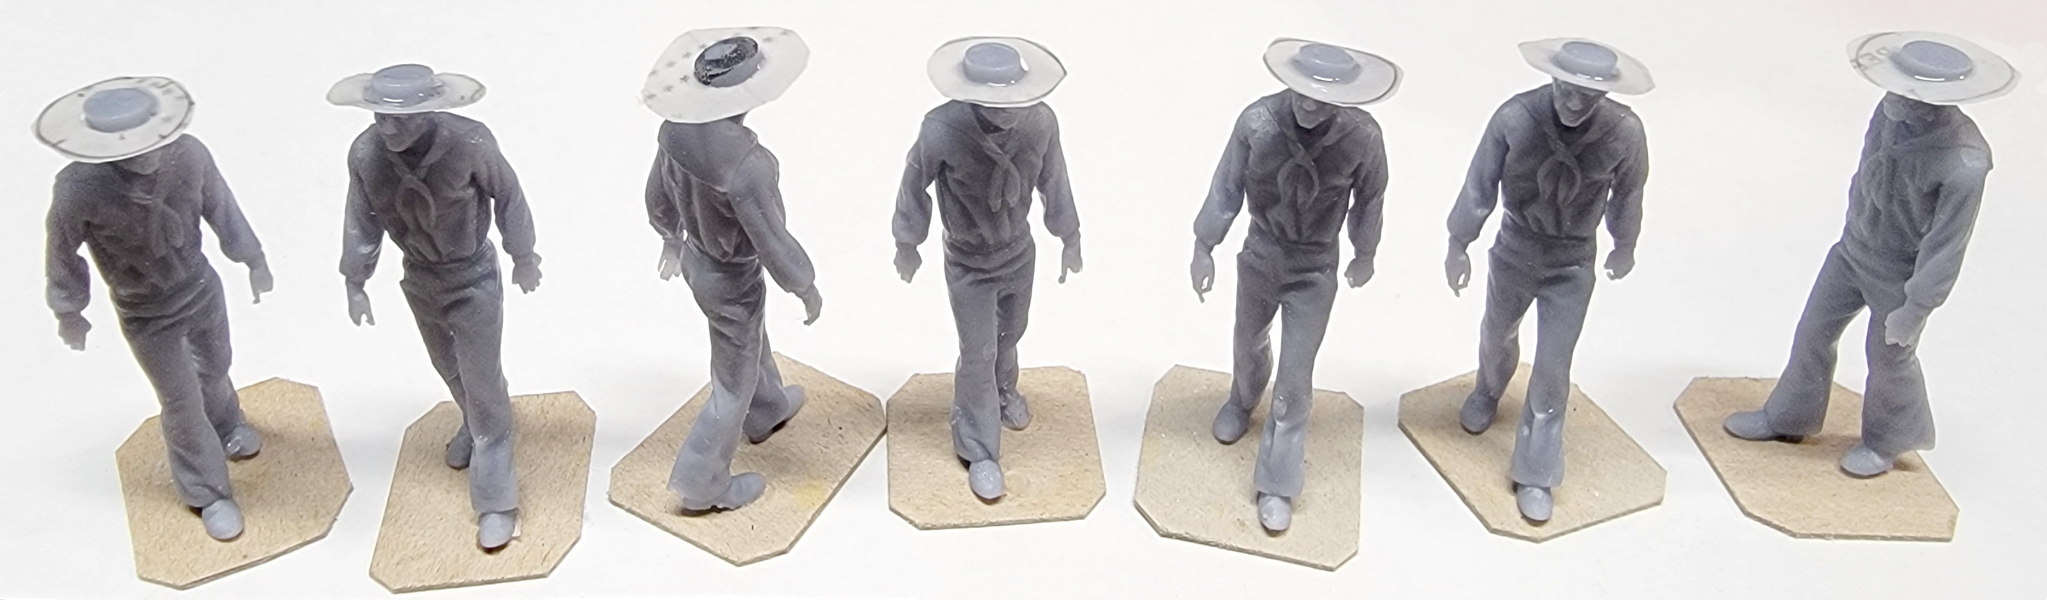
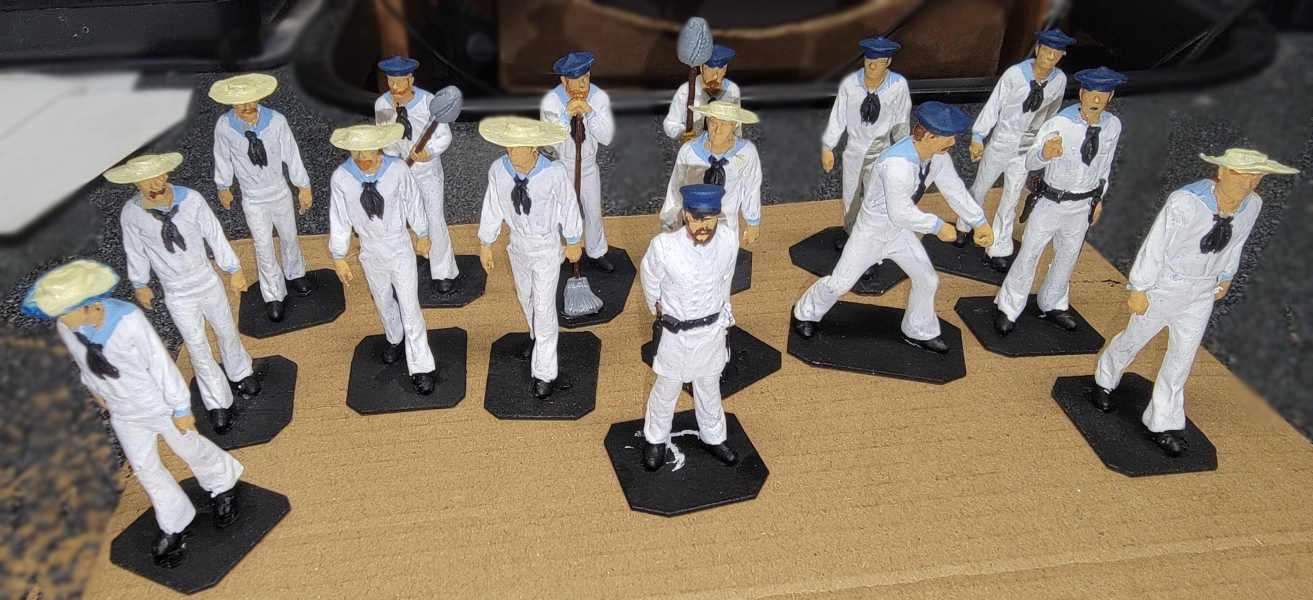
This batch of crew will be getting white jumpers.
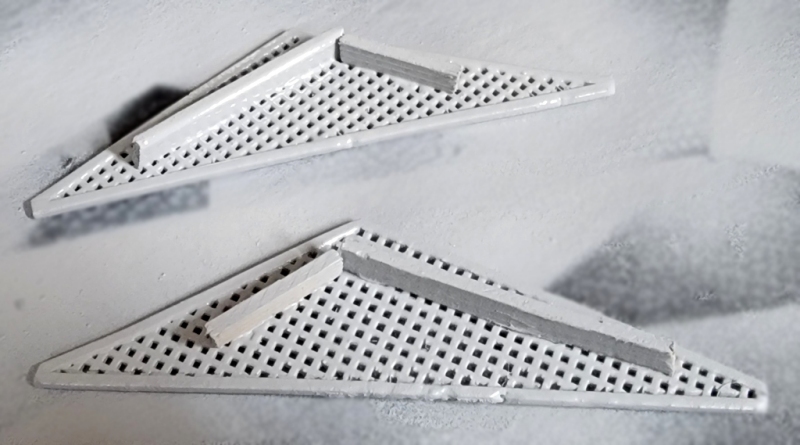
Using the poor print of a davit from earlier, and some chipboard, I worked out a brace for the davits that seemed likely. I made a new "block" portion, with a ring at the tip for the line or chain that linked the davits. We'll see how, and if, it turns out in 4 hours.
29th: More like 6 hours because the printer wasn't doing anything for 2 hous before I noticed. Anyway, I think they do the job. When it's time to do the job, I'll drill the bottoms for brass pins that'll go through the channel
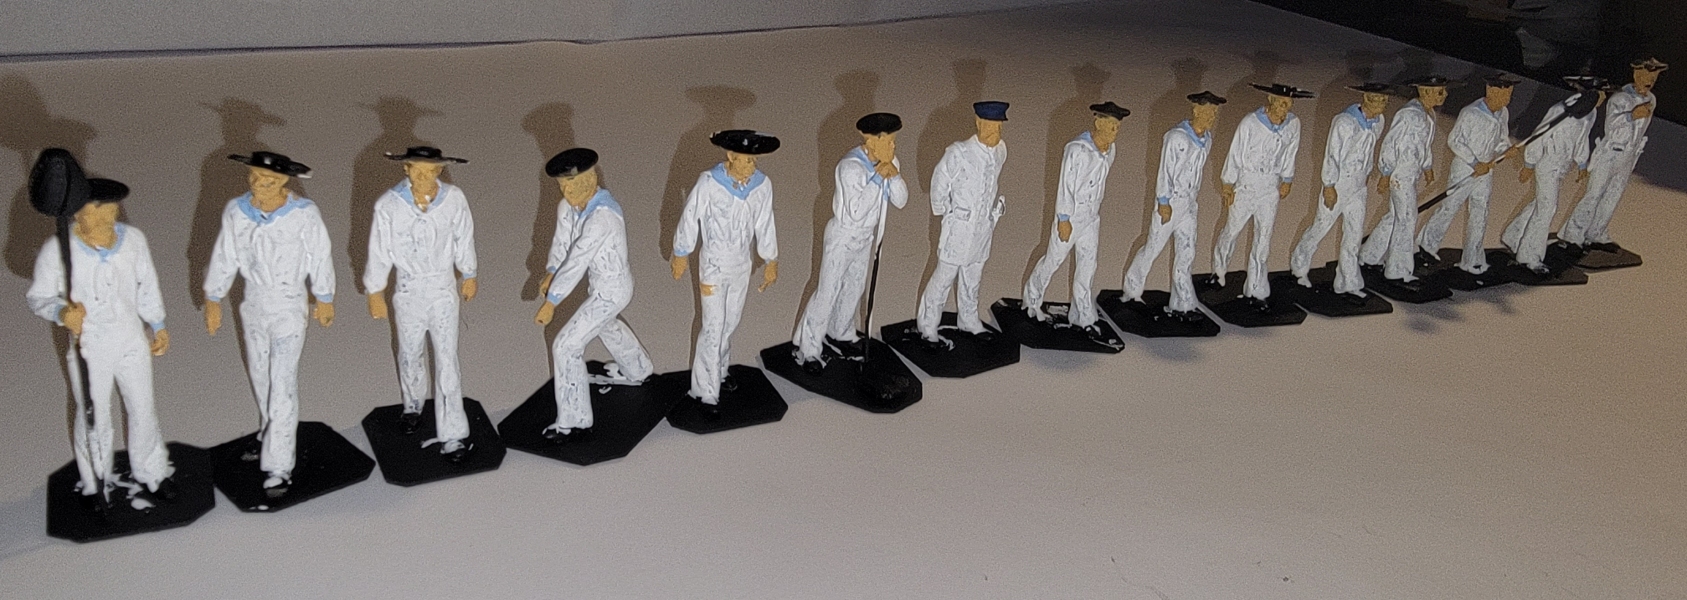
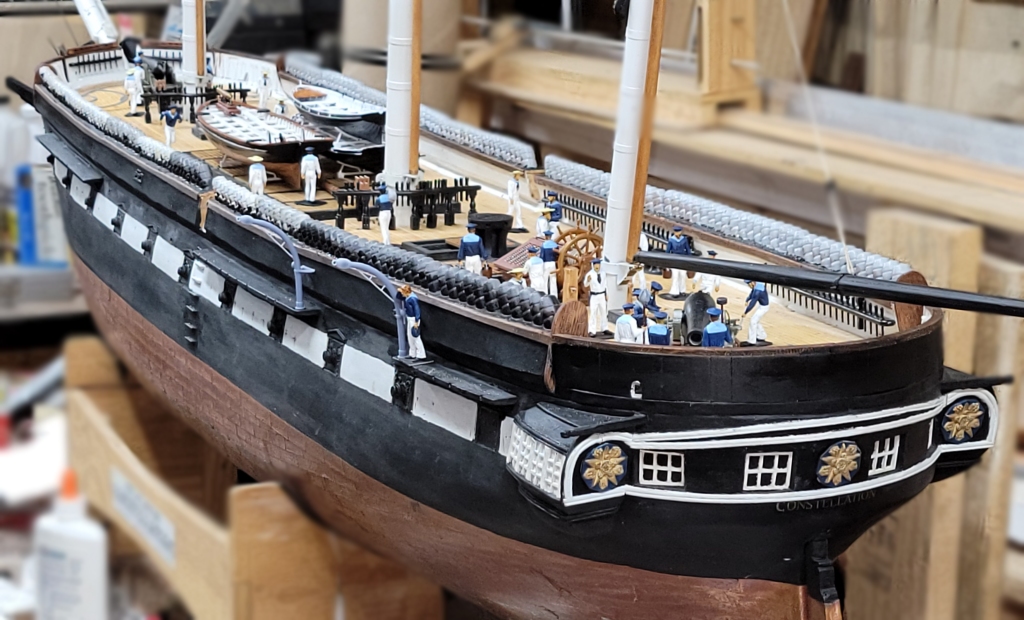
29th: More like 6 hours because the printer wasn't doing anything for 2 hous before I noticed. Anyway, I think they do the job. When it's time to do the job, I'll drill the bottoms for brass pins that'll go through the channel 30th: The second batch of crew is painted, but for some touch-up. The ship's getting quite busy.
The slicer says they'll take nearly 4 hours to print, so I'll get them started when I get home in a couple of days.
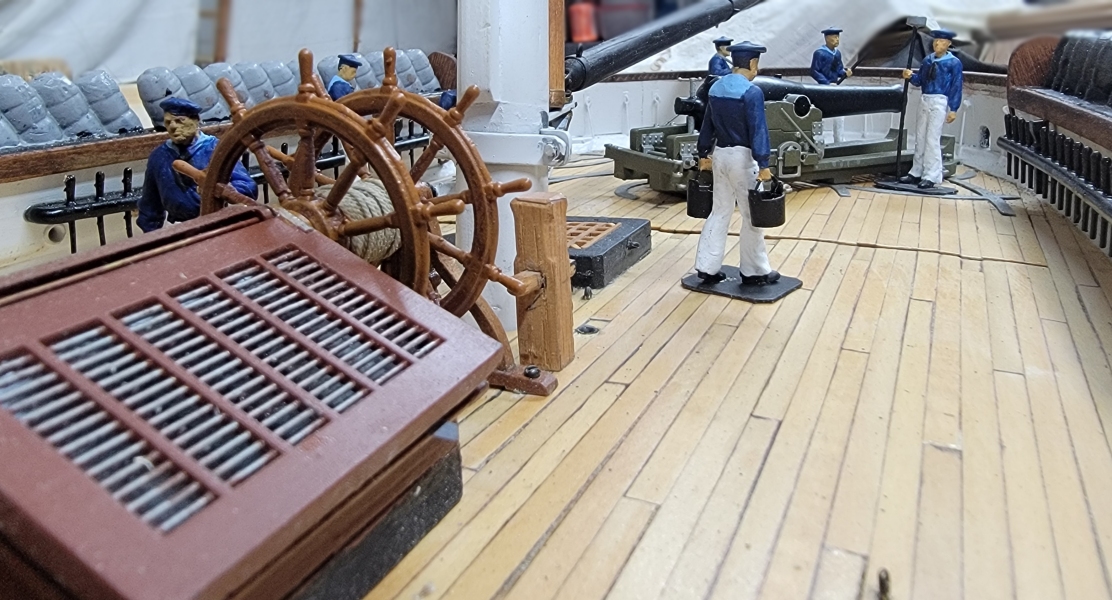
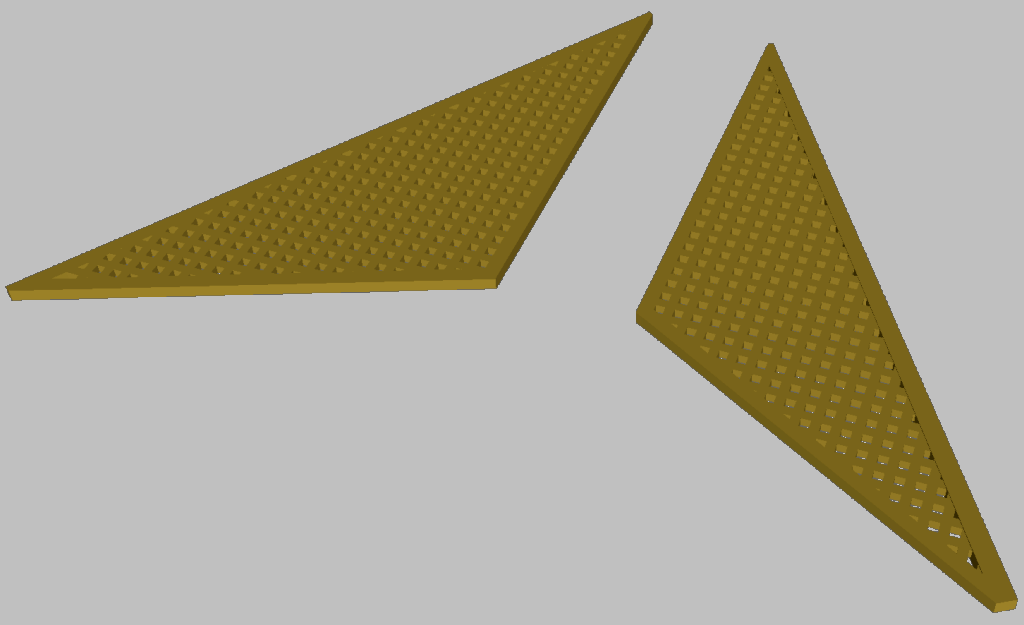
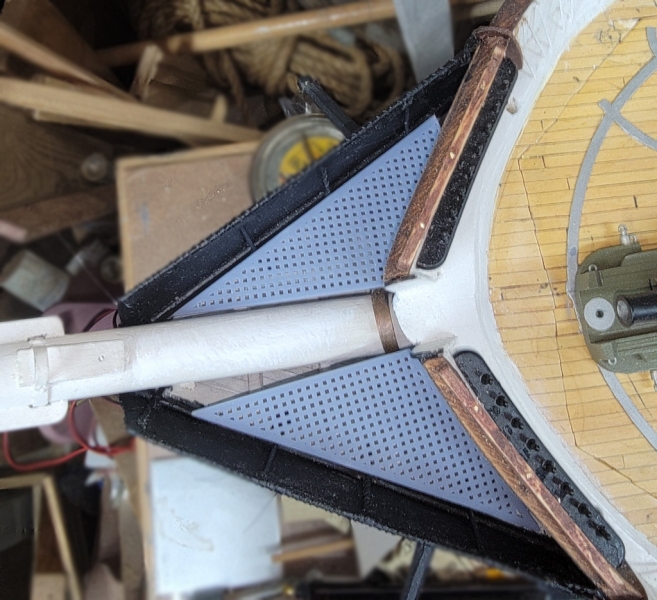
20th-26th: Printed the head-gratings for a trial fit. I need to install the cleats for it to sit on to see if they fit properly.
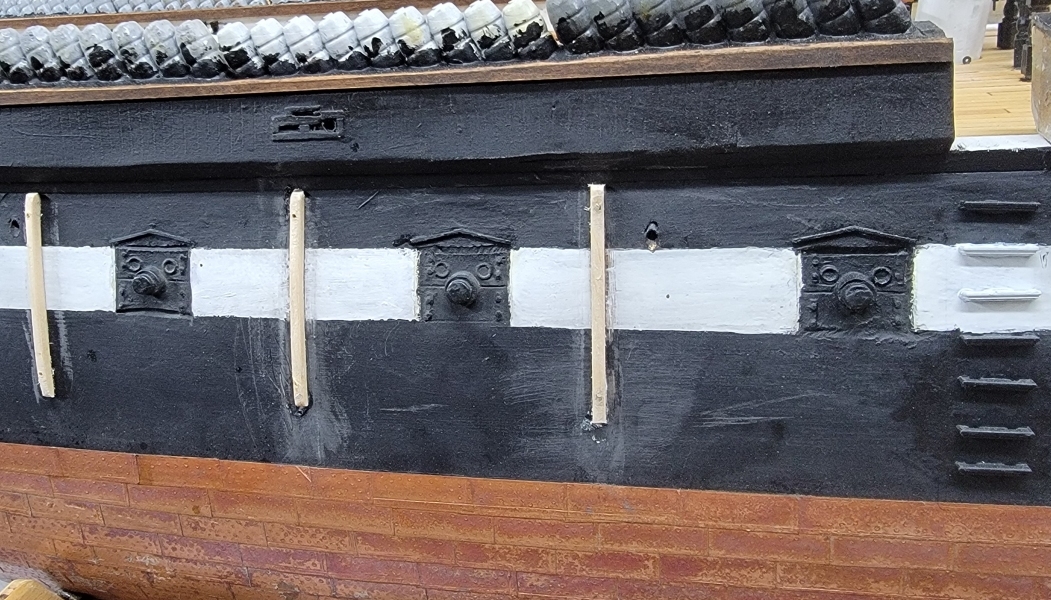
29th-31st: Getting back to the rub-rails, from page 40, that I got diverted from so long ago...
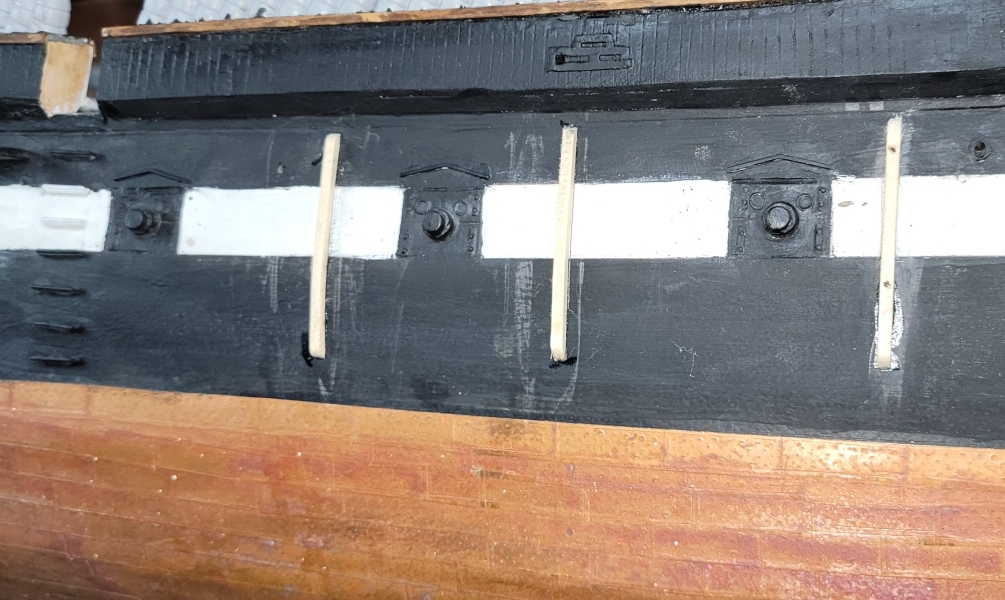
I made a pattern of the side to shap the rails, rather than spring straight pieces in place. I cut them from the musical instrument wood I have, based on the paintings and photos to figure their position and length. The got CAed onto the hull, with any gaps filled with fine sawdust and CA. The I drilled and pinned them with 1/16" brass rod.
Both sides of the hull got some quick paint. At a point before the chain-plates go on, the hull will get a neat and proper paint-job, so please pardon the sloppyness for now..
|
||
 |
 |